

I've fallen into sort of a comfortable rhythm when I want to improve generated images that just "aren't quite there yet", and it seems like just the sort of thing that would suit this article function. Join me and learn a quick way to improve image quality without finicky in-painting!
This Guide is For Who?:
I have a not-quite-potato computer that lets me run XL models, but limits the size of my image. With upscale, I can do about 1536x1920 without having to resort to cheeky work-arounds like control-net tiling. 1536x1920 is plenty big for an image, but isn't big enough to get that sweet, sweet upscale quality bump to the level some other people do. This guide is probably best used by people in the same general boat, where the ideal of 4k by 4k images to pack in quality just isn't happening.
Getting Started:
To start us off, let's grab an image:

It's not bad! I like the general vibe. But it's got some issues.
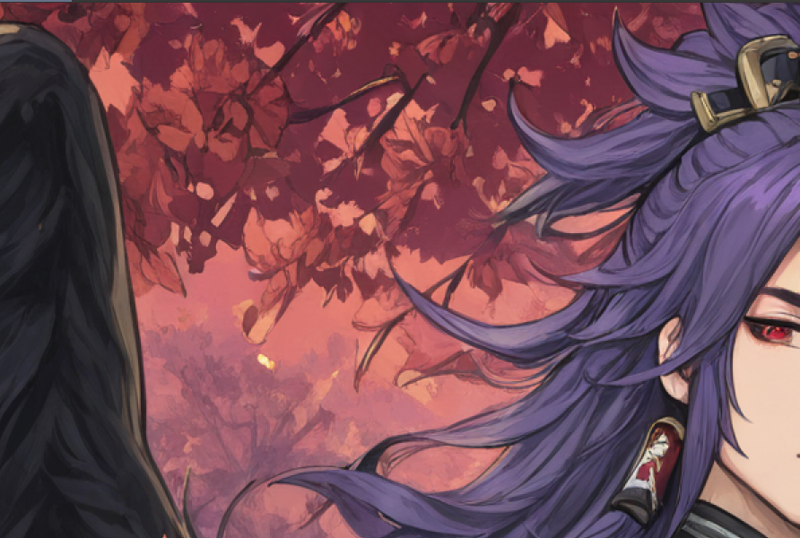
Our leaves are pathetic, and they get worse the further back they go.
I don't really know what's going on in the purple here.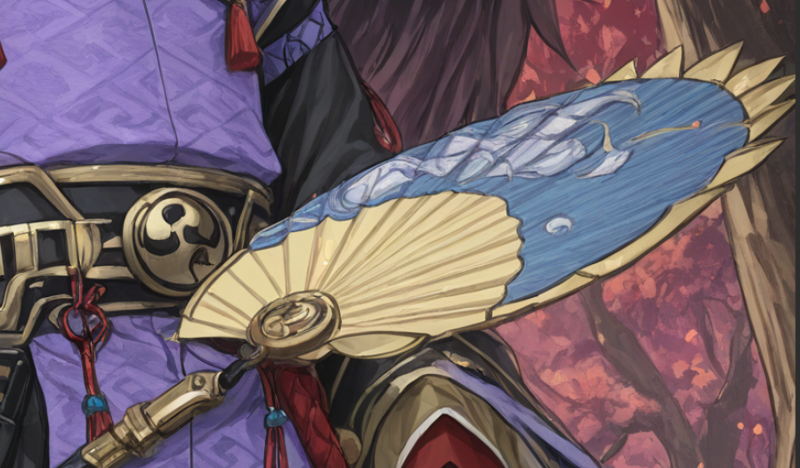
The fan is just kind of sad.
To fix these issues, and bump our quality, we want to IMG2IMG
Step 2: IMG2IMG
Let's grab our image, and port it over to IMG2IMG. I'm keeping my usual number of sampling steps, as well as my normal method and schedule type. We also wanna turn on the refiner at default settings.
If you're here using this guide, you're likely like me and can't easily upsize more, so we have it at a scale of 1.
CFG is just whatever I used for the image honestly, I haven't found it to make a huge difference at this step. Denoising is where it gets important.
You want a denoising somewhere between about 0.45 and 0.6. You gotta fiddle with this yourself and find the right fit for your particular image. As a general rule, the higher you go the bigger changes the IMG2IMG can make.
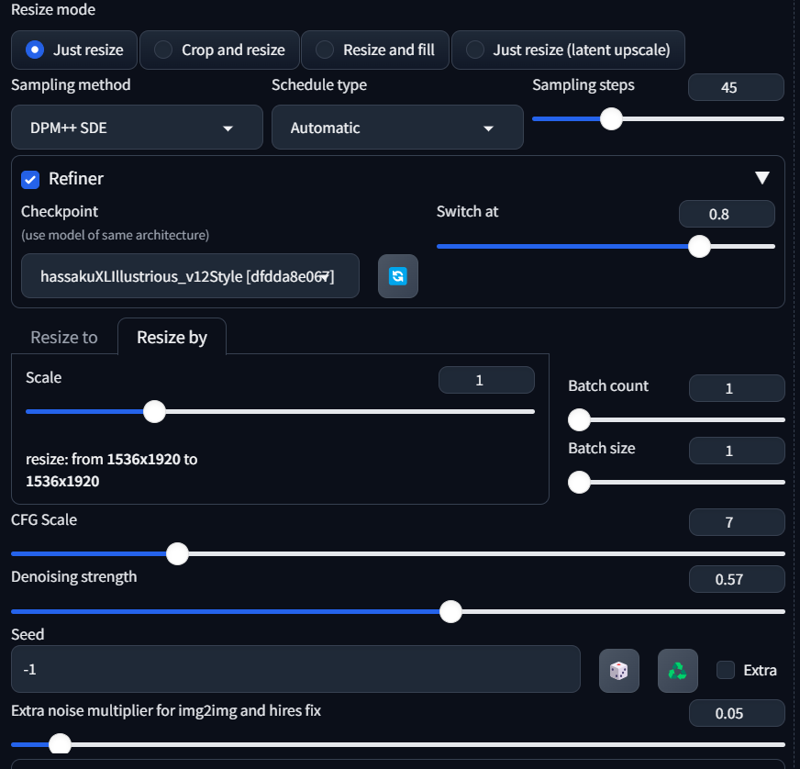
But what's this, we've got an extra little friend at the bottom: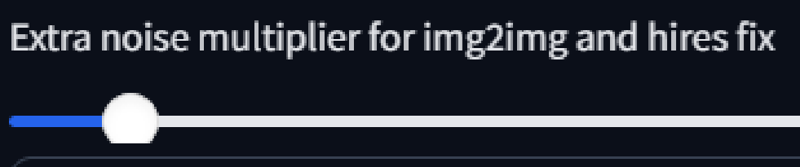 It's bonus setting time!
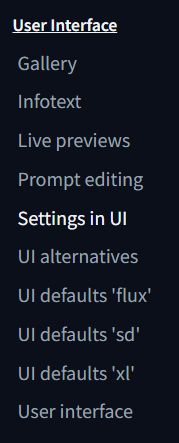
If you do not already have this setting, you need to enable it the Settings tab.
Go ahead and find yourself "Settings in UI" under the "User Interface" section.
From there, you'll find this:
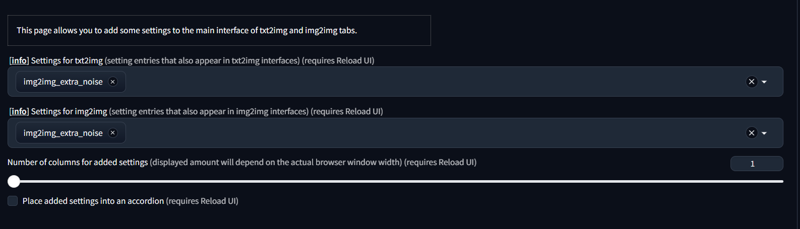 Except you're going to see that instead of those nice little "img2img_extra_noise" boxes, yours is likely blank.
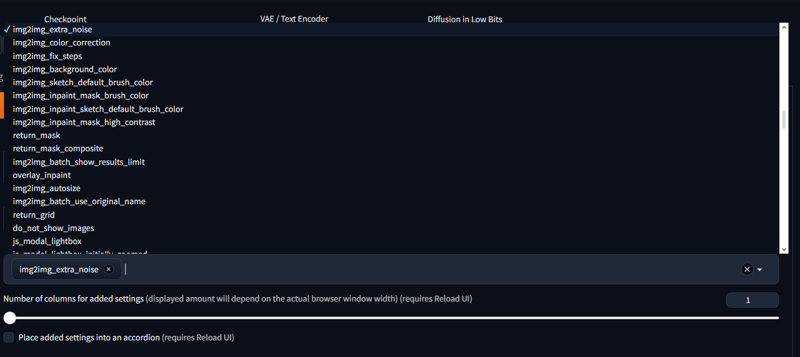
Click the box for img2img, and a dropdown list appears. It has an ungodly amount of options, but you want to find that aforementioned "img2img_extra_noise".
Enable this, and reload your UI. You should now have that little slider you saw above. This is our little "please sir may I have more fiddly details" slider.
It creates noise in the image, which the IMG2IMG process turns into small details. As you can see, we've got it at 0.05. You can play with this, but the highest I typically go is 0.1. At that point you're typically going to want to add something like "snowing" or "light particles" to negatives, because the large amount of noise can cause the generator to make little white and/or colorful specks around the image. Those negative prompts usually solve said problem instantly, assuming you don't start cranking it above 0.1.
You do not need this slider turned on. In fact, there will be cases where in just makes things worse. But this is incredibly dependent on your image, and only you can figure out when to turn it on or off. It is just one tool at your disposal to add detail.
Now, why is doing this IMG2IMG not the end step? Why do we need an Image Editing program?
Why We Need An Image Editing Program:
Here's our fancy new IMG2IMG with our above settings

Look at those leaves! Look at that fan! The purple is fixed!
But aw shit, we have New Problems.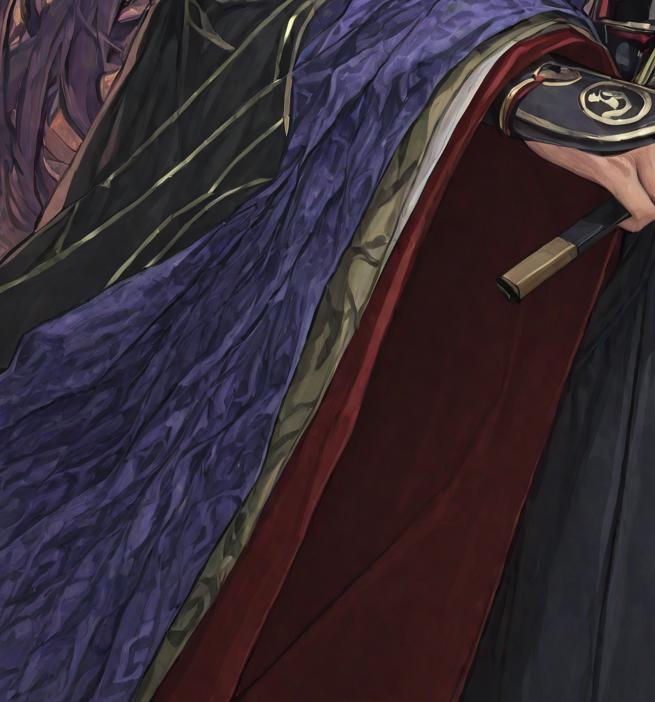
I'm not in love with this muddled, messy sleeve.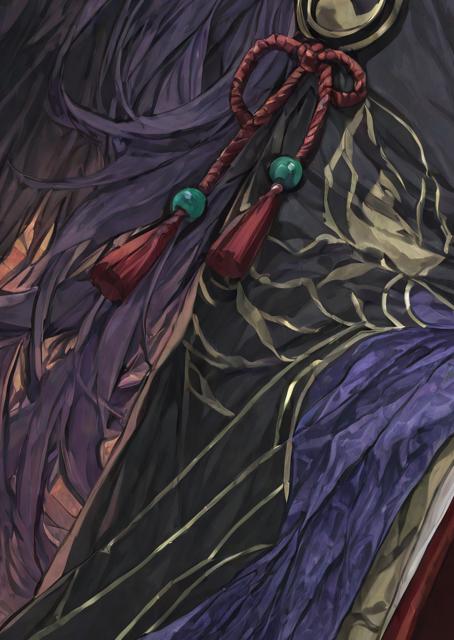
We lost our cute little ponytail, and this hair is kind of A Lot now.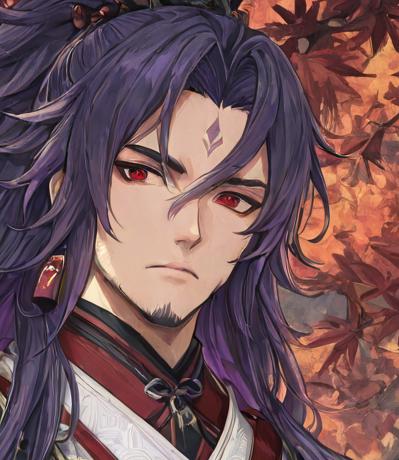
I didn't necessarily want a goatee...
There are various issues with this image, same as the last one. We just traded our problems for new problems.
One solution to this would be to in-paint your image, and only IMG2IMG the sections you want to change.
But god I hate making complicated in-paintings. I don't want to take the stupid little UI paintbrush and highlight every little space I want, with none of the space I don't want. And until I've done this full sized IMG2IMG, I don't necessarily know which points of the image are going to get better, and which are going to get worse.
So instead, it's Image Editor time!
Step 3: Image Editor Time
Open your editor of choice, and open your pre-IMG2IMG picture
Now, on a layer above it, paste your post-IMG2IMG picture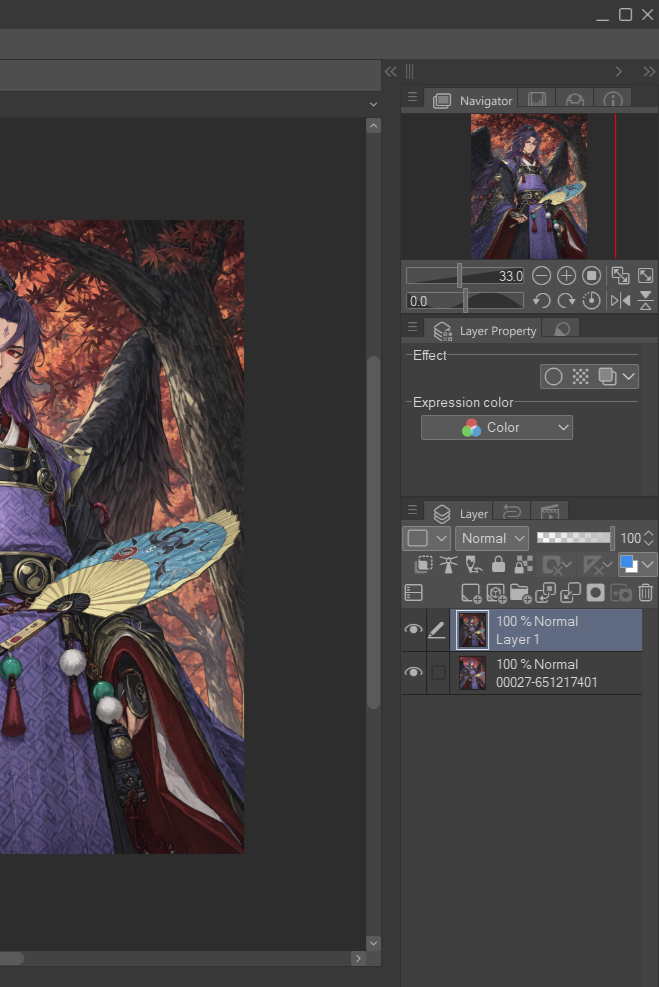
From here, nab yourself a soft eraser tool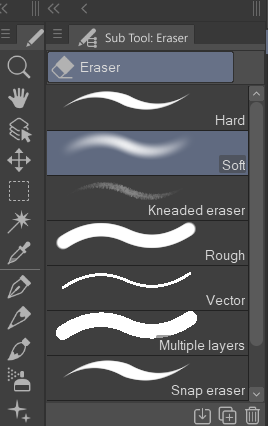
Soft is the best option for us here.
Anything we do not like about our newer image, we are going to scrub away.
Good bye terrible sleeve, goodbye bad haircut, goodbye spontaneous goatee....
Because the edges of the eraser are soft and create a certain level of blending, and because the two images are functionally identical in composition, it's extremely easy to just let the lower image fill in anything we got rid of. Here is the image after I took a stab at it with the eraser: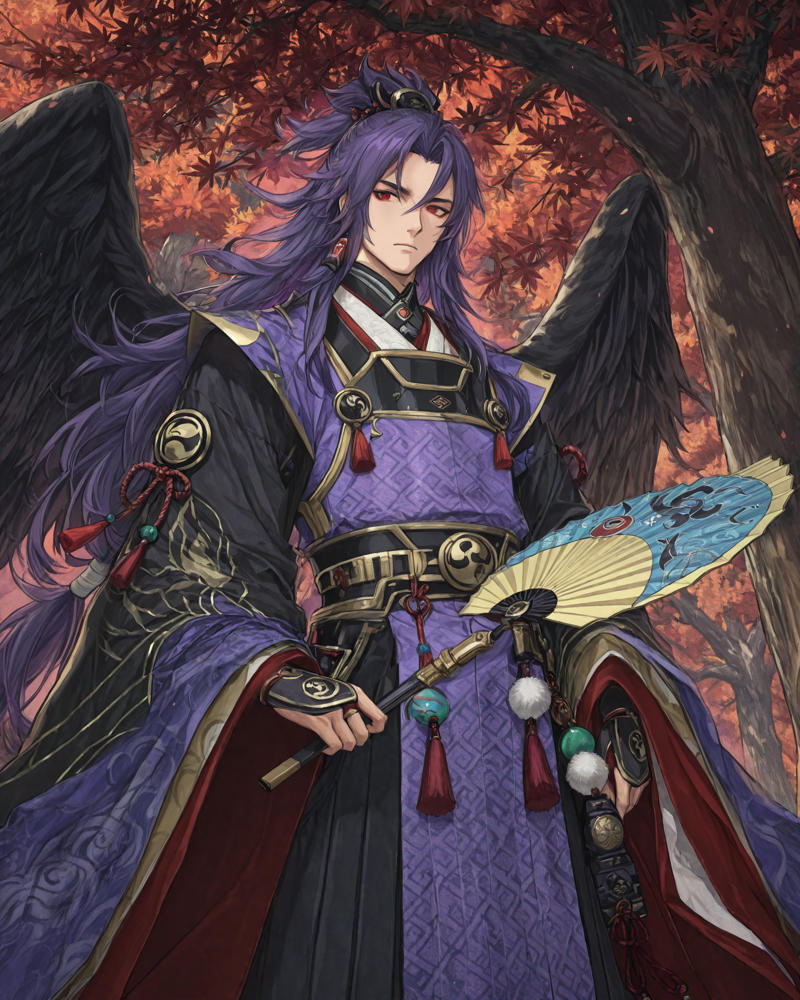
Here's our side by side: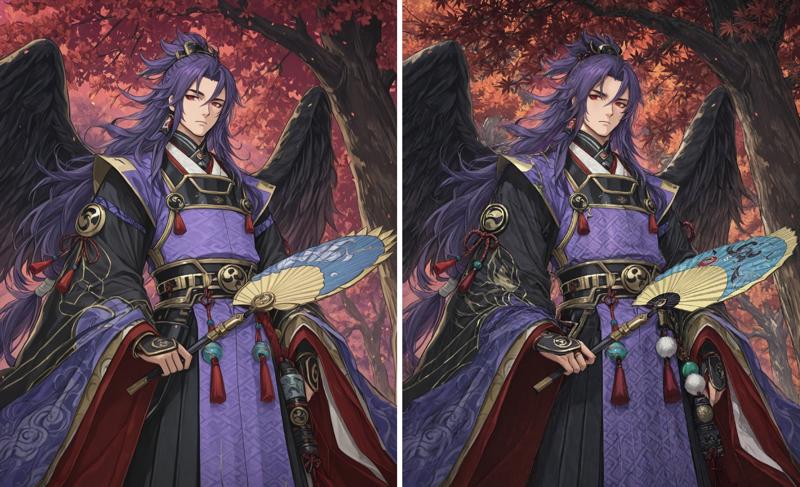 If we wanted, we could refine it even further: photoshop it a bit, do some fixes right behind his head, get some better matching going on with that white pompom, what have you. But ultimately, regardless of where we want to go from here, we now we have the best of both pictures, and in my opinion it took a lot less fiddling around than trying to inpaint.