This is the lazy yet efficient way to train Hunyuan Video LoRA, based on my personal best practices.
Why Google Colab?
Because it's cheap. No need to invest in a state-of-the-art GPU—especially if you're just experimenting or killing time. But if you're a professional, investing in a decent GPU is definitely worth it.
Disclaimer: This is not the best way to train Hunyuan Video LoRA, but it's my go-to method that has worked perfectly after digging through many articles and community discussions. I've successfully trained several character LoRAs and three style/pose LoRAs using this approach.
Pre-requisites
Google Colab subscription plan (~$9.90 USD for 100 compute units).
Choose GPU A100 for speed, but L4 is sufficient.
Google Drive subscription recommended, as free plans only offer 15 GB. In my tests, you’ll need ~50GB to store the models.
Open the Colab Notebook
Training Types
I’ll break training down into two categories:
Character Training
Style/Pose Training
We’ll start with the most important part: Preparing Datasets and Captioning.
Character LoRA
Easy peasy. Just use high-definition images—30 to 50 images are enough. Target 2000–3000 steps. Make sure there are no blurry, distorted images, subtitles, or watermarks. The face or pose should be centered. Ideally, standardize your image resolution. In my case, any high-quality resolution works.
Name your images sequentially: 1.jpg, 2.jpg, 3.jpg, etc.
Captioning
Use Florence or Joy-Caption—they're the best.
My trick: upload your images to Civitai under Create > Train a LoRA. This allows you to use their free captioning tool. We're not training on Civitai—just using their captioning. After all images are captioned, download the dataset as a RAR. Done—you now have images with matching captions: 1.jpg, 1.txt, 2.jpg, 2.txt, etc.
Style or Pose LoRA
This gets more interesting, as you’ll need short video clips. Here are my personal rules of thumb:
Standardize resolution and FPS. I use both 4:3 and 16:9 (landscape). Convert all clips to 24 FPS.
Each clip must be exactly 3 seconds. No more, no less.
4:3 is versatile for vertical and landscape generation. Use 16:9 if your output is strictly landscape.
Use tools like CapCut or any free cutter/resizer to format your clips.
I use 25–40 short clips for my datasets.
Important: Be specific. Do not mix styles or poses. One style/pose per LoRA.
For example:
If you're making a LoRA of POV getting punched in the face, only use clips that show exactly that from a first-person POV. Don't mix in kicks, random motion, or other angles—it confuses the model.
Captioning Video Clips
This part is tricky. I'm still a newbie, so I captioned each manually.
If your main concept is, for example:
“A first-person POV video of getting punched in the face…”
Use this as your base and add specific details:
“A first-person POV video of getting punched in the face by a woman. She is wearing a blazer and a golden necklace, with a furious expression.”
Important: If something appears in the video, you must caption it—or else it might show up unexpectedly and unintentionally in generated outputs.
E.g., if a character has a tattoo on the left arm, write:
“She has a tattoo on her left arm.”
Name your captions to match the video files: video1.mp4 and video1.txt, etc.
Run the Colab Notebook
Connect to your Colab.
Run:
(Optional) Check GPU
1. Install Dependencies
2. (Optional) Mount Google Drive
After mounting, your Drive folder should look like this in colab:
/dataset/dog/

and like this in G-Drive:

If not, create the folder manually. Then upload your:
Images +
.txtcaptions, orVideos +
.txtcaptions
into/dataset/dog/.

3. Run:
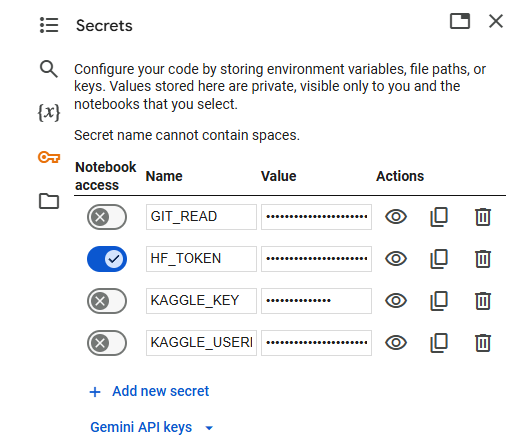
3. (Optional) Register Huggingface Token to Download Base Model
You’ll need a Huggingface account and an access token.

Run: 4. Train with Parameters
Character LoRA (images only):
frame bucket: [1]resolution: [512]epoch: [35] (good for 20–40 images; character becomes consistent after ~25 epochs)learning rate: 2e-5save_every_n_epochs: [5]
Leave the rest parameters as default.
Style/Pose LoRA (video clips):
frame bucket: [1,50]resolution: [244] (Hunyuan detects movement well even at low res, no need to go higher)learning rate: 2e-5, (Some people use 1e-4 with good results, I haven’t tested it.)epoch: [40], (style/pose becomes consistent after ~35 epochs)save_every_n_epochs: [5]
Leave the rest parameters as default.
Training Duration Approximation
Image-based LoRA: ~2–3 hours on A100
Video-based LoRA: ~3–4 hours on A100
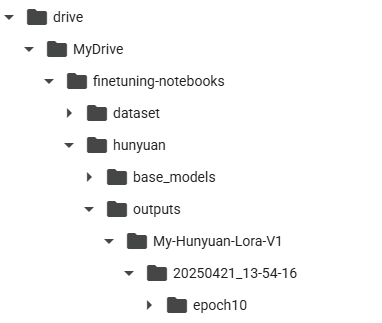
Your trained LoRA will be saved in the "output" folder. This is a view from Colab:

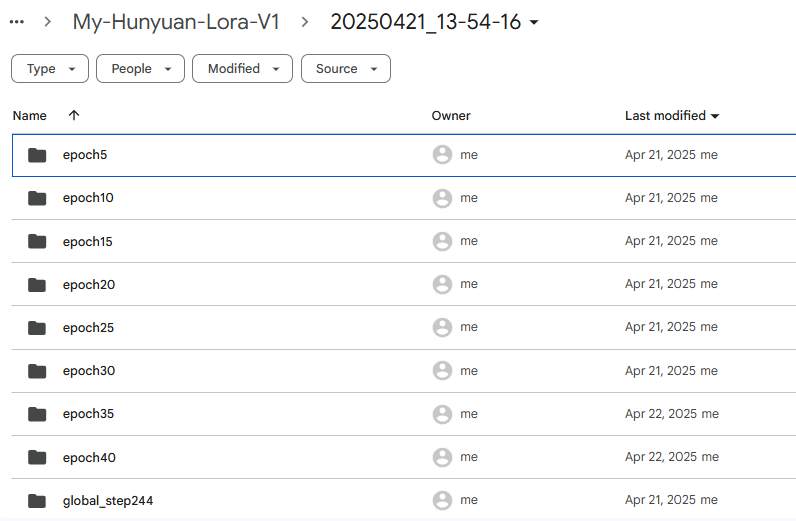
The view of your G-Drive

Then download your latest epoch.
Find my attached training files here: dataset.txt and config.txt 👉
That is all!
(NB: I've trained a few LoRAs using this method, but I'm a bit hesitant to share them, LOL—they're basically NSFW).
Comments, advice, and a 1000 US$ tip are welcome!
Cheers!

.jpeg)