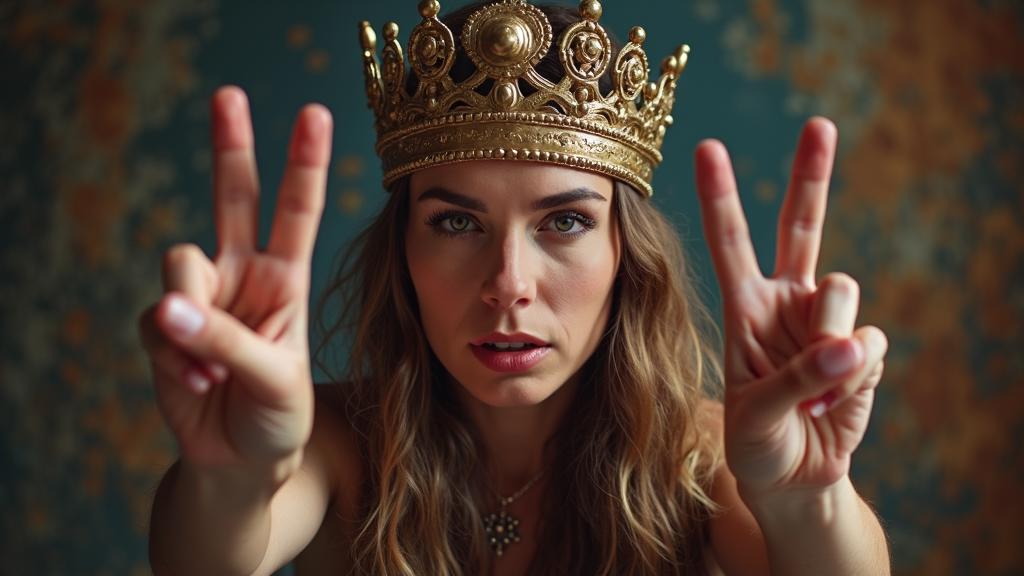
If you’ve ever generated Flux portraits only to find your subject’s face coming out overly glossy or reflective, this workflow was made for you. (Example images are ai generated)
I built a shine-removal and tone-restoration pipeline for ComfyUI that intelligently isolates facial highlights, removes artificial glare, and restores the subject’s natural skin tone — all without losing texture, detail, or realism.
This workflow is live on CivitAI and shared on Reddit for others to download, modify, and improve.


🔧 What the Workflow Does
The Shine Removal Workflow:
Works with ANY model.
Detects the subject’s face area automatically — even small or off-center faces.
Creates a precise mask that separates real light reflections from skin texture.
Rescales, cleans, and then restores the image to its original resolution.
Reconstructs smooth, natural-looking tones while preserving pores and detail.
Works on any complexion — dark, medium, or light — with minimal tuning.
It’s a non-destructive process that keeps the original structure and depth of your renders intact. The result?
Studio-ready portraits that look balanced and professional instead of oily or over-lit.
🧩 Workflow Breakdown (ComfyUI Nodes)
Here’s what’s happening under the hood:
LoadImage Node – Brings in your base Flux render or photo.
PersonMaskUltra V2 – Detects the person’s silhouette for precise subject isolation.
CropByMask V2 – Zooms in and crops around the detected face or subject area.
ImageScaleRestore V2 – Scales down temporarily for better pixel sampling, then upscales cleanly later using the Lanczos method.
ShadowHighlightMask V2 – Splits the image into highlight and shadow zones.
Masks Subtract – Removes excess bright areas caused by specular shine.
BlendIf Mask + ImageBlendAdvance V2 – Gently blends the corrected highlights back into the original texture.
GetColorTone V2 – Samples tone from the non-affected skin and applies consistent color correction.
RestoreCropBox + PreviewImage – Restores the cleaned region into the full frame and lets you preview the before/after comparison side-by-side.
Every step is transparent and tweakable — you can fine-tune for darker or lighter skin using the black_point/white_point sliders in the “BlendIf Mask” node.
⚙️ Recommended Settings
For darker complexions or heavy glare:
black_point: 90,white_point: 255For fine-tuned correction on lighter skin:
black_point: 160,white_point: 255Try DIFFERENCE blending mode for darker shiny faces.
Try DARKEN or COLOR mode for pale/mid-tones.Adjust opacity in the ImageBlendAdvance V2 node to mix a subtle amount of natural shine back in if needed.
🧠 Developer Tips
The system doesn’t tint eyes or teeth — only skin reflection areas.
Works best with single-face images, though small groups can still process cleanly.
You can view full before/after output with the included Image Comparer (rgthree) node.
🙌 Why It Matters
Many AI images overexpose skin highlights — especially with Flux or Flash-based lighting styles. Instead of flattening or blurring, this workflow intelligently subtracts light reflections while preserving realism.
It’s lightweight, easy to integrate into your current chain, and runs on consumer GPUs.
🧭 Try It Yourself
👉 Get the workflow on CivitAI
👉 Join the discussion or share results on Reddit – r/ComfyUI
If it helps your projects, a simple 👍 or feedback post means a lot.
Donations are optional but appreciated — paypal.me/zGenMediaBrands.


