Why?
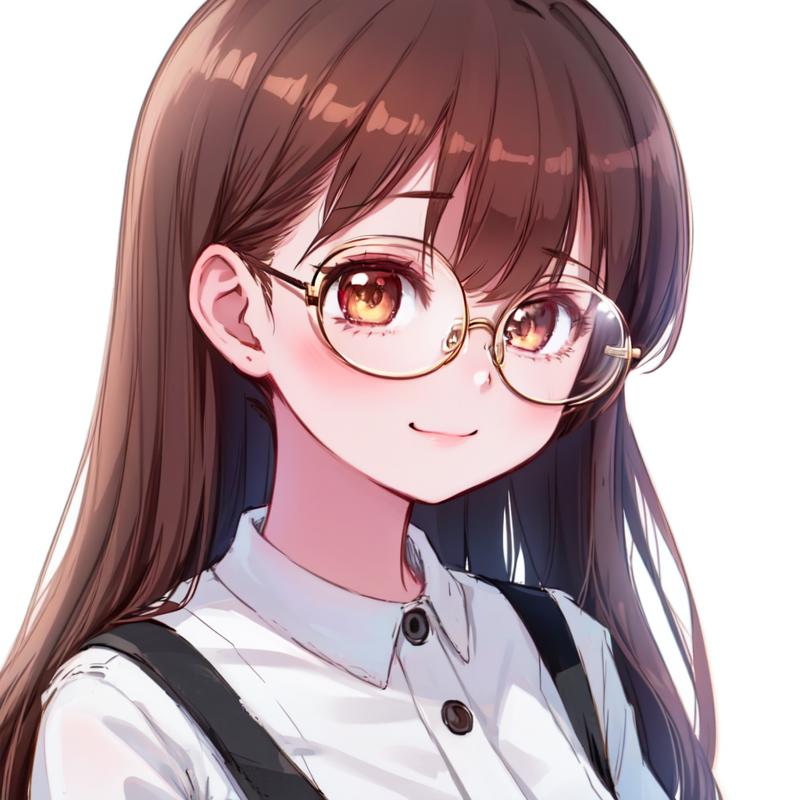
Having been dissatisfied with the results of my hires fix workflows for SD 1.5-based models, I've decided to step it up a notch, and work on something that lets me get the style of one model I particularly like, based67, with the cleanness of a good SDXL checkpoint, such as Reproduction SDXL, as well as maybe even getting something even cleaner than raw SDXL output.
This also lets me use SD1.5 LoRAs while getting SDXL quality.
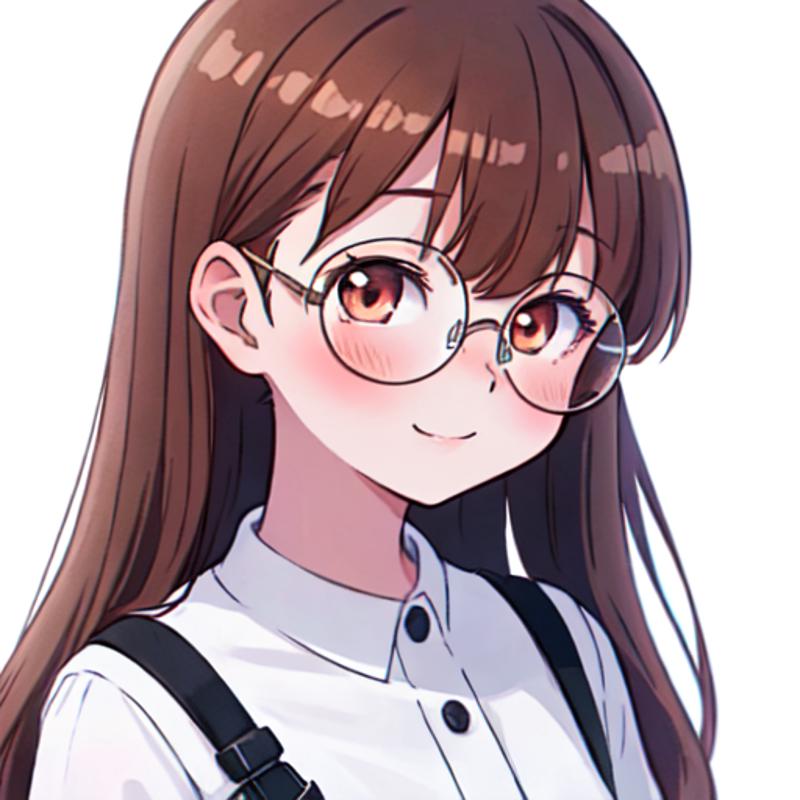
With my workflows, the best I can get with something resembling a classic hires fix on based67 looks something like this:


The problem here is with the art style being lost and devolving into a messy set of strokes that look more like a painting than an anime image.
This is really bad, as based67 is really good at 512x512 images, and that can serve as nice bases for things such as profile pictures, but they aren't of a good enough resolution.
Inspiration
While looking around to get better at ComfyUI, and to learn new things about image generation as well as tricks, I stumbled upon this video:
Having tried the approach provided in it, as well as variations of it, I couldn't get anything much better out of based67. Still, wanting to get a better result, I've started tinkering.
Things learned along the way:
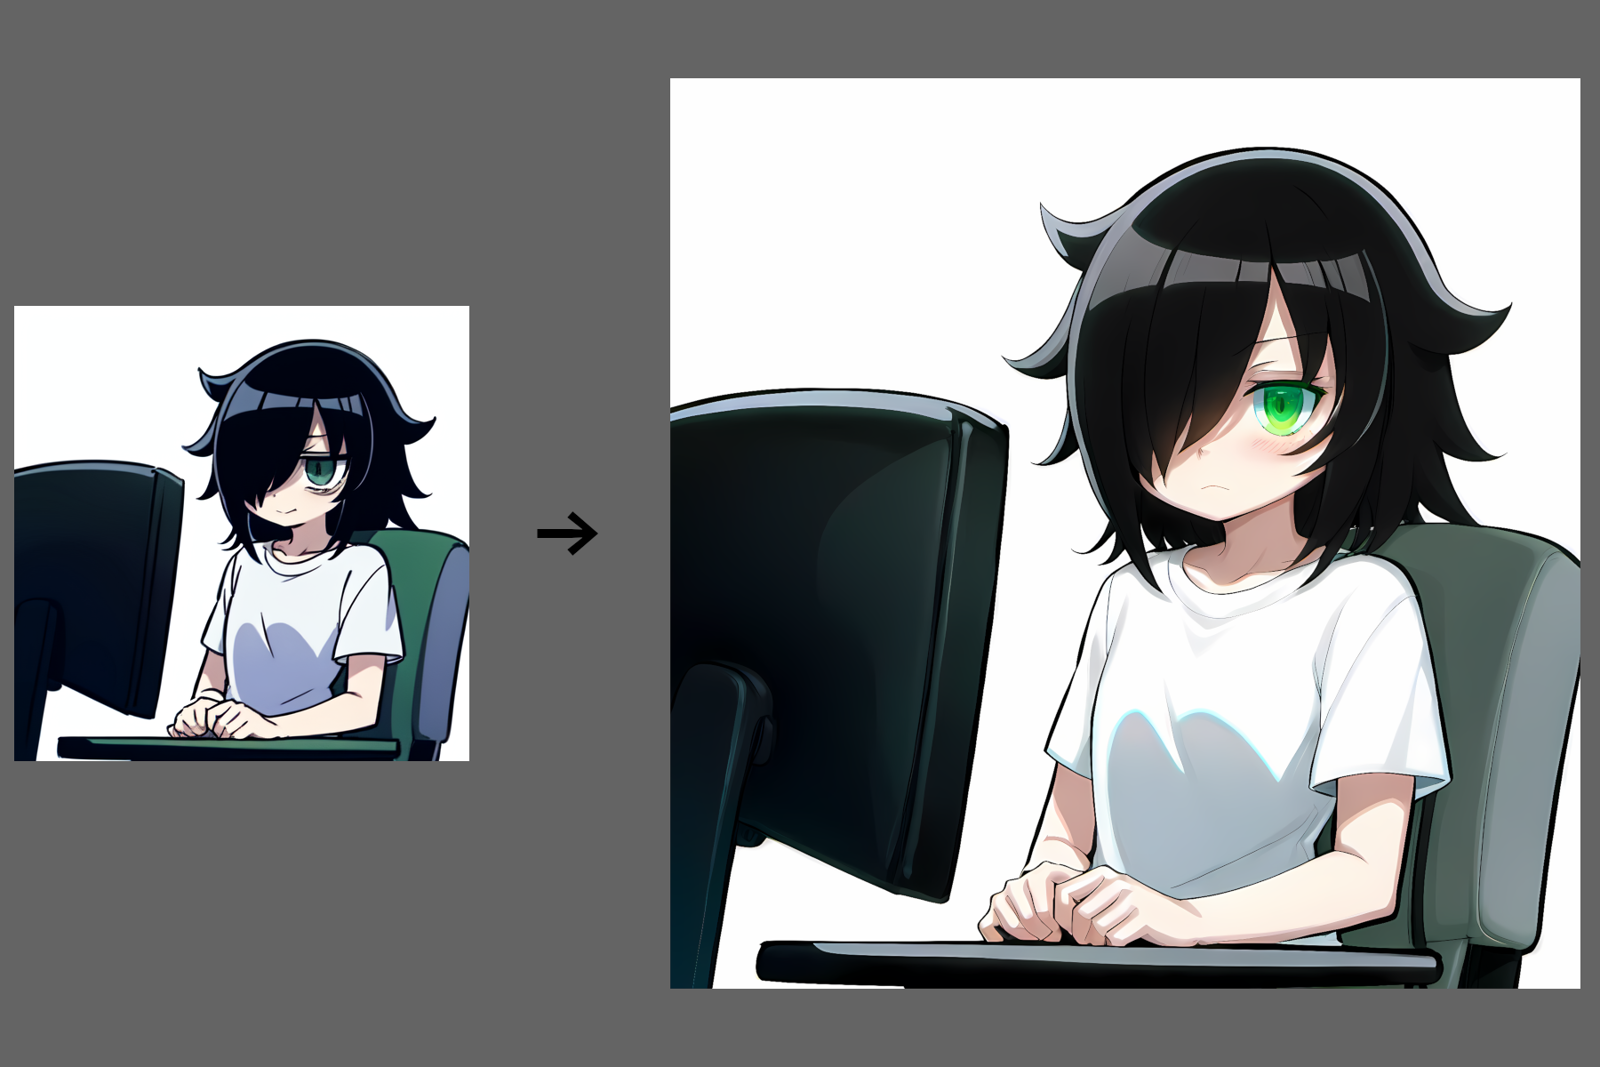
My idea was to use a SD1.5 checkpoint as a base to generate the initial image, then turn it into a nice high resolution image with a model that works better on higher resolutions, such as a SDXL checkpoint that's good at a style that matches the base (in this case, anime).
Some things worth noting I found along the way:
Make sure the resolutions you're working on are the ones you want, trying to make 512x512 images with SDXL won't work well. Upscale image by and upscale latent by nodes are great for this.
Make sure you don't mix and match latent images from different models, or else the results will look deep fried. Use a VAE encoder on the base model, then use a VAE decoder (with the appropriate VAE) to get a latent for the second model to work on.
If you can't use the base model to get up to the target resolution while looking good, you can consider using a model such as RealESRGANx4Plus Anime 6B with the upscale image (using model) node. Remember to make sure that you get the resolution you want, if you need to go down (as I did), the upscale image by can take a fractional value to scale down (such as 0.5).
Mess around with controlnets and pre-processors, there are multiple ways to get a line art image, canny edge or sketch, and the nodes for them can have knobs to adjust. A well adjusted pre-processor setup will likely be robust and rarely fail. If you get some garbage, adjust the weights. I highly recommend the advanced apply controlnet node, as it's not that much harder to use, but can provide more settings to get the conditioning right. In my case, I haven't reduced the end percent setting, as I'm not trying to create a different image.
Use primitives for things you want to tweak, right clicking on nodes should provide ways to turn widgets on them into inputs.
Group together related steps, use reroute nodes to get the important inputs and outputs in a place where they won't get lost.
Use image previews along the way, this will let you see if the seed you're trying looks good by the time you generate the initial SD1.5 image, which is way faster than running the whole workflow.
Face detailer on the output may lose the intended art style, if you need to, consider running it before even upscaling.
Image to image workflows can get some details wrong, or mess up colors, especially when working with two different models and VAEs. Try adding them to the prompt if you're getting consistently bad results.
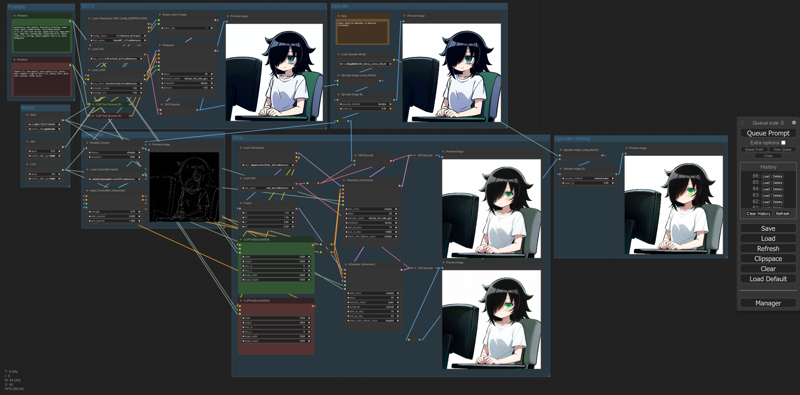
The workflow (JSON is in attachments):

The workflow in general goes as such:
Load your SD1.5 checkpoint, LoRAs, VAE according to what you need.
Generate the image.
Upscale the image, hires fix with SD 1.5 might be acceptable (try using a controlnet to improve quality). If that's not the case, just upscale with a model that just takes an image.
Pipe the output both into your SDXL controlnet pre-processor as well into a VAE encoder for your SDXL workflow. It will be different, and if you forget, you will get deep fried images.
Run SDXL samplers with the prompt encoded using SDXL nodes, and the controlnet applied. I like using two samplers for SDXL base: one with just the bare model, some SDE + karras sampler, and the other one with the same model ran through FreeU, and euler + normal sampler. The KSampler advanced node can be set up to have the first sampler return a noisy latent image, for more details look up guides for using SDXL with a refiner in ComfyUI.
If you want a cleaner image (I don't like color fringing I get from SDXL), you can run the upscale model again, and optionally downscale the image to get really clean lines and sharp edges.
Good luck, and I hope you have enough VRAM to run this monstrosity.


