

I asked Chatgpt to write a simple python script to change the background of transparent pngs to a random color. I also asked it to make a simple gui for those who are discouraged by code, and ignore jpgs or other pngs that do not need to be changed, just to simplify things.
None of this is my code (although I did edit a few things to make it look neat and add a few colors).
Some prerequisites
Have Python installed - pretty simple thing and if you are running SD locally you have it... probably
In folder options (Cogwheel in file explorer or 3 dots -> cog wheel for options) got to view tab and uncheck the box that says Hide extensions for known file types. Hit apply and OK
Install Pillow - You can do this by opening cmd and typing
pip install PillowThe Code
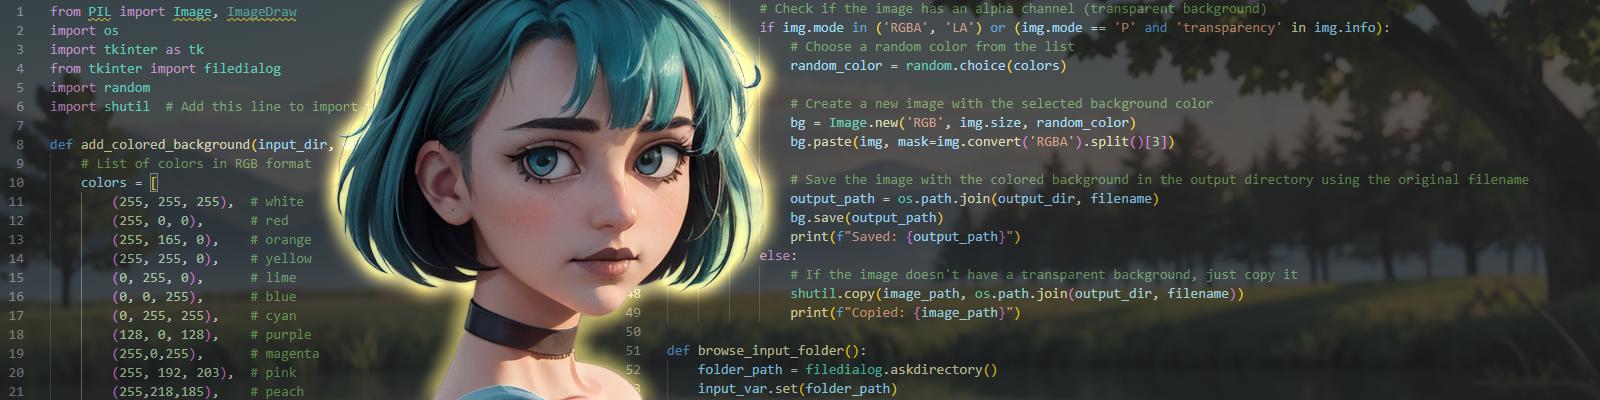
from PIL import Image, ImageDraw
import os
import tkinter as tk
from tkinter import filedialog
import random
import shutil

def add_colored_background(input_dir, output_dir):
    # List of colors in RGB format
    colors = [
        (255, 255, 255),  # white
        (255, 0, 0),      # red
        (255, 165, 0),    # orange
        (255, 255, 0),    # yellow
        (0, 255, 0),      # lime
        (0, 0, 255),      # blue
        (0, 255, 255),    # cyan
        (128, 0, 128),    # purple
        (255,0,255),      # magenta
        (255, 192, 203),  # pink
        (255,218,185),    # peach
        (160,82,45),      # brown
        (128, 128, 128),  # grey
        (0, 0, 0)         # black
    ]

    for filename in os.listdir(input_dir):
        if filename.lower().endswith(('.png', '.jpg', '.jpeg')):
            # Open the image
            image_path = os.path.join(input_dir, filename)
            img = Image.open(image_path)

            # Check if the image has an alpha channel (transparent background)
            if img.mode in ('RGBA', 'LA') or (img.mode == 'P' and 'transparency' in img.info):
                # Choose a random color from the list
                random_color = random.choice(colors)

                # Create a new image with the selected background color
                bg = Image.new('RGB', img.size, random_color)
                bg.paste(img, mask=img.convert('RGBA').split()[3])

                # Save the image with the colored background in the output directory using the original filename
                output_path = os.path.join(output_dir, filename)
                bg.save(output_path)
                print(f"Saved: {output_path}")
            else:
                # If the image doesn't have a transparent background, just copy it
                shutil.copy(image_path, os.path.join(output_dir, filename))
                print(f"Copied: {image_path}")

def browse_input_folder():
    folder_path = filedialog.askdirectory()
    input_var.set(folder_path)

def browse_output_folder():
    folder_path = filedialog.askdirectory()
    output_var.set(folder_path)

# Create the main window
root = tk.Tk()
root.title("Add Colored Background")

# Create and place widgets
tk.Label(root, text="Input Directory:").grid(row=0, column=0, padx=10, pady=5)
input_var = tk.StringVar()
tk.Entry(root, textvariable=input_var, width=50).grid(row=0, column=1, padx=10, pady=5)
tk.Button(root, text="Browse", command=browse_input_folder).grid(row=0, column=2, pady=5)

tk.Label(root, text="Output Directory:").grid(row=1, column=0, padx=10, pady=5)
output_var = tk.StringVar()
tk.Entry(root, textvariable=output_var, width=50).grid(row=1, column=1, padx=10, pady=5)
tk.Button(root, text="Browse", command=browse_output_folder).grid(row=1, column=2, pady=5)

tk.Button(root, text="Add Colored Background", command=lambda: add_colored_background(input_var.get(), output_var.get())).grid(row=2, column=1, pady=10)

# Run the GUI
root.mainloop()
Why would you want to use this?
Transparent backgrounds will change how a model will act, stuff like the background and consistency
You are lazy and don't feel like changing these in photoshop/ a photo editor
I told you to use this :)
So how do I setup this python script?
For those who are discouraged when handling anything with code, here is the "easy" way of doing this.
Step 1- Make a new folder, call it anything you want. (I named mine backgroundchanger) Add a new text file -> rename to anything you like -> remove .txt at the end and change to .py. This will make it so the text file is now a python file. -> Open the file, with whatever text file editor you have, I recommend using Visual Studio Code, but the simple notepad is fine. -> Copy the python script and paste it into the python file.-> Save and you are done. That is step 1 out of the way.
Step 2- We are going to create another new text file, this time however we are going to change the .txt to a .bat. -> Once you rename and change the file type, edit it and enter these three lines of code. (Note anything that is surrounded by dashes you will need to change)
@echo off
cd /d "--folderpath--"
python --pythonfilename--.py
If you are confused on what you need to change here is an example of what it may look like
@echo off
cd /d "D:\pythonscripts\backgroundchanger"
python backgroundchanger.py
Now whenever you click the bat file it will run the script. This in my opinion is easier than opening command prompt and running the python script manually every time.
Now that I set it up, how do I use it?
Easy, just enter the input and output folders (input being the folder with the original images and output being the folder where you want the new images to go) manually or hitting the browse button and selecting the folder that way. Once you do that hit Add Colored Background. You should see random colors being added to the images. Again this only works on pngs with transparent backgrounds and do know you can keep other pngs and jpgs in the folder if you like.
As always, I hope this was helpful and helps improve your models and workflow. Lastly if there is anything that you are unsure of or I messed up in the article, feel free to add a comment.