Exploring Guidance in Flux: A Visual Comparison of Translate Guidance Methods
In this follow-up to our initial introduction into the Translate Guidance Node, we’re shifting focus to the visuals. This article aims to showcase how different guidance methods influence image generation, using a consistent set of parameters to ensure a fair comparison.
My Previous Article: https://civitai.com/articles/10087
Abstract's Article: https://civitai.com/articles/9984
GitHub Repository: TranslateGuidance
Baseline Parameters for All Tests
To ensure we’re comparing apples to apples, the following parameters will remain static throughout all tests:
Sampler: Euler
Scheduler: Beta
Flux Model: Qwen2VL
(Why this model? No particular reason—it’s simply representative of any distilled model.)CLIP_L: LongClip
T5 CLIP: t5xxl_fp8
Steps: 25
Seed: 670924947988136
Base Shift: 3
Max Shift: 4
Prompt:
A realistic photograph capturing a white cat physically sitting on top of a blue dog on a brown couch in a cozy living room. The couch sits against a wall featuring a large window. The window frame is adorned with a cow picture at each of its four corners, ensuring all frames are immediately adjacent to the vertices of the rectangular window. Through the window, the scene reveals the vastness of outer space, with a dark star-filled sky, planets, and a UFO hovering midair. The juxtaposition of the living room’s warm ambiance and the surreal outer space view creates a striking visual contrast.
Why This Prompt? I believe this prompt offers a very specific type of goal. The model has creative freedom with what type of dog or cat it can use, it has creative freedom for what the pictures in the corner can look like, as well as the view outside the window. However, it is strict in the spatial sense. The prompt is designed to be very explicit in ensuring it gets the 4 pictures in the corners. In my testing, I've found that the 4 pictures in the corners of the window are the hardest part for it to get right. Ultimately, this provides an objective view of whether the model managed to adhere to the requirements as well as how coherent it remained while doing so, while also providing a subjective view of the elements it does have the freedom to interpret.
These static parameters ensure that the only variable in this test is the guidance methods applied via the Translate Guidance Node or the CFG in the sampler node.
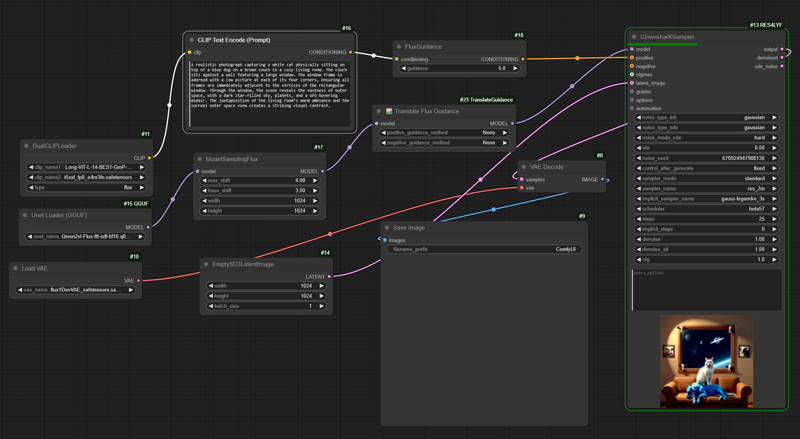
Workflow Screenshot
CFG vs DCFG & TG
CFG is the field found on the sampler node. DCFG can be found labeled as guidance in the FluxTextEncode node, or if you use the traditional ClipTextEncode node, you may attach the FluxGuidance node to it that also provides the same guidance field. This means for every image generated we have 3 CFG fields:
Positive DCFG - PDCFG: Let's call it PDCFG for brevity.
Negative DCFG - NDCFG: I will leave this as 3.5 throughout the image comparison to reduce the number of changed variables.
Sampler CFG: Known as CFG or cfg_scale.
Translate Guidance: This has two fields, one to control the guidance for positive and one for negative. I'll always cite the positive first then negative, so sin/None indicates positive guidance set to sin and negative guidance set to the default behavior. One additional note: I've found that while it is possible to control the translation of the guidance independently for each conditioning pipeline, I've found doing so causes the two to be at odds with each other, consistently producing lower quality results. So, expect the pair to always be set to the same values throughout the testing.
Visual Comparisons: Guidance Methods in Action
Baseline Image - PDCFG 5 | NDCFG 3.5 | CFG 1 | TG None/None - We would expect this image to look normal, essentially setting TG to None/None is like not using the node or having it set to bypassed in ComfyUI.
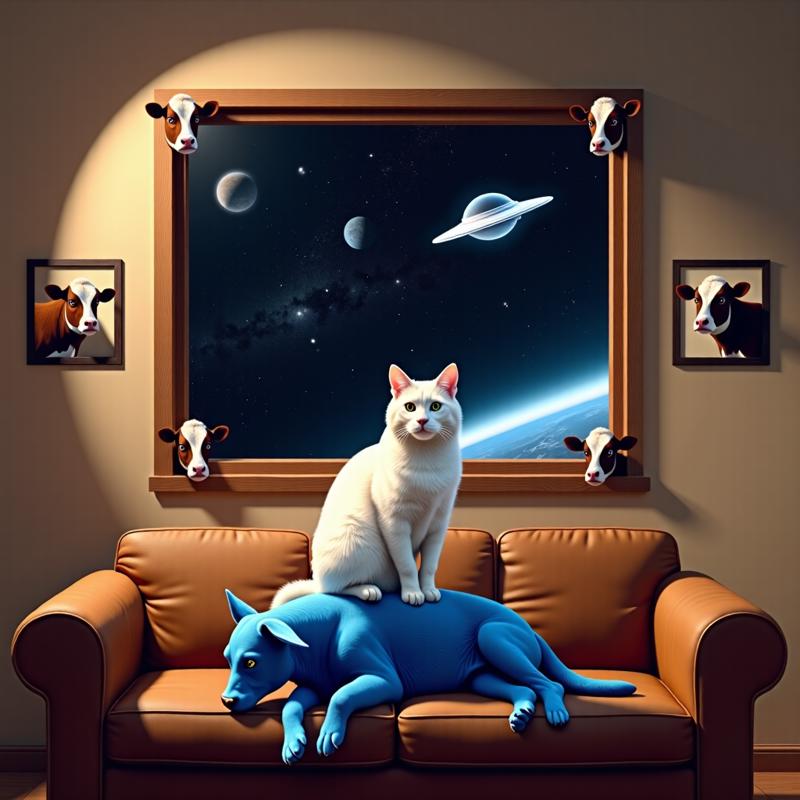
TG Disabled - Medium CFG PDCFG 5 | NDCFG 3.5 | CFG 5 | TG None/None - We would expect this image to look really blurry and burnt-ish. As established in the previous articles, setting CFG above 1.8 usually produces low-quality results.
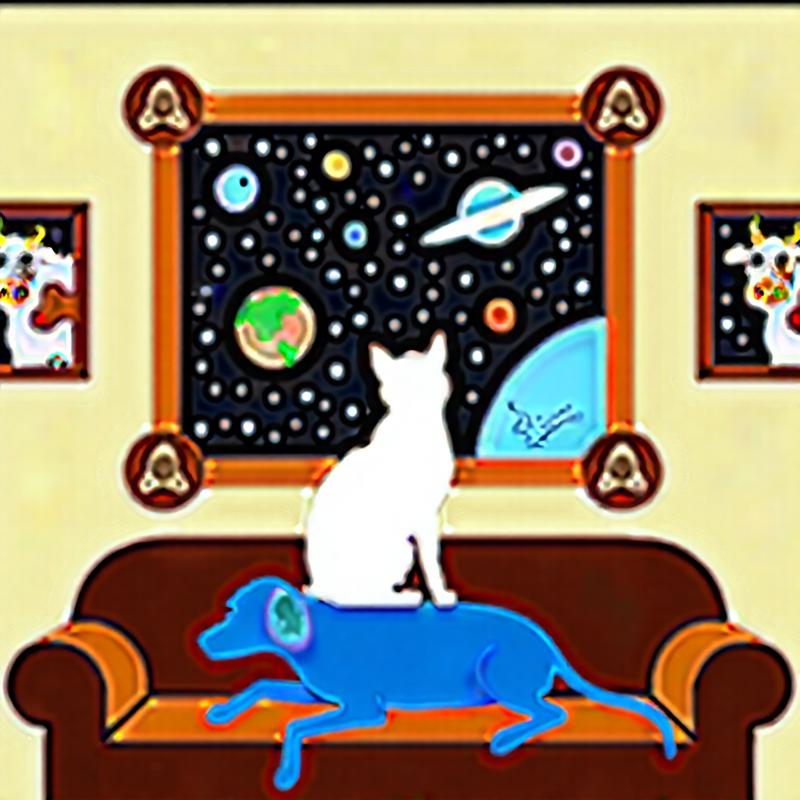
TG Disabled - High CFG PDCFG 5 | NDCFG 3.5 | CFG 10 | TG None/None - We would expect this image to look really incoherent and completely miss the mark on quality. The point of this exercise is to demonstrate how, once TG is enabled, it will drastically improve image quality.
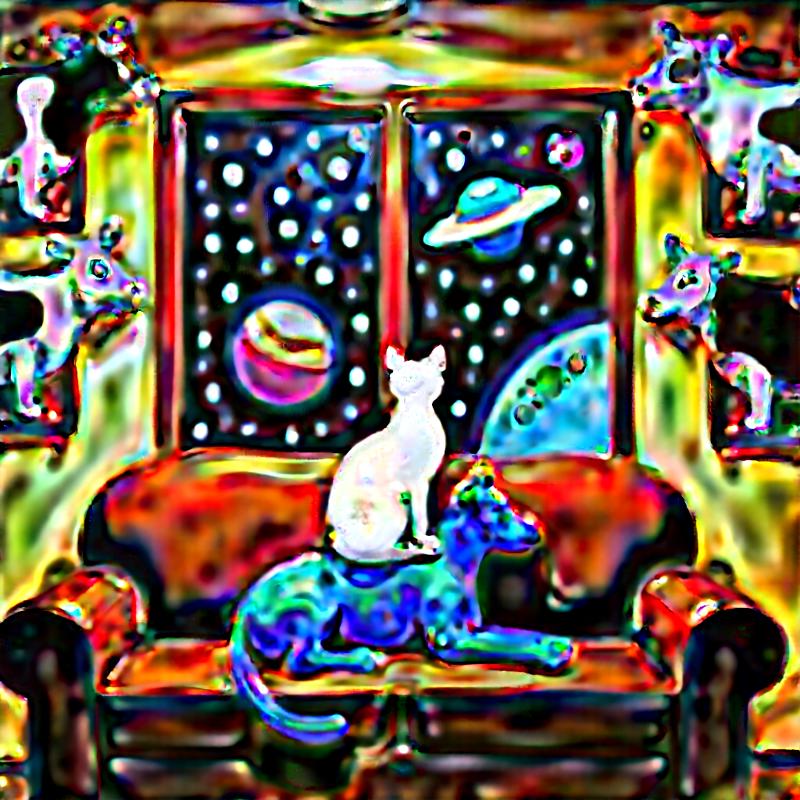
TG Enabled - Medium CFG PDCFG 5 | NDCFG 3.5 | CFG 5 | TG sin/sin - While the image appears blurrier than baseline, I would consider it a drastic improvement over TG Disabled - Medium CFG. Specifically, notice how it adhered to the photographic realistic requirement. Now, here's the thing: sin/sin is just one of various methods available to try out and experiment with.
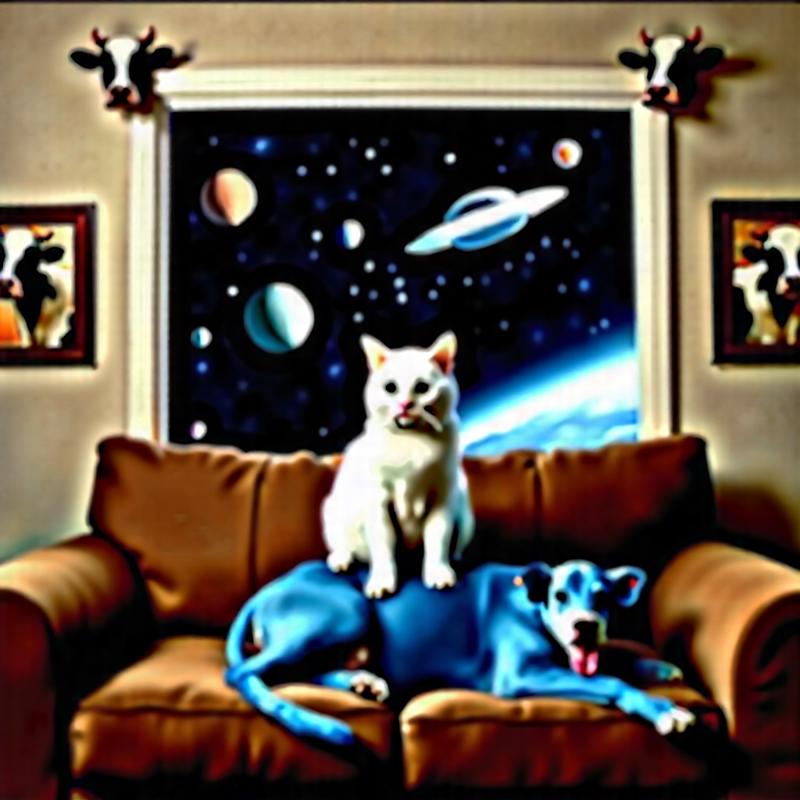
TG Enabled - High CFG PDCFG 5 | NDCFG 3.5 | CFG 10 TG sin/sin - On average, I've found that sin produces a lower guidance on average than the input guidance. So, with 10 being the input, the reasoning would be that sin would dynamically lower it based on the timesteps to produce objectively better results. While I'm sure we can agree that it's not as good as baseline, we can see some of the weird coloration has been stabilized.
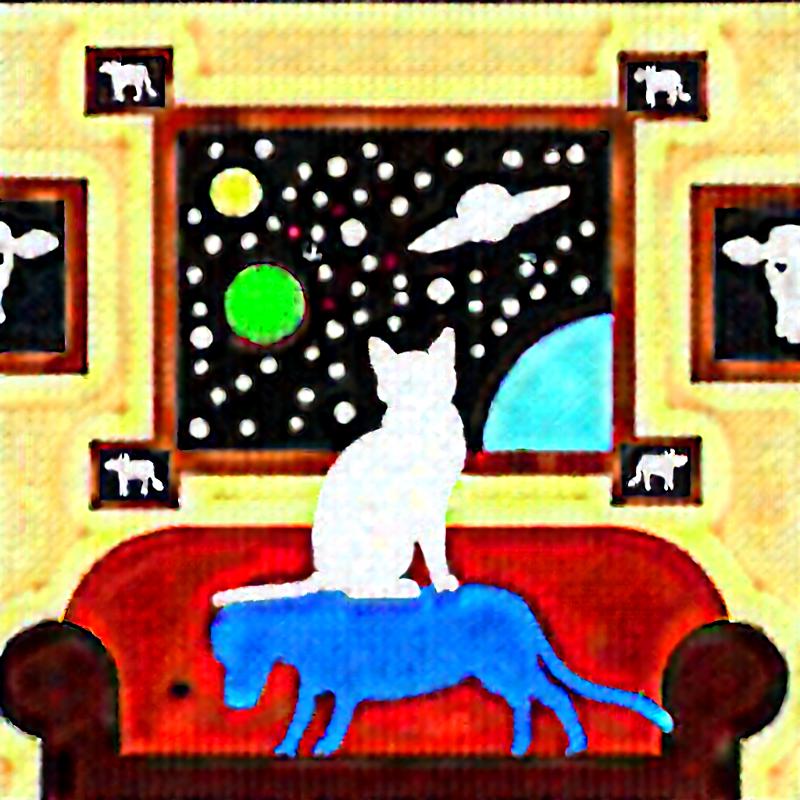
TG Enabled - Medium CFG - Ripsaw PDCFG 5 | NDCFG 3.5 | CFG 5 | TG ripsaw/ripsaw - Despite looking photorealistic before, it reverts back to cartoon with ripsaw, very similar to TG being disabled. In fact, I would say with CFG set to 5, TG disabled looks better as it adhered to the 4 cow pictures in the corner where this one didn't.
Low CFG Settings
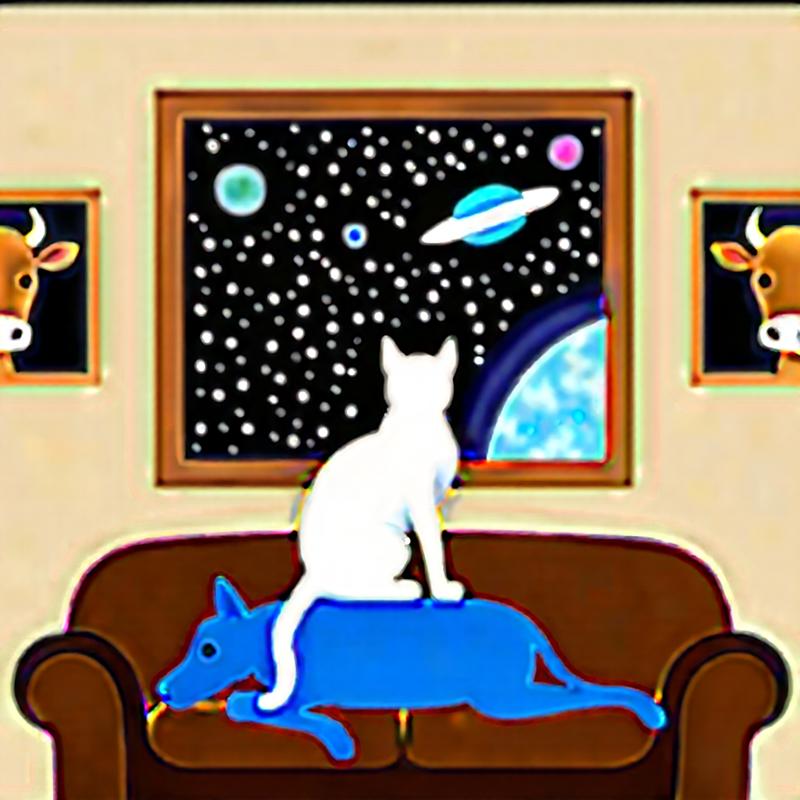
As we can see from the tests above, high and medium CFG aren't really good images at all, producing cartoons or blurry images. The point of that exercise was to demonstrate an improvement in quality once TG was enabled. To be clear, it is possible to improve quality by switching from euler/beta to a different sampler/scheduler combination. However, for now, that's outside the scope of this article. For the following settings, we're going to stick to CFG 3 and then CFG 2.
CFG 3 | TG None/None - Distilled model still struggles to generate an image, rendering a blurry image and cartoony results despite adhering to the elements of the prompt.

CFG 3 | TG sin/sin - Here we can see a drastic difference and improvement in quality over not using TG, achieving more realistic but not fully realistic results and adherence to the prompt throughout.
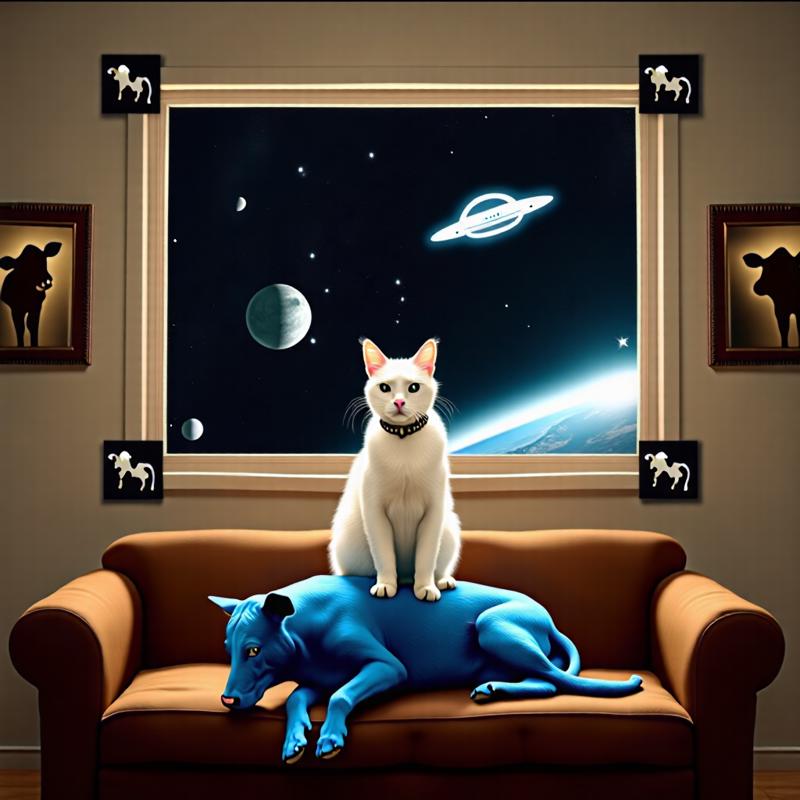
CFG 3 | TG linear_decrease/linear_decrease - Just to add some variety and demos, I'll be showing what linear_decrease would look like. Like I've said before, a lot of this is experimental stuff, so trying every setting to see which one works best for your prompt would be the way to go. I think it's also interesting to note the same exact seed is being used across all these images.

Lowest CFG Settings
CFG 2 | TG None/None - Distilled model's 'peak' or highest range available before it becomes very cartoony. This should demonstrate that indeed distilled models aren't able to go over CFG 2 without sacrificing results. Interesting to note this result looks very similar to CFG 3 with TG set to ld/ld.
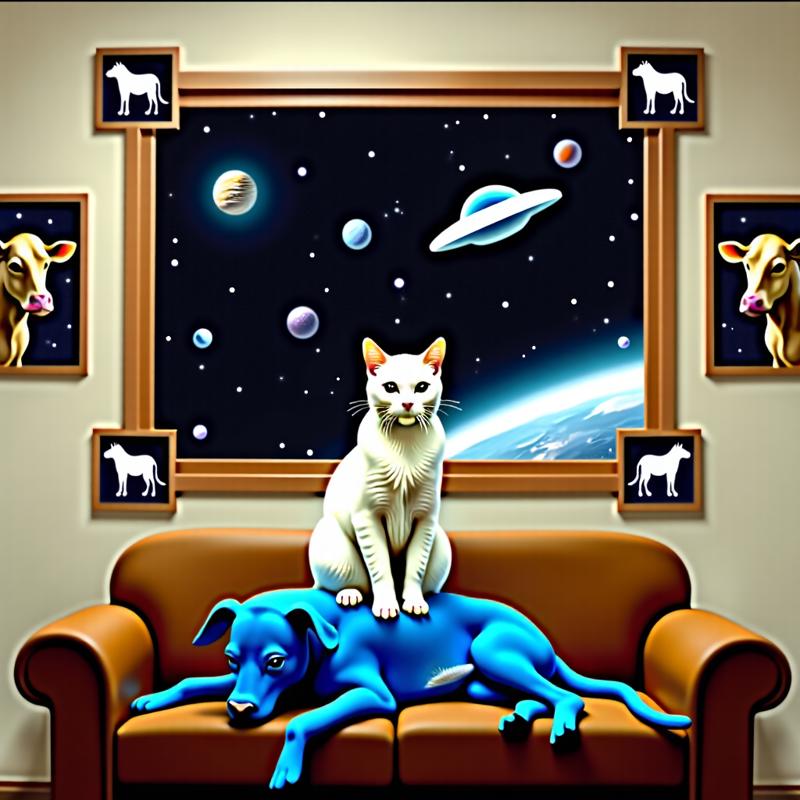
CFG 2 | TG sin/sin - Hitting the sweet spot on the CFG with the 'best' TG seems to achieve the most aesthetically pleasing results, warm tones, photo realistic, and adheres to the prompt, except for the cow-dog.
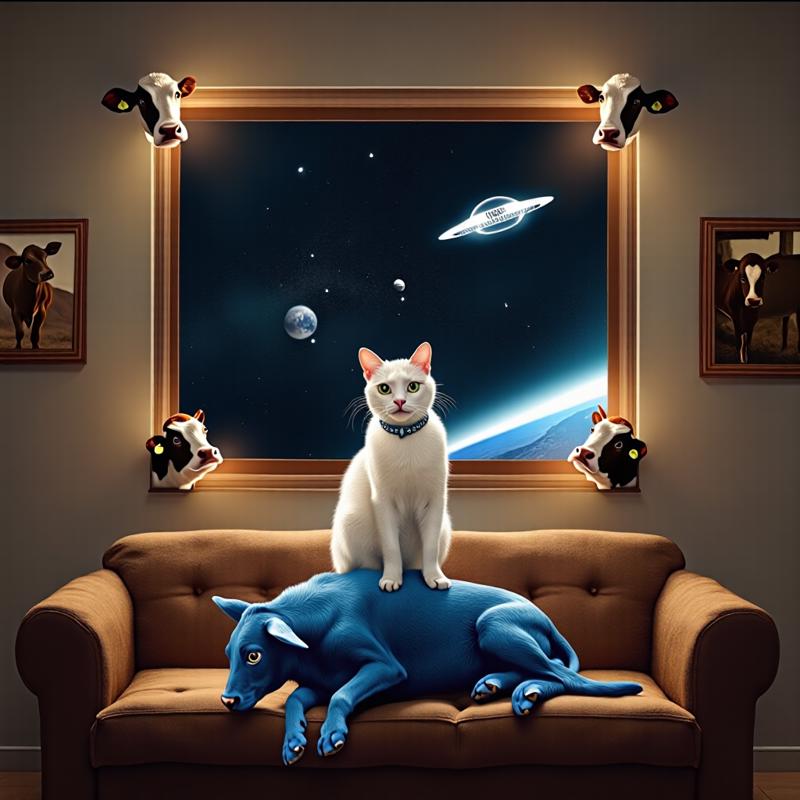
CFG 2 | TG bubble/bubble - Demonstrating bubble guidance, the goal is to showcase different methods.

Alternative Setup
The goal of this alternative setup is to demonstrate that even higher quality results are indeed possible by configuring more steps.
ClownSampler: res_6s | beta57 | 6 steps | cfg 1
substep_eta=0.5
substep_noise_mode=hard_var
substep_noise_scaling=-0.2
KSampler Equivalent: euler | beta | 36 steps | cfg 1
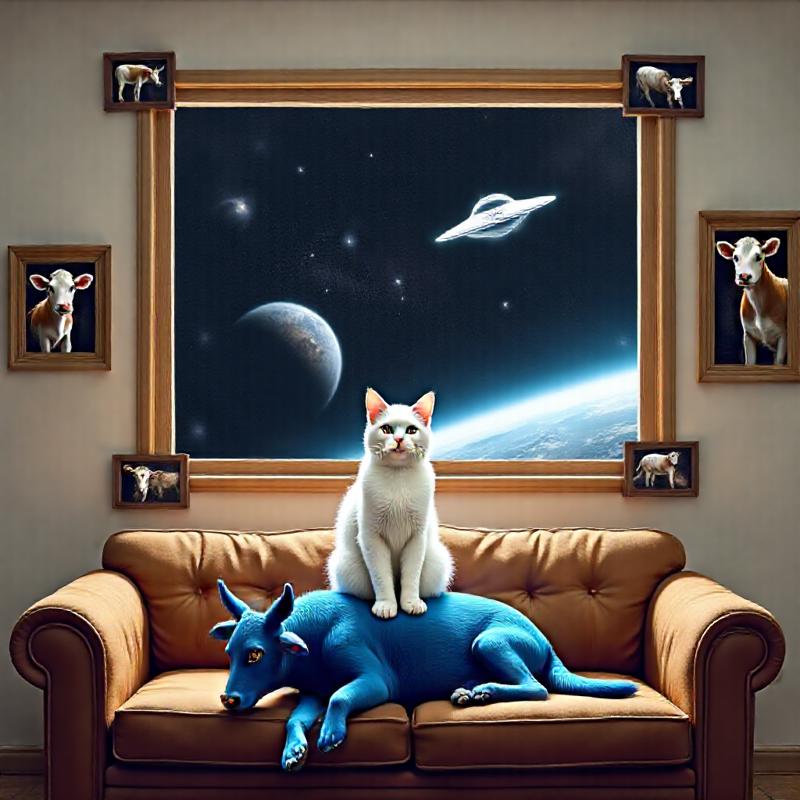
TG None/None - Results look alright; the dog looks like a cow, the cat's face is blurry, and the 4 pictures in the window have some artifacts.
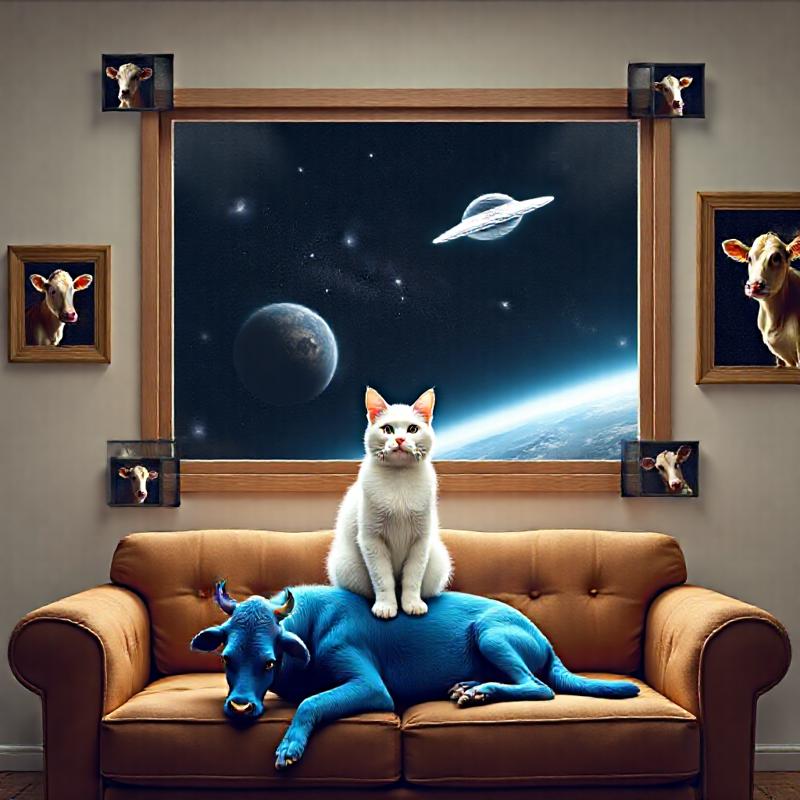
TG sin/sin - Results look worse than with TG disabled. A lot of coherence is lost. I would theorize that because CFG is already low (at 1) and sin is dynamically lowering the input on average, it's in turn setting the CFG below 1, thus it's creating bad results. Next, we'll try a method that increases input on average to see if better results are achieved.
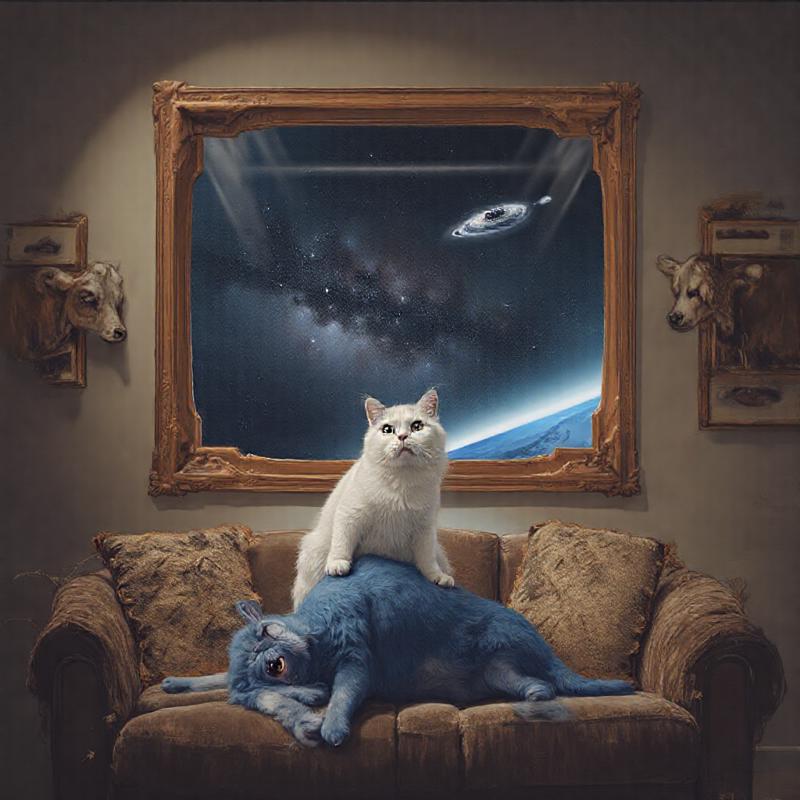
TG ripsaw/ripsaw - As expected, results look much better than sin/sin because we're at CFG 1. Ripsaw is dynamically adjusting the guidance to be higher than the input. From my observations, I would think the sweet spot is still 1 to 1.8, and then using a guidance method that brings it closer to the sweet spot relative to the input produces better results.
Last Setup
Changed 6 steps to 7 steps for higher quality (42 steps in KSampler).
Changed PDCFG from 5 to 10 for higher adherence.
Changed CFG from 1 to 5 to test the limits of the distilled model.
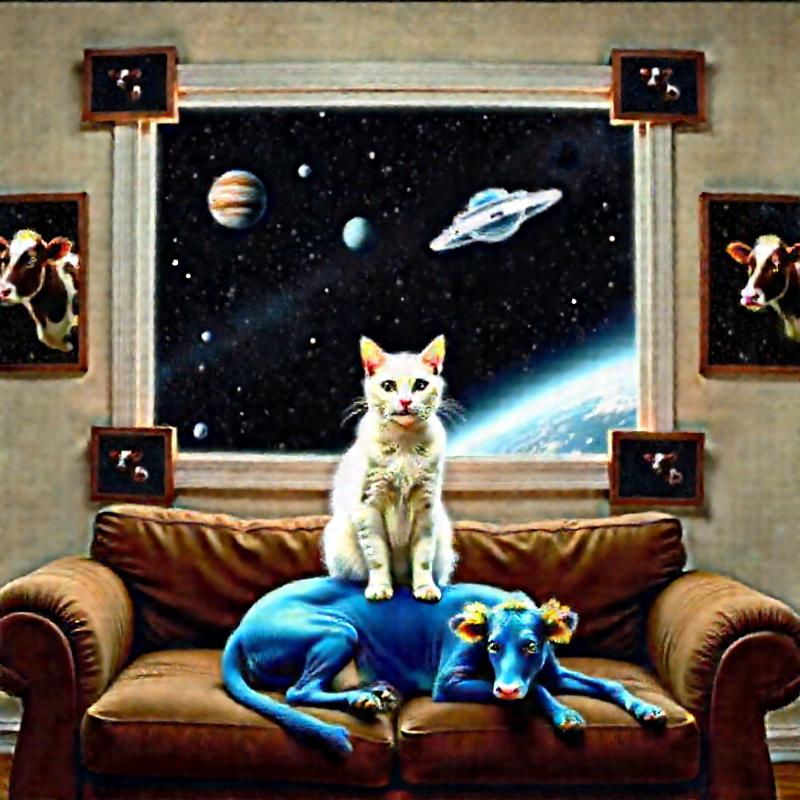
TG None/None - Super basic cartoon styling, lost the 4 cow pictures, and really blurry. Again, using CFG 5 on a distilled model is never recommended.
TG sin/sin - Not the best results, but it’s unheard of for a distilled model to produce results of this quality and level at CFG 5. I think this final image really drives the point home, demonstrating an improvement over the base setup. The image is photo-realistic and adheres pretty close to the prompt. It’s a little blurry with various artifact issues, but again, the point is to highlight what’s possible. I’m sure with a little more fine-tuning, we could get crisp, clear results at CFG 5.
Conclusions
This exploration barely covers all the variables. There are still different schedulers to try, combinations of methods for each guidance, more steps, and everything in between. Hopefully, this article highlighted and showcased the value of trying this alternative setup. Happy experimenting!
GitHub Repository: TranslateGuidance

