

Welcome to my breakdown, first here is an example AMV:
What you are seeing above is:
1. Video Prompts from my Hunyuan Video Prompt Agent:
https://github.com/MushroomFleet/LLM-Base-Prompts/tree/main/Hunyuan-Video-PromptGen
This gives the source code to setup your own PromptGen Agent, fine tuned for use with Hunyuan Video models, expandable and works with all good LLM's
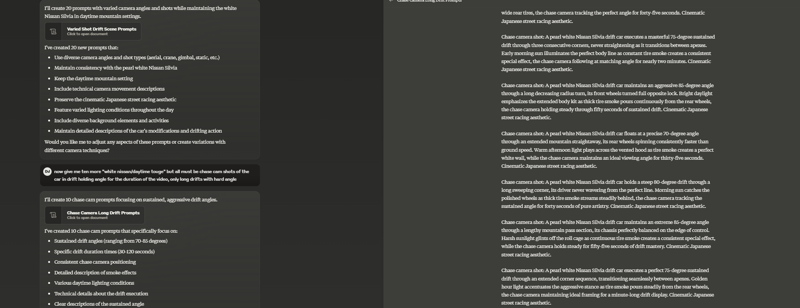
2. Using "Zenkai Prompt", my prompt List node: (it's in Comfy Manager)
https://github.com/MushroomFleet/DJZ-Nodes
we place all the prompts we want to generate into a file and use "Instant Mode" in ComfyUI, this can be left on for hours generating many videos from our designed list of video prompts.
We can use my HODA Hunyuan Workflow which takes advantage of Native ComfyUI Support and GGUF Models for greater support on smaller GPU's:
https://github.com/MushroomFleet/DJZ-Workflows/blob/main/Hoda-Hunyuan-Video/NativeComfy/Hoda-Hunyuan-t2v-GGUF-lines-V20.json
You can grab the quantized Hunyuan Video Gen models here:
https://huggingface.co/city96/HunyuanVideo-gguf

3. Now comes the Human in the Loop, we curate down the outputs until we have the best videos we generated left. Typically with a good prompt you should see under 30% rejection rate.
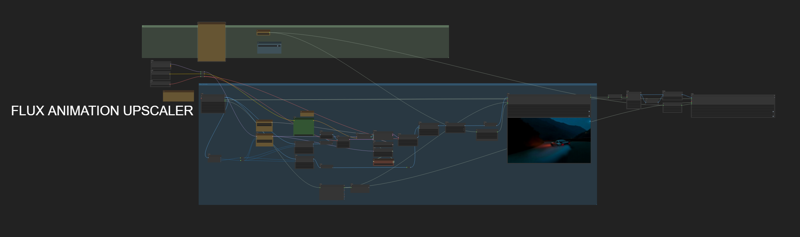
4. (OPTIONAL) We can then run the best videos through Enhancers/Upscalers:
https://github.com/MushroomFleet/DJZ-Workflows/blob/main/Foda_Flux/Flux%20Animation/Foda-Flux-Animation-Detailer-lines-v50.json
Above is an example flux based video enhancer workflow, it can be adapted to provide upscaling:
https://github.com/MushroomFleet/DJZ-Workflows/blob/main/Foda_Flux/Flux%20Animation/Foda-Flux-Animation-UPSCALER-lines-v70.json
any Flux model can be used with these two workflows, but they come preset for Shuffle 3.1 Aesthetic
5. Now we take the clips and use my Datamoshing nodes to "glitch" the video:
https://github.com/MushroomFleet/DJZ-Workflows/blob/main/DJZ-Nodes-Examples/DjzDatamosh/DJZ-Nodes-Examples-Load-Video-Directory.json
This example combines a few things, batch directory video loading for unattended processing of entire folders of videos, frame thief and frame swap with batch sequence support, and multiple datamoshing types. You should see how easy it is to complete this in comfyUI with this workflow, however i have added an example for every datamosh node here:
https://github.com/MushroomFleet/DJZ-Workflows/tree/main/DJZ-Nodes-Examples


as shown above, you can easily use my new nodes to "steal" a range of frames from a video, do datamoshing or other effects, then "swap" that range seamlessly back into the batch. This opens up all kinds of modularity and artistic design possibilities.
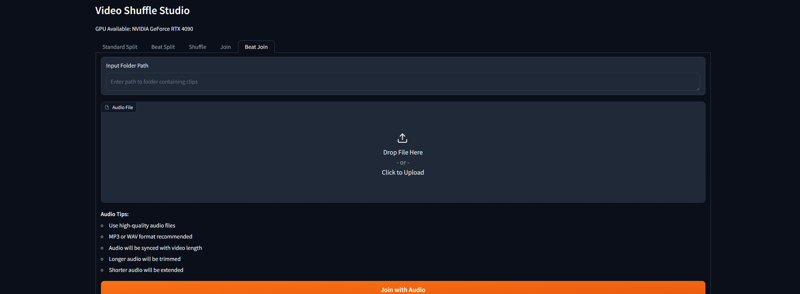
6. Once you have finished processing all the clips with various Datamosh patterns, we can load the directory into Shuffle Video Studio:
https://github.com/MushroomFleet/Shuffle-Video-Studio
This is a standalone suite of tools with webUI, it will run on your PC to shuffle the clips with various modes of operation. We often have more clips than we need, and also they might need the filenames to be changed so that SVS can see them. There is a script which can be run inside your folder of video clips, simply enter the filename prefix and it will change them to "clip" which is what SVS expects. That allows us to use the shuffle modes directly, without any splitting/beat-splitting being done. I use Size Penalty Shuffle or Color Shuffle, then Shuffle the resulting folder with Motion Mode. However you can use any mode.

(NOTE: Motion Mode requires installation of FFGLITCH to PATH as it used FFGAC.exe to extract motion vectors to determine "Natural Eye" leading sort method. This is also required for the "Style Transfer" DjzDatamoshV4 Node, which also used Motion Vector Extraction. https://ffglitch.org/download/ just add the path to where you unzip the files to your system environment variables under path, you have to do this with python and comfy portable, so you may have done this in the past already)

7. Using the Clips Folder (SVS outputs the sorted clips to a folder for you) You can now use "Beat Joiner" tab, this will assemble all the clips together and save them as a single video, with the audio track you choose.
8. Your Video is now Done !
This is meant as a loose guide to using my nodes, because you can make any process up yourself and drop steps or add more to make the process your own
- Happy Moshing !