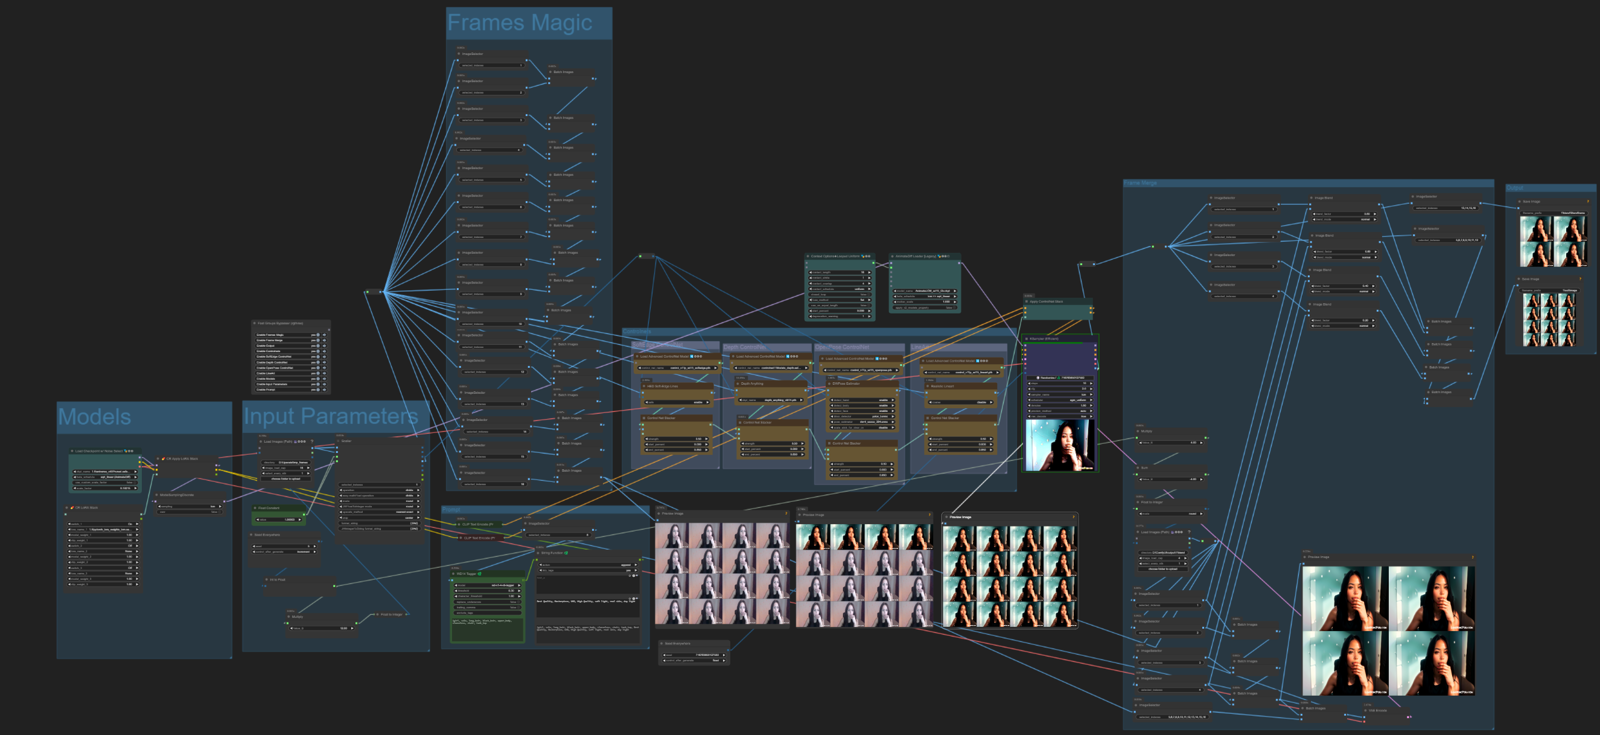
The benefit of this flow is its ability to generate long videos, with low VRAM. Actually you can do 1 hour videos if you wish %)
Step 1
Prepare your video file, use Blender Video editor ( can be downloaded for free from steam ) or anything to adjust frame rate. ( fps 24 - 60, lower sharper - higher smoother)
Resolution you can adjust at Step 1 by cusomizing "Divide Constant" value
Make a video file ( Note: Save value of frame rate , it will be requred by ffmpeg in final step (5) )
Step 2
Convert Video file to frame images using ffmpeg ( Please google how to install it and add to PATH, it's easy ;) )
ffmpeg -i in.mp4 -qscale:v 1 -qmin 1 -qmax 1 -vsync 0 tmp_frames\frame%%08d.jpg( Adjust your path if needed )
Step 3
Note: You may addjust Divide Constant to decrease resolution of source frames in case if you getting "Out of VRAM for 16 frames", you should adjust resolution to lower values.
Divide Constant it's name of Float Value, the higher leads to lower resolution. I added debug output nodes for you on step 1)
Run workflow ( step_1 ) once, to generate 16 first frames. Use Step_1 for adjusting all the settings for model, sampler. When you're done with tunning, copy all settings to Step 2 ( sampler, model, etc, )
Run workflow ( step_2 ) ( the longest one ) in Instant mode.
Iteration Counter starts from 1 and goes on as longer your video be. At the end it will throw an error when no frames left to blend. then your can go to the next step
Step 4 ( Optional ) Upscale image frames. The simpliest one https://upscayl.org/ with batch option. I use console program implementation from https://github.com/xinntao/Real-ESRGAN-ncnn-vulkan. For .bat (windows) file it looks like
C:\Path\realesrgan-ncnn-vulkan.exe -i "C:\ComfyUI\output\1\out" -o D:\Upscale\upscale_out -m models -n remacri -s 4 -f jpg if you go with this one, i'll share help output
Usage: realesrgan-ncnn-vulkan.exe -i infile -o outfile [options]...

  -h                   show this help"
  -i input-path        input image path (jpg/png/webp) or directory"
  -o output-path       output image path (jpg/png/webp) or directory"
  -s scale             upscale ratio (can be 2, 3, 4. default=4)"
  -t tile-size         tile size (>=32/0=auto, default=0) can be 0,0,0 for multi-gpu"
  -m model-path        folder path to the pre-trained models. default=models"
  -n model-name        model name (default=realesr-animevideov3, can be realesr-animevideov3 | realesrgan-x4plus | realesrgan-x4plus-anime | realesrnet-x4plus)"
  -g gpu-id            gpu device to use (default=auto) can be 0,1,2 for multi-gpu"
  -j load:proc:save    thread count for load/proc/save (default=1:2:2) can be 1:2,2,2:2 for multi-gpu"
  -x                   enable tta mode"
  -f format            output image format (jpg/png/webp, default=ext/png)"
  -v                   verbose output"
Hint: upscayl.org is installing upscale models, that can be used with realesrgan, you can simple copy them from installed folder and use with command-line program.
You can use double sampling, simple upscale or anything else, it's up to you.
Step 5 generate video file from frames
ffmpeg -framerate 24.00 -i F:\ComfyUI\output\<path_where_frames_upscaled_or_saved>\frame-%08d.jpg -i in.mp4 -map 0:v -map 1:a:0 -c:a aac -b:a 128k -c:v libx264 -r 24.00 -pix_fmt yuv420p out.mp4( Adjust your path if needed, and framerate value. Replace 24.00 with yours )
Enjoy ;)
P.S.
This is copy of existing simplier workflow posted on civitai, https://civitai.com/articles/2379
This one extended with actual controlnet nodes and efficient file loader.
if you need help with finding models for download, let me know in comments. Actually it's preaty easy to past values to google.

