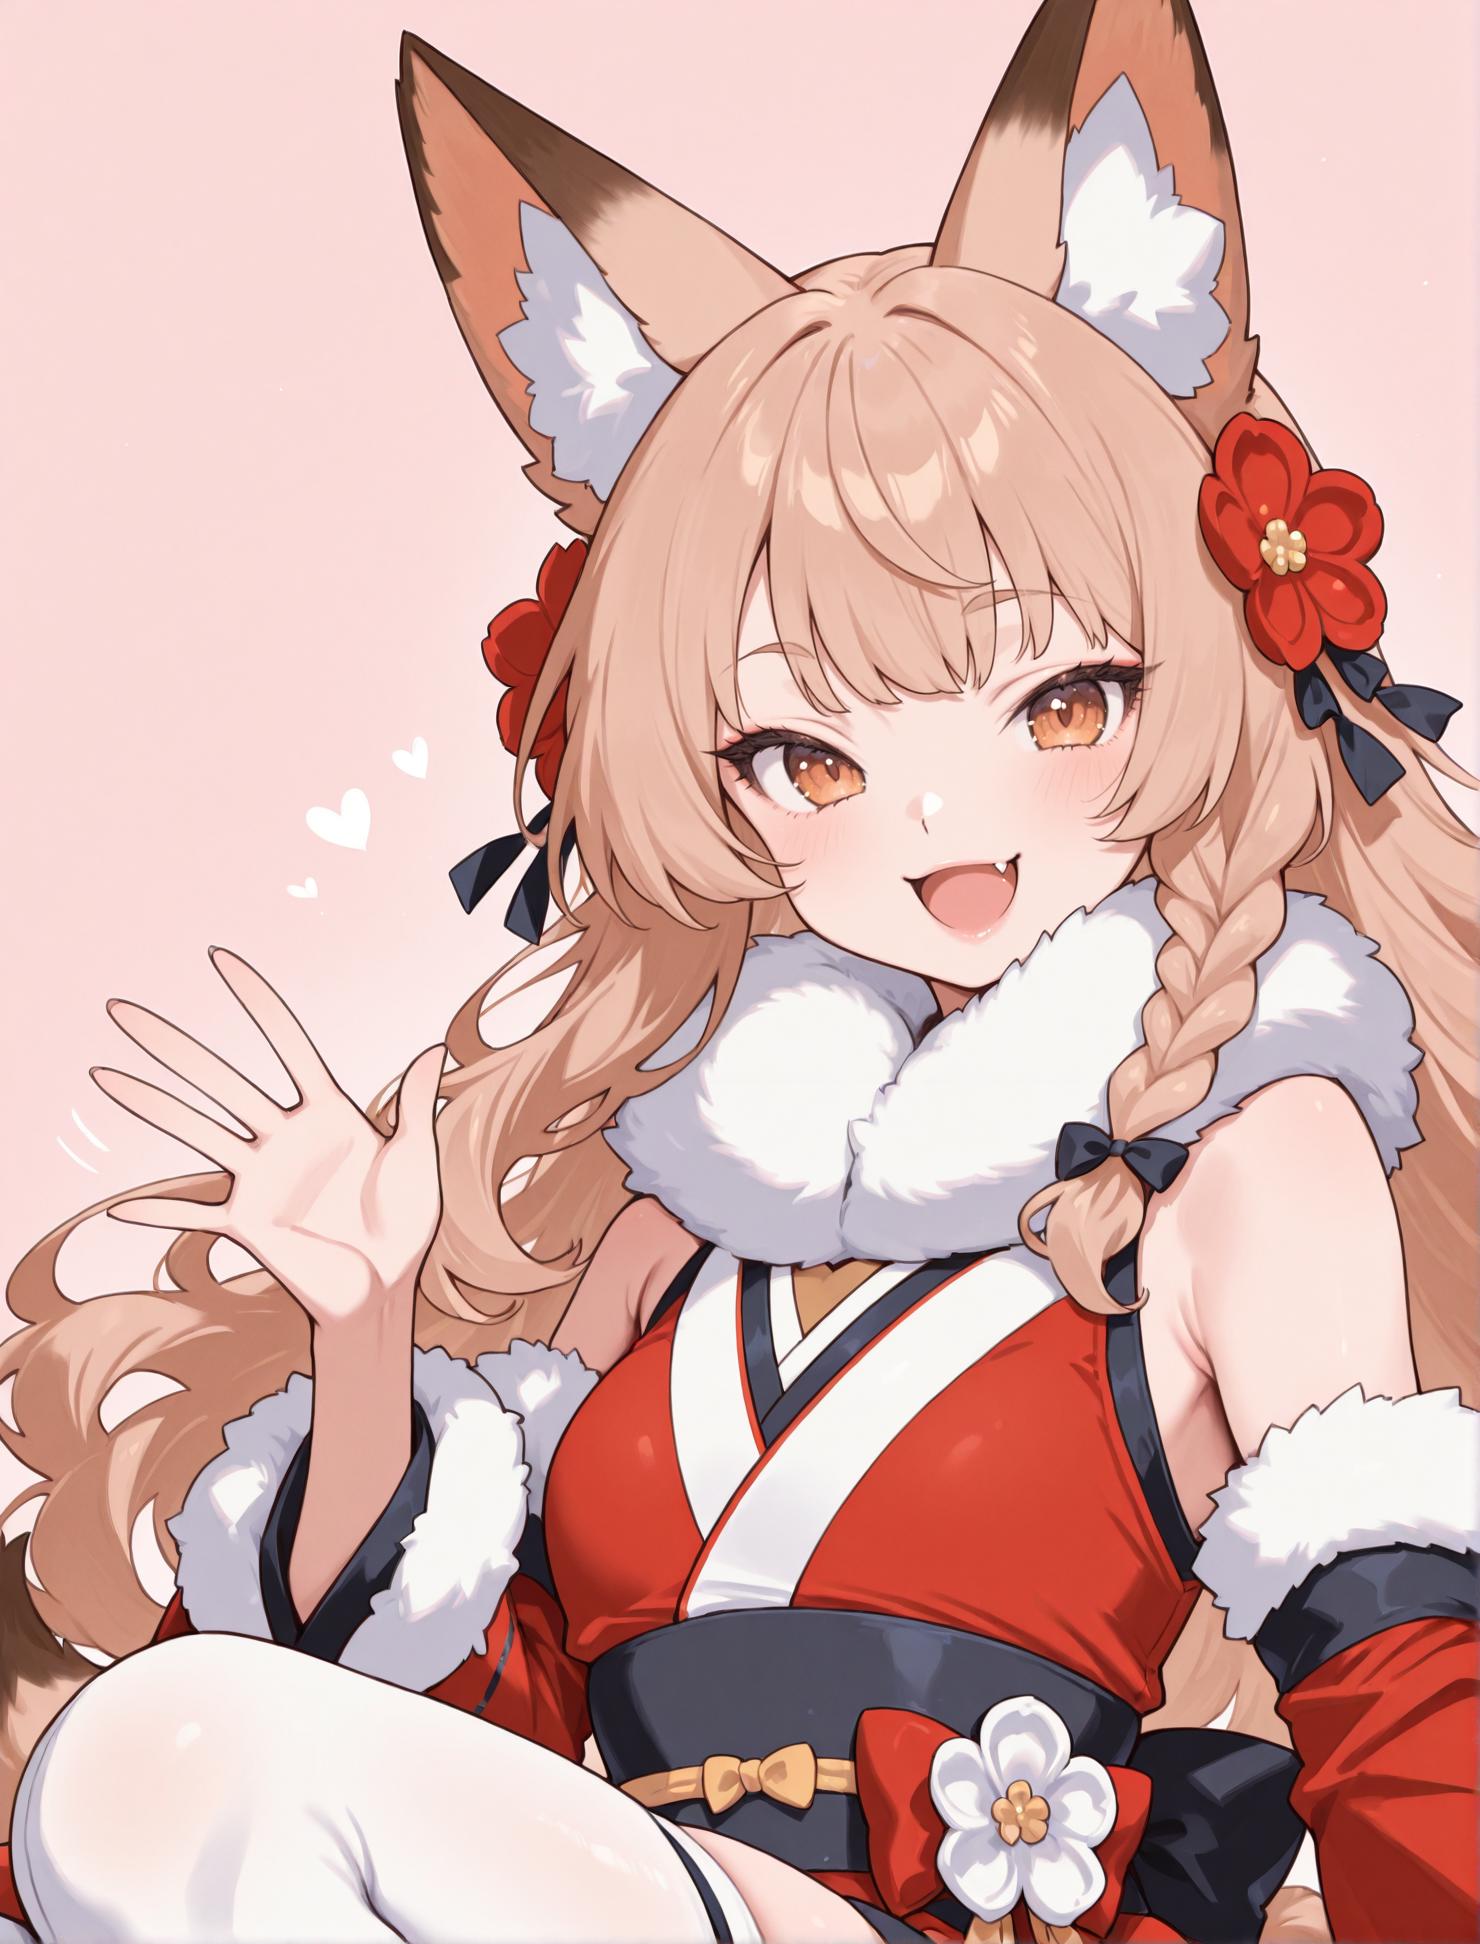
Before I start, everything mentioned here I learned from duskydreams wonderful articles. Honestly, you could probably go read theirs instead of this, but I thought I’d outline my process.
Base Image
First, you need your base image. This can be anything (fanart, your own art, commissioned art, etc) but I’m going to use an AI-generated image. I use Illustrious (WAI-SHUFFLE-NOOB specifically) but this will work on anything.
I'm currently creating characters in a Japanese modern fantasy setting, and I wanna make a fox girl. I don't have an idea for design other than a few stuff I like, so I'm gonna use wildcards. I use "The Prompt Builder."
My prompt
perfect quality, best quality, masterpiece, 1girl, solo, beige background, full body,
Japanese clothes, detached sleeves, fur collar, fox ears, fox tail, fur trim,
thighhighs, sleeveless, tsurime, smile, high-low skirt,
__other_color__ hair,
__other_color__ eyes,
__face_hair_female__
Color Explanation
green - basic tags
blue - personal preferences
yellow - wildcards
Then I just set the batch count to a random number and let it generate until something I like comes out.
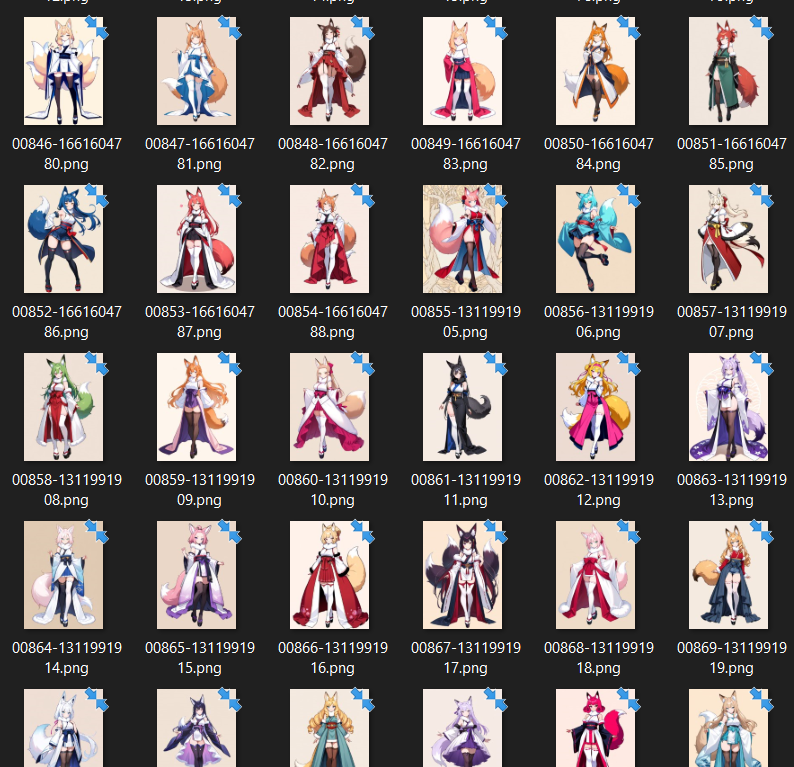
This may take a while... (I swear I didn't do 800+ gens for this character, I've been doing a lot of other stuff today)
After some time, I finally got an image I like.
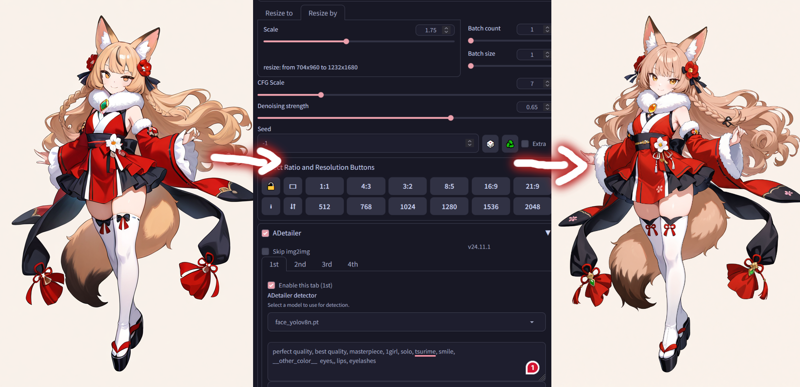
I upscale it using img2img and adetailer to fix the details.
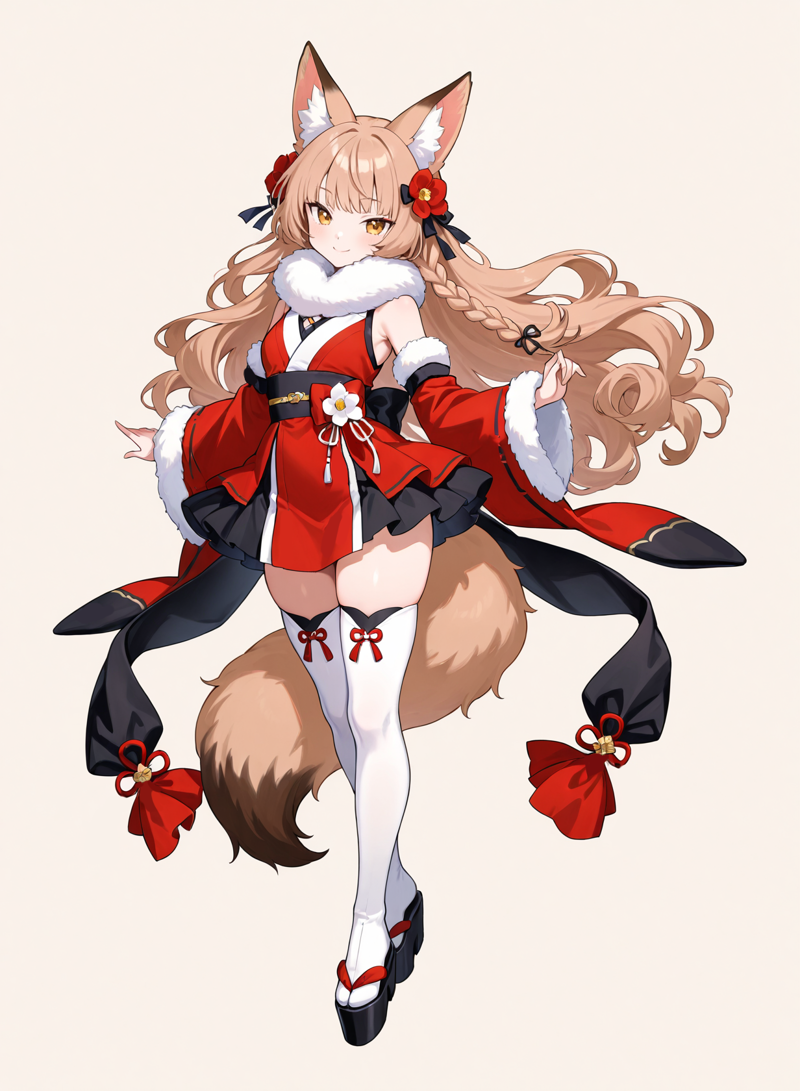
I then edit it in Clip Studio paint and erase/redraw some stuff I didn't like.
Now we're ready to continue!
Dataset
Using our image, we're now gonna crop it into two more images, half-body and bust.
I use Character Splitter because I'm lazy. Just drop the image and let it do the work.
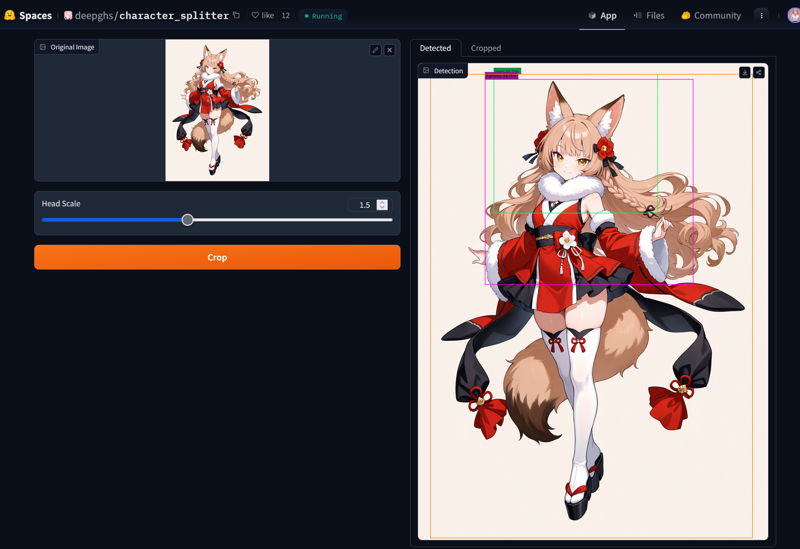
Click the "Cropped" tab and save the images. Then I run them through img2img again just to make them high resolution.
I then edit it again in Clip Studio Paint to fix details and make all the pictures have same elements.
Now, you may be done at this part, but my design has asymmetrical elements. We're gonna duplicate and flip the images after this, but since my design is asymmetrical, that's gonna mess things up.
So for me, I'm gonna go back into Clip Studio Paint, flip the images, then edit it to make sure the braid, flower on the sash, and kimono opening are on the right side.
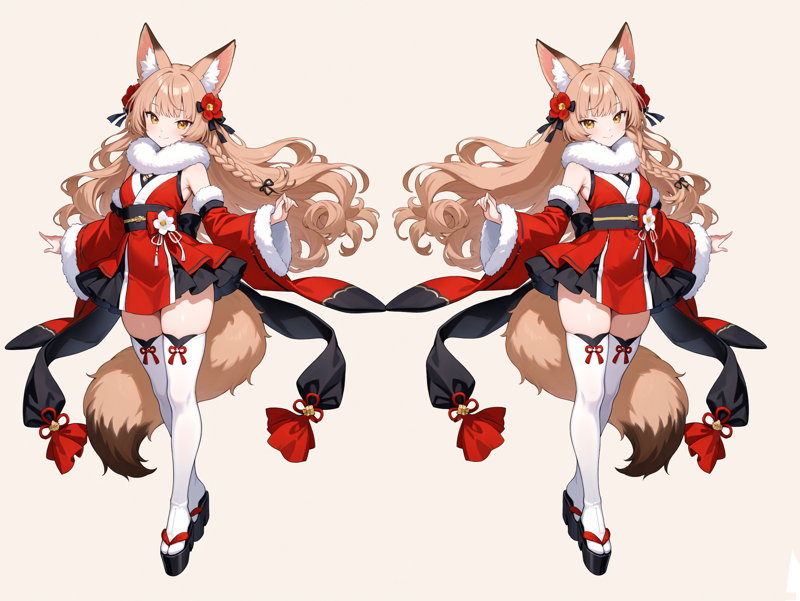

This is what my dataset looks like so far.
Art Style
If you like to use different art styles, this is a necessary step.
We're gonna take one of the images in our dataset (I chose "body left.png") and run it through img2img and use different artist tags to get the same picture in different styles. This makes so it's not trained too much on the original style, and is able to change if needed.
I don't remember which wildcard collection I use, but here's some wildcards for different artists.
Then just pick the ones you like and pop them into your folder.
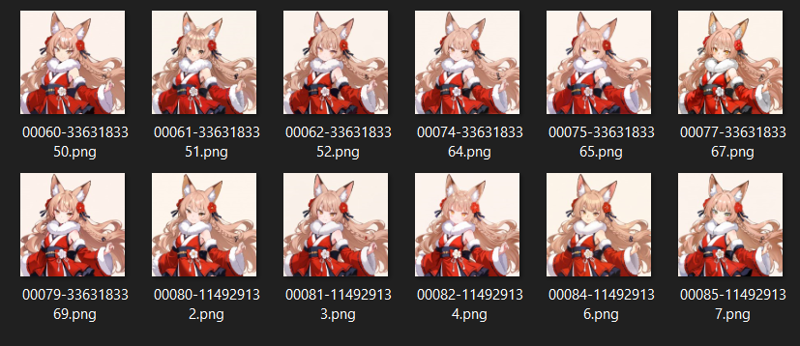
In my experience, the more the merrier. Include many pictures of different art styles and your LoRA will be more flexible.
Folders and Image Regulations
I hope the people reading this know how to make LoRAs because boy, am I bad at explaining it. I barely understand it myself.
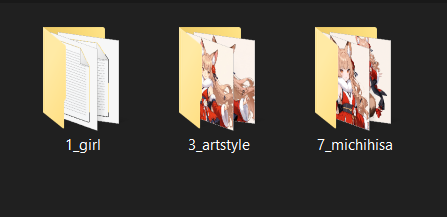
Basically, we're gonna make three (well, you just gotta make two. You'll see) folders for training.
Dataset (mine is named "7_michihisa") (I named my fox girl Michihisa)
Art Style ("3_artstyle")
Regulation ("1_girl")
Dataset goes into 7_michihisa.
Art style pictures into 3_artstyle
and then we have the regulation folder.
I uploaded the ones I use for both male and female characters, you can download them here.
Basically, the folders contain drawn images of male/female characters that we will use to make sure our LoRA isn't overtrained on AI-generated stuff, which can mess it up.
Tagging
Drop your dataset and art style folder into your tagging program of choice and let it run.
Set an activation tag, I'm gonna use "michihisa", and make sure it's first among the tags.
Now we're gonna prune tags. If you want your character to be able to change clothes, only remove tags that you want the LoRA to recognize as part of the character.
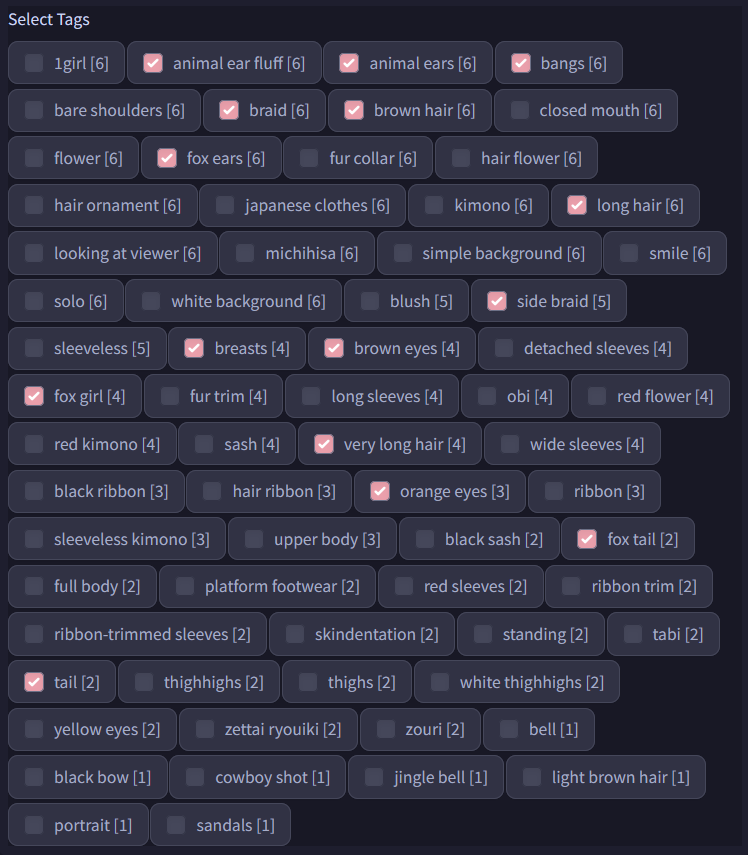
The checked tags are what I removed
LoRA creation
We're gonna use the colab by Hollowstrawberry for creating our LoRA.
I'm not gonna go through how to use this colab, but here's the basics.
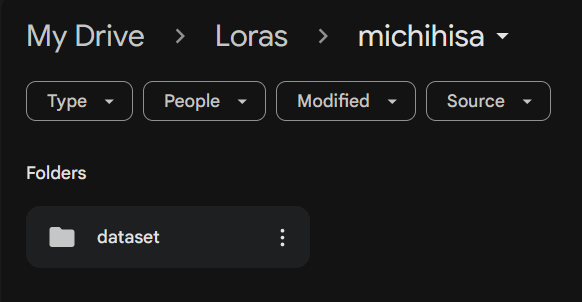
Make a Loras folder in the base of your drive.
Make a folder for your project.
Make a folder named "dataset" within that folder.
Drop your three folders into "dataset"

Scroll down the colab and find this section.
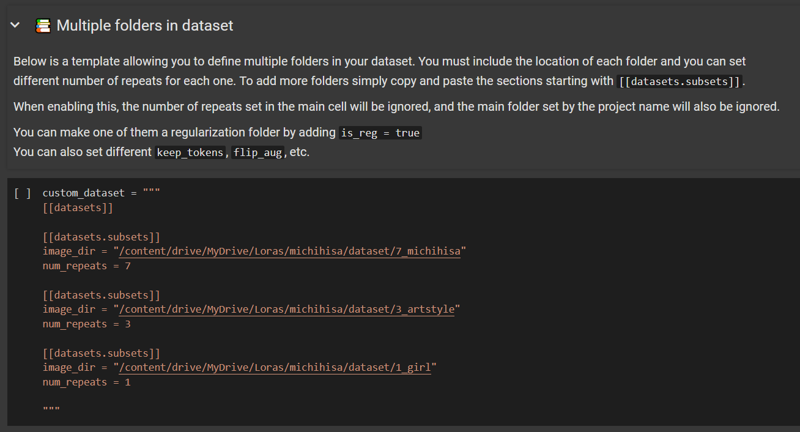
Edit the cell and insert your folders, as well as how many times they should repeat.
7_michihisa repeats 7 times
3_artstyle repeats 3 times
1_girl repeats 1 time
(not sure if these are good numbers, but they work for me.)
Run this cell.
Scroll back up.
Fill in the colab.
Settings
project_name: name the folder containing the dataset folder in your drive.
training_model: your preferred model.
num_repeats: I put 10
the rest I just leave on default, lol. I don't know if I'm using good settings, but this hasn't failed me so far...
Then, you run the cell and wait for the LoRA to be created.
It's done!
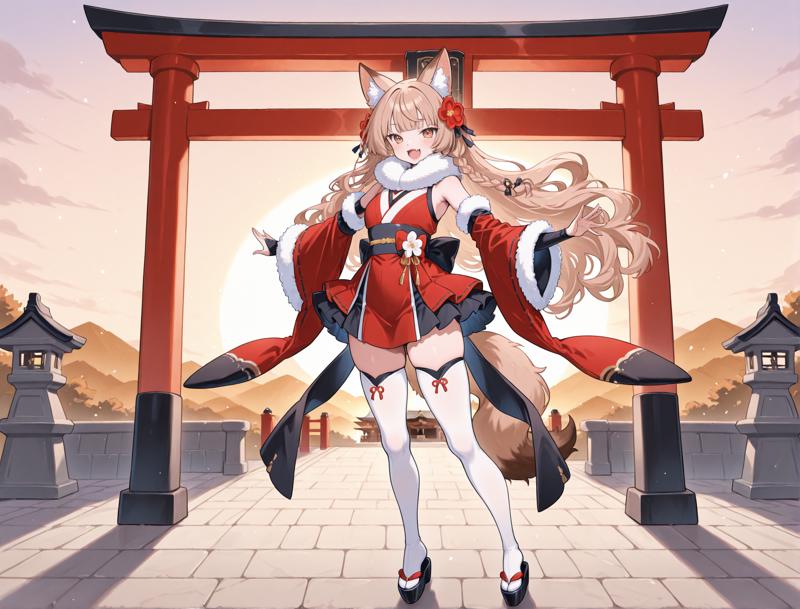
It's definitely not perfect, it can't seem to capture certain details consistently. In hindsight, I chose a pretty difficult design.
But I'm happy with it. I might retrain it later when I generate more pictures.
You can download Michihisa's LoRA here.
Here's my training data folder, if you wish to use it as a reference.
I hope this has helped you in some way! °˖✧◝(⁰▿⁰)◜✧˖°

