Hey everyone! I finally decided to write about my workflow using the InvokeAI UI. There is also a video covering the entire process (30min) if you prefer to follow along. I am not going to explain how to install the UI, you can find more about it here: https://github.com/invoke-ai/InvokeAI
If you want to check out the video you can find it for free (you just need to follow me) on my Patreon:
https://www.patreon.com/posts/invokeai-119496078
Navigation Menu
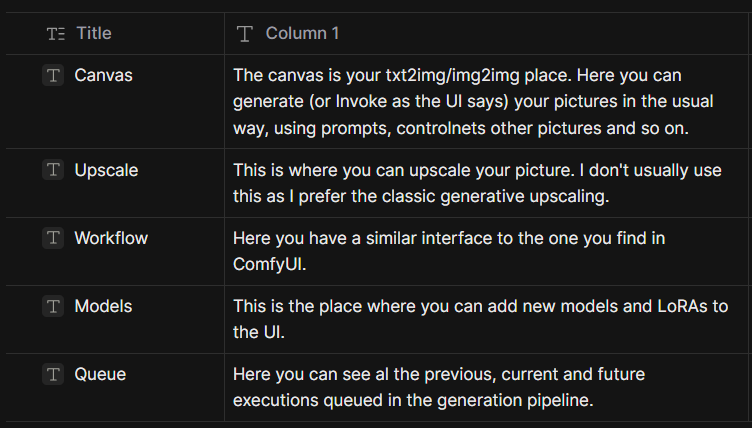
The navigation menu is divided into 5 different sections:
Canvas
Upscale
Workflow
Models
Queue
Here's a brief description of each section:
Now let's click on the Models Icon to add the models we want to use
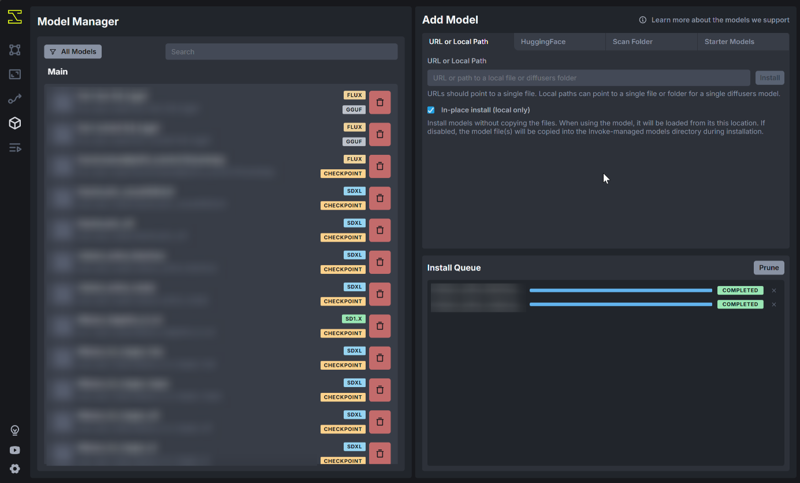
In the Models page we need to click on the top right and choose one of these 4 options:
URL or Local Path: use this if you want to point to a specific path
HuggingFace: here you can directly reference models available on HuggingFace
Scan Folder: this is the option to use if you want to add multiple models from a specific folder
Starter Models: Here you can download base models, Controlnets, and so on
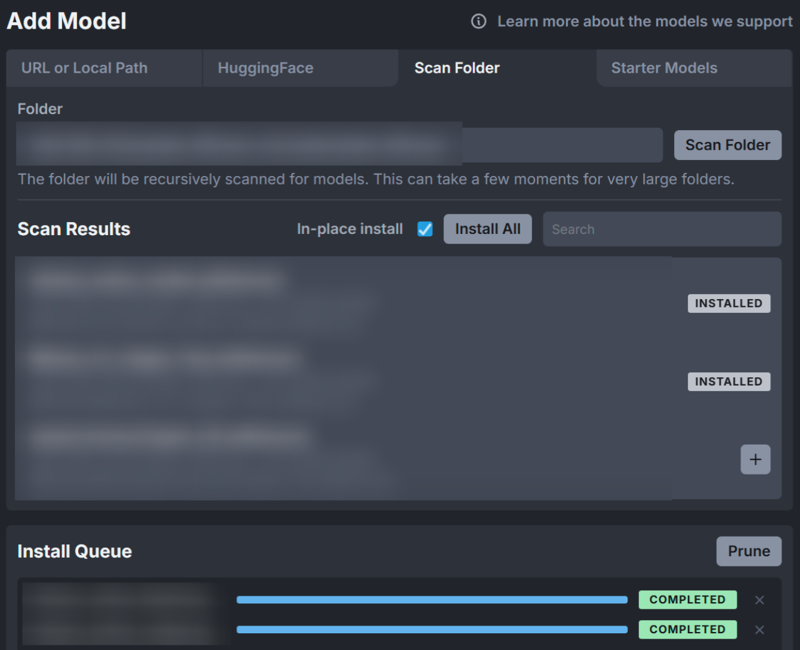
Once you've pasted the folder you want to scan, press the button. You should see the list of models in the box below. Click on the plus for the ones you want to add. By default Invoke does not move the models into a new folder, but if you want to change this you can disable In-place install.
Wait until the installation is complete, then go back to the canvas tab by clicking on the icon on the left or clicking the number 1 on the keyboard
Canvas Tab
Now that we have added our models, let's setup our first generation.
First of all we need to select our model. Let's go to the Generation section (1.) and choose the model we are going to use. For my example I'm going to use my Mistoon_XL_Copper_v1_Fast (Mistoon_XL_Copper - v1.0 Fast | Stable Diffusion Checkpoint | Civitai). Below of the model dropdown you'll find the Concepts section, here you can add LoRAs to the generation. For this example I'm going to use my LoRA Edamame (Edamamame - Style - v1.0 | Stable Diffusion LoRA | Civitai).
Now that we have decided which models we are going to use it's time to select the scheduler, these are the settings I often use for my models (feel free to change this to what you normally use):
Scheduler: LCM
Steps: 20
CFG Scale: 2.5
Finally we have to set the size of the picture we are going to generate. I'm currently using a 4080 with 16gb of VRAM, if you are using a GPU with less VRAM you'll probably need to use a smaller size, but the process should be the same. There are two distinct size settings in Invoke:
Width & Height: these represents the actual size of the generated picture
Scaled W & Scaled H: (found in advanced options in the Image tab), these represents the size used when generating the picture.
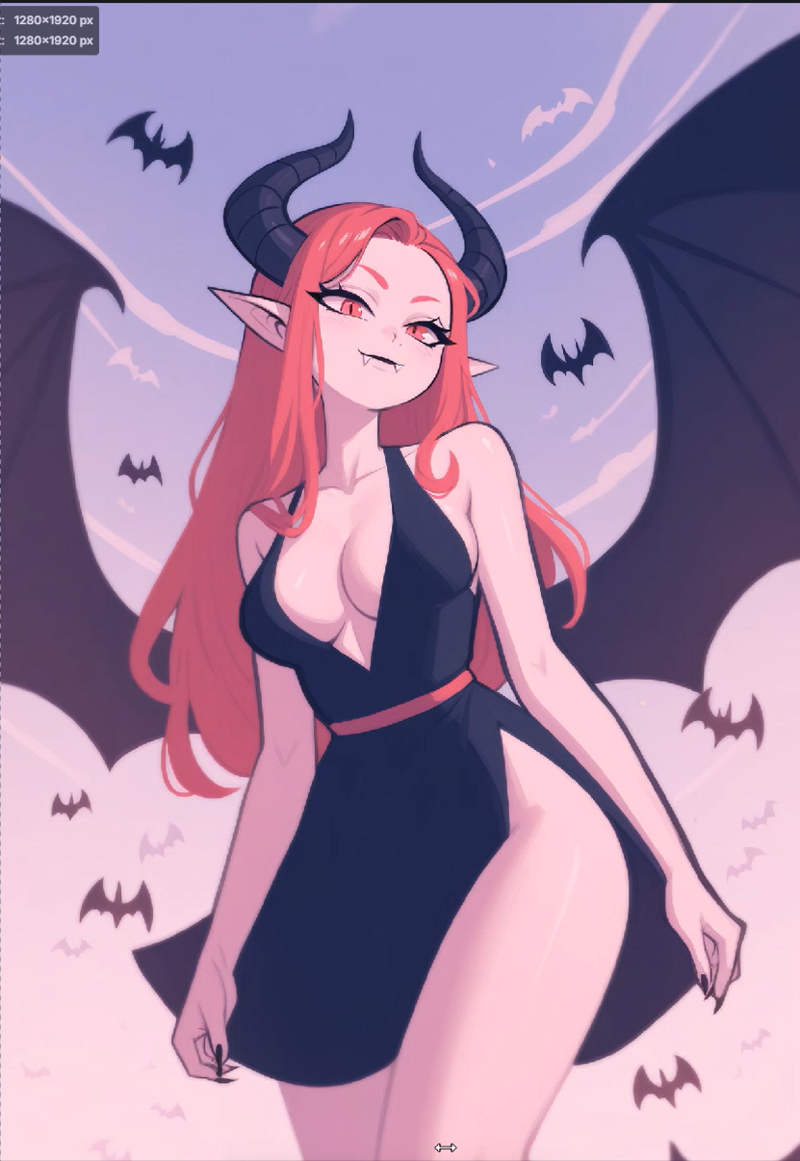
This means that if we use a Scaled 768x1152 we generate a picture at that resolution which gets upscaled to the final 1280x1920 size. This is really useful to work with lower resolution generations without having to resize the layer multiple times. In my case I'm going to set the Width/Height to 1280x1920 and the ScaledW/H to 768x1152 (we are going to change this multiple times during the example)
IPAdapters
Let's start by applying an IP-Adapter to influence the style of the picture. This is not something I often do, but I wanted to share how quickly you can refine your generations using Invoke. I'm going to use this picture (Image posted by Lady_Luminous), to import it in the UI we just need to copy the picture and paste it (ctrl+c -> ctrl+v) in the UI (or drag and drop it). Once you have loaded the picture you'll find it in the Gallery menu on the top right under the assets sections:
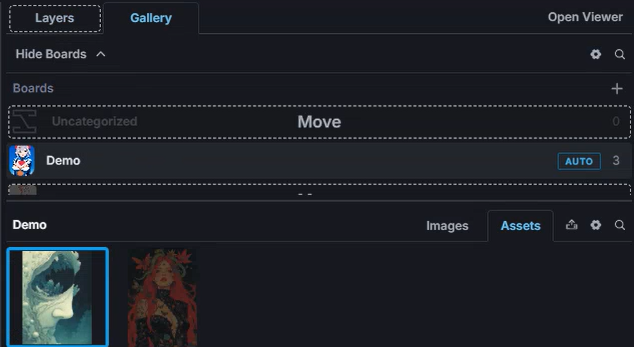
Now just drag the picture over the canvas, you should see 4 different boxes, drop the picture over the New Global Reference Image.
Now go to the Layers section on the top right and you should see the imported picture:
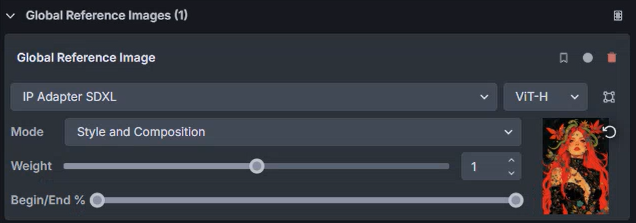
Feel free to play with these settings to find what works for you and your model. For this example I'm using:
Mode: Style only
Weight 0.5
Begin/End: 0-50%
Prompt
Before generating we need to define a prompt. For this example I'm using:
score_9_up,score_8,score_7,inzaniak,1girl,black dress,cleavage,long hair,red hair,demon,wingsOne last thing before generating. You need to change the output of the generation to Canvas instead of Gallery. To do this you just need to click here:

Finally we can click on Invoke (or ctrl+enter) and wait for the image to generate. We repeat this step until we find something which we like:
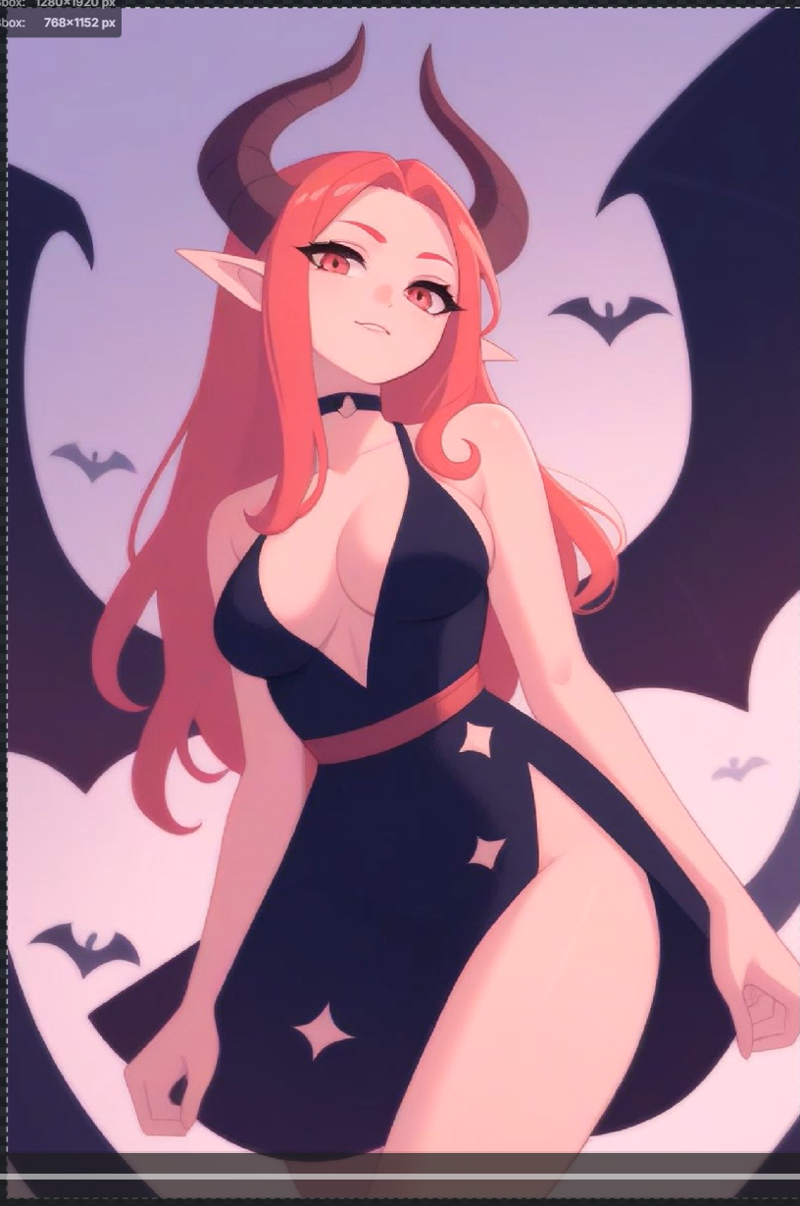
Resizing and Outpainting
Now we are going to make some changes to the picture. Let's start by disabling the Global Reference Image. To do this just click on the white dot in the layer section related to the image:

Now let's run again the picture. This helps achieving a more consistent and defined style:
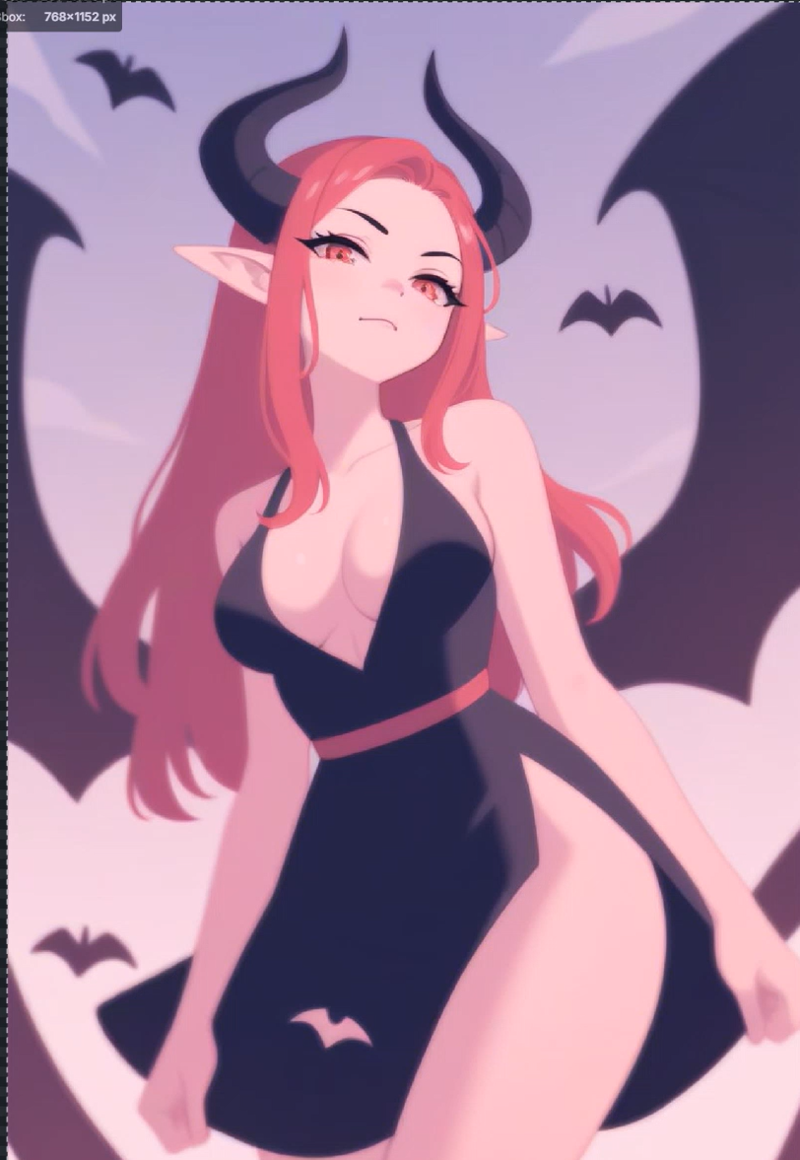
Now I want to zoom out the picture, to do this we have to remove the bottom layers (click on the recycling bin icon) and then right click on the remaining layer and choose transform. We can now resize the picture, by dragging the blue dots in the corners (alt+drag to resize without moving the center of the picture):
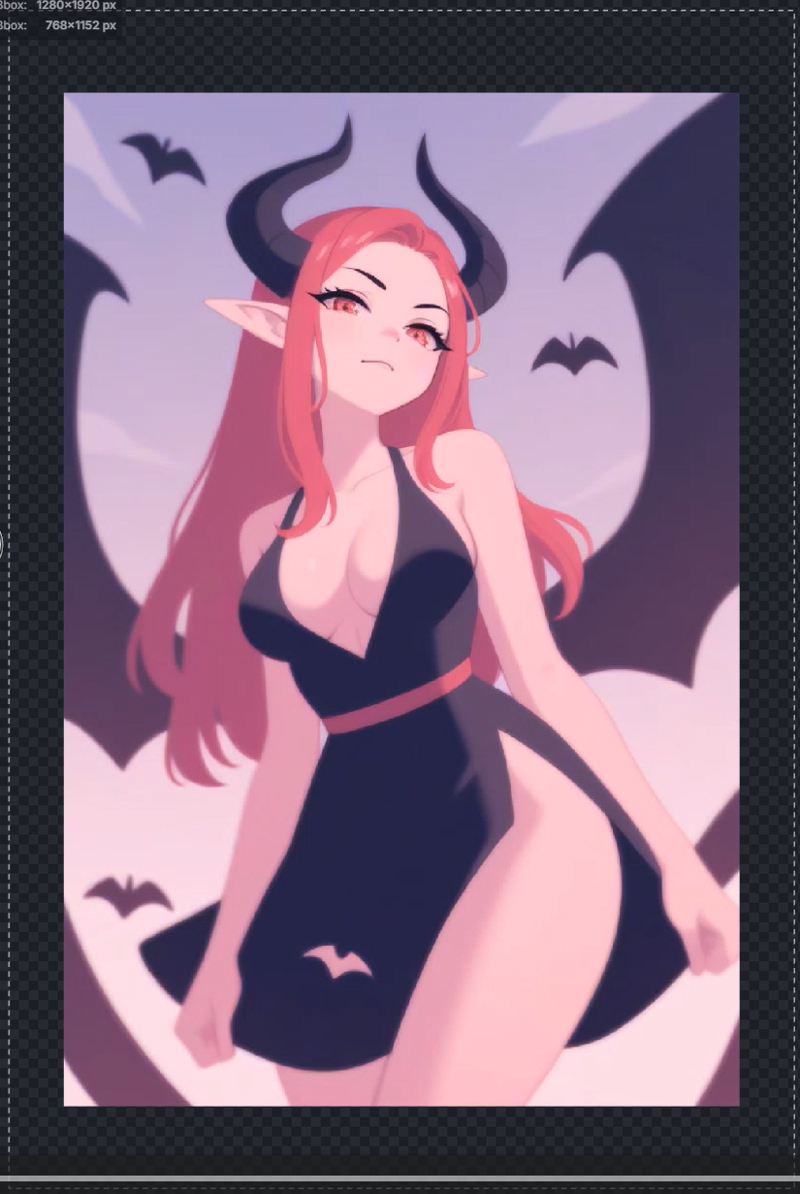
Now we can click on Invoke and let it generate the missing part of the picture:
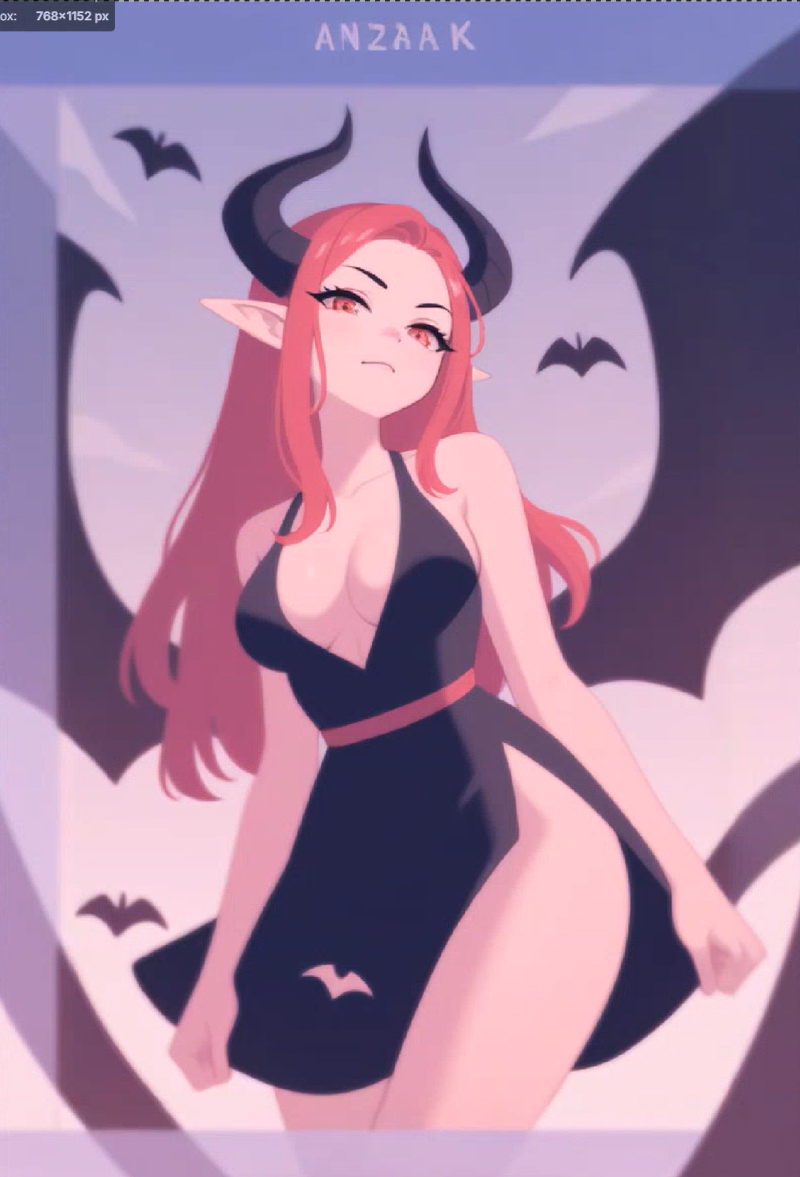
Now we can fix the picture by quickly drawing on it. To do this let's create a new Raster Layer by clicking on the New Layer Icon on the right of the Raster Layers section:

Once we have created the layer, let's select it by clicking on it and then we can draw on the picture. To do this be sure to select the brush tool on the left of the canvas or press the B button on your keyboard:
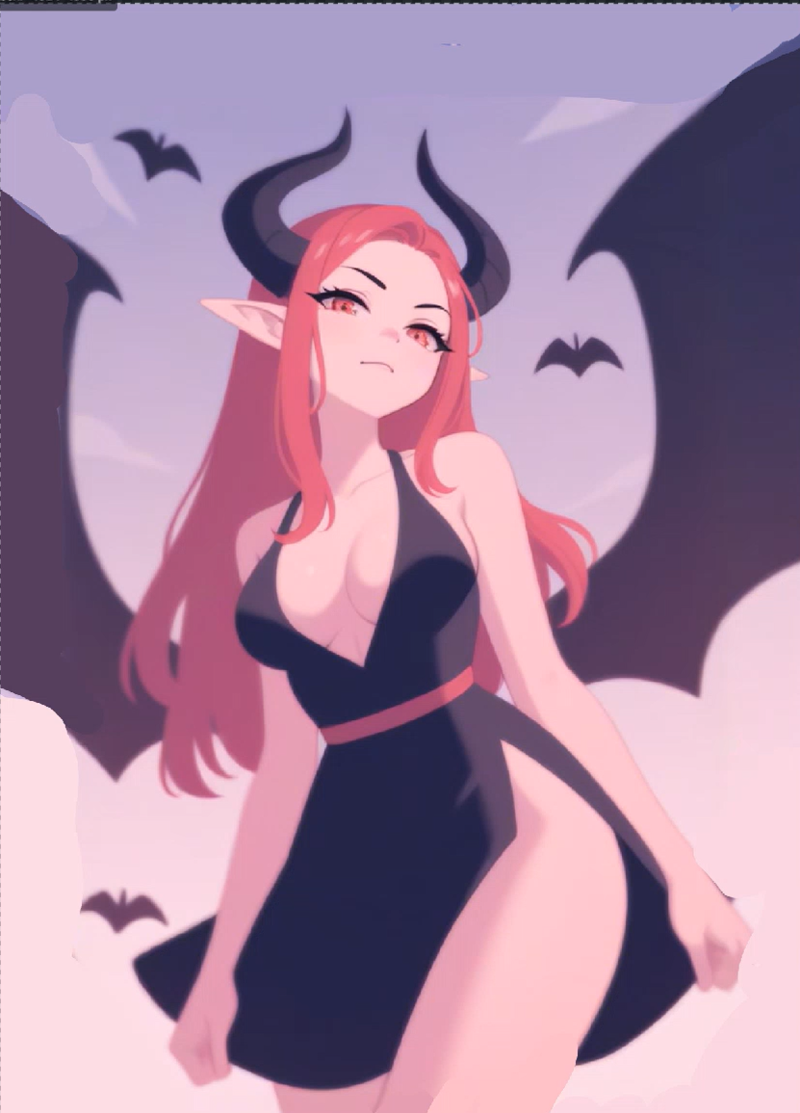
Now we can run the generation again, but this time we are going to use a different resolution. Let's set Scaled W to 1024 and Scaled H to 1536:

Now let's run the generation again (in the video I've also experimented with different settings and added out of focus,blurry to the negative prompt):
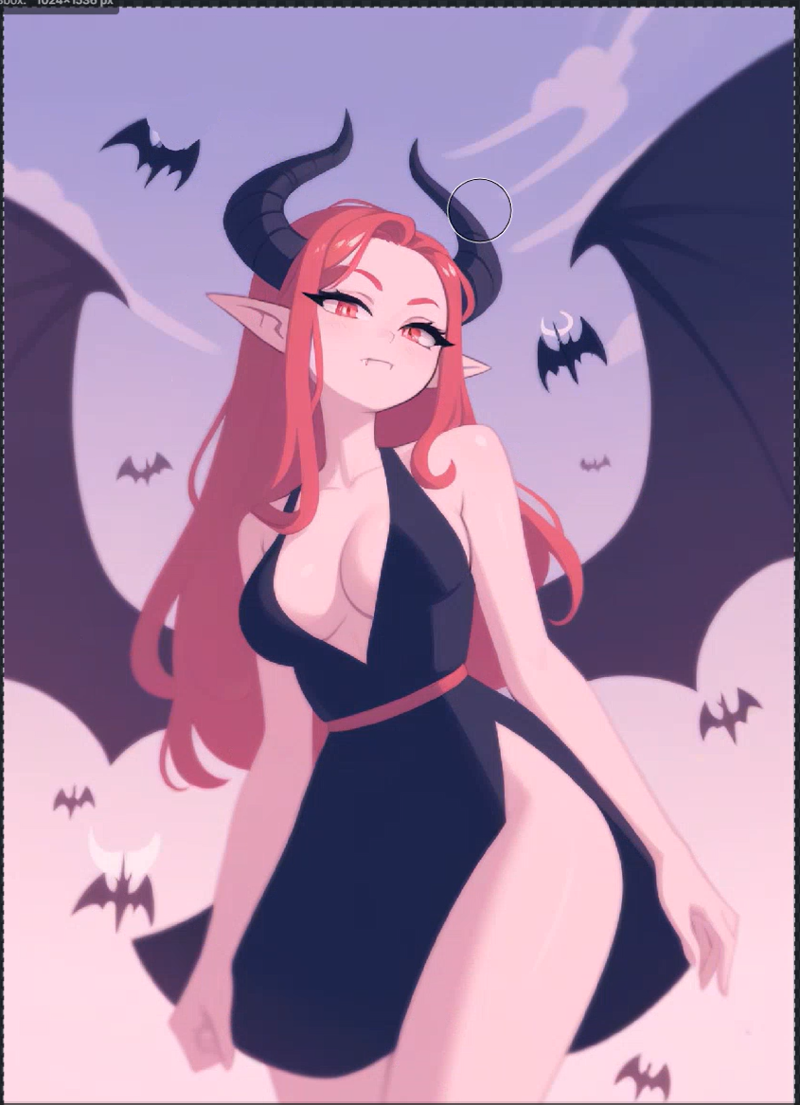
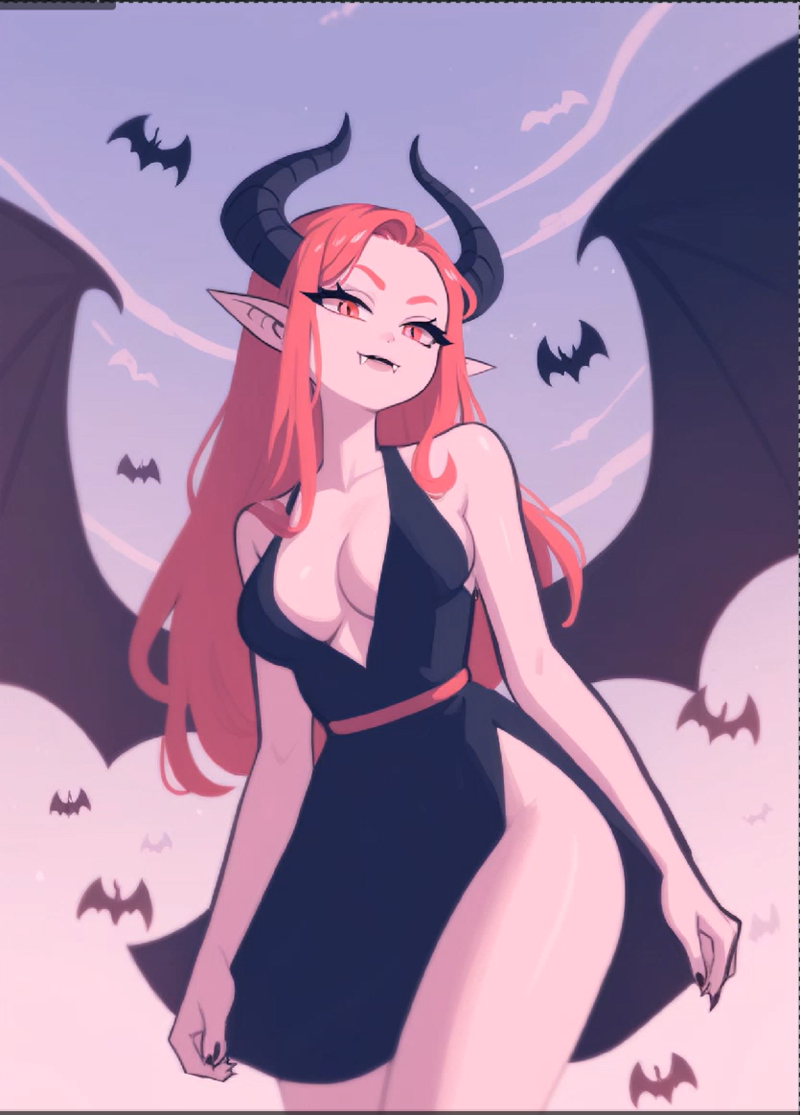
I still feel that the image is too blurry, so to improve the focus I'm going to draw a border around some of the elements which are out of focus:
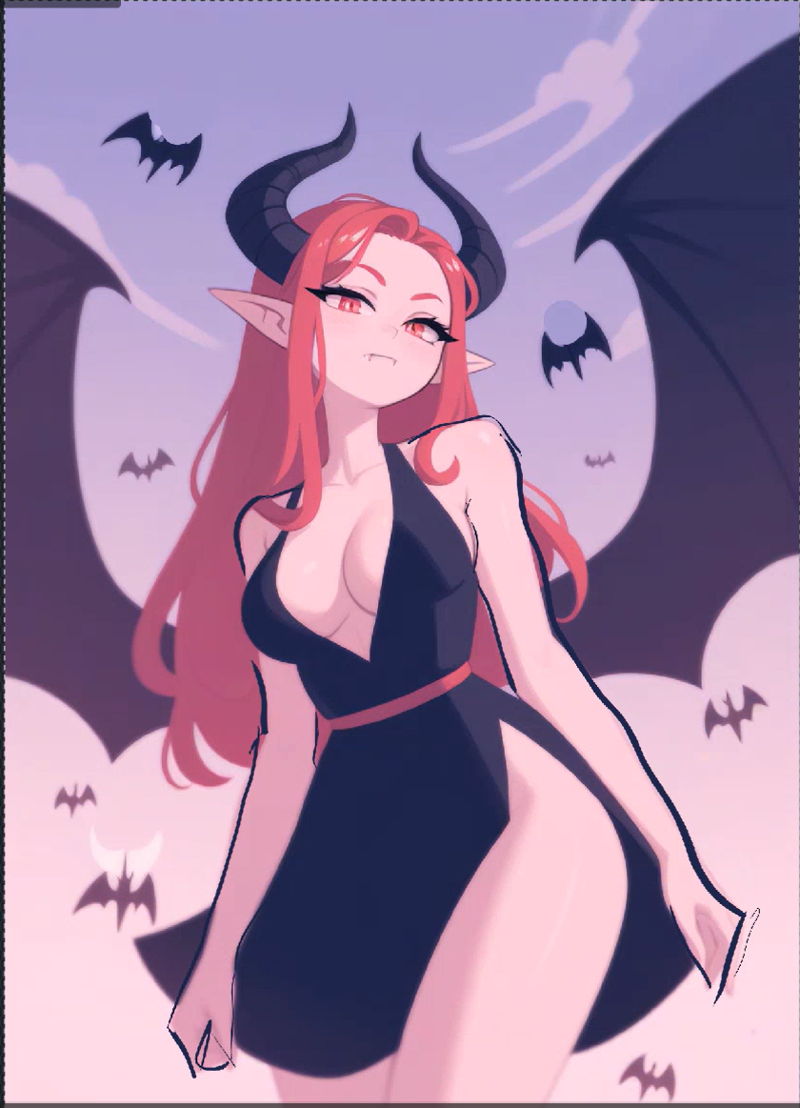
You can do this on a new layer or directly on the last layer. Once you have finalised your lines you can also add to the prompt black outline to improve the final result:
Controlnet
Now we can use this image as a control layer for the upscaled 1280x1920. To do this let's right click on the layer and choose: Copy Raster Layer To -> New Control Layer. Now we need to select the model to use (you can download standard controlnets from the Model page under -> Starter Models), I'm going to use the Scribble-sdxl model. Once you've chosen the model, the layer will be filtered to match the corresponding controlnet:
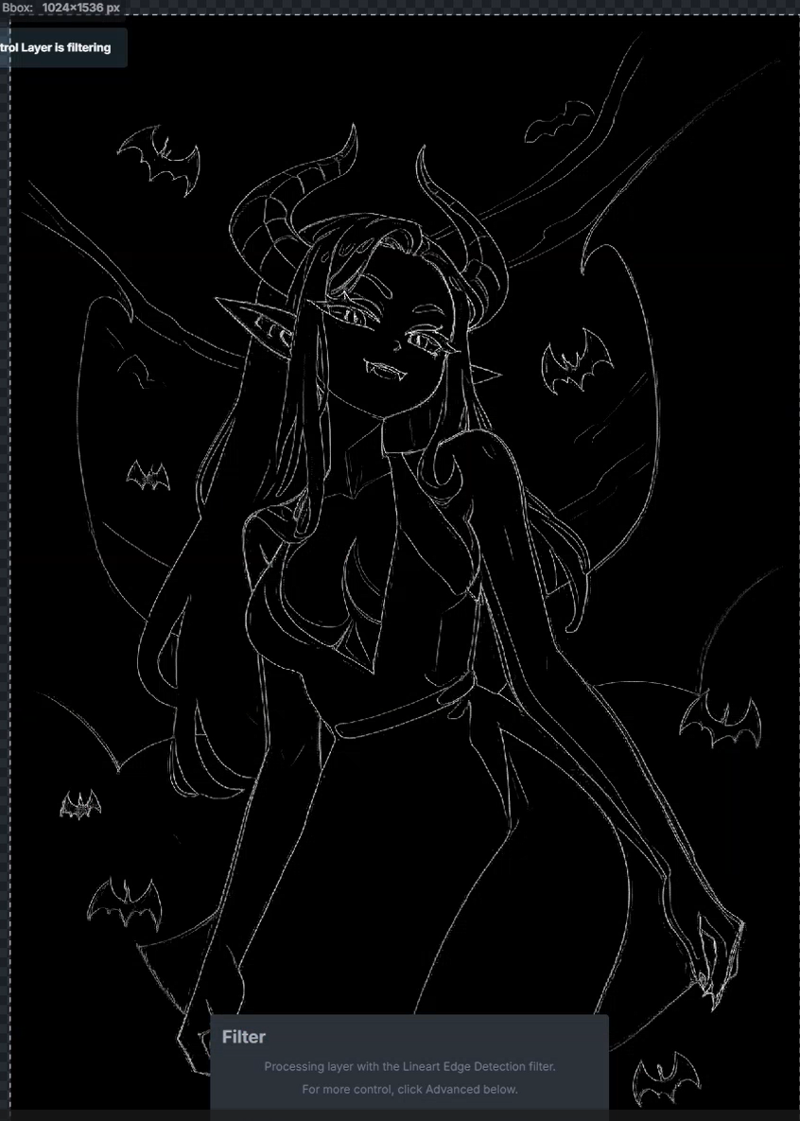
Now let's confirm and reduce the weight to 0.2, then let's increase the Scaled W to 1280 and the Scaled H to 1920, and generate again:
Inpainting
Now that we have the upscaled version of the picture we need to fix some details. Let's remove the control layer and apply a new one based on the new raster layer we have created by repeating the previous steps:
Right click on the layer
Copy Raster Layer to -> Control Layer
Model: Scribble-sdxl
Now let's resize the generation box over the face of the character by selecting the bbox tool on the left of the canvas or clicking C on the keyboard:
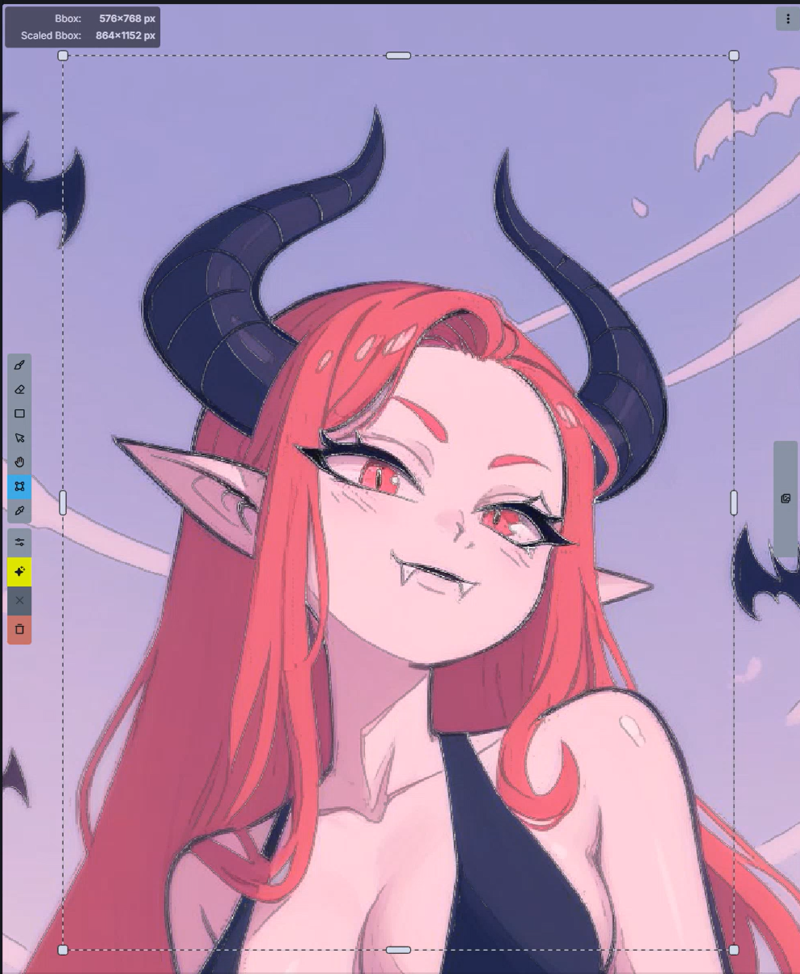
Be sure to also change the Scaled W and H to 768x1152. Now let's define which part of the picture we want to edit using an inpainting layer. To do this we need to create a new layer clicking on the plus icon in the top right of the screen and choose Inpaint Mask:
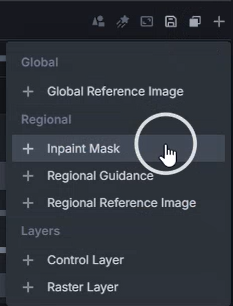
Then select the inpaint layer and draw over the areas of the picture you want to change:
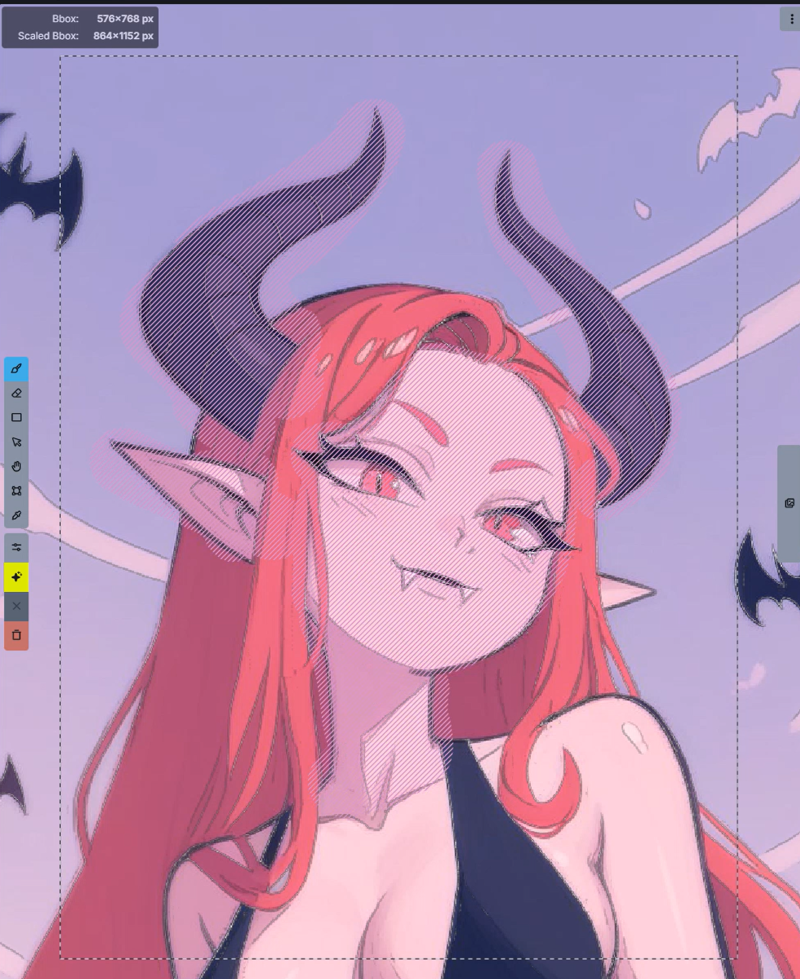
Now let's Invoke again:
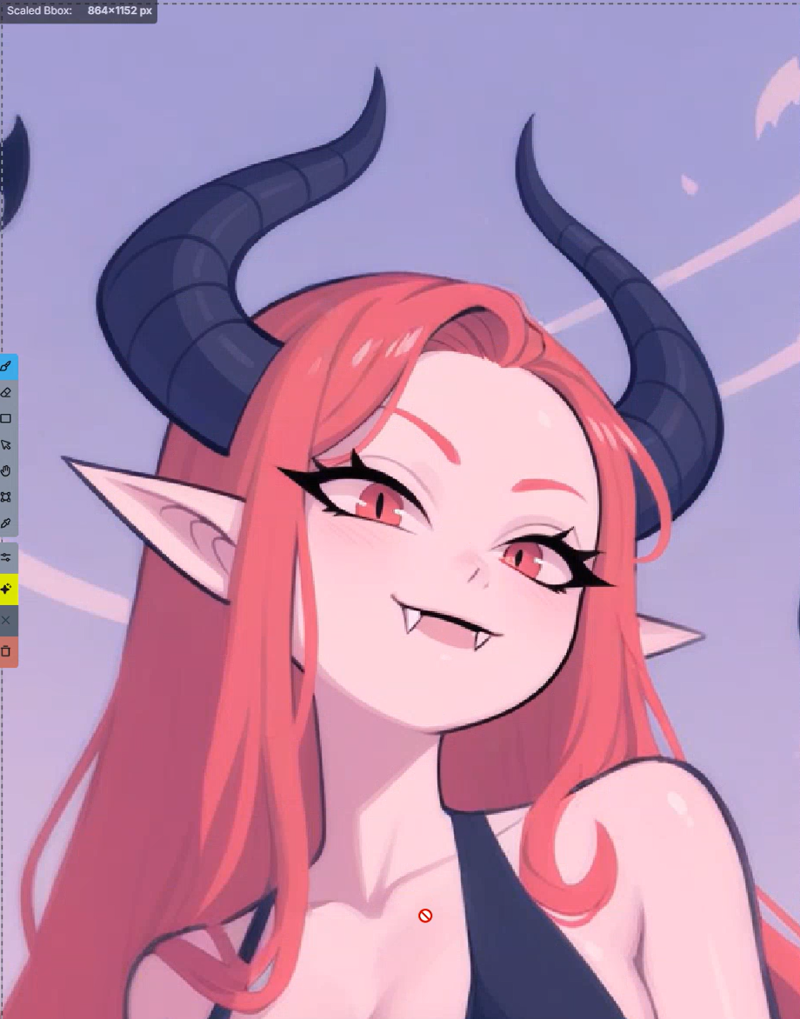
Way better! Now let's repeat the operation for the others part of the picture we want to change (if you want to see the full process you can check the video):
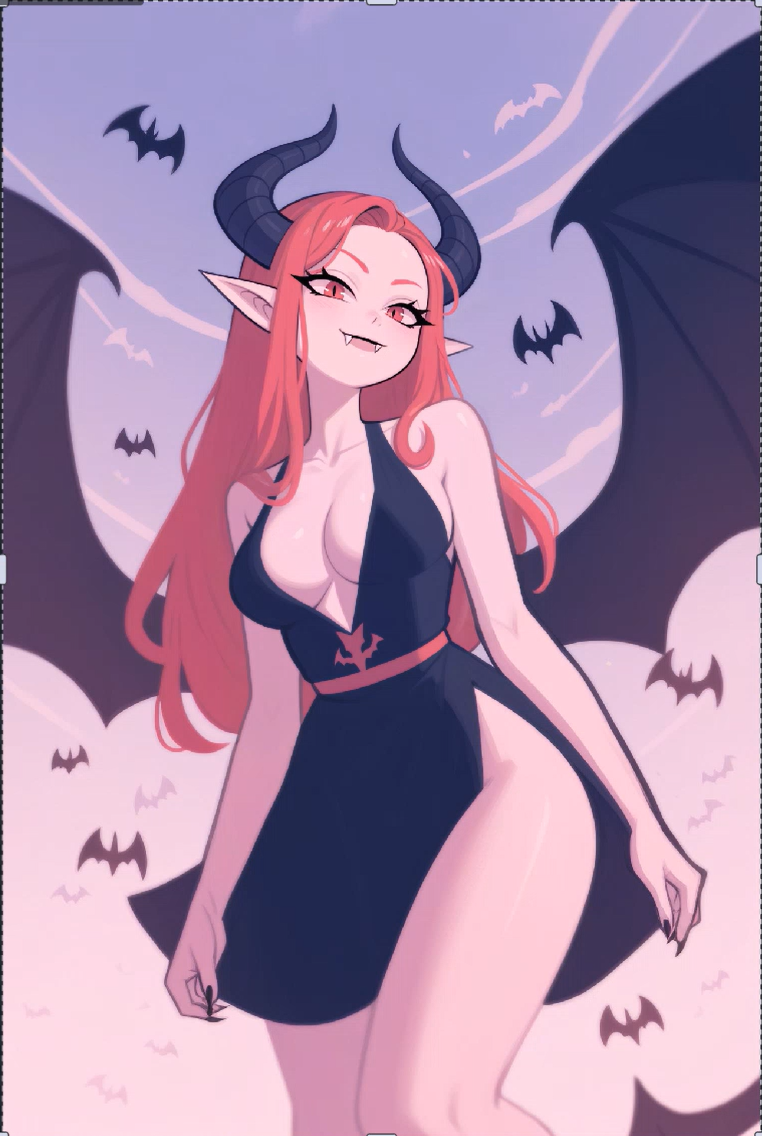
Restyling
I like the overall composition of the picture, but I'm not sure I like the colors and style of it. So let's try experimenting some more. First of all let's create a new control layer. To do this we need to create a merge layer by clicking on the relative icon:

Now let's right click the new layer and do the usual control layer workflow as explained above. After that, remove all the raster layers, other then the one on the top which we are going to disable. Let's set a weight of 0.75 for the controlnet add a new ipadapter using a different style. Here's what I came up with:
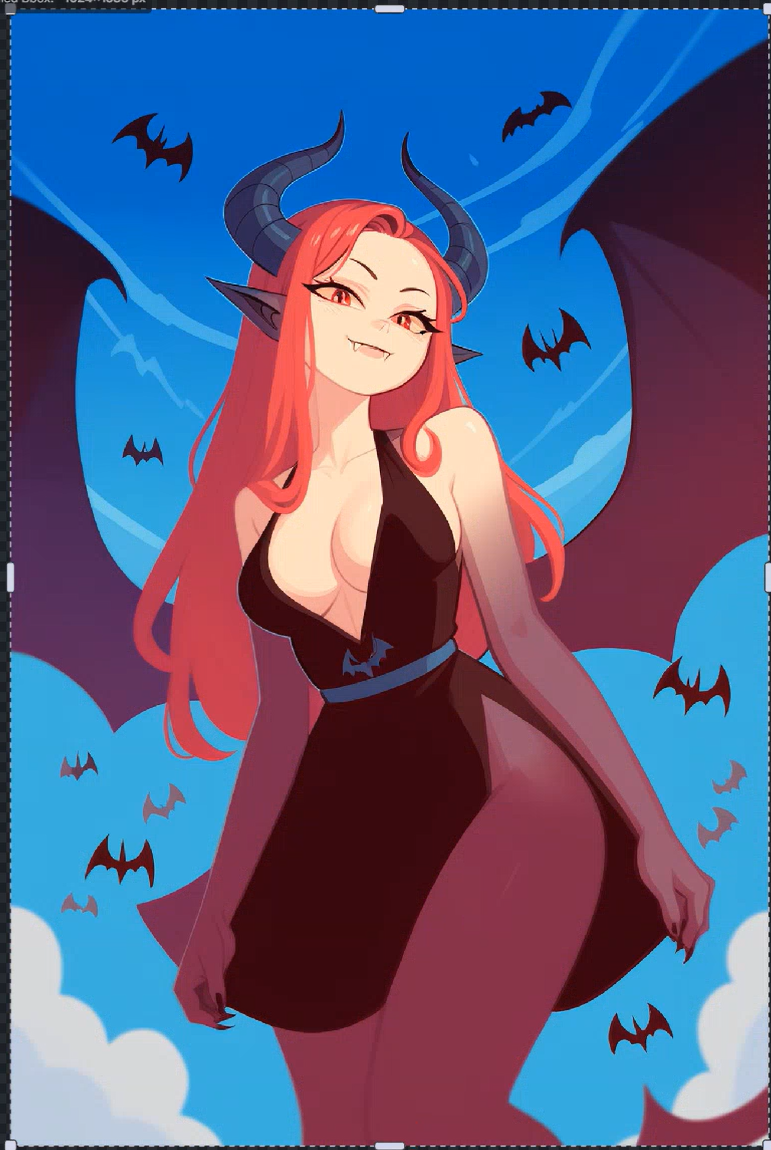
Now we just need to repeat the steps above creating controlnets, making edits and inpainting parts we want to change (you can check the video for the full workflow) to get the final result:
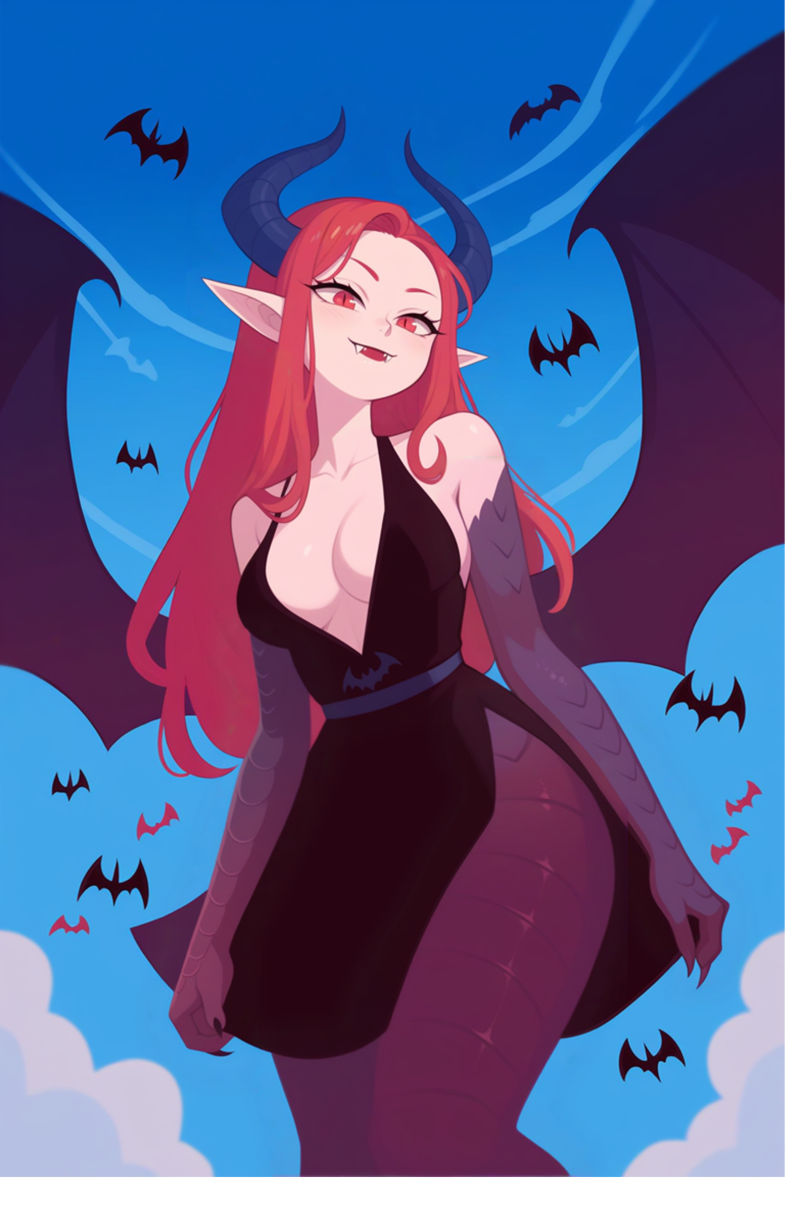
Support Me
I've started developing custom models for myself a few months ago just to check out how SD worked, but in the last few months it has become a new hobby I like to practice in my free time. All my checkpoints and LoRAs will always be released for free on Patreon or CivitAI, but if you want to support my work and get early access to all my models feel free to check out my Patreon:
https://www.patreon.com/Inzaniak
If you want to support my work for free, you can also check out my music/art here: