

Disclaimer: I am far from an expert in the field of stable diffusion or AI. There's a fair chance that the instructions in this guide can be done better, faster or smarter. Nevertheless, after messing around with playbooks and not getting things to run.. this is how I got SD Forge working after all.
Please keep in mind that I am sharing this to give people a little guidance. I will NOT be giving any tech support or other advice.
This article is not sponsored by RunPod.
For who is this guide?
This guide is meant for people who want to try SD-Forge/Flux but don't have the computing power. The easiest solution is of course the CivitAI generator which works great if you're making your first steps. If you're looking for a little bit more? Then running a cloud instance is a great alternative. But where do you start? There are tons of installers out there, but I couldn't find a detailed, step-by-step instruction. Using a cloud instance comes with costs, so if you don't want to spend a few bucks, this guide is not for you.
In this guide, you will need:
A CivitAI account
A Huggingface account
A RunPod account (and credit)
Some patience
Creating a pod
Register an account
First things first, register an account over at https://runpod.io and login to your account.
Head over to the 'Billing' page and add some credit. (I started with a credit of $10.00)
Create a Pod
Now go to the 'Pods' page and click the '+ Deploy' button to create a new pod.
You'll be presented with a ton of options. Make sure you're on the 'GPU' tab and not the 'CPU' tab.
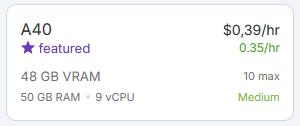
If you're starting off, pick a 'Previous Gen' option to save some credits. I started with the 'NVIDIA A40' option which costs me $0.39 for every hour of use. Click the option you want to select it. Note the 'medium' availability. When using this option in combination with the 'On-Demand' plan, you'll have a higher chance of running into the situation where there is no hardware available to run your Pod. If this happens, you'll simply have to wait untill there is hardware available. (or switch to a 'Savings plan')
Select a Pod Template
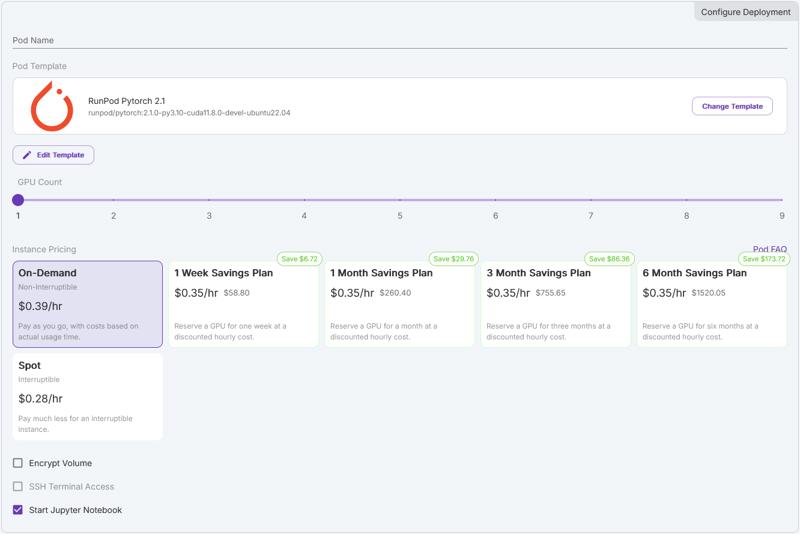
Once you click the option, the 'Configure Deployment' screen wil appear. Here you can give your new Pod a name if you want to.
In the 'Pod Template' option, click the 'Change template' button. A pop-up will appear with a bunch of available templates. We will be using the madiator2011/better-forge:light template. You can copy and paste the name into the search field.
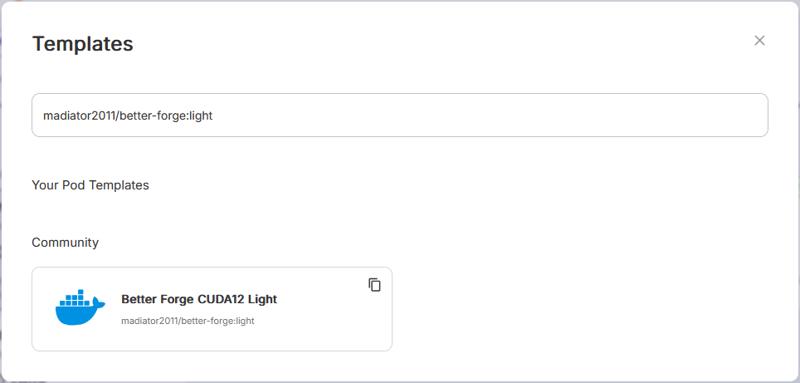
Click the 'Better Forge CUDA12 Light' option to select it.
Set GPU count
For the GPU count, simply keep it on 1.
Select your pricing plan
Now select the pricing plan you want. Since we're just starting, I'd recommend the 'On-Demand' plan. Note that when using an On-Demand plan, you might face a situation where there is no hardware available to run your Pod.
Finish creating your Pod
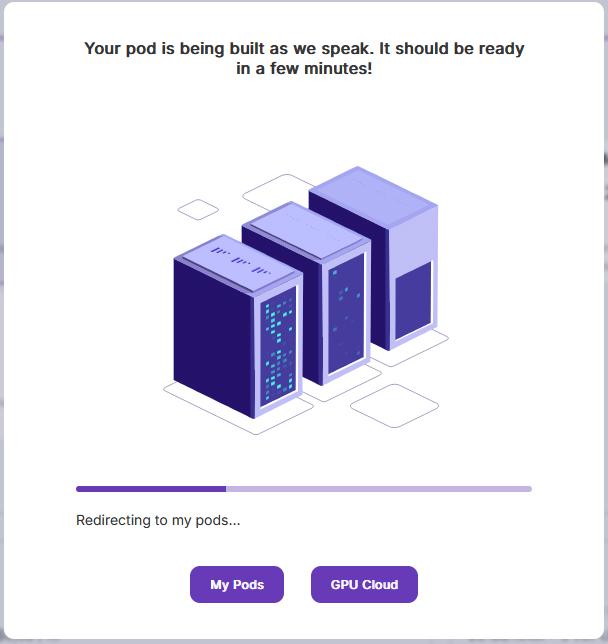
Finish creating the pod by clicking on the purple button 'Deploy On-Demand' at the bottom of the page. You'll see the pop-up below and will be redirected to the 'Pods' page.
Configuring your Pod
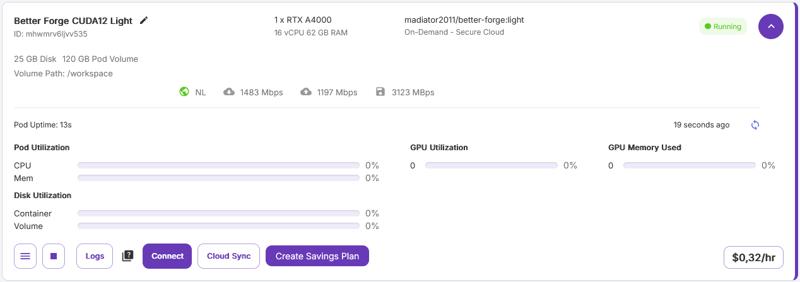
Click the purple button at the end of the Pod block to expand the block. You will now see some more details about your Pod.
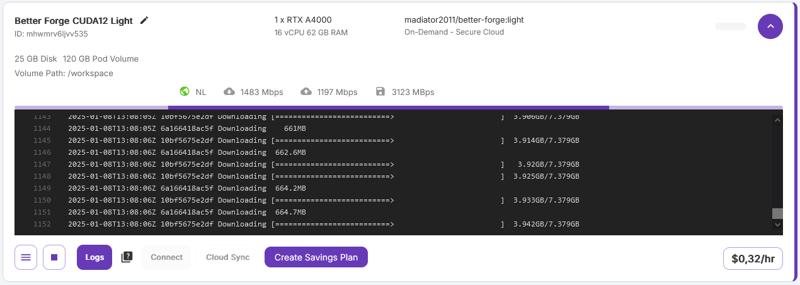
In the image above, you can see that the Pod is being provisioned. This might take some time, so just wait for it to finish installing. Once your Pod is ready, you will see the details of your Pod. The Pod will start running, which means it will start using your credit. So don't go shopping while the Pod is provisioning.
Using the 'Logs' button, you can check the status of the provisioning process.
It might seem that the process gets stuck at the Forge Startup.

Just be patient. The extraction can take some time.
Opening the Web Terminal
Now click the purple 'Connect' button. A pop-up with connection info will appear. Of course you shouldn't share information like this online. But for the purpose of this guide, I will post everything here.
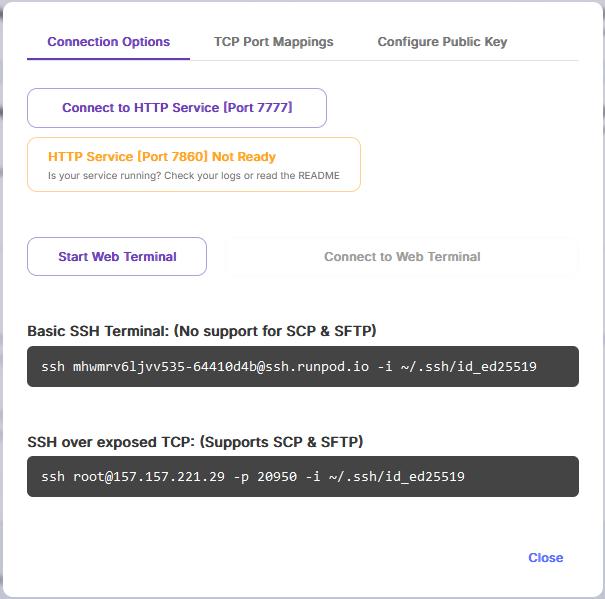
Click the 'Start Web Terminal' button to start a web terminal. The button will change color and text.
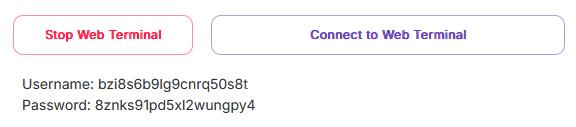
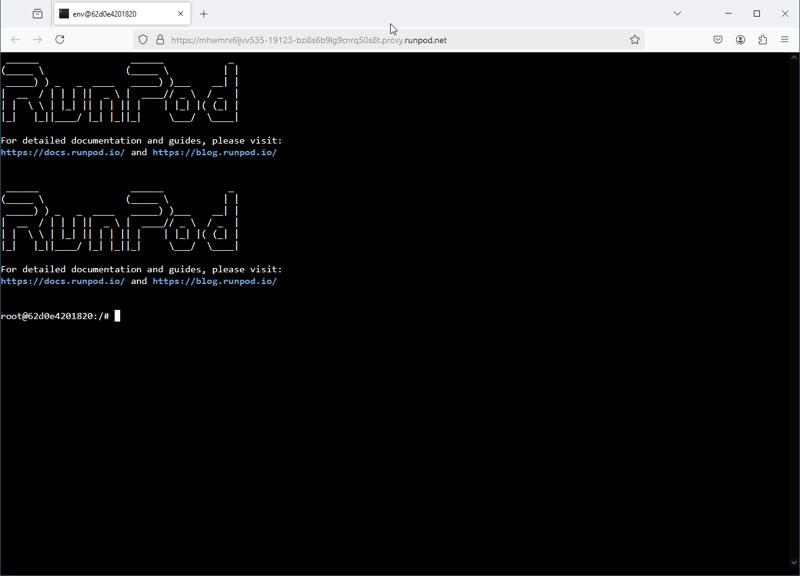
Now click the 'Connect to Web Terminal' button. A new browser tab will open.
Install CivitAI Downloader
Let's install the CivitAI Downloader by Ashley Kleynhans. This tool will help downloading models from CivitAI. To install the tool, enter the following commands:
wget https://raw.githubusercontent.com/ashleykleynhans/civitai-downloader/main/download.py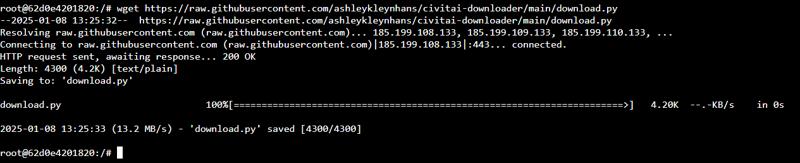
mv download.py /usr/local/bin/download-model
chmod +x /usr/local/bin/download-model
Download the Flux model
We're now going to use the CivitAI downloader to download the Flux.Dev model. To be able to download models from CivitAI, you will need an API key. You can create an API key in your user account settings. (https://civitai.com/user/account)
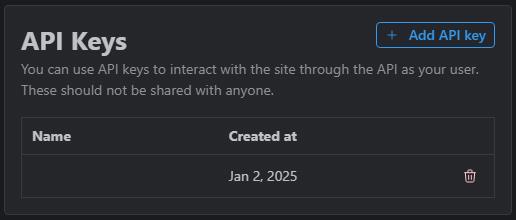
Click the '+ Add API key' button to create a new API key. Give the key a name and click the 'Save' button. You will now be presented with an API key. Copy this key and make sure you save it somewhere.
In the web terminal enter the following commands:
cd /workspace/stable-diffusion-webui-forge/models/Stable-diffusion
download-model https://civitai.com/api/download/models/691639 .
Note the period sign at the end of the bottom command!
The downloader will ask you to enter your CivitAI token. Enter your token and press 'Enter'.

If you filled in the token correctly, you will see the tool starting to download the model. This might take some time.
Download the VAE and the Text Encoders
Now we need the VAE and the Clip encoders. We will download these from Huggingface.
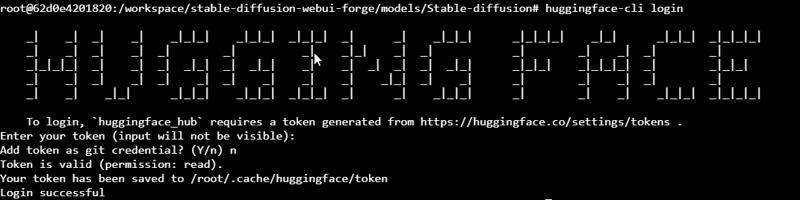
Your Pod will already have the huggingface-cli tool installed. In order to use it, we need to login using the command:
huggingface-cli loginJust like with the CivitAI downloader, we need an API key (or token) here.
A Huggingface token can be obtained by logging in to Huggingface.
Next go to the 'Settings' -> 'Access Tokens' page (https://huggingface.co/settings/tokens).
Click the '+ Create new token' button to create a new token.
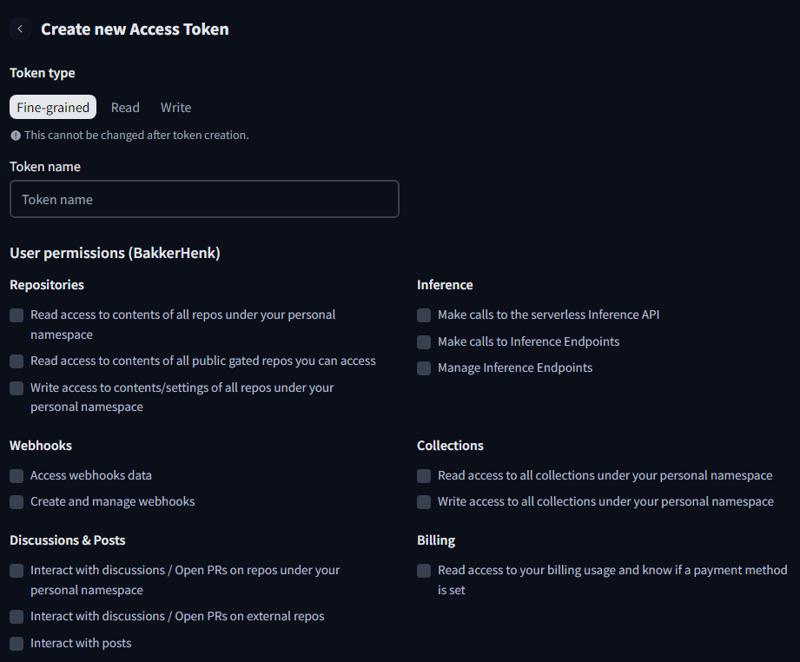
Under 'Token type' select the 'Read' option. All the options will disappear and you will only be able to enter a Token name. Enter a name and click the 'Create token' button.
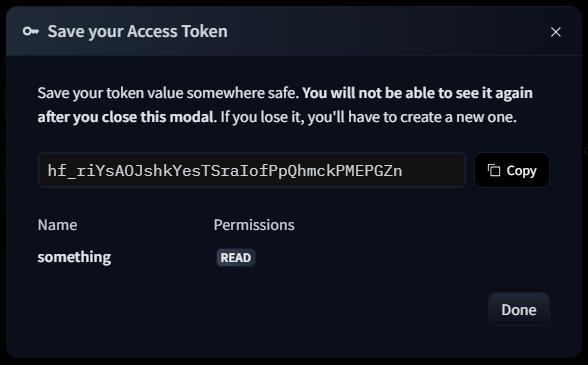
Just like the CivitAI token, copy and save this somewhere.
Back to the Web Terminal. Enter (or paste) your Huggingface token. You will not see your input, so pasting will probably be the easiest option. There's no need to add your token as git credential. So type 'n' and press 'enter'.
If you've succesfully logged in, you can start downloading. Enter the following commands:
cd /workspace/stable-diffusion-webui-forge/models/VAE
huggingface-cli download black-forest-labs/FLUX.1-dev ae.safetensors --local-dir ./
This will download the VAE. Now enter:
cd /workspace/stable-diffusion-webui-forge/models/text_encoder
huggingface-cli download comfyanonymous/flux_text_encoders t5xxl_fp16.safetensors --local-dir ./
huggingface-cli download comfyanonymous/flux_text_encoders clip_l.safetensors --local-dir ./
This will download the Clip and T5 text encoders.
Download Lora's
This step is optional, but nice to know. For downloading models from CivitAI we can use the CivitAI downloader. All we need is the correct URL to download the model from.
Let's download the FLUX Abyss Neon Lora from @bo4rsworld. Don't forget to give them a follow!
Click the link above to go to the Lora page. On the Lora page, scroll a bit down untill you see the files.
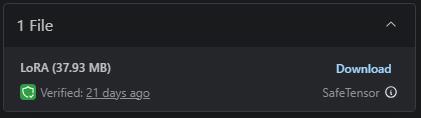
Now right click and copy the download link.
(https://civitai.com/api/download/models/1178104?type=Model&format=SafeTensor)
From this link, we will remove everything after the question-mark. This leaves us with: https://civitai.com/api/download/models/1178104
Now enter the commands:
cd /workspace/stable-diffusion-webui-forge/models/Lora
download-model https://civitai.com/api/download/models/1178104 .
Note the period sign at the end!!
Protect your cloud instance
This is an optional step, but I highly recommend it.
By default your cloud instance will not be protected. This means that everyone who has the correct URL can start using your cloud instance. So let's add a login to our Forge installation.
Enter the following commands:
cd /workspace/stable-diffusion-webui-forge
nano webui-user.sh
This will open up the start-up script in the text-editor Nano.
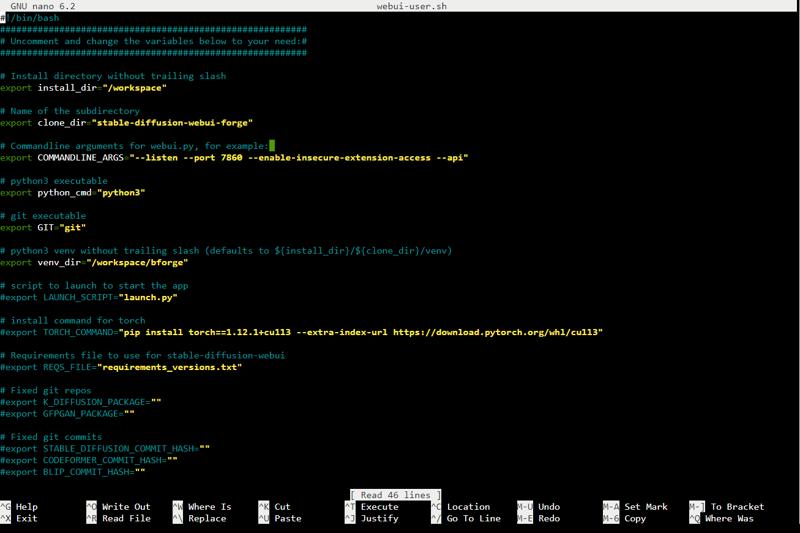
Using the arrow keys on your keyboard, move down to the line that holds the 'COMMANDLINE_ARGS'. Place the cursor at the end of the line, just before the closing double-quote. Now add the text:
--gradio-auth [your-username]:[your-password]Replace the '[your-username]' and '[your-password]' bits with your own username and password.

Now press CTRL + X to close the file. In the bottom of the screen it will ask you if you want to save your changes.
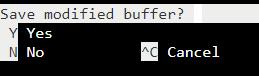
Type 'y' and press 'enter'.
If you use a protected enviroment in combination with the 'Infinite Image Browser' extension, you might run into this error.
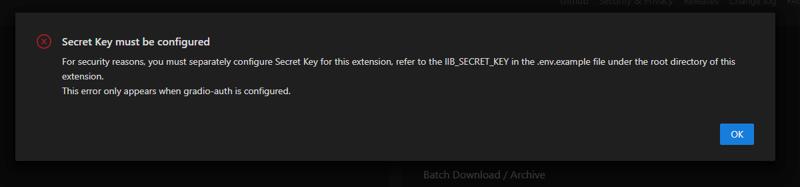
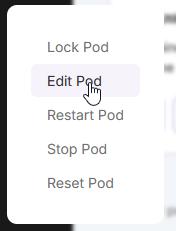
If you encounter this error, head to your pod settings.

The pop-up below now opens. Scroll down and click the 'Environment Variables' block.
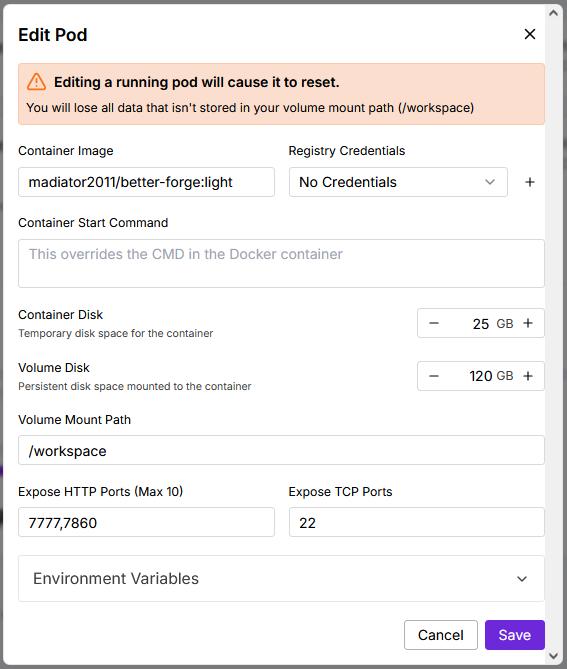
Click the '+ Add Environment Variable' button to add a new variable. Do this for the following variables:

Note that editing your pod settings, will restart the pod.
Opening SD Forge
If you made it this far, congratulations! You're almost there!
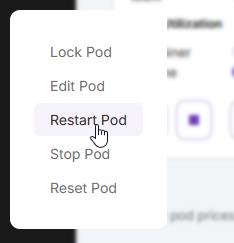
Head back to RunPod. Click the button with the little hamburger icon and select 'Restart Pod'.
Give the Pod some time to start and click the purple 'Connect' button. Notice that the HTTP Service on Port 7860 now says that it's not ready. This is because we secured the instance.
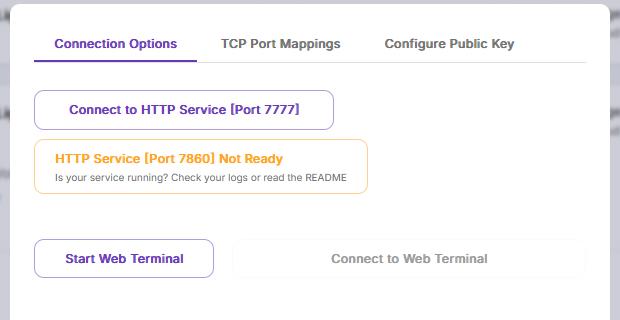
Click the button anyway to open up a new browser tab. You will now see the login page for SD Forge.
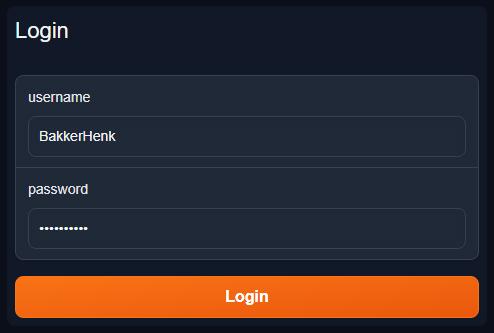
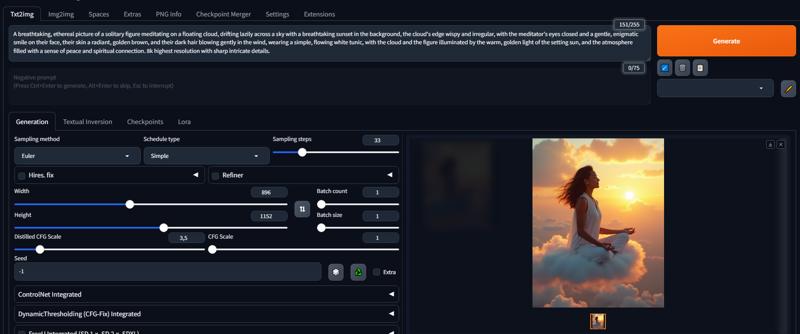
Enter your username and password and click the 'Login' button. If you entered your credentials correctly, you will now see the well known interface.
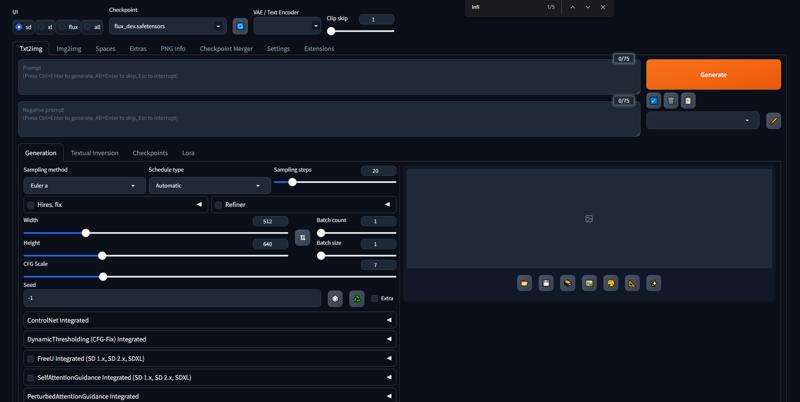
In the top settings, select the 'flux' UI.
Make sure the 'flux_dev' checkpoint is selected.
Click the field onder VAE/Text Encoder and select all three options:
ae.safetensors
clip_l.safetensors
t5xxl_fp16.safetensors

Start generating
You should be ready to start generating images now. You can test it by entering a prompt and slamming the 'Generate' button.
If this guide helped you get started, please leave a thumbs up or a tip.
I created this guide because I've had problems setting SD Forge and Flux up for myself. My background is in IT, so I can imagine that people without a technical background would be struggling even worse. This is simply my way of giving a bit back to the community.
Acknowledgements
Resources I've used to get this far:
How to set up and run Flux on Forge, even if you have low VRAM https://civitai.com/articles/9060/how-to-set-up-and-run-flux-on-forge-even-if-you-have-low-vram
Quickstart Guide to Flux.1
https://education.civitai.com/quickstart-guide-to-flux-1/Introducing Better Launcher: Spin Up New Stable Diffusion Pods Quicker Than Before
https://blog.runpod.io/introducing-better-forge-spin-up-new-stable-diffusion-pods-quicker-than-before/