It's pretty awesome that now AI can make 3d objects with Trellis, however it cant do good, high quality humans worth for crap. but I found a way to circumvent it, AND allow just about any generative AI create the character for you! In this tutorial, I will outline how!
Prerequisites:
a graphics card with at least 8gb ram, preferably 12+ to be able to run full-precision Trellis.
some prior, basic knowledge on photo-editing software such as GIMP or Photoshop.
Basic Blender 3D knowledge.
1. use your favourite model capable of generating realistic-ish humans, anime can work too but Trellis struggles with outlines. I use Rilluism as I mostly generate female designs.
2. get this lora in whatever your model is a checkpoint of:
3. now its time to generate~ as i stated, you need controlnet openpose for this to work. below i attached the image i use to generate the openpose.
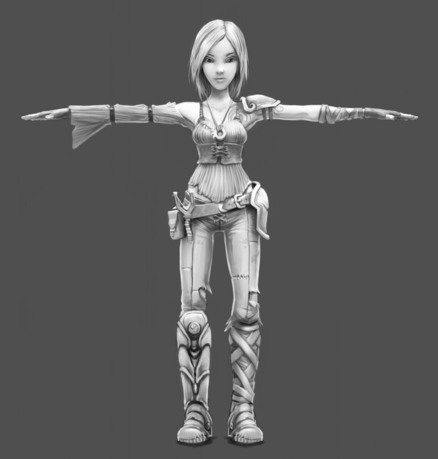
I use this template to generate with the Lora at 0.8:
"highres, hi res, best quality, masterpiece, intricate details, absurdres, 4k, semi realistic, reference sheet, simple white background, (full body), t-pose, concept [YOUR PROMPT]"
put as many details as you can of what your character should look like, then use 1:1 aspect ratio
4. once you get a design you are happy with, its time to upscale! here is the image i got and my prompt:
highres, hi res, best quality, masterpiece, intricate details, absurdres, 4k, semi realistic, reference sheet, simple white background, (full body), t-pose, slim woman, 1girl, concept, curvy african woman, dark skin, white big hair, heavy makeup, mechanical arms, hip-hop style, sexy streetwear, tank top, cleavage, baggy pants, sneakers, midriff, belly piercing, orange and white clothes
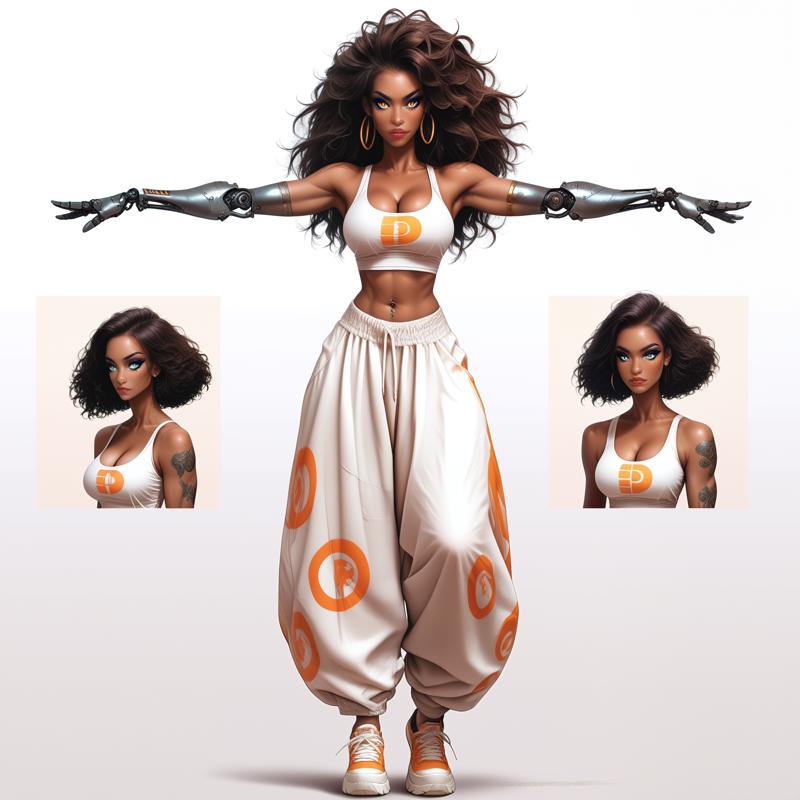
i use remacri to upscale, with low-ish denoise
5. now this is where it gets tricky, go into a photo editor (like photoshop, gimp, krita etc.) and fill the background as transparent, however you know. solely leaving the design t-pose you started with
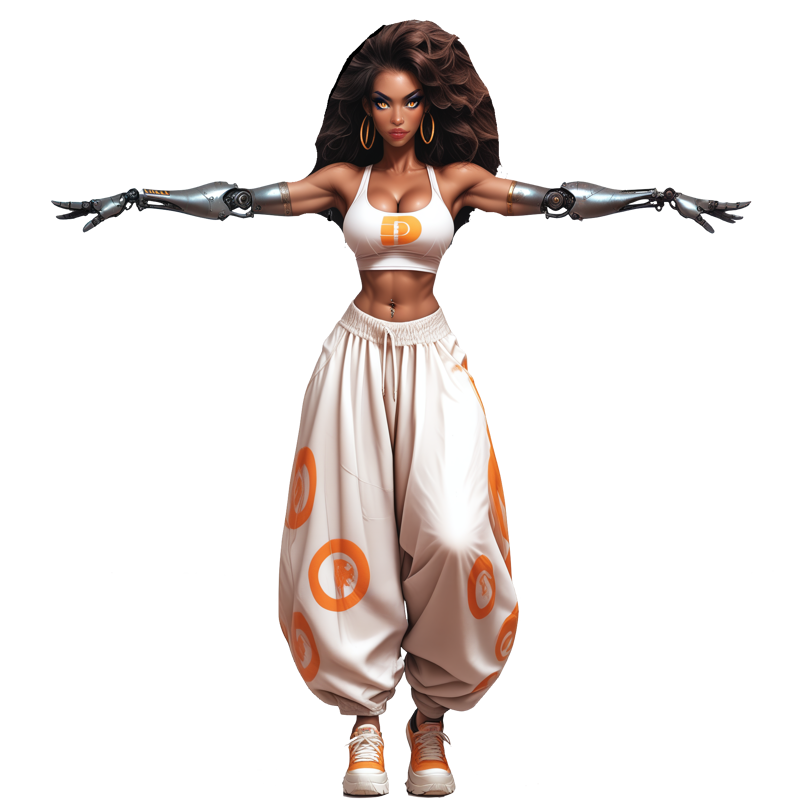
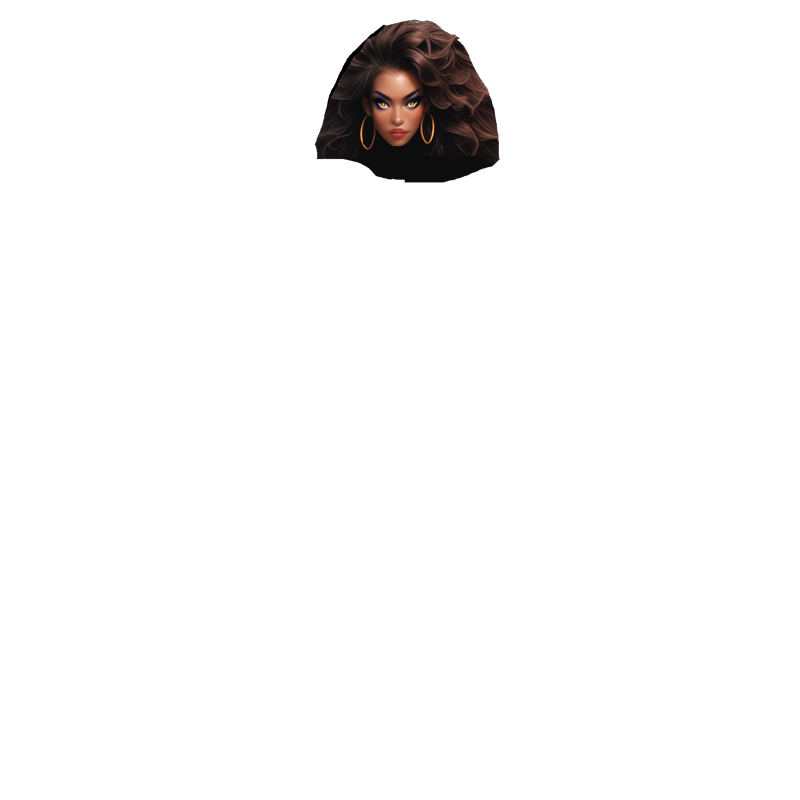
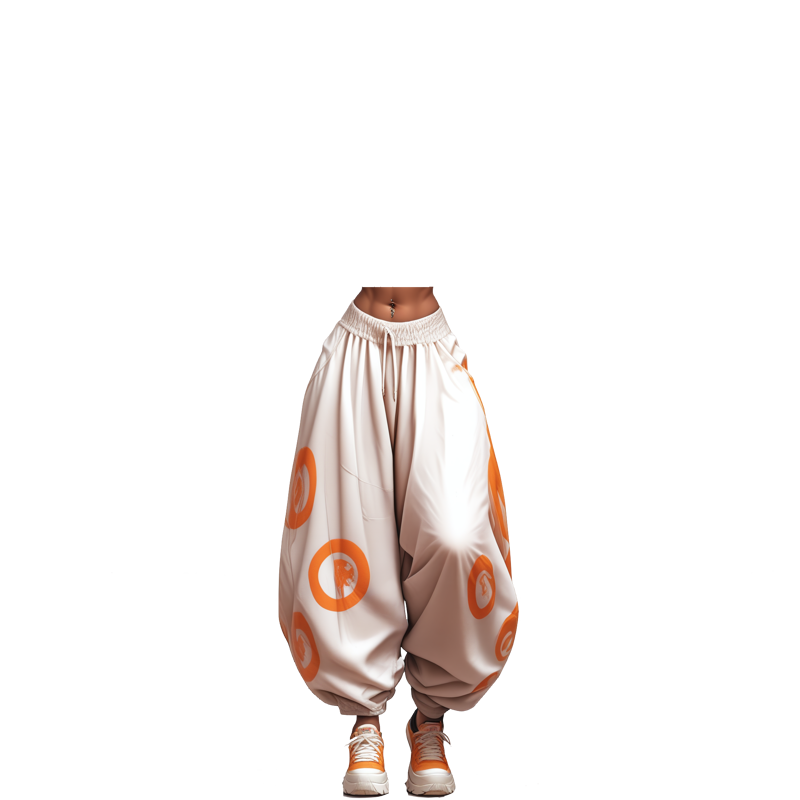
6. now make 3 copies of the image. we are going to now divide each copy into respective parts. the head, torso and legs.
carefully erase to only allow one part to be visible. like so:

7. It is now Trellis time! yay! here is the GitHub page for the Trellis 3D GUI:
https://github.com/IgorAherne/trellis-stable-projectorz
go to releases, download either of the zips and run the "run-gradio.bat" file. or the fp16 version if your graphics card is 8gb.
TSHOOT P1:
"it wont run cause it cant find gradio/flexicubes": run update.bat, then run-gradio.bat again.
8. after it is all installed, go into the GUI and change some settings:
both generation stages on 50 steps
7 guidance for first stage, adjust if necessary.
in export settings, turn simplify down to 0.9 and texture to 2048.
9. one at a time, upload a part of the body into the GUI, press "generate" and wait. when one tickles your fancy, export the GLB at the bottom of the page
TSHOOT: "no matter what i do, Trellis keeps making the same dire mistake over and over." there is an issue with the generation image. but have no fear! you can always generate another body part, go back to step 3, generate a t-pose that can fit with your other images. and erase everything but that in your photo editing software.
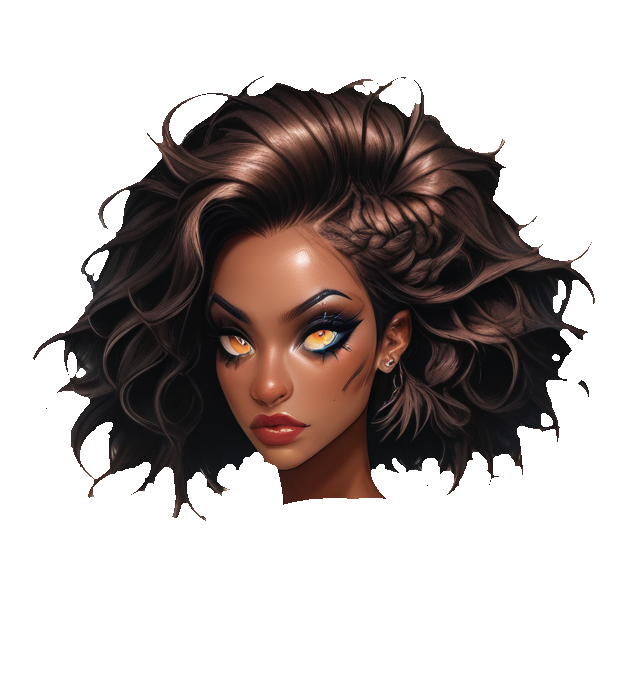
sometimes, the head can have flaws that cant be fixed due to looking straight ahead, Trellis especially struggles with hairbuns if its front view, for example. generate a 3/4 view portrait or a reference sheet without control-net (using the same lora tho). one that looks like this:
10. rinse and repeat 9 until all 3 models are done
11. Blender time! in Blender, export all 3 of your GLB files you are satisfied with. resize, move and rotate each to fit with each other.
TSHOOT: "the skin/outfit is inconsistent in colour between the 3 parts". after all, you did generate 3 images unrelated. go into texture editor in blender on the top bar, "image>save as" the problem texture. now open that texture in photo editor and adjust the colours using HSV adjustment (hue/saturation/lightness). if there are multiple problem colours, best to select each with the lasso tool, could be tedious.
12. save the textures in texture editor, to do that, go to "image>save as" on each texture the character has. you will need these
13. export as FBX.
14. It is now time to create the armature shudders. but its easy with Mixamo~ go to mixamo.com and follow the steps. dont worry about the textures disappearing. you can reapply the textures afterwards.
15. save model, go back into blender and import the FBX again.
16. a couple things need to be done before you are finished with the model. go to each body part and reapply the textures. to do that, in each part's "material" section, there should be a "base texture" field. select "image texture" in the dropdown menu, then open the texture. the uv map should still be there and will hopefully wrap around each body part properly
17. for some reason you have to apply each armature modifiers to their body parts. after setting your desired pose in Pose Mode on each body part mesh, go to modifiers, click the armature section and ctrl+a to apply. the modifier will disappear and will bake the armature into the part.
18. In pose mode, select "pose>apply>set as rest pose" in the top dropdown menu.
19. now export to your preferred file format! I like to choose USDZ as I can move it to my iPad for augmented reality. LOOK:
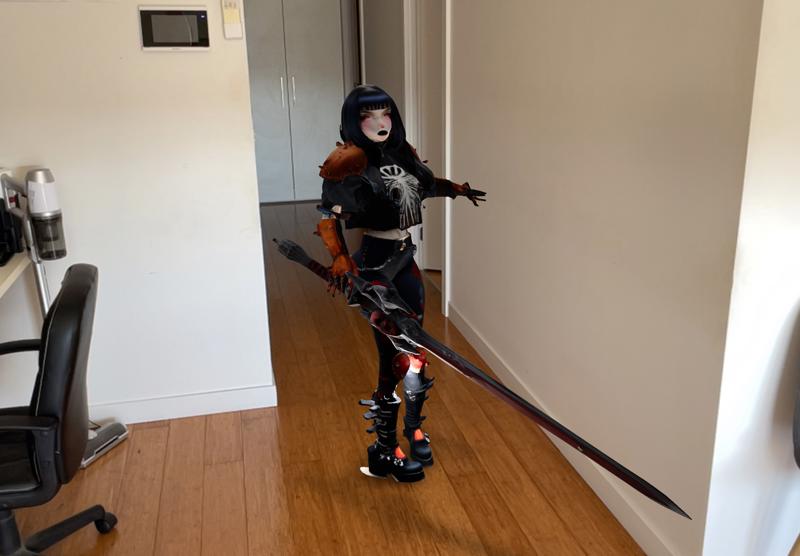
this is from another model i made. which i put into ar
Aaaaand you are done! if you have any feedback to give, or having problems just shout!revolutionary, huh? as you can see, you can give them a weapon. same process but without the divisions and armatures!