
4K Backgrounds with Flux and SwinIR
I have been posting a lot of high resolutions backgrounds over the last few days, testing some new ComfyUI workflows and training methods for Flux.1 Dev. These backgrounds are 4k resolution (3840x2160) and are generated using a combination of Flux.1 Dev and Lexica 2x SwinIR, without any manual inpainting. I think the detail and clarity is fairly good and I would like to share the process with you.
Summary
If you are already familiar with ComfyUI, the workflow is included below, and can be summarized as follows:
Sample with CFG = 3.5 for 35 steps, with a starting resolution of 1280x720
Upscale by 2x (resolution is now 2560x1440)
Run 4-5 different detailer pipelines (face, hands, breasts, vagina, penis, etc)
Downscale by 0.75x for sharpness (resolution is now 1920x1080)
Tiled Sample with CFG = 3.5 for 25 steps, 0.25 denoise
Upscale by 2x (resolution is now 3840x2160)
Run detailer pipelines again
Save with metadata and model hashes for Civitai
If you save the intermediate images (replace the preview nodes with save image nodes), the following resolutions are available:
3840x2160
2560x1440
1920x1080
1280x720
The sampler nodes are using euler with sgm_uniform, but I have had good results with other samplers and schedulers as well.
I use a 24GB GPU for this, specifically an Nvidia 3090. Each image takes about 200-300 seconds, depending on how many faces and hands are detected. I am not concerned with time, I am focused on quality without the need for manual inpainting. Automated inpainting like detailers are acceptable because I can still share the workflow with you. Hands are a problem sometimes and you can use manual inpainting if you prefer.
If you are generating images without people in them, you do not need the detailer nodes, but they will also be skipped and will not take any time. You can bypass them to prevent false detections.
Workflow
The workflow is attached to this post.
Custom Nodes
The custom nodes used include:
I tried to restrict this workflow to nodes that were relatively stable and easy to install. The TiledDiffusion node is a beta node, but I have not had any problems while using it.
Note: If you run into problems with the PromptDetailer node, please try using the API JSON workflow that is attached to this post. The PromptDetailer is a group node created within ComfyUI, but it seems like that is not supported in all versions of ComfyUI. The group node is solely for organization, it does not change the result of the workflow.
Models
Base model:
Flux.1 Dev Pruned FP8: https://civitai.com/models/618692?modelVersionId=691639
Upscaler:
Lexica 2x SwinIR: https://openmodeldb.info/models/2x-LexicaSwinIR
Detailers:
hands: https://civitai.com/models/329458/hand-detailersegmentation-adetailer
breasts: https://civitai.com/models/138918/adetailer-after-detailer-female-breast-model
vagina: https://civitai.com/models/150872/adetailer-vagina-pussy-model
penis: https://civitai.com/models/247561/penis-detection-adetaileryolov8
You can find and use additional detailer models for things like feet and eyes, for example. The hand detection needs a higher threshold than the others to avoid detecting knees and elbows.
Workflow Breakdown
Low-Resolution Detailer Pipelines
I have packaged most of the components of each detailer pipeline into a single group node, making it easy to add more fix stages.
The current fixes will detect:
faces
hands
breasts (female and sometimes male)
vagina
Each detected item is upscaled to 1024 before being resampled.
I have been experimenting with the denoise value for both stages of the detailer pipelines (the low-resolution fix and high-resolution fix). It seems like the best results come from having the denoise values in the following ranges:
Low Resolution
Stable Models
0.25 - 0.5
Unstable Models/LoRAs
0.5 - 0.75
High Resolution
Stable Models
0.3 - 0.75
Unstable Models/LoRAs
0.25 - 0.5
Downscale
This is an easy way to improve the sharpness of the image and remove some minor mistakes. It also helps blend the low-resolution detailer pipelines into the background image. This can be removed but I have found it to be a useful step. It runs quickly and leaves you with a perfect 4k resolution at the end of the workflow.
High-Resolution Prompt
This workflow uses a second prompt for the high-resolution sampling, which is a technique that I have been using for a long time to prevent totem-pole people and recursive bodies at very high resolutions (it is critical beyond 8k).
This is a generic prompt that is blended with a weight of 50% each with the original prompt and contains some generic detail and quality keywords, like hyper-realistic photograph, extremely detailed, vivid color, realistic textures.
Tiled Sample
Instead of re-sampling the entire image, I have found that tiling the image and sampling each tile individually can produce much better results, significantly reducing the amount of body horror and other artifacts, while adding texture and detail. This is especially true for images with a lots of background detail that might be lost if a single pass were to focus on the foreground character.
The denoise value is set to 0.25 for this stage, which prevents the image from changing too much. The CFG value is the same as before.
Depending on the settings, this step can increase the final resolution to 2304, and you may need to crop the final image.
High-Resolution Detailer
The high-resolution fix is the same as the low-resolution detailer pipelines, but runs on the high-resolution image to fix any errors that were introduced during the tiling and upscaling process. This is the final step before saving the image.
Save With Metadata
I have been using a custom node to save the images with the metadata and hashes that Civitai requires to correctly identify the models that were used. This is a single node that can be added to the end of the workflow and replaces the standard save image node. This allows you to link the image to multiple models, which is impossible with the standard Civitai interface.
This might be the most important node in the whole workflow and makes life much easier.
Issues
Even with the final high-resolution detailer, hands are still a problem sometimes. Increasing the denoise value for the high-resolution hand detailer may help for stable models, but it will make things worse with unstable models and the low-resolution hand detailer may be more helpful.
Images with noisy textures (stone, wood) exhibit an aliasing effect when you zoom out. This is because of the size difference between the latents and image, and is not visible when you zoom in to full size.
Sometimes the
Save Image With Metadatanode does not write the EXIF Parameters field. I'm not sure why this happens, but changing the sampler node index within the save image node can help.Even when the Parameters field is written, sometimes Civitai will link the certain models to the wrong model page. This is a bug on their side.
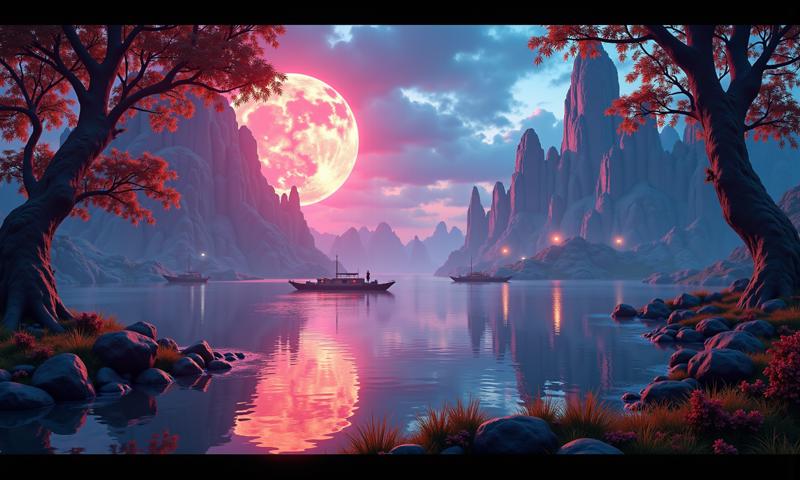
Samples
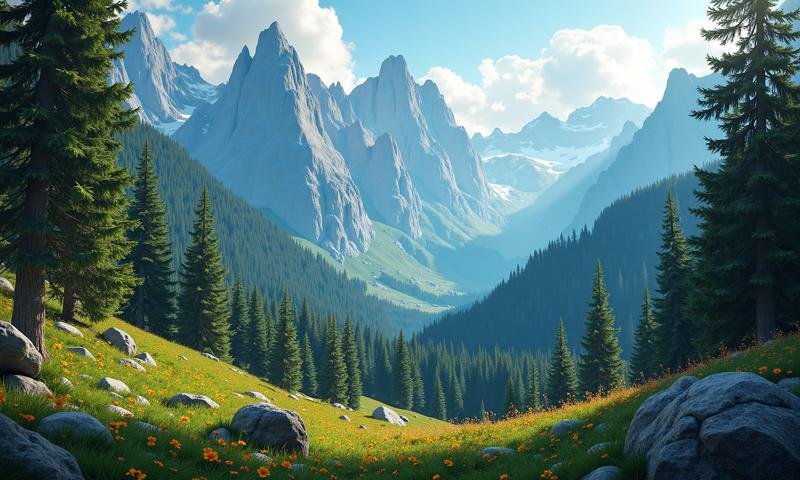
This is the workflow that I used for most of the gallery of https://civitai.com/models/1142575/melty-style-melting-and-glowing.
Here are some of the SFW images that I have generated using this workflow or small variations of it: