
CREATING A CHAR FOR DUMMIES
Hey! so you decided you wanted to start making your own Character Loras but don't know where to start. Well here's a fresh start. For educational purposes, I'll be looking to train a Char Lora of Tex Avery from the old cartoon shows!
.1 Getting your Dataset
It's important to understand when making your character, you should factor in the following:
Which version of them are you creating?
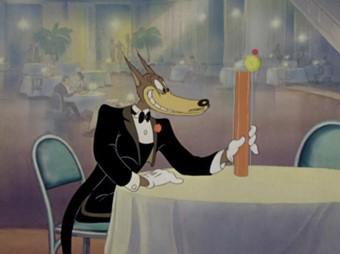
(From the old Cartoons/Tim Avery Shows. He does appear in other cartoons, but he looks more modernized and not like his old self I prefer)How many versions/costumes/forms are you including in your Lora?
(4 Costumes: Original, Cowboy, Jail, Tuxedo )
Do you have a specific style in mind?
I'm not well-versed in this yet but, from experience, if you have images of the same artstyle, that artstyle will be "baked" into the Char Lora as the artstyle of said Lora. Many Creators have their personal artstyle(how this is done I'm not too sure yet but will update this article once I do).
With this knowledge you can start your search for images for each variation. It's recommended to have:
· 15-20 images (20 images for each costume)
· 512x512 resolution minimum. Anything lower is usually problematic
· Different angles, (front, sides, back,), poses, (running, jumping, stretching, etc.), expressions, (happy, said, angry, annoyed).
NOTE: we should have the same number of images for each costume, that way one isn't preference over the other when training and scramble up the training. So, if I have 16 images of him in his jail costume, but 15 of his original, we’ll only use 15 images for each costume
1.5 UH-OH NOT ENOUGH IMAGES
It’s actually common that I don’t find at most 15 useable images containing my characters. I’ve actually learned a gimmick at least with Illustrious, that setting the num repeats to the number of images you have, creates the character pretty accurately.
NOTE: I’m not 100% if this will work for you so try at your own experimentation! Once I find more accurate information, I'll be sure to update this section
.2 Searching for Images
· Google(Located a Wiki Site that has a Gallery Page of Wolf in his various costumes)
· Google Images(No images seemed to be any bigger than 512x512)
· Youtube(I found older videos of Wolf from the old Tex Avery Show that had a resolution of over 1080p and took over 100 images. Some were 720p but they’re too grainy so I ignored them)
· Other sites like Danbooru, Zero-chan, didn’t have any good images of him.
For additional searching, I recommend downloading a searching software called Grabber, that searches for characters across multiple websites!
2.5 images you should avoid
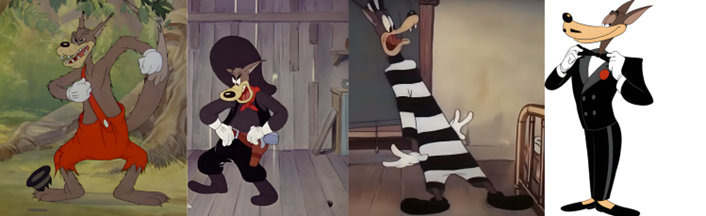
While searching for images, I found a video with this quality:

Avoiding this quality, (720p or below) is highly recommended. There's too much noise(pixelation), that will "corrupt" your char lora's training. If possible, you can use an upscaler to make your image “clearer”, (Like Upscayl) however, if the upscaled images results in a meshed version, try to avoid using it.
(Although bigger, you can see visible mesh on wolf,( and lady for that matter)
.3 Going over your images

It's important to understand that you do not need to include images that are similar in poses. Otherwise, these will be ingrained into the char lora as a specific pose for a specific prompt. LEARNED FROM EXPERIENCE
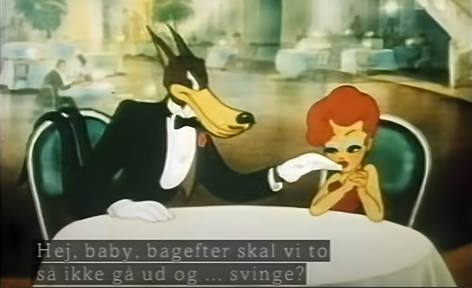
For example:
Which one should I include? Based on the fact I have an image with a similar expression as the first image, I will decide to get rid of that one.
Using an Upscaling program
It's important to note that you should really only use an upscaler like Upscayl if absolutely necessary, (for example the img has really low resolution). From experience, upscaling an image that is already large enough does not seem to make the char lora better looking.
Clearing up your images of people
To get the best results of your chars, it's important to ensure they're the only seeable person in your images,(this doesn’t include limbs peeking or infront of your character). I'm used to using Photoshop to crop and/or generative fill objects/people if needed. Free software like GIMP works as well!Clearing up your images of background
This is the environment your character is in inside an image and is optional to get rid of. Including the environment will be trained into the lora for a better, effective artstyle. I’ll be including the backgrounds I’ve taken screenshots of Wolf in. If you choose to get rid of the background, make sure to replace it with a simple colored background(I avoid white now as Illustrious tends to use it as the default background when prompting).
Getting rid of objects
With Photoshop, it’s easy to edit out text, icons, etc. This is also easy with Microsoft images.
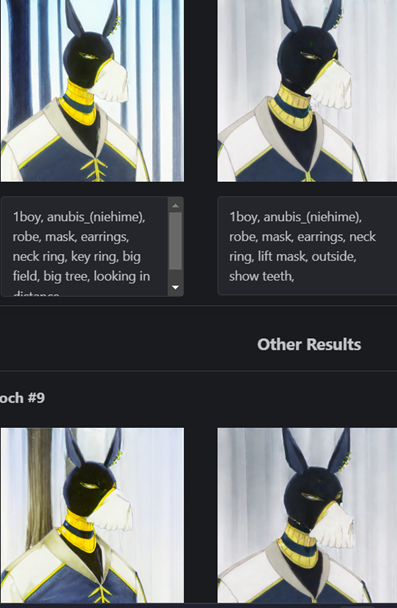
.4 Tagging images
OK! We have chosen our images, now it's time to start tagging! I’ll be using TAGGUI
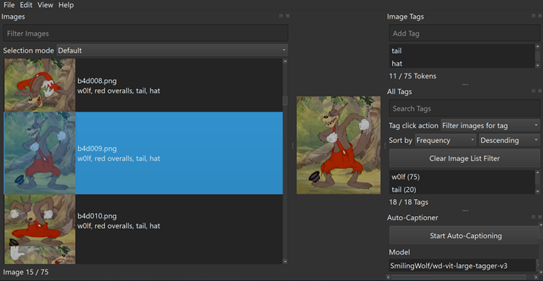
What is TAGGUI?
It’s a tagging software that allows you to tag multiple images at once into .txt files? Why do we need the taggings in .txt files? It’s so once we’re done, we can zip our images and .txt files together and drag n drop them in Civit once we’re done. I do not recommend CivitAI to tag at the current moment since you cannot tag all images at once, plus, TAGGUI has a helpful autotagger(the auto-captioning option you see in the image above).
Auto-Captioning
I really only use this to identify clothing/items I don’t recognize in the picture and want to include for prompting. For example, in the image above, I used Auto-Captioning to recognize his clothing would be recognized as red overalls in Illustrious.
The Model for the Auto-captioning is important as well(which is the kind of auto-captioner). Right now I use SmilingWolf/wd-vit-large-tagger-v3.
Understanding Tagging
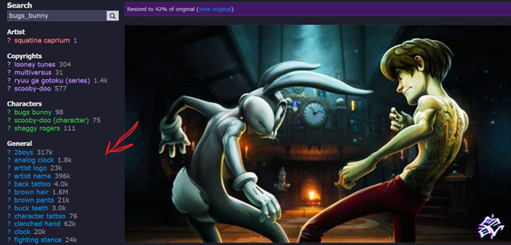
With SDXL/Pony/Illustrious, tagging works like how you see on the site Danbooru when looking at an image:
You don’t have to tag every single thing you see in the image, just what you want the user to type to get the needed results AND for the Lora to be trained properly. I want the lora to recognize Wolf + his clothes individually. First let’s handle Wolf by finding our trigger word:
Trigger Word:
Trigger word is the word in your prompt for the AI to generate your character in an image. (example: Jumpman in the prompt Jumpman, male, red overalls)
It’s important to understand the database your checkpoint was trained on (and when), to avoid any words that may already be in use. Illustrious was trained from Danbooru’s database.
Good examples: (w0lf, wolftex, wolfavery)
these are simple n easy to type
Bad examples: (wolf, wolf boy, wolfiwwerwf)
these are either already in use by the checkpoint or, too complex in case of the user
For this process, I’ll be going with the trigger word w0lf.
Clothing:
Next is identifying the clothing for his costumes.

Original = w0lf, wolf boy, red overalls,
Jail = w0lf, wolf boy, prison clothes,
Cowboy = w0lf, wolf boy, scarf, black vest, grey shirt, black pants, holster, cowboy hat
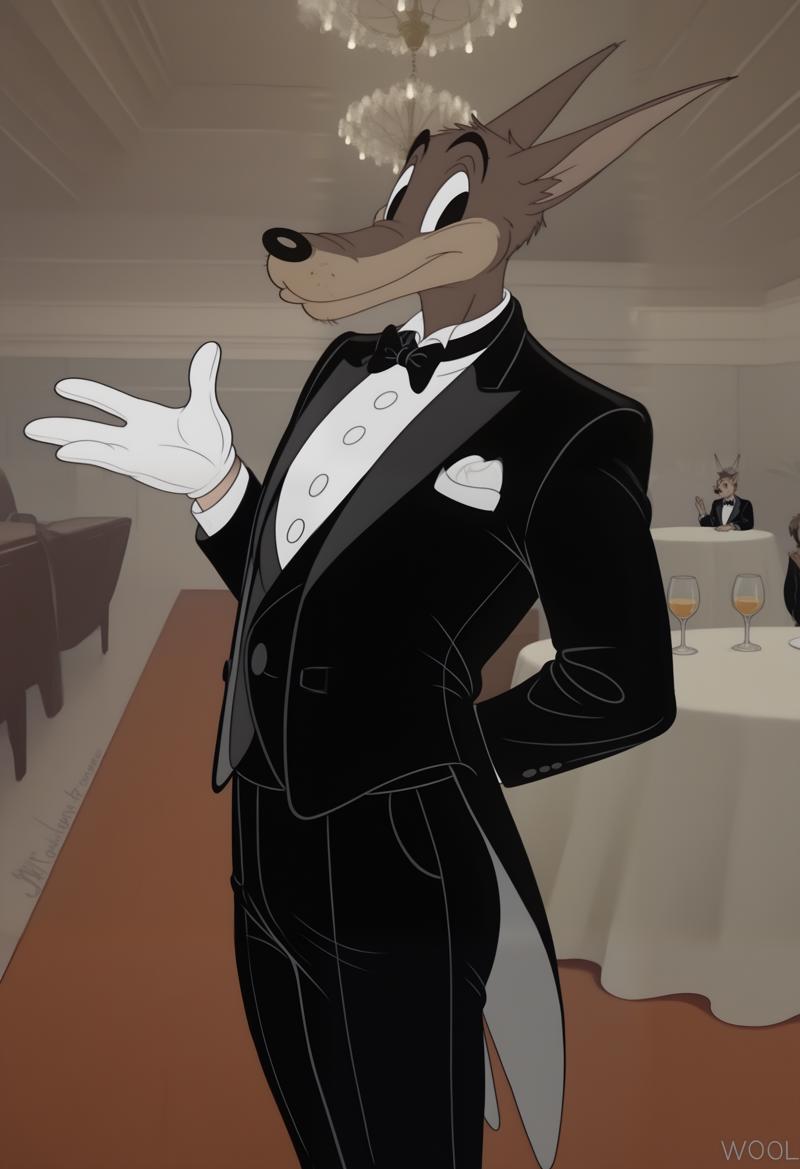
Tuxedo = w0lf, wolf boy, tuxedo, shoes
NOTE: Why is Wolf boy included in my tagging? It’s because naturally, illustrious DOES recognize him as a wolf boy, (the trigger word alone will be a human version of him in the prompt). It’s not truly necessary to include wolf boy, but I like to still include it to remember what else needs to be prompted to include him. This pertains mainly to non-human characters. Just the trigger word itself is always good with a %100 human character.
It's important you only have up to 75 tokens when training (this is viewable and tracked in TAGGUI). This shouldn't be an issue though as you mainly will be tagging the
trigger word + type of char(if it's a non-human) + clothes.
After tagging, it's time to zip up your images and .txt files and train!
.5 Training your Char Lora
.1 Go to CivitAI
.2 Create your LORA, choose Character
.3 Agree to TOS and drag & drop your ZIP into the box
.4 Make sure you enter your trigger word into the trigger word box(do not include a comma afterwards)
.5 Next screen choose the Checkpoint you'll be training with and include simple prompts to ensure your lora looks good , (i.e. 1boy, w0lf, wolf boy, close up, smug).
.6 By default, what Civit has is %99 always good. Once you learn more about training, THAT's when I recommend messing with the setup. From my experience training in Illustrious:
1img only = 100 - 200 steps
2-14 images = 2-14 num repeats
16+ images = 640 steps or the closest to this number
I always set batch size to 4.
And you're done! Start training and wait for the 10 epochs to finish!
.6 Results
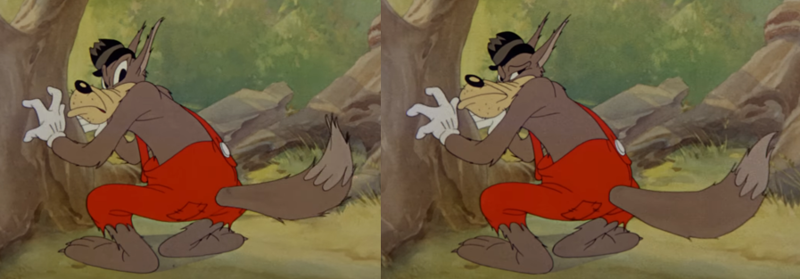
It is important to type out examples to pay attention if the epoch that generated the image is overbaked or not. You can tell this if the images are crispy/noisy looking, or, they are doing the exact same pose as one of the images.
Example of a overbaked epoch: Notice how the ai has ignored my prompts and both images look near identical.
However, after some experience, I managed to create better such as below!
NOTE: I have only learned all of this in a span of a month and still learning each day. If there are any more experienced trainers reading this post, feel free to leave feedback as I want to improve this article and make it as descriptive and informative as possible!
Big shoutouts & thank yous to:
For showing me how to properly setup lora training(both online & locally when I can afford a new computer :^)
Epispasm
For answering my questions when no one else did in #training
For being a cool friend and helping me along the way with training and reviewing my projects.