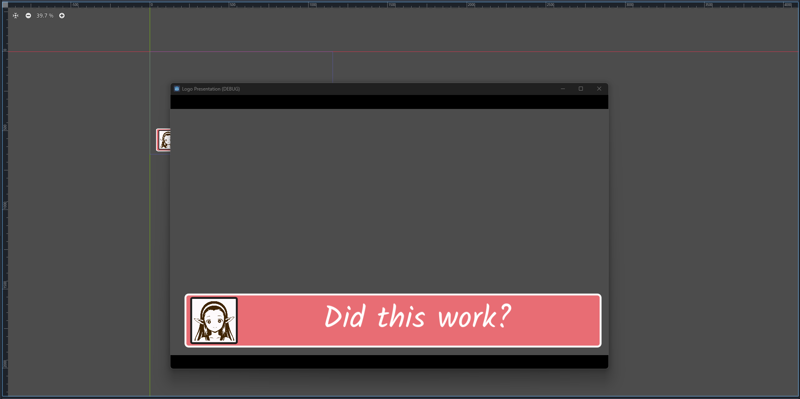
This article isn't going too deep into the subject, but is simply going to show the step by step on how to take a generated asset and put it into Godot. This will be written as if there was no knowledge in Godot and for automatic1111 Stable Diffusion.
This will be centered around the LoRA Game Icons Illustrious, but everything here is fairly simple and can be applied to whatever you want with more effort.
Generating
For this demonstration, we will set up a text box purely for presentation (no code), but it will cover all the basics. With that in mind we will start by generating a profile face to demonstrate. If you're using the Icon LoRA you will need an xl checkpoint for Illustrious, I'll be using Illustrious pencil. Set the LoRA to 1.0 by using the LoRA tab in your UI.

Click the LoRA and it will add the tag to call it to your prompt it will look like this: <lora:Icon Illustrious:1>. The trigger words for the LoRA are set to 'icon \(computing\)' though for the best result I'll also add the tags 'white background' and 'monochrome', purely for organization I'll put them in front of the LoRA so it looks like this.

Back in the generation tab, my recommended settings are a sampling method: Euler a, Sampling steps: 40, Hires. fix: On, Upscaler: Latent (nearest-exact), CFG Scale: 4, and I like to set the Batch Count to 4 so I have options it should look like this.
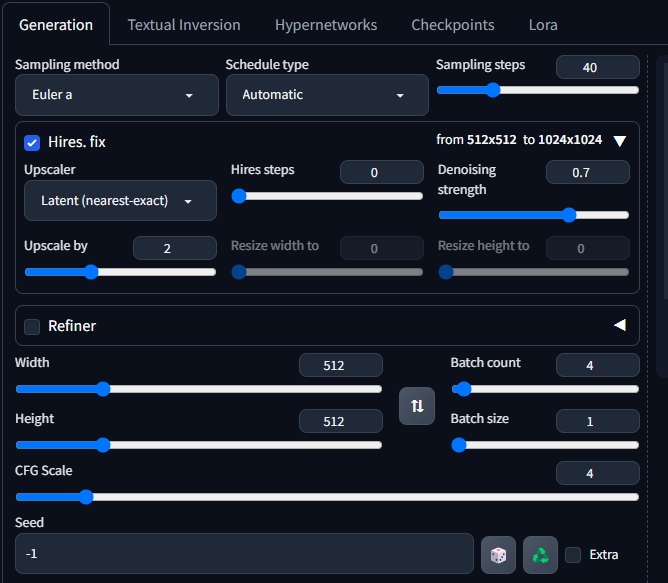
After that you can type your prompt in you prompt box and click create. Pick your favorite image; I'll be using the first one. From here, we have a few options.
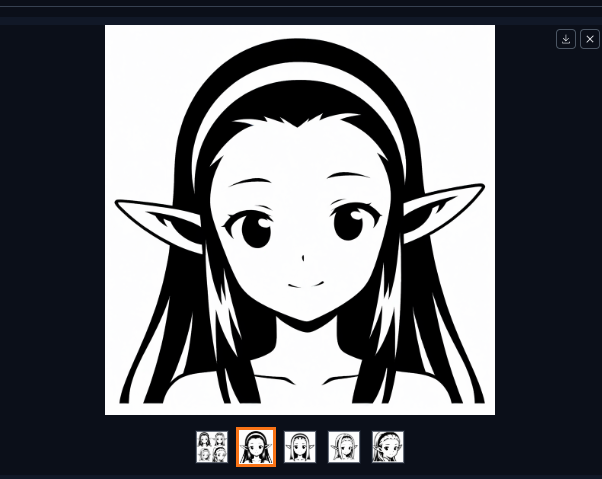
From those things we can inpaint it, make it a png automatically* (not recommended, yet), or make it a PNG manually.
Inpaint
Inpainting allows us to re-generate and change portions of the image. Click the palette button on the bottom to move to inpainting mode.
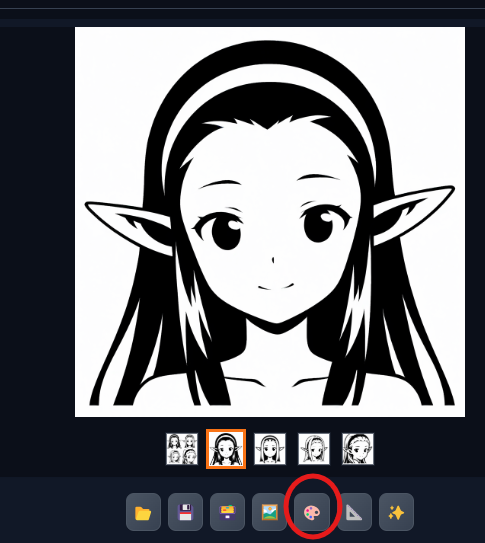
I think this default face is fine so rather than focus on fixing any issues Ill try generating a second expression. Draw over the target area, for this I'll draw over her face.
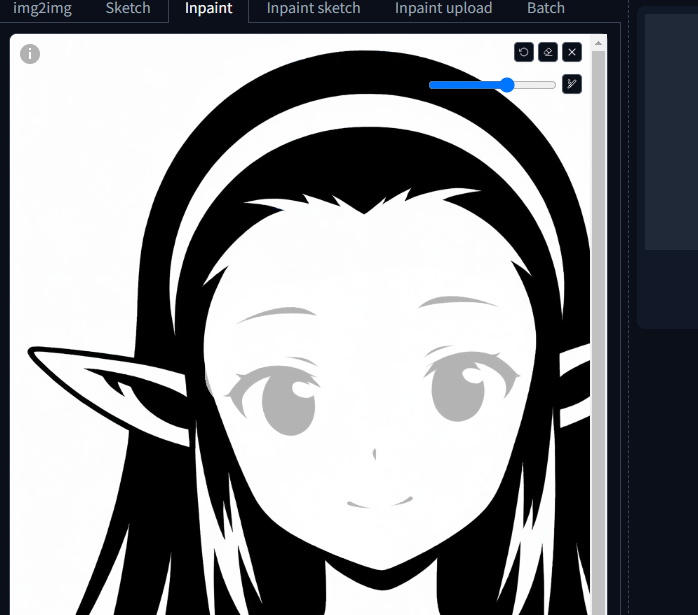
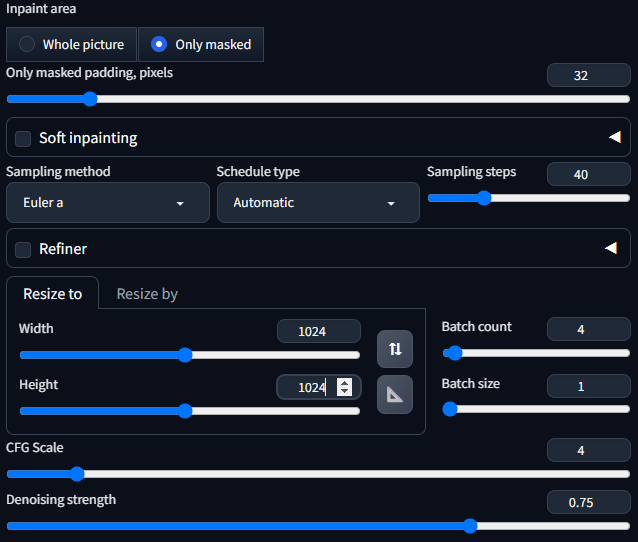
Set your inpaint area to 'Only masked' mode, Sampling method: Euler a, Sampling steps: 40, CFG Scale: 4. The width and height should be bigger than the original setting so I'll be using 1024x1024, and the denoising strength is how much your allowing the image to change I normally am pretty satisfied with anywhere between 0.6-0.75. I'll leave everything else on default.
leave the original tagging words in your prompt and change the rest of your prompt to reflect what you want, I'll be generating a panicked expression. You can use the eraser tool to wipe the board and redefine your target area, until you get your desired result.
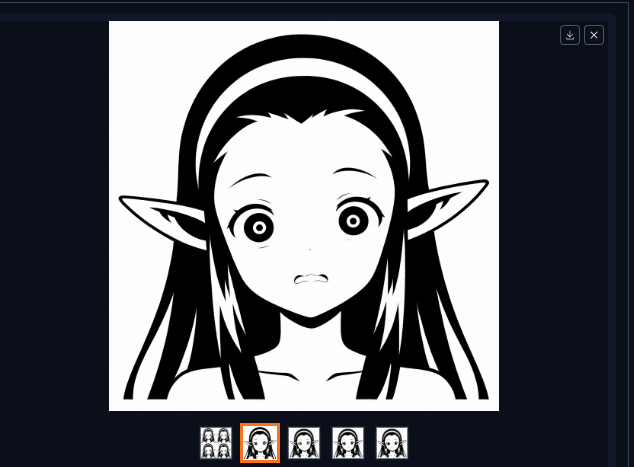
Now that I got my happy, and panicked expressions I can move on to demonstrating automatic border removal.
Automatic Transparent Background*
The transparent Background isn't perfect so I personally recommend manual mode it's super easy, but for those curious I'll show this as well. By default automatic1111 can not make transparent images so to do this you will need to add an extension. Go to the Extensions tab, click 'Install from URL,' and enter the repository URL for the Remove Background tool.

Then click install and go to the Installed tab and click the Apply and restart UI button. After restarting go to the img2img tab again, and put you image back in. You won't need any prompts for this so go to the bottom where you will now see a remove background button. Set denoising strength to 0 to prevent any changes to the image itself, ensuring only the background is removed. Enable the Remove background, select a checkpoint, and then turn on Alpha matting. This will enable 3 sliders that effect the various elements of background removal.

The reason I suggest manual over this method is that there is NO perfect combination to use on one image and then the next. Each image will require a lot of slider play to eventually get your solution. Hopefully a new tool/extension will improve this later, but as it is now it leaves a lot to be desired but hopefully improves.
Manual Transparency
This process will use the free art program Gimp which can be found here or the windows store. In the upper hot bar click 'Colors' and then 'Color to Alpha' this will select 1 color to make transparent the default is white but can be changed.
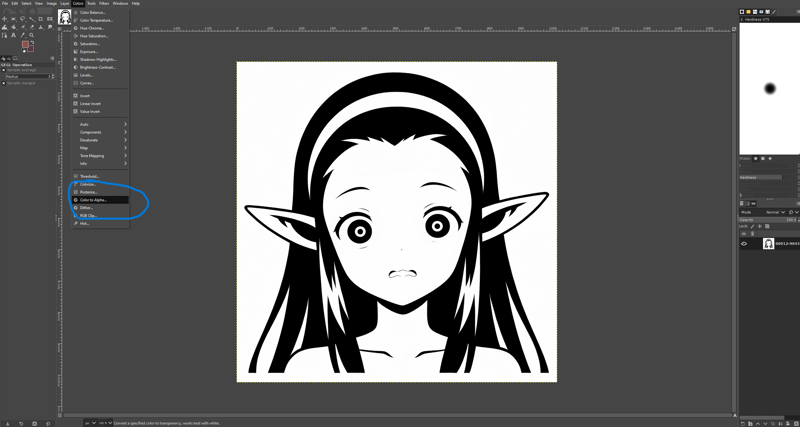
For those applying this to non-logo images this will only work on a single color so you would still need a solid color background. Now you have a transparent image, though to make it Godot friendly there is one last step.
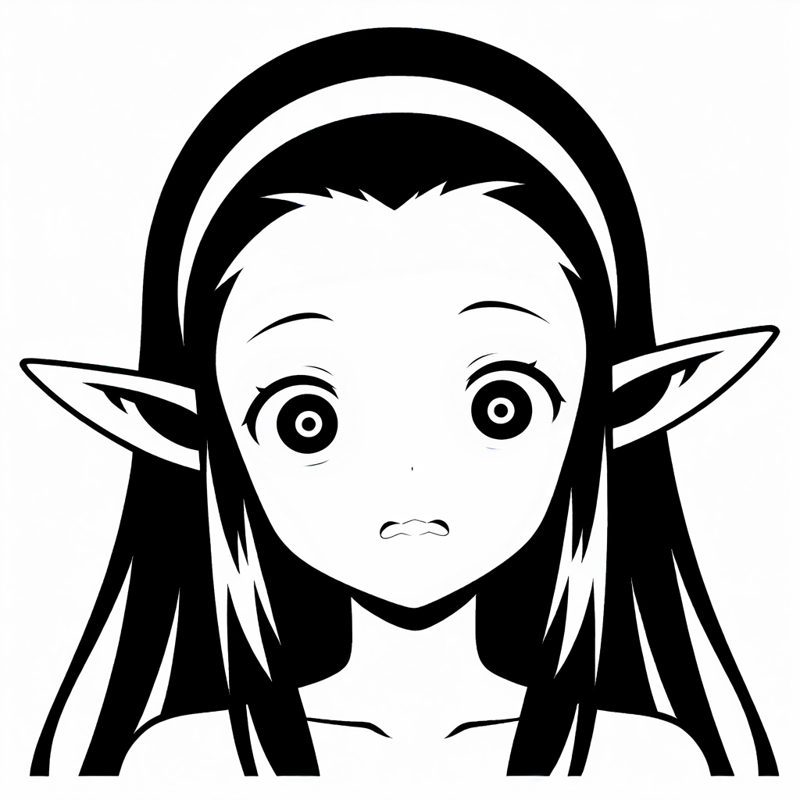
Now, to make it compatible with Godot, a solid black image like this can't be used instead it needs to be white so to do that click 'Colors' again and then 'invert' the color.
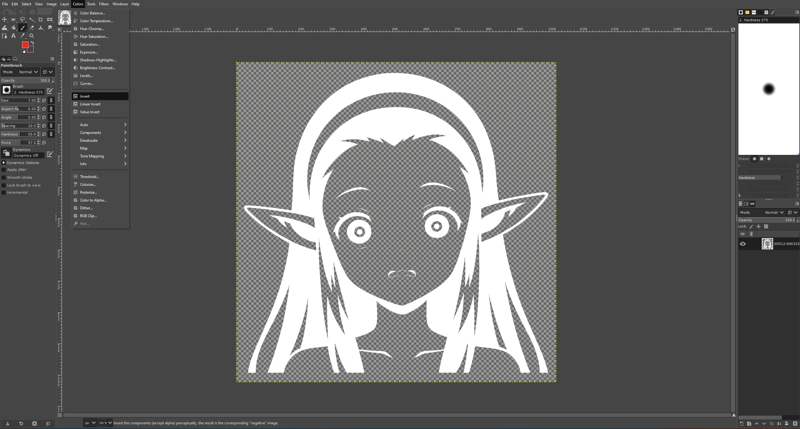

Perfect.
-Educational Note: A popular format for game images is a '.svg' file due to its ability to be resized with minimal quality loss making it good for all screen resolutions. To turn your file into an '.svg' from this point is simple. Download Inkscape from here or your computers windows app store. Then since you already made the file go to 'save as' save it as the second option 'plain svg(*.svg)' and you can use that the same way as you would use a png.
Using your Logo in Godot
To start off Godot is a free game maker engine and it can be found here. Open it up and create a new project. On the landing page select the user interface root node.
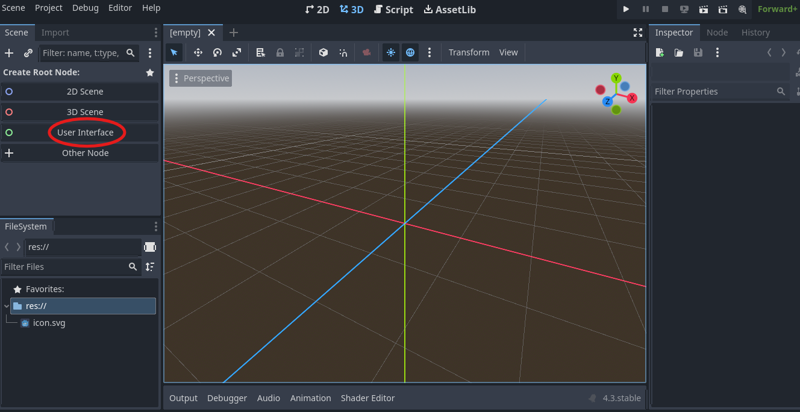
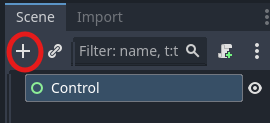
We will be making a demonstration text box so first click the node '+' button and then a panel from the menu.
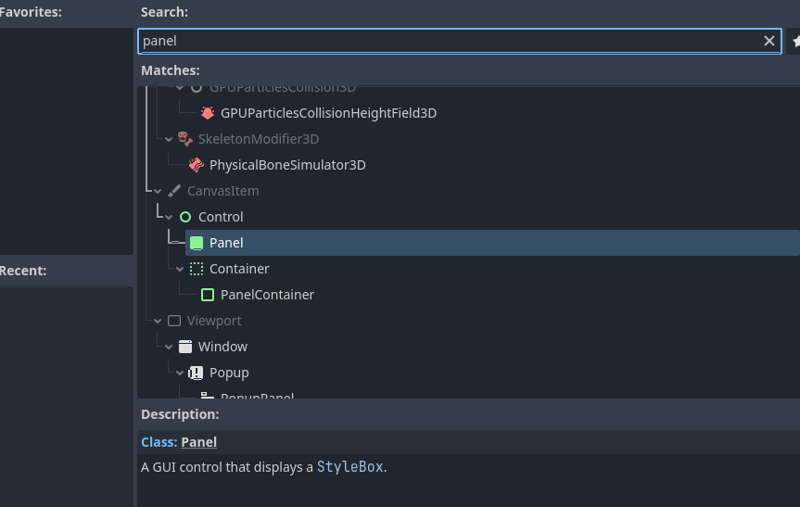
This will be a child node of our main node. For those who noticed the zoom slider in the main window set it to about 50% and you will see the whole screen of the default camera we are going to make the text box take up most of its length.
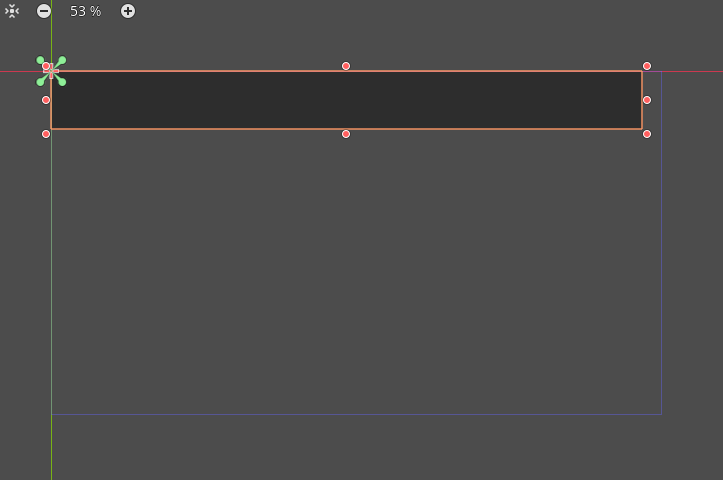
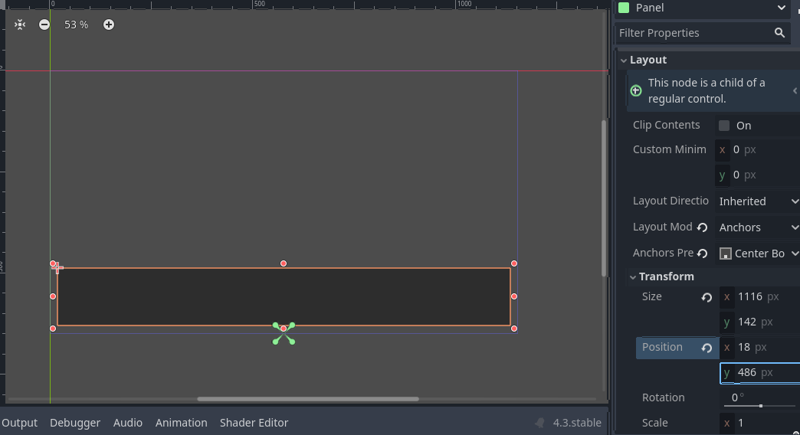
Click the circled green '+' sign in the tool bar and snap your box to bottom center. Then to remove it from the very bottom go to the Layout, Transform, Position, and subtract 20 from the Y value to lift the box off the bottom.
Now click the 'Theme Overrides', 'Styles, and 'New StyleBoxFlat' after clicking it click the icon that appeared in the bubble to select your color.
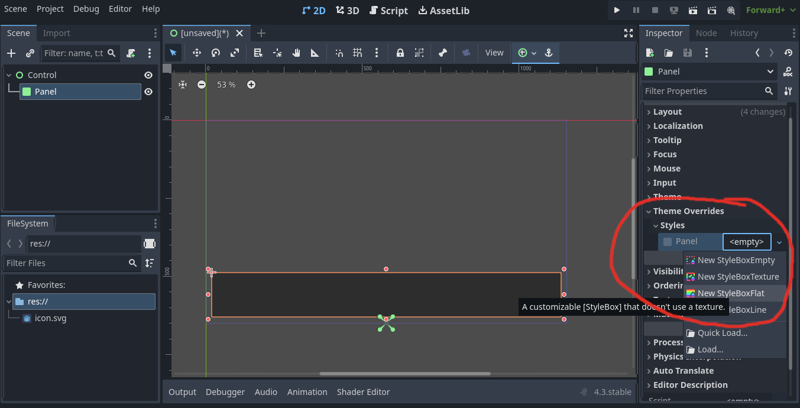
After that you can mess with the 'Border Width' to assign pixels for the border, then 'Border' to assign those pixels a color, then 'Corner Radius' to turn your box into a soft square (there are other features too But I won't be using them).
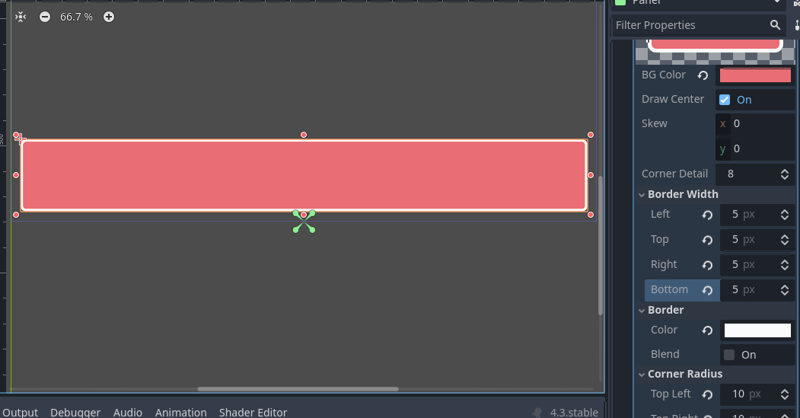
Now we have a basic text box. Click the original Panel in the node windows and add a second new panel underneath it.
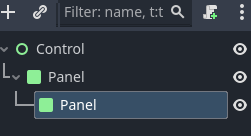
This panel is a child of our main Box which is a child of our User Interface. In a similar manner click the green plus and snap it to the middle right at a size that doesn't completely fill the original. Change it transform again to take it off the perimeter and have it look like a proper character box.
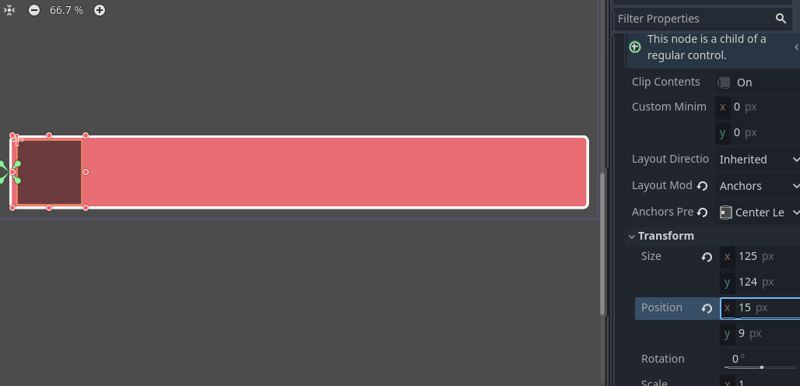
I'm going to do the same thing as the previous to customize it into a soft square again.

Now our text box needs the Icon we made before. Select the little panel, and a new node this time add the 'TextureRect' node.
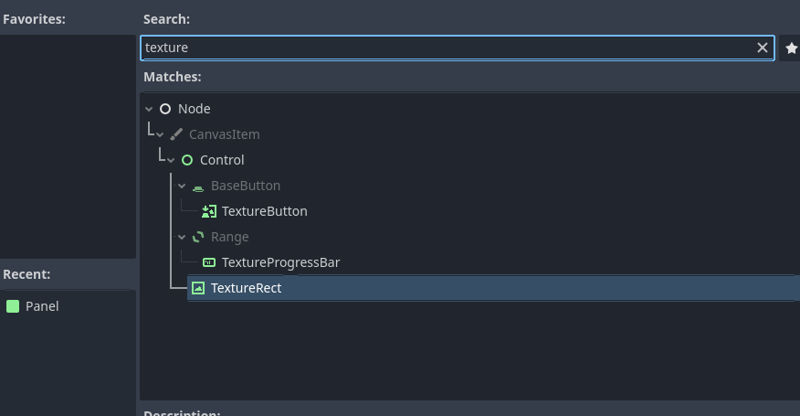
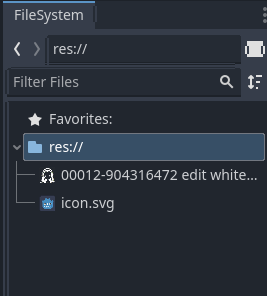
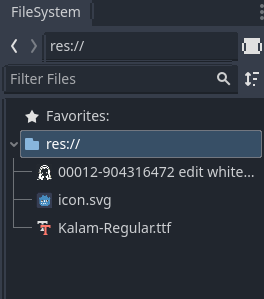
In your 'FileSystem' (bottom left) click and drag your icon into the window.
Then with the TextureRect node selected drag your icon to the 'Texture' box on the right side.
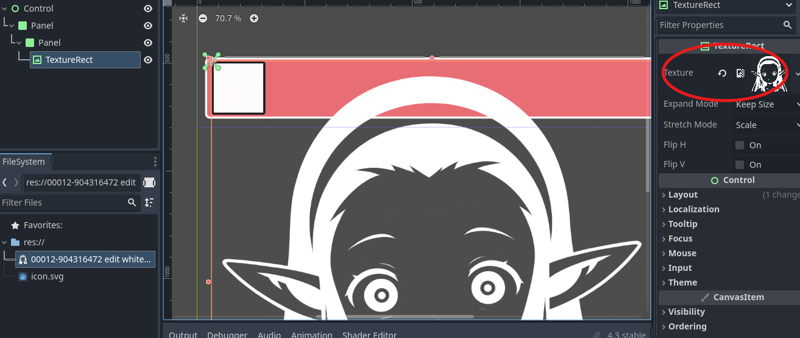
There is now a giant logo on our screen, this is not ideal. Use the green plus tool to snap our picture to center, in the 'Expand Mode' click ignore size. Drag the corners until your logo looks right, and snap it to center a few more time to check.
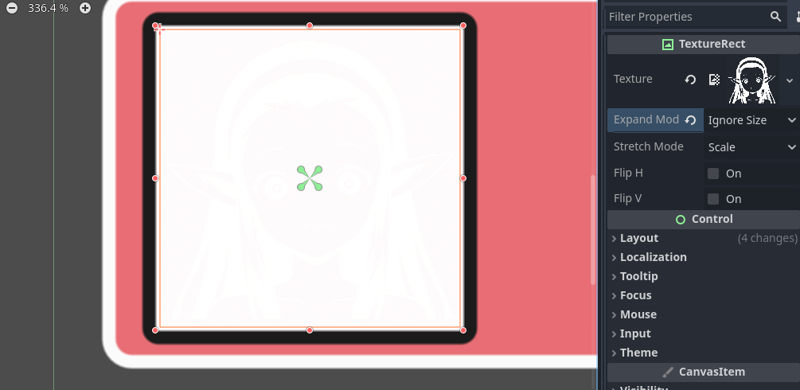
(After regretting my decision to put white on white). Once your Icon is fitted. You can now mess with the settings go to 'Visibility' and then click 'Modulate'.
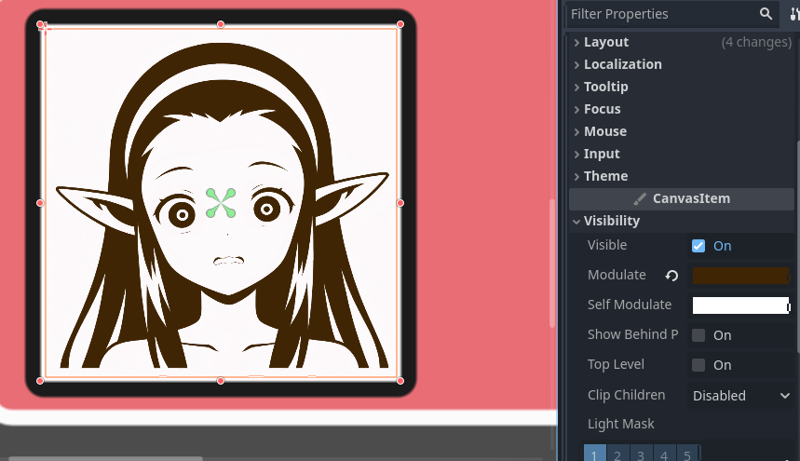
Now I have a picture of a panicking little dark elf.
-Educational Note: The 'Modulate' does not work on solid black this is why we inverted the colors previously. In more detail "modulate" essentially performs a multiplication operation on colors, and multiplying any color by black always results in black (similar to multiplying anything by 0).
Now to add text to the text box. We'll start by selecting a text font, this can be done by browsing the google fonts found here. Select and download your favored font. Drag and drop the ttf file into your 'FileSystem' tab.
-Interesting note: Learned of a pixel style font site that you can try making your own font at is here: https://www.pentacom.jp/pentacom/bitfontmaker2/gallery/
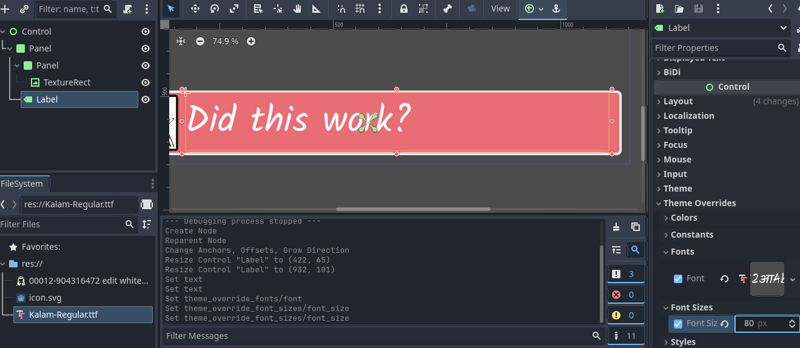
Then click our main panel (the big one) and add a node called label. Type something into the 'Text' box in the label tab to get started.

Now this looks small, and its not the font we downloaded. Scroll down in label to the control area select 'Fonts' and drag and drop your ttf file. Then go to 'Font Size' and select a size that fits your box.
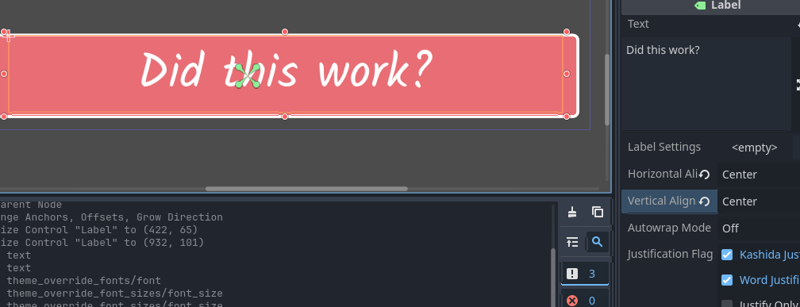
Back near the top in Label you can change the 'Horizontal Align', 'Vertical Align' to center to put your text in the center of the box
If you were to run this project now you'd get a window with our text box fitted on the bottom but there are some touch ups we can do before that. On the top hot bar click 'Project', then 'Project Settings...'.
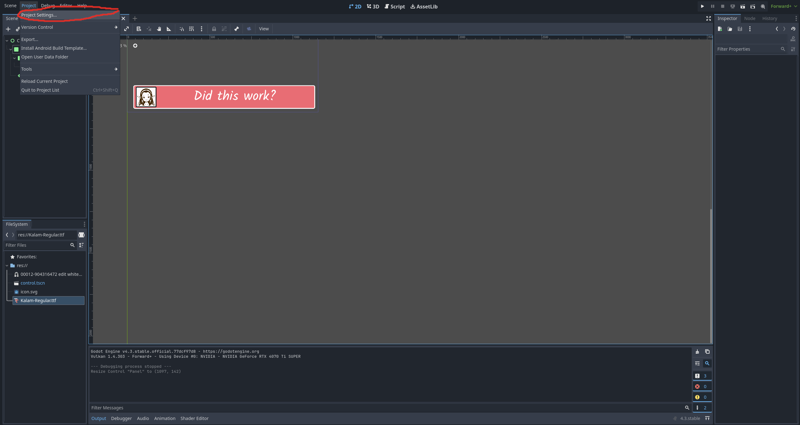
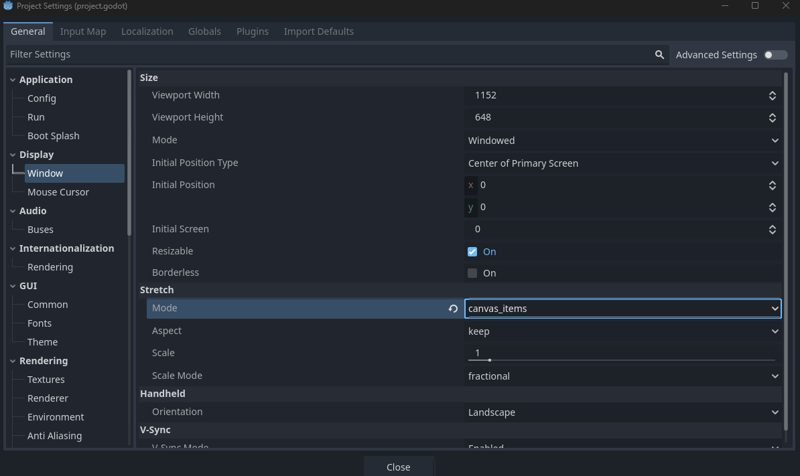
In the new window click 'Display', 'Window', and then under 'Stretch' go to 'Mode' and click 'canvas_items'. This will make our text box scale with the window.
Click the run button the little arrow in the top 'select current', 'save'.

Finally we have a working adjustable text box. I hope you learned something.
