
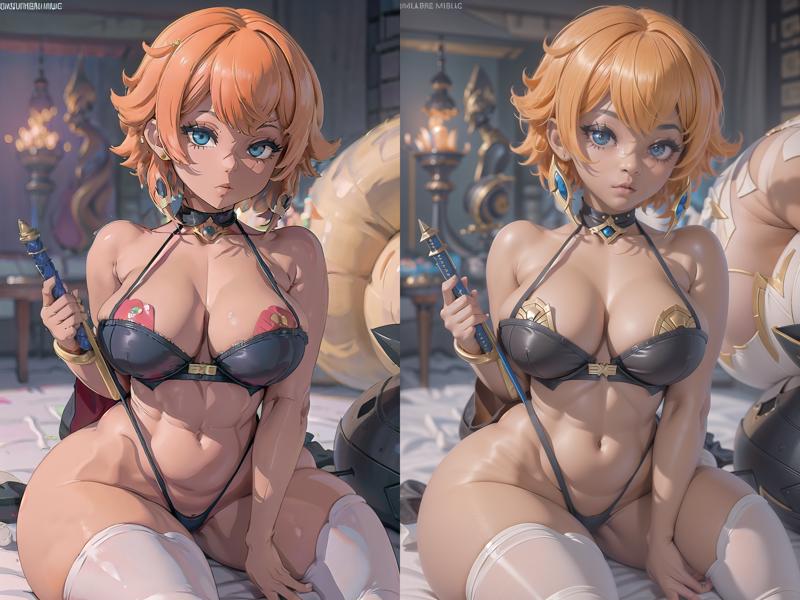
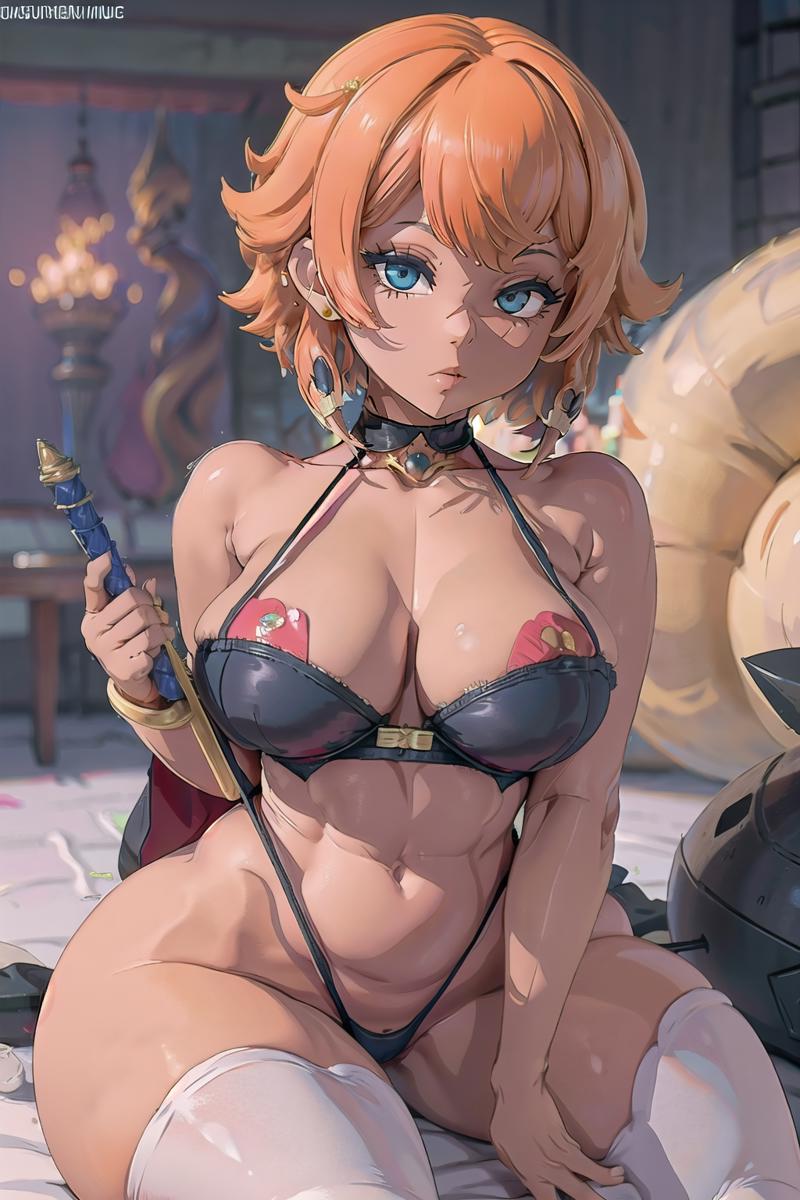
Let's say you like the shapes and details that one model produces, but the shading style and lines of another. Regular img2img isn't cutting it, and even ControlNet Tile isn't quite good enough on its own. If you want to change the style of an image while very closely preserving the color and fine details (see example below), follow these surprisingly easy steps.
Go to the img2img tab and put your image in the box.
For starters, you'll probably want to use the same prompt as the original, although you may want to add some styling stuff (like "cel shaded" or whatever).
Make sure your controlnet is configured for at least two tabs. On your settings tab, in the ControlNet section, make sure "Multi ControlNet: Max models amount (requires restart)" is at least 2. More is fine, but we'll only be using 2 tabs.
On your first tab, make sure the tab is enabled, and check the "pixel perfect" box (this sets the canvas size to the same resolution as your image, which will make it clearer).
Put your image in this tab.
Set the Control Type to "canny". The preprocessor should be automatically set to "canny", and the model should be set to control_v11p_sd15_canny (or something else if you're using SD 2.1 or SDXL).
Set Control Mode to "My prompt is more important".
Leave all other settings at their defaults.
On your second controlnet tab, make sure it's enabled, check the "pixel perfect box" (this may not be necessary here), and drag your image onto this tab as well (this may not be necessary either).
Set the Control Type to "tile". The preprocessor should be "tile_resample" (I didn't find colorfix to be necessary) and the network should be control_v11f1e_sd15_tile (or something else if you're using a different version of stable diffusion).
Set the control mode to "balanced".
Set the control weight to 0.5.
Leave all other settings at their defaults.
Click "Generate". I recommend generating at the same resolution as your regular image.
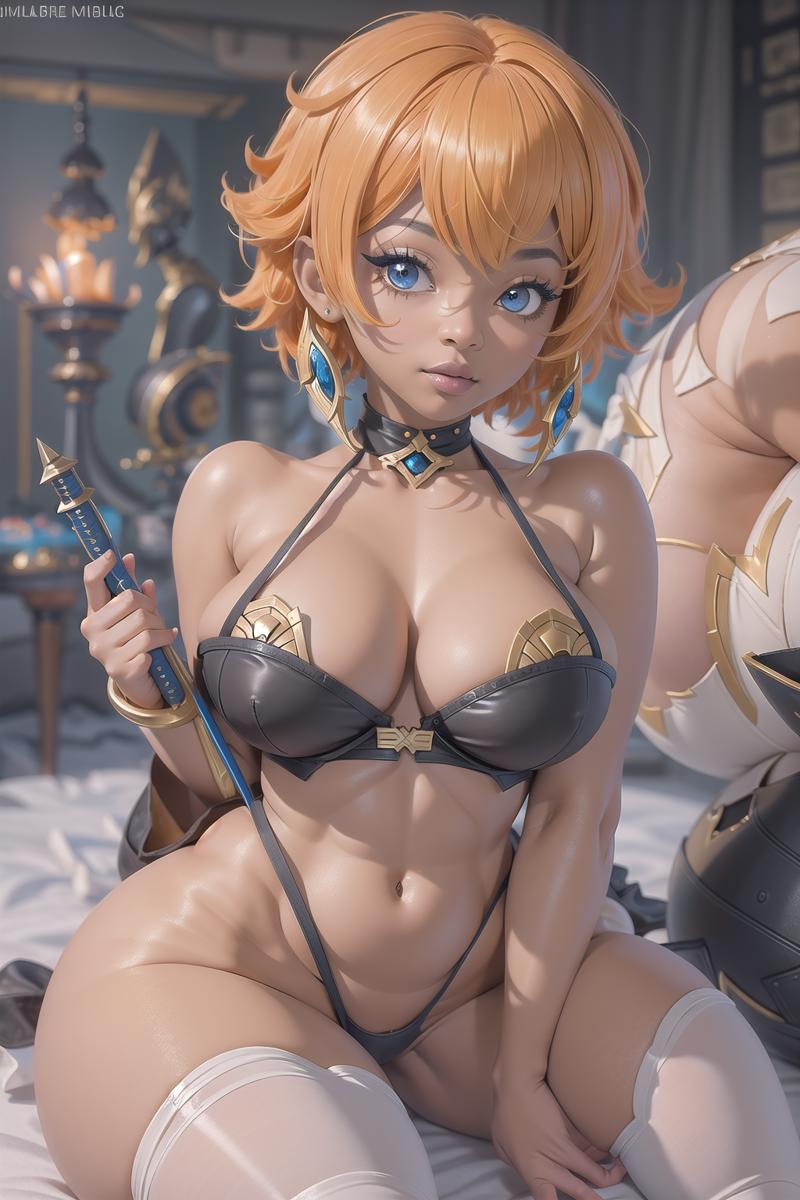
Styles, particularly anime ones, tend to have a strong effect on the shapes of facial features, so at this point the facial features will probably have changed according to your new style. If this is what you want, then you're good to go!
If not, it's time to repeat this process with a close-up inpaint to preserve the details. Click the Inpaint button undeneath your generated image to move it to the inpaint tab.
Mask the eyes and the mouth (and maybe the nose) in your image. If you have multiple faces (or other features you want to improve the fidelity of), you'll want to do them in separate iterations, because you want your inpaint to be zoomed in closely on what you're inpainting so your style doesn't alter your details very much.
Masked content should be set to "original" and Inpaint Area should be "only masked". Optionally, set an inpaint size that's different from the dimensions of your original image (768x768 works pretty well, although it also works just fine to leave it)
Leave your controlnet settings exactly the same. Do not put your newly generated image in the controlnet tab, since it needs to reference your old image in order to preserve the details of it.
Click generate.
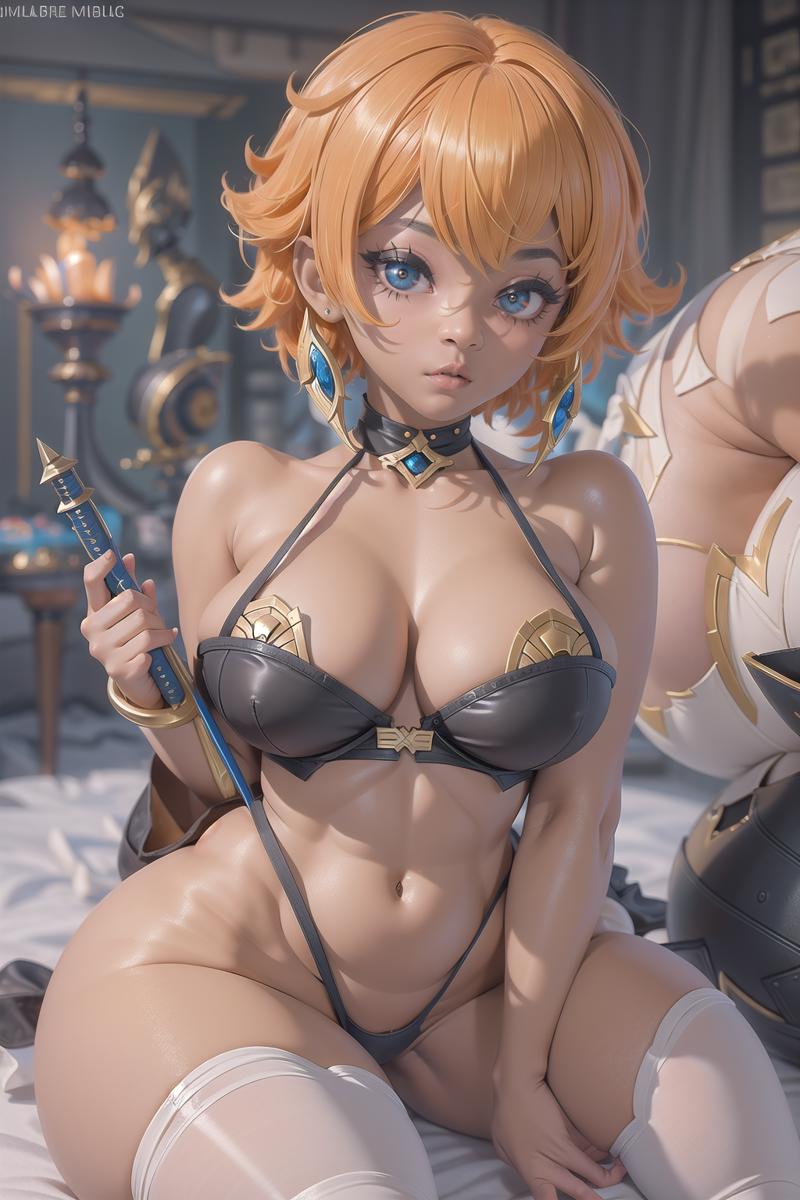
And that's it! Notice that the eye and mouth shape are now preserved, but they're in the style of the new network you selected.
If you're curious, the image here was generated originally with EnvyMix 1.2 and Envy Beauty Mix 46, and the 2.5D shaded style of the final image is from ForgottenMix.