Why You Should Use Runpod.io
One of the biggest advantages of using Runpod.io is its affordable pricing. With the correct configuration, the cost is as low as $0.39/hour. This makes it an excellent choice for video generation tasks.
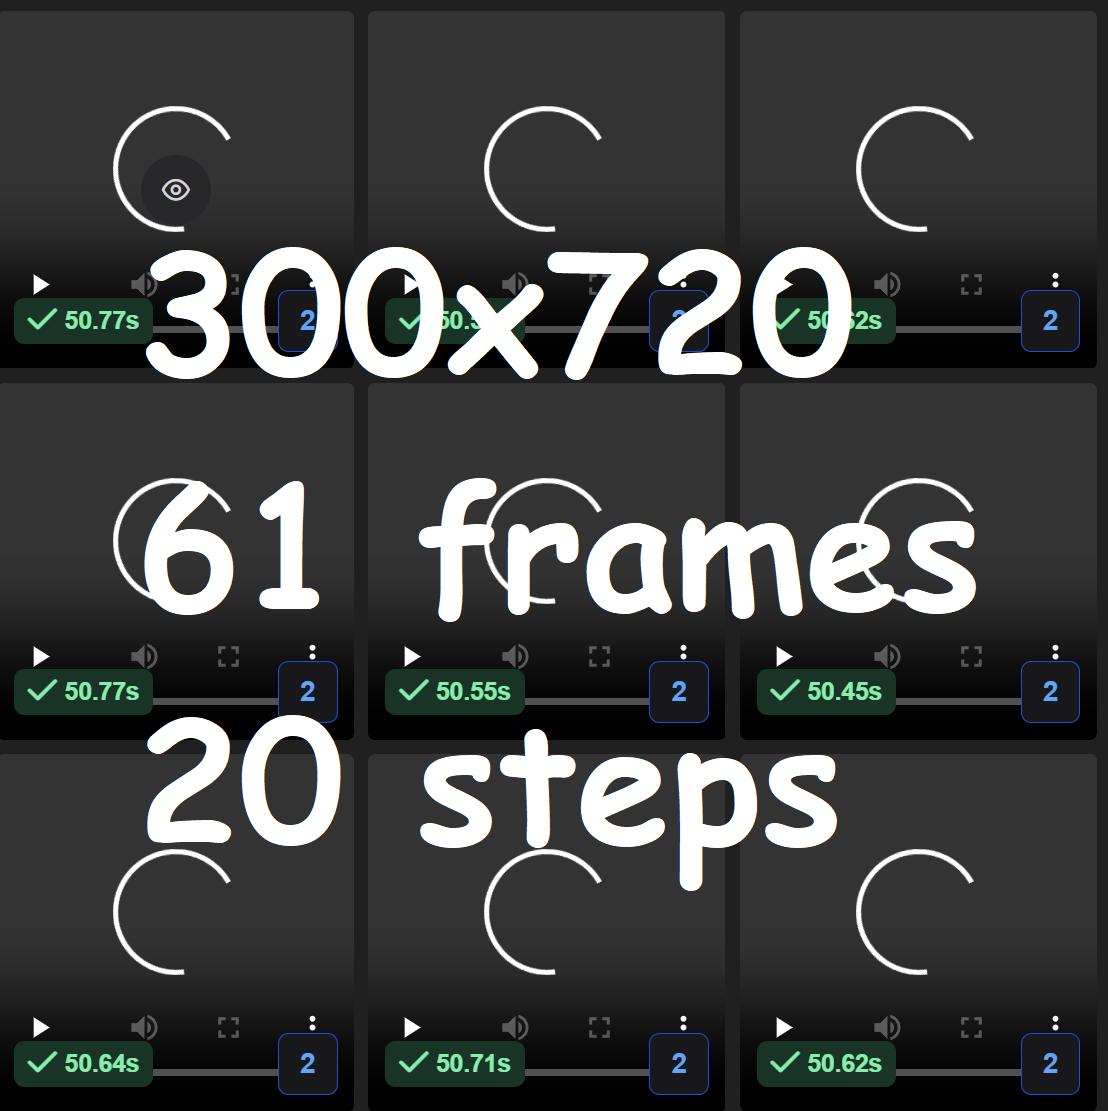
For example, using an RTX 4090, you can generate a 320x480 video with 61 frames 20 steps in just 40 seconds, making it highly efficient for AI-driven video creation.
Introduction
In this article, I will demonstrate how to utilize an RTX 4090 on Runpod.io to run ComfyUI for generating videos using the Hunyuan model. After testing multiple GPUs, I found that the RTX 4090 provides the best performance for its price.
Why Choose Community Cloud?
I opted for Community Cloud because it is 50% cheaper than the standard option. However, the main drawback is that you cannot mount storage, meaning you must set up, install dependencies, and download models every time you start an instance. Despite this, the savings are still worthwhile if you plan to run the machine for several hours, even if setup takes 10–15 minutes.
Step 1: Selecting the Best Server Specifications
Before launching a machine, do not rush to deploy. Instead, pick a high-spec server first. If no machines are available, wait until someone releases one before starting your instance. Choosing a higher specification helps speed up the setup process.
Recommended Specs:
RAM: > 80GB
Disk Type: NVMe
Network Speed: > 1,000 Mbps
If no RTX 4090 instances are available, try reducing the RAM requirement to 48GB, which may increase availability (sometimes up to 61GB RAM is available at this tier).

Step 2: Pre-Configuring a Template
While waiting for an available RTX 4090 instance, pre-configure your template:
Select any available GPU
Set disk size to 20GB + 80GB
Open necessary ports (8888, 8188)
Once the instance is ready, you will see the GPU is still unavailable, but your configuration will be saved.


Step 3: Deploy and Connect
Once an RTX 4090 becomes available, deploy the on-demand instance and navigate to your pod settings.
Click Connect → Open Jupyter
Drag and drop the setup script (provided below) into Jupyter Terminal


Step 4: Running the Setup Script
Open the Terminal and execute the following commands:
chmod +x runpod-comfy.sh
sh runpod-comfy.sh
Script: runpod-comfy.sh
#!/bin/sh
apt update && apt install libgl1-mesa-glx aria2 -y && echo "Cloning ComfyUI, ComfyUI-Manager..."
cd /workspace

git clone https://github.com/comfyanonymous/ComfyUI.git comfy
cd comfy
python -m venv env
. env/bin/activate
pip install --upgrade pip

git clone https://github.com/ltdrdata/ComfyUI-Manager.git custom_nodes/ComfyUI-Manager
git clone https://github.com/kijai/ComfyUI-HunyuanVideoWrapper.git custom_nodes/ComfyUI-HunyuanVideoWrapper
git clone https://github.com/rgthree/rgthree-comfy.git custom_nodes/rgthree-comfy
git clone https://github.com/WASasquatch/was-node-suite-comfyui.git custom_nodes/was-node-suite-comfyui
git clone https://github.com/kijai/ComfyUI-KJNodes.git custom_nodes/ComfyUI-KJNodes
git clone https://github.com/Kosinkadink/ComfyUI-VideoHelperSuite.git custom_nodes/ComfyUI-VideoHelperSuite
git clone https://github.com/Fannovel16/ComfyUI-Frame-Interpolation.git custom_nodes/ComfyUI-Frame-Interpolation
git clone https://github.com/adieyal/comfyui-dynamicprompts.git custom_nodes/comfyui-dynamicprompts
git clone https://github.com/pythongosssss/ComfyUI-Custom-Scripts.git custom_nodes/ComfyUI-Custom-Scripts
git clone https://github.com/cubiq/ComfyUI_essentials.git custom_nodes/ComfyUI_essentials

echo "Installing requirements..."
pip install -r requirements.txt
pip install opencv_python==4.11.0
pip install sageattention

pip uninstall torch torchvision torchaudio -y
pip install torch torchvision torchaudio --index-url https://download.pytorch.org/whl/cu124
pip install -r ./custom_nodes/ComfyUI-Manager/requirements.txt
pip install -r ./custom_nodes/ComfyUI-HunyuanVideoWrapper/requirements.txt
pip install -r ./custom_nodes/rgthree-comfy/requirements.txt
pip install -r ./custom_nodes/was-node-suite-comfyui/requirements.txt
pip install -r ./custom_nodes/ComfyUI-KJNodes/requirements.txt
pip install -r ./custom_nodes/ComfyUI-VideoHelperSuite/requirements.txt
pip install -r ./custom_nodes/ComfyUI-Frame-Interpolation/requirements.txt
pip install -r ./custom_nodes/comfyui-dynamicprompts/requirements.txt
pip install -r ./custom_nodes/ComfyUI-Custom-Scripts/requirements.txt
pip install -r ./custom_nodes/ComfyUI_essentials/requirements.txt

export GRADIO_SERVER_NAME="0.0.0.0" &&

python main.py --listen &

aria2c -x 4 -o ./models/diffusion_models/hunyuan_video_720_cfgdistill_bf16.safetensors "https://huggingface.co/Kijai/HunyuanVideo_comfy/resolve/main/hunyuan_video_720_cfgdistill_bf16.safetensors?download=true"
aria2c -x 4 -o ./models/vae/hunyuan_video_vae_bf16.safetensors "https://huggingface.co/Kijai/HunyuanVideo_comfy/resolve/main/hunyuan_video_vae_bf16.safetensors?download=true"
Script Explanation:
Installs necessary dependencies (
pip install,apt update)Clones ComfyUI and custom nodes for video generation
Downloads and installs models using aria2c (4 connections for speed)
Runs ComfyUI server on port 8188

Step 5: Access ComfyUI
Once the setup completes, you can access ComfyUI at port 8188.
Custom Workflow
For a ready-to-use custom node workflow, use the following: ComfyUI-Hunyuan Video Workflow
Data Management Tips
For small files, upload/download via Jupyter Notebook for convenience.
For large files (e.g., LoRA models), sync via cloud storage provided by Runpod.


Optimized Node for fast generated video
Select fp8_e4m3fn_fast
Select sageattn_varlen

Sign Up for Runpod.io
Interested in trying Runpod.io? Register with this Runpod Link to get $5 in free credits, allowing up to 12 hours of free GPU usage! (my referral link :)
(I used ChatGPT to write this in English... 😳.)
