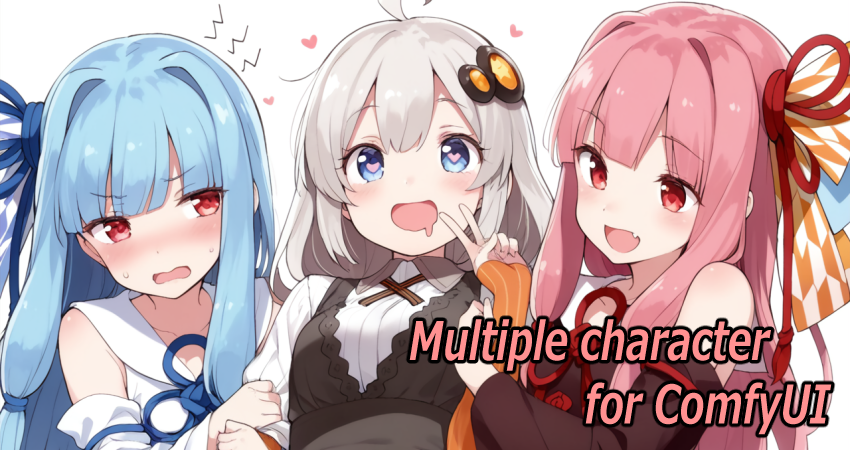
Hi, guys.
Have you ever wanted to know how to generate multiple people or characters in the same image?
Here is an explanation of how to do it using ComfyCouple, a custom node of ComfyUI.
Illustrious Black Magic is used in the explanation, but I believe it is available for all checkpoints. Flux is not available in the author's environment, so it has not been tested.
workflow was created for ComfyUI v2.2
It will not function properly in the latest version.
How to fix the "No module named 'pandas'" error in the latest version of ComfyUI
If clicking “TryFix” in the ComfyUI Manager doesn’t solve the issue,
or
If you get the errorModuleNotFoundError: No module named 'pandas'
Follow these manual installation steps when loading acgem156-ComfyUI:
Go to your ComfyUI folder → open
ComfyUI_windows_portable/python_embeded.Open a Command Prompt in that folder.
Run this command:
.\python.exe -m pip install pandasRestart ComfyUI.
After that, the error will disappear and the node should work normally.
///
For non-portable (regular) ComfyUI installations
If you’re not using the portable version, just install pandas in your current Python environment.
Open a terminal or command prompt and run:
pip install pandasThen restart ComfyUI.
That’s all — the “No module named 'pandas'” error should be gone.
///
*Due to reports of errors occurring in some environments, we have uploaded a couple_workflow1.1.json file in which we have stopped using the Group node
Other than that, it is the same as the previous workflow.
ComfyCouple
Please install this node
https://github.com/laksjdjf/cgem156-ComfyUI
It seems to have been merged here now
This node allows you to apply each prompt centered on the masked area.
Sample
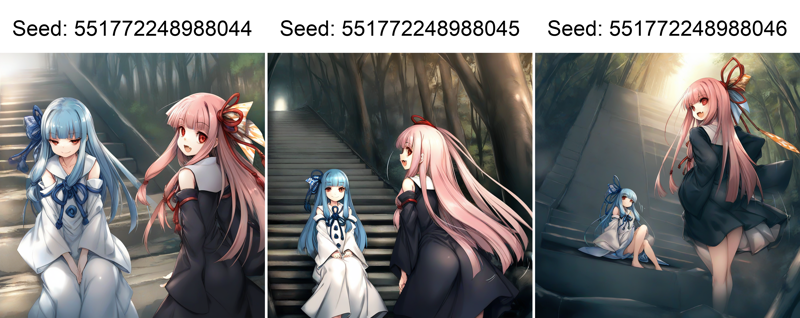
Prompt for left half
2girls,
kotonoha aoi, long hair, blue hair, ribbon, red eyes, blunt bangs, sidelocks,white dress,detached white sleeves,
looking at viewer, Sitting on stairs, smirk,
Prompt for right half
2girls,
kotonoha akane, long hair, pink hair, ribbon, red eyes, blunt bangs, sidelocks,black dress,detached black sleeves,
looking at viewer, standing,
forest,
smile,fang,looking back, 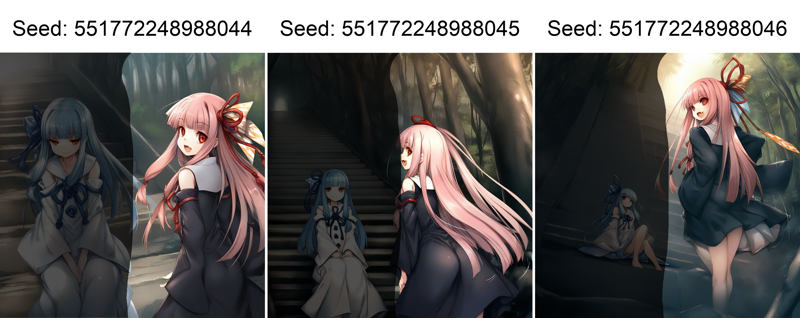
For reference, I darkened the masked area.
You can see that not only the masked area but also the areas outside the masked area are well blended.
Workflow Description
The attached file is a simplified version of the workflow I actually use.
If some nodes are not available, please install accordingly.
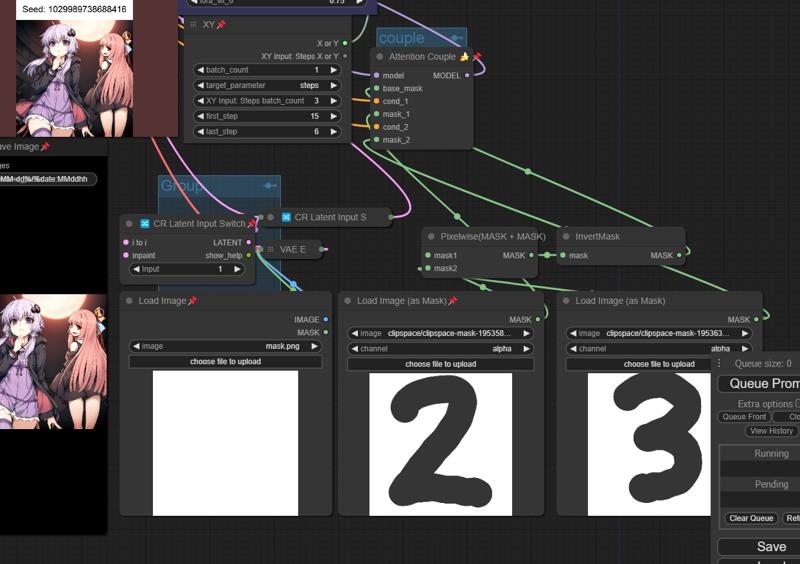
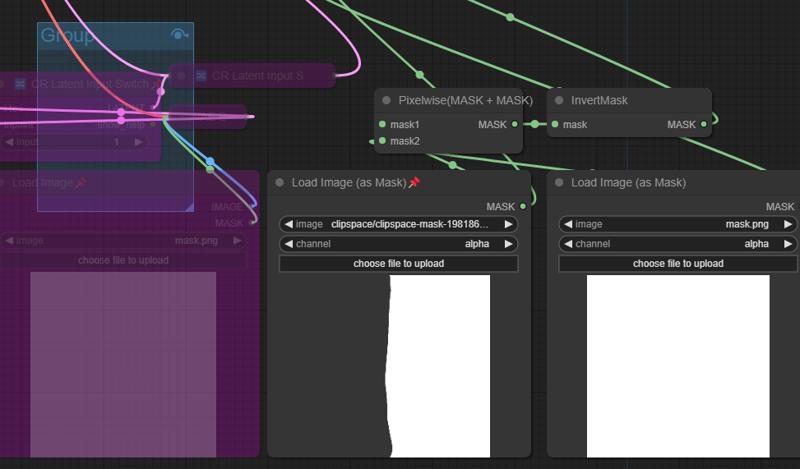
Various roles of Load image
Left: This is used for i to i. If the CR Latent input swich in the same group has an input of 1, i2i is performed, and if it has an input of 2, inpainting is performed. If not used, normal generation is possible by bypassing Group.
Center: Specifies the first mask range. Load an image of the same resolution as the one to be created, and mask it using Open in MaskEditor from the right-click menu.
Right: Specify the second mask range. Load an image with the same resolution as the generated resolution and mask it using Open in MaskEditor from the right-click menu.
The resolution of the image loaded in the center and right must match.
Also, if you do not use Couple bypass the "Attention Couple"
Prompt input section
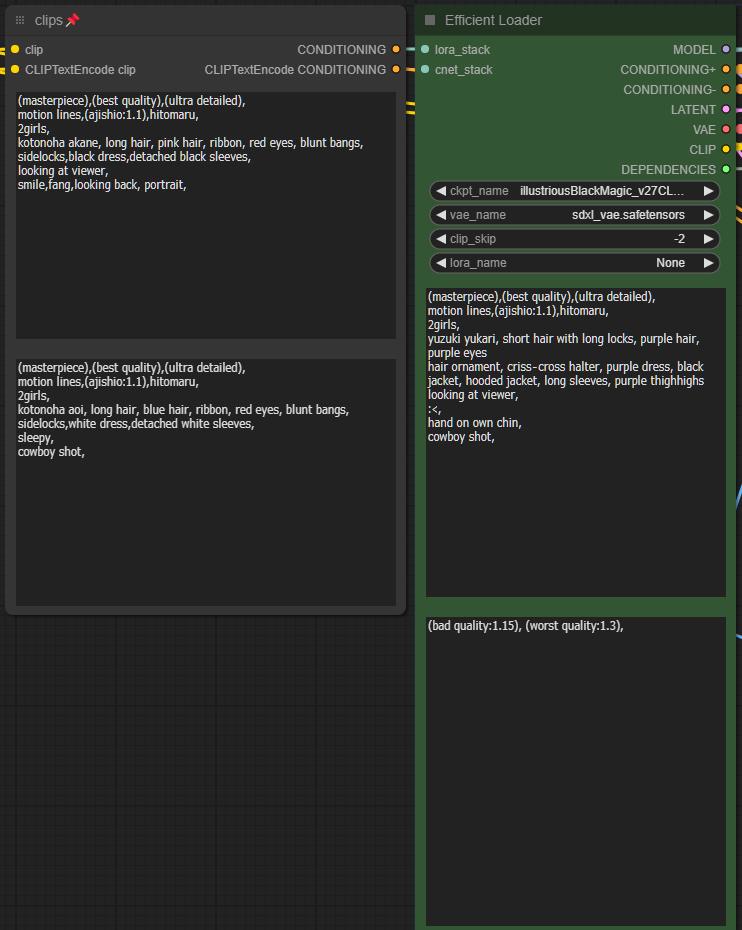
There are four Prompt input areas
The two in the Efficient loader are for positive and negative prompts as usual.
The positive prompt here is called the main prompt for convenience.
The top and bottom of the clips are
Top: Mask left range
Bottom: Mask right range
Enter the prompt to be applied to each range
Let's try to generate a trial mask state as follows.
The results are as follows
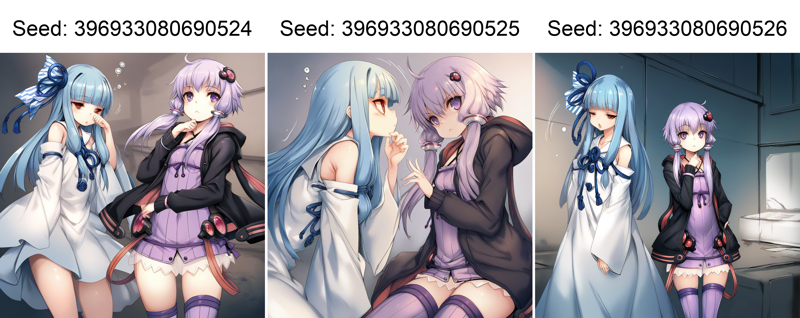
You can see that the prompts for three people are entered, but only two are reflected.
This is because you did not specify the mask on the right. If you specify it, you can include more than three characters.
Furthermore, you can see that the poses and characteristics of the characters are mixed around the border of the masks.
In the case of multiple characters, it is unlikely that the masks will work perfectly in a single generation, so it may be necessary to further modify the generated images using i2i.
In this case, i2i should be performed again, and only the area of each character should be masked, the prompts should be modified, etc., to obtain a satisfactory result.
Practice
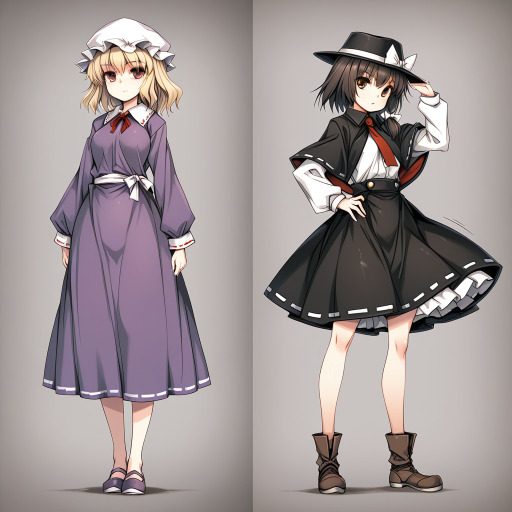
I wanted to create a picture of Renko Usami and Mary, characters from Touhou Project,embracing each other, so I used the following prompts
main
2girls,
maribel_hearn, looking at viewer,hugging,
mask
2girls, usami_renko, looking at viewer,The following image is then output
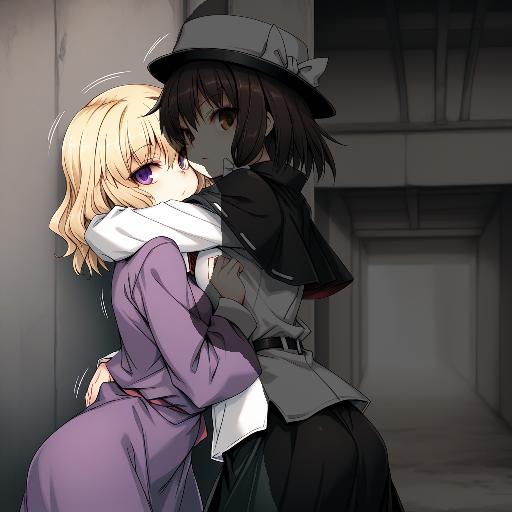
The darkened areas are the masked areas.
Some of the costumes are mixed up because the characters were very close to each other.
I want Merry to wear a hat too.
So let's edit the image as follows
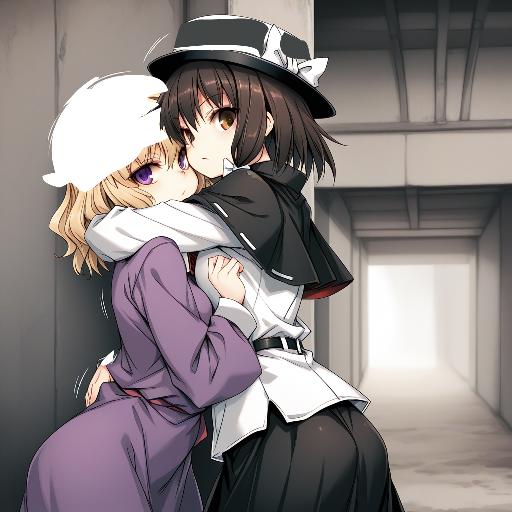
Let's generate it again using i2i, with a slight change in the mask range.
I think a value of around 0.75 for Denoise would be appropriate for such a large fill area.
The masked area in the image doesn't need to be precise.
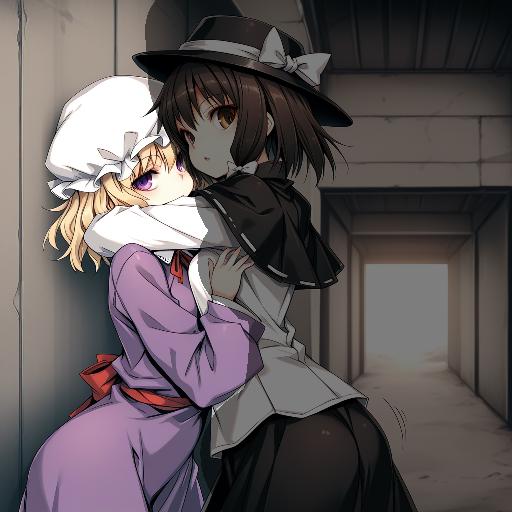
GOOD. The hat has been fixed and the hand around the waist is now a ribbon. I prefer this one.
The rest is the same process of fine-tuning the details.
If you do not want to change the composition too much as before, a denoise value of 0.5 to 0.6 is appropriate.
I'll also correct the color of the ribbon on the waist that I forgot.
Finally, the following images could be generated
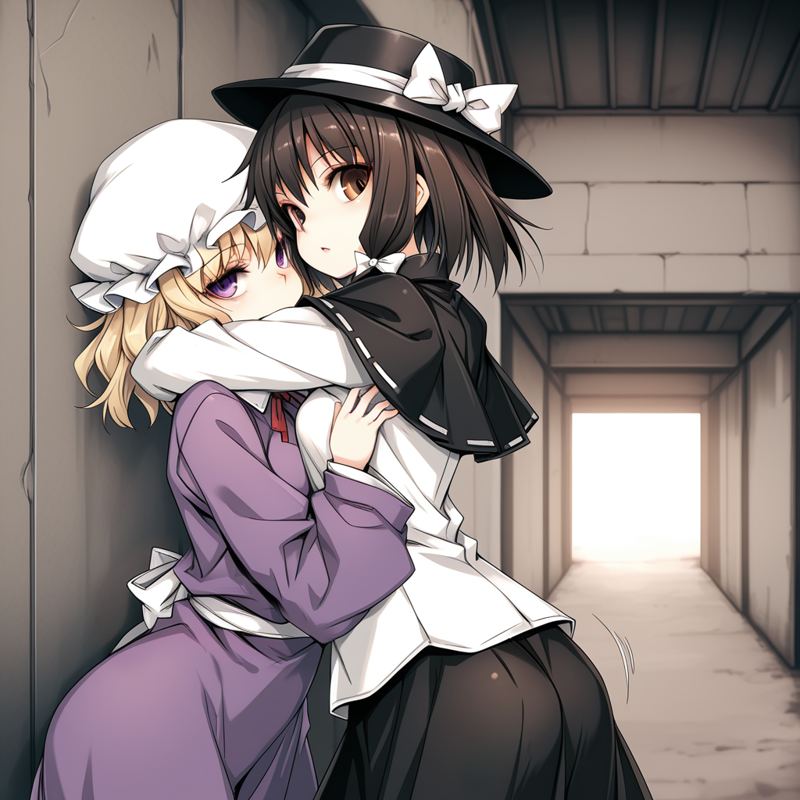
Very good results.
By the way, if you set the value of Denoise to about 0.8 and change the prompt, the composition changes a lot, but you can see that the Couple node is able to generate the character in a stable manner.
蓮メリちゅっちゅ
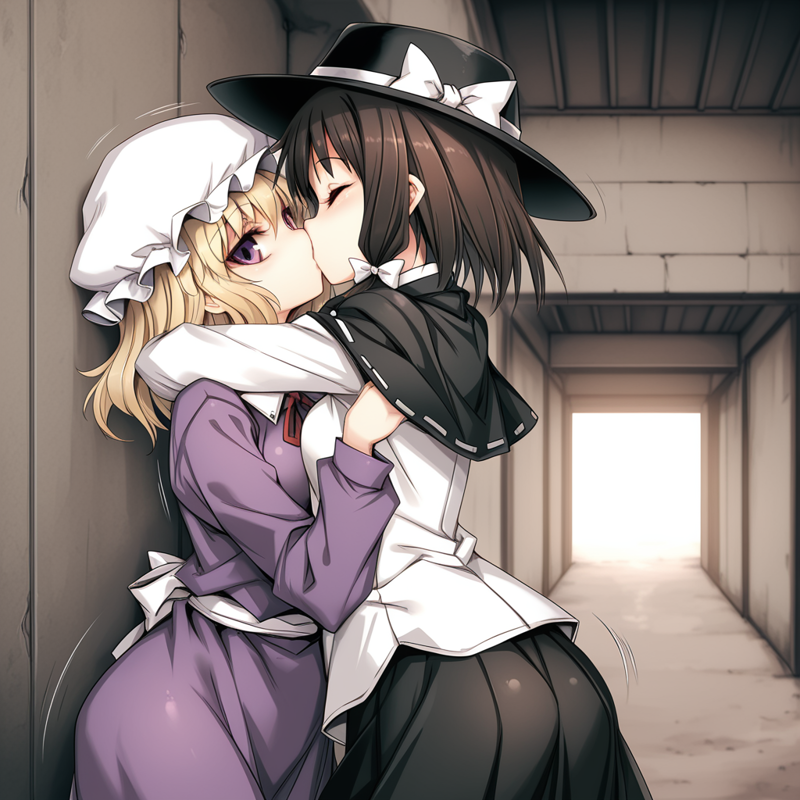
These are examples for two characters, but the method remains the same for three or more characters.
Almost all of the images I post are produced in a similar way.
It is also possible to generate more than four characters by modifying the Couple node and setting the mask range and prompts for the fourth and subsequent characters, but I won't go into that here.
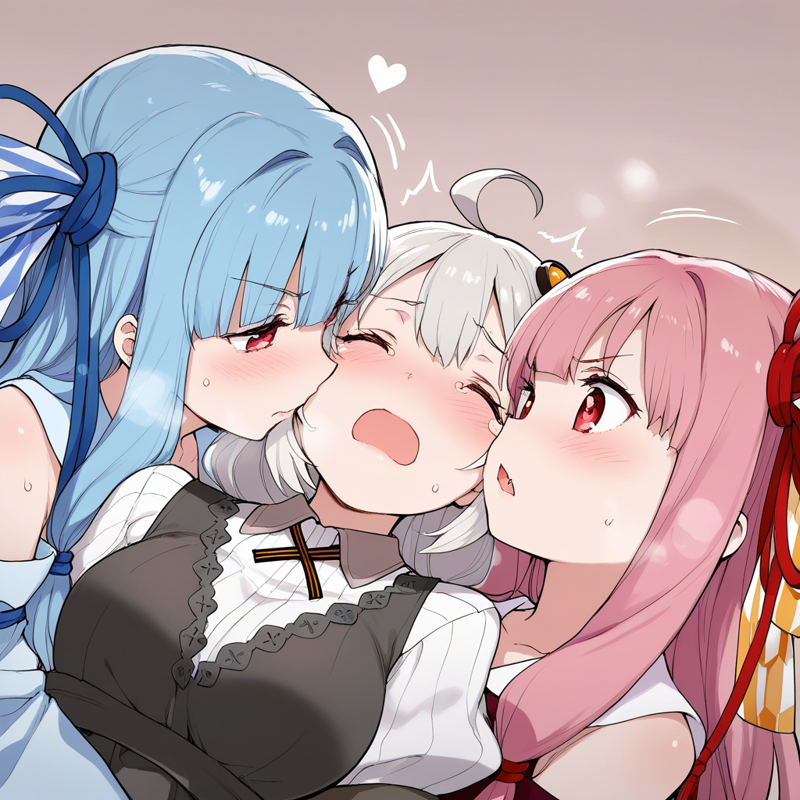
Even with more than three people, the following images can be generated with the appropriate adjustments.
kotonoha aoi and kizuna akari and kotonoha akane
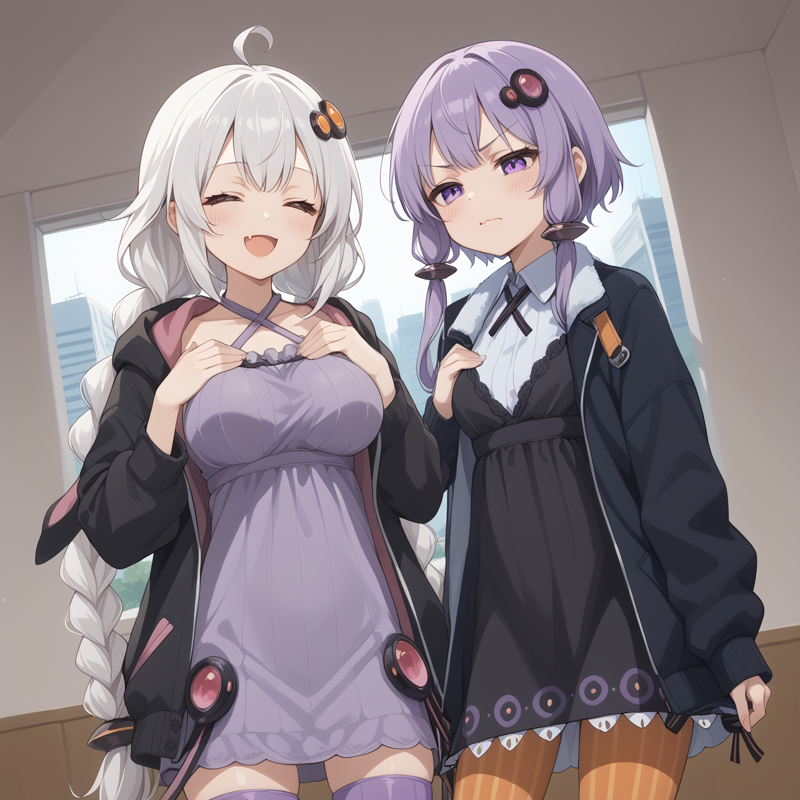
yuzuki yukari and kizuna akari
If you mask it well, you can even replace the costume.
Regarding prompts
The main prompt is a bit more important, and the image tends to be more focused on it.
When generating multiple characters, it is necessary to input prompts for 2girls, 3girls, or 1boy, 1girl, etc. for the main prompt and for the mask prompt.
The same is true for multiple-character actions such as hugging or kissing.
In addition to specifying characters, you can also specify the general position of backgrounds and accessories, so you can generate a variety of images by applying this feature.
Mask prompts may be applied to areas other than the masked area, so if you want to specify detailed positions, you need to use i2i, control net, etc. in combination.
Since there are other unique rules, it may be difficult to generate complex images until you get used to it.
Enjoy!
Sample Prompt and image
https://civitai.com/articles/21789/sample-prompts-for-comfyui-couple

