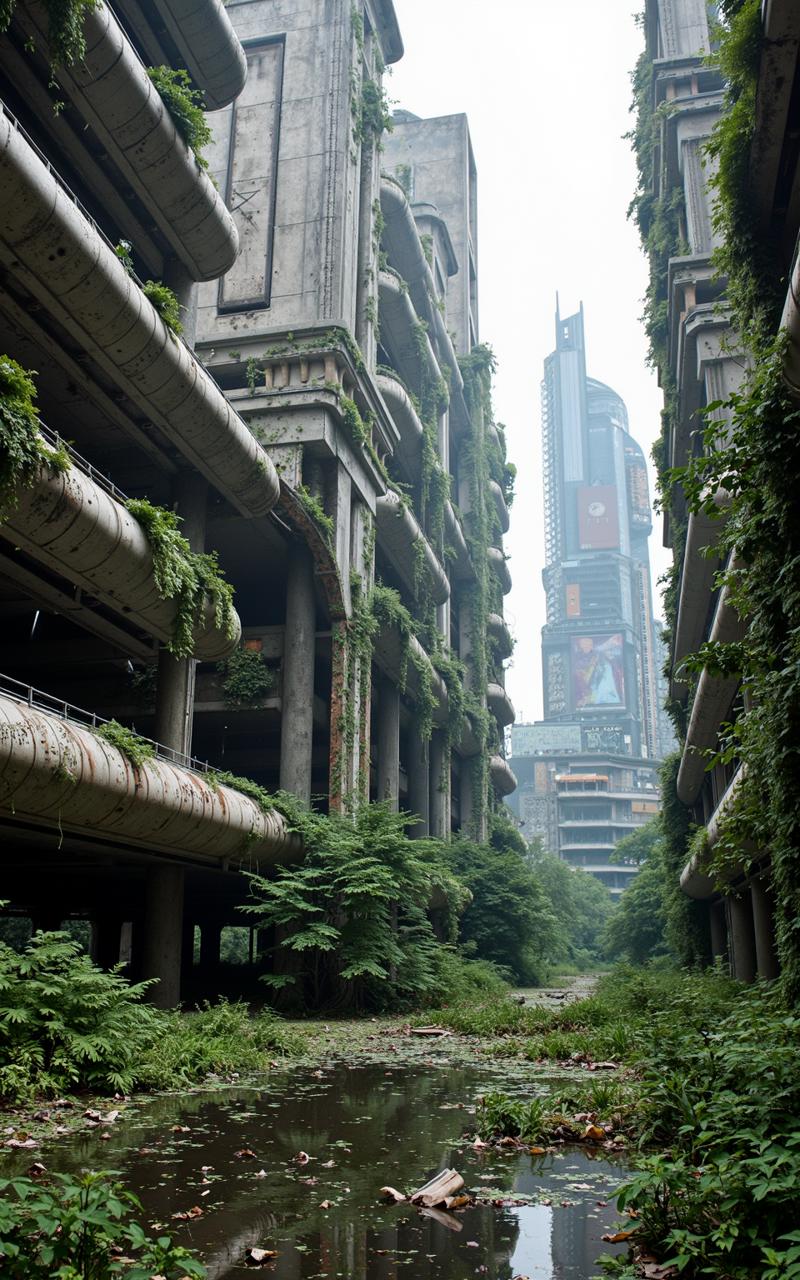
This is a new workflow for Colossus Flux V5.0 https://civitai.com/models/833086?modelVersionId=1443922
Some words about the workflow.. I am still working on the finetuning for the second stage.. but it works most of the time.. (see the image above).. I have tested it with Colossus Project V5.0/ V4.4/ V4.2/ Demoncore V2.5.
There are two versions for the Workflow:
The AIO workflow for the All in One (AIO) model.
The FP8_UNET version..
Its basically the same workflow.
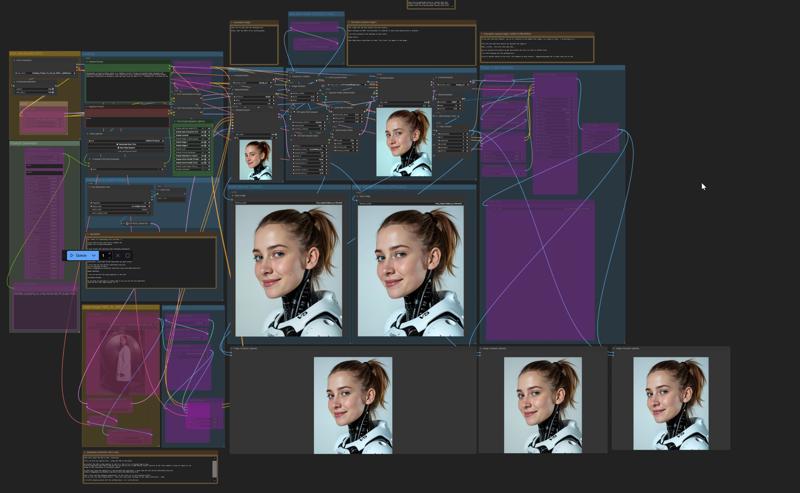
Stage 1:
On its own the checkpoint (Colossus V5.0) is capable to generate amazing images..
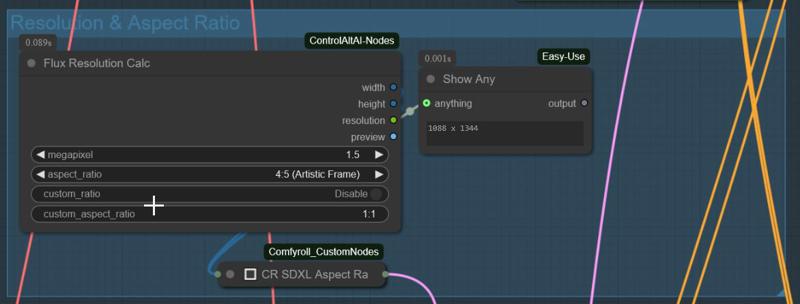
You can go from 1.0 MP up to 2.0 MP and above.. but with a high resolution I can't promise that your system is capable enough.. I am using a 3090ti with 24 GB. Don't worry though even in 1.0 MP resolution the image will still look good.. The first image below is a native 1.5 MP image.. the next one a native 1.0 MP image.


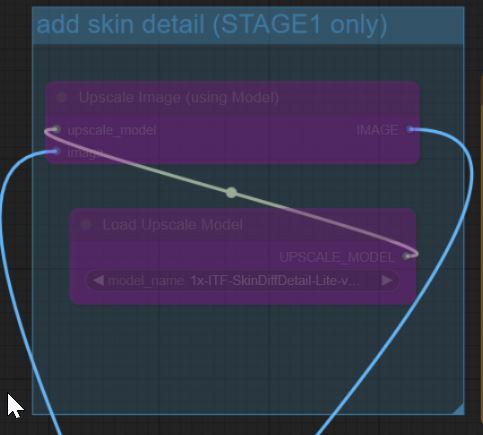
you can also add a skin enhancer when needed but you can also just upscale and enhance the image on Stage 2
Stage 2: Upscaler + Enhancer
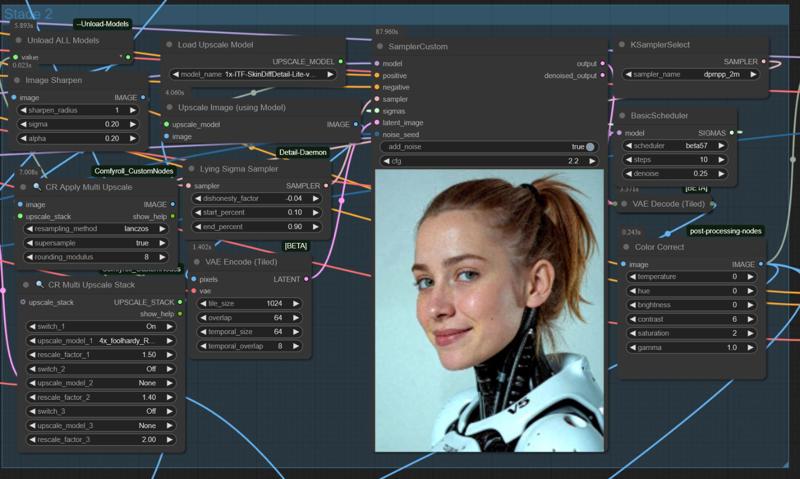
For the upscaler and the skin enhancer you need to download those two upscalers:
foolhardy remacri
https://huggingface.co/FacehugmanIII/4x_foolhardy_Remacri
(This one is a 4x upscaler)
1x-ITF-SkinDiffDetail-Lite-v1
https://huggingface.co/uwg/upscaler/blob/main/ESRGAN/1x-ITF-SkinDiffDetail-Lite-v1.pth
(this one is a skin enhancer)
WAN VIDEO OPTION (720P)
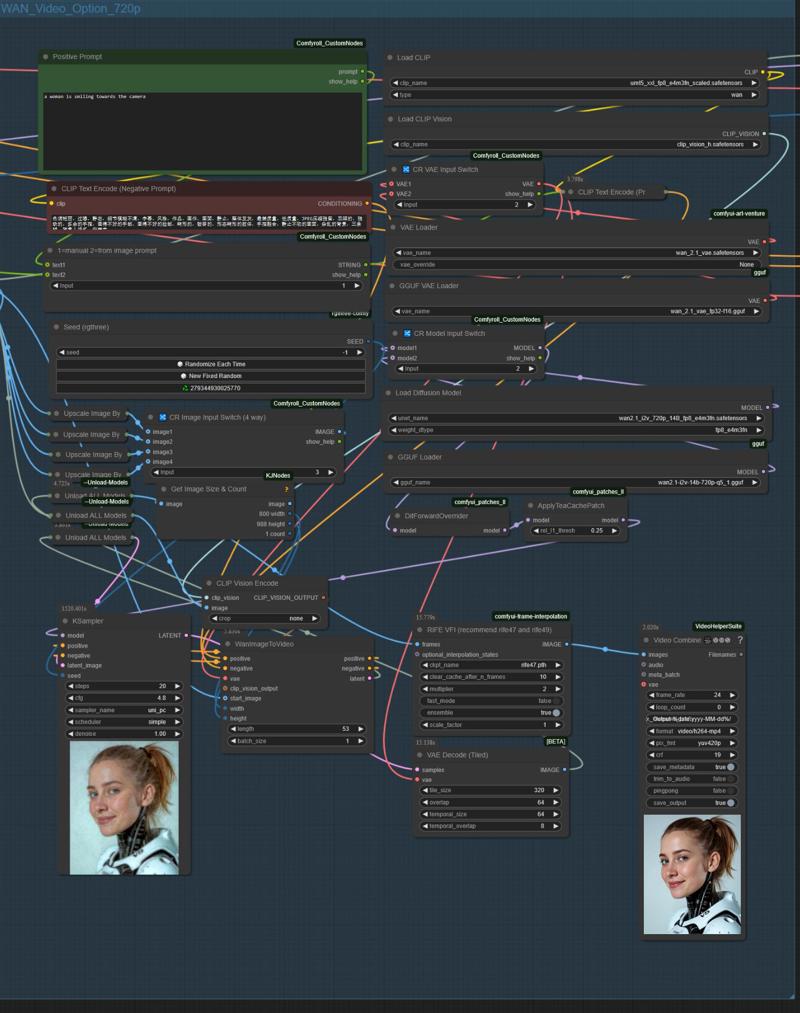
This addition enables the option to generate videos inside the Flux workflow. I am currently working on the 480p version as well but the 720p version gives the better quality..
The workflow works with GGUF or normal WAN models..
You can type in the prompt for the Video manually (1) or get it from the initial prompt (2).
The video option will get the image ratio from the initial image settings but when you set it from the default 1.5MP to lets say 2.0MP you have to set it up to (3) on the switch. In my tests it also showed that its may better to use it in setting (3) even with 1.5MP setting..
Here is an example Video: https://civitai.com/posts/13835319
The downside of the 720p video option.. rendering a video of 5 seconds takes around 20 minutes on my 3090ti..
Stage 3: WORK IN PROGRESS tiled Upscale with controlnet..
This stage is a experimental tiled upscaler.. well.. if you want to test it.. do it... grab a coffee..
This may also can fail..
EXAMPLE IMAGES I made with the workflow (Stage 1 and also some from Stage 2)


