I've started posting some clothing Loras for Flux here recently, and had some questions pop up on how I trained them, so I thought I'd write a simple guide. This is certainly not the definitive way, or the only way, but its what works well for me - so I hope it will be of use to others.
The project started, because I was working on a project that required consistent images of multiple characters in different outfits, but I wanted to be able to reproduce the exact same outfits for multiple shots. Since my Lora's for the characters weren't made with consistent clothing, I was at the mercy of all the little differences that would come up every time I prompted for the same outfit. So, I started digging in to how to train separate clothing Loras.
The basic outline of my process is this:
16-24 photos of the same outfit on a mannequin
editing the photos in photoshop
training through Civitai's trainer
The basic principals should apply to other types of training just fine. Some people will see 16-24 images and think this can't be good enough, but I've been very happy with the results. I'm not after 100% consistency, and these numbers get me pretty close.
Step 1: Source Images
I have access to a couple of department store mannequins and a closet full of random women's clothing from an old photography hobby, and I decided to try to make use of them.
I start by dressing my mannequin up in a full outfit, complete with accessories that might fit. Since I'm using a mannequin, I don't tend to train shoes/boots on my projects. I could, but it would be more work.
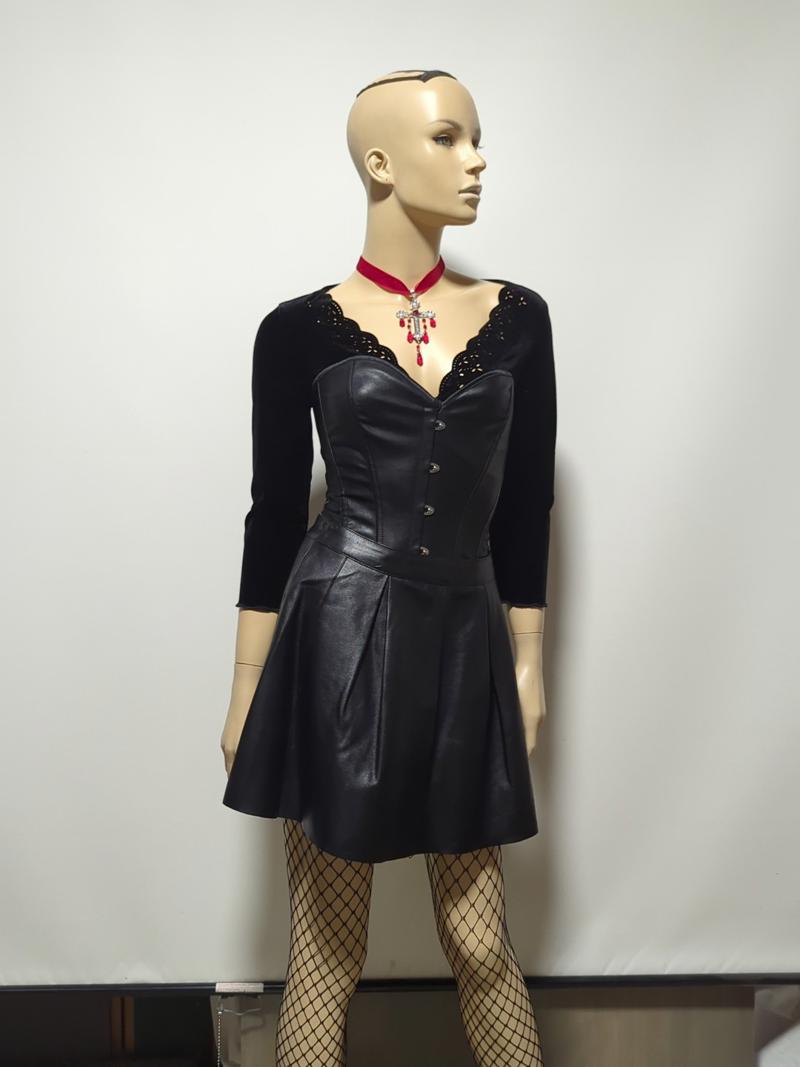
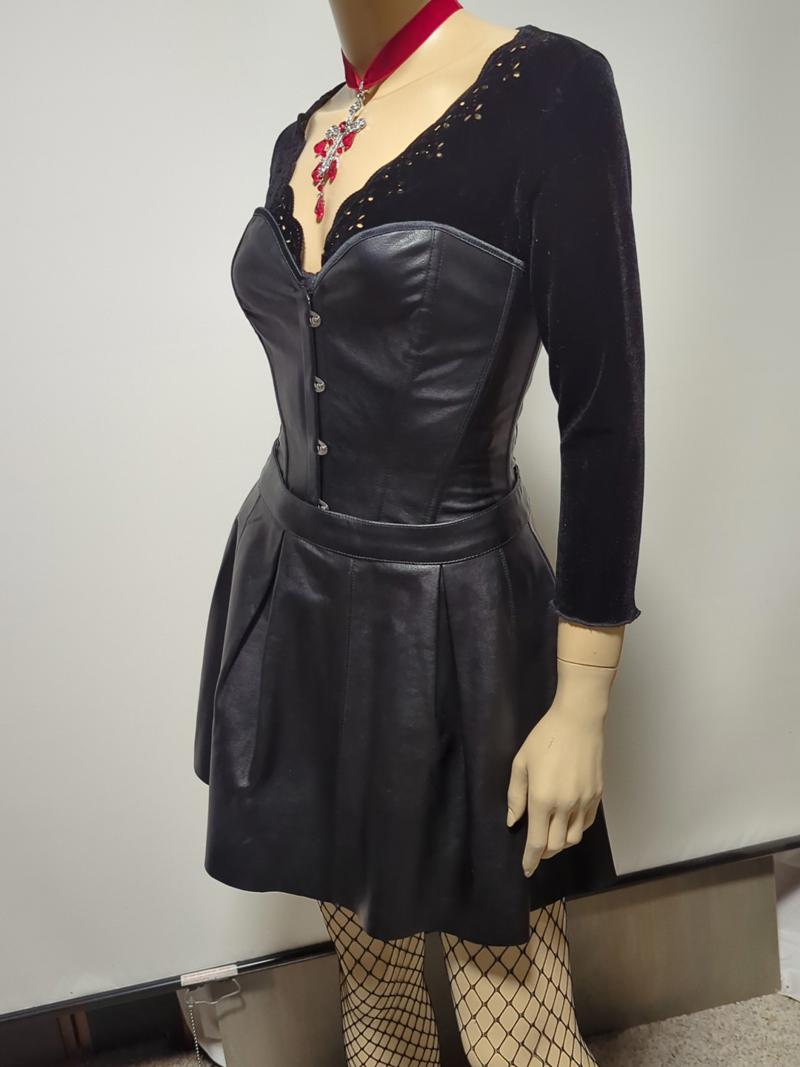
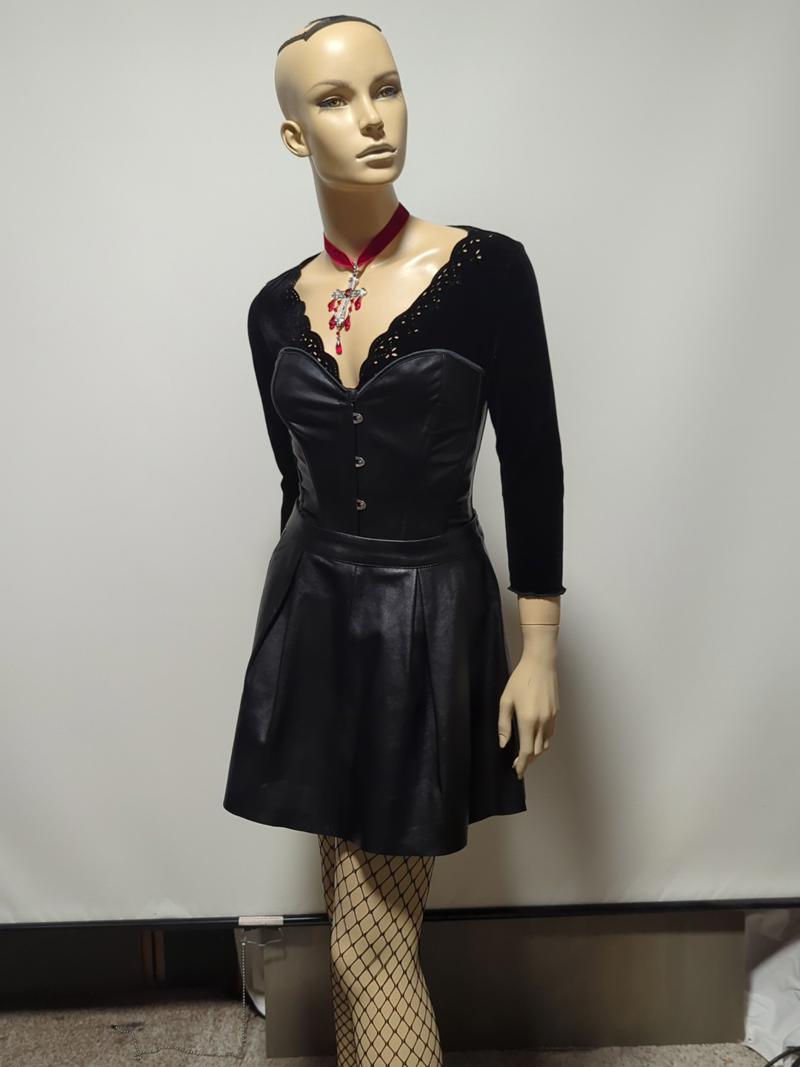
I find that the back drop works best if as plain as possible, though a little clutter in the background doesn't seem to have any impact. In my case, I'm just shooting in front of an old pull down projector screen.
Now I start taking photos from various angles. I'll rotate the mannequin as I go to get different shadows, angles, and lighting. I usually include at least a couple picture from behind. In a case like this one above with a skirt, I find its important that if the skirt is in the frame at all, you get it fully, showing the bottom hem. If you don't, the lora can lose track of how long the skirt is and give you odd results.
I find about 16 photos is usually enough, but I will go up to around 24 or more if I am including "options" in the outfit. For example, in this next one, I decided to train it with and without the jacket:
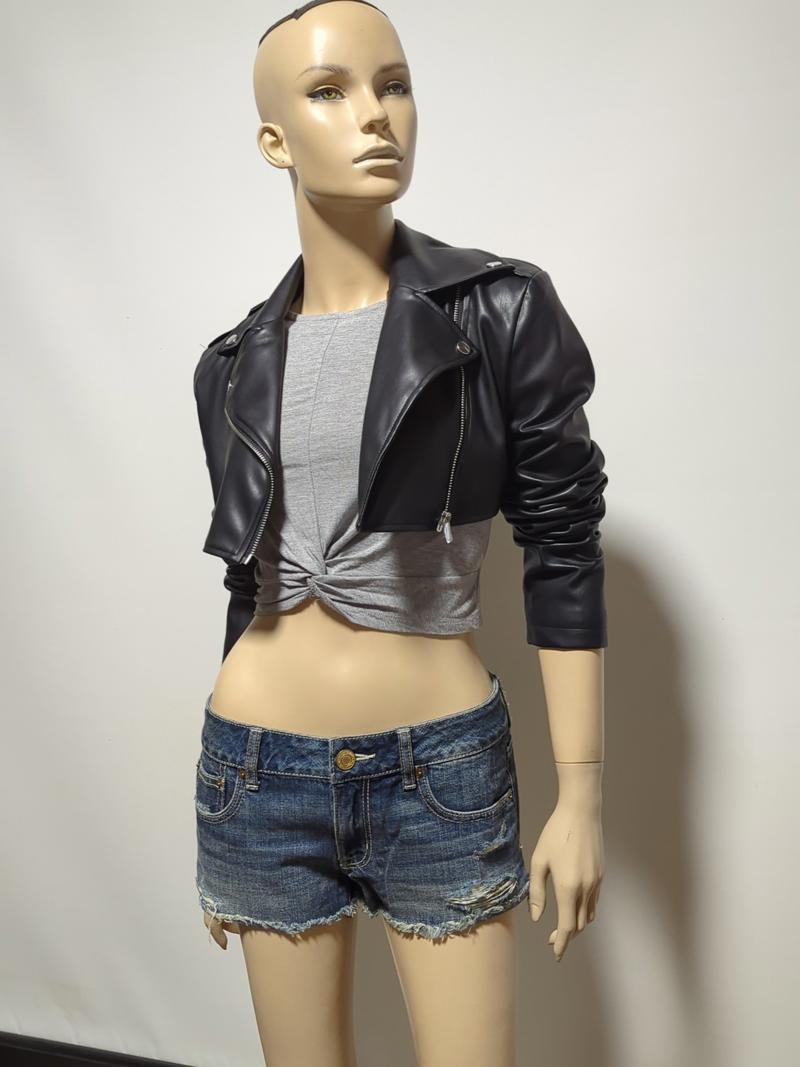
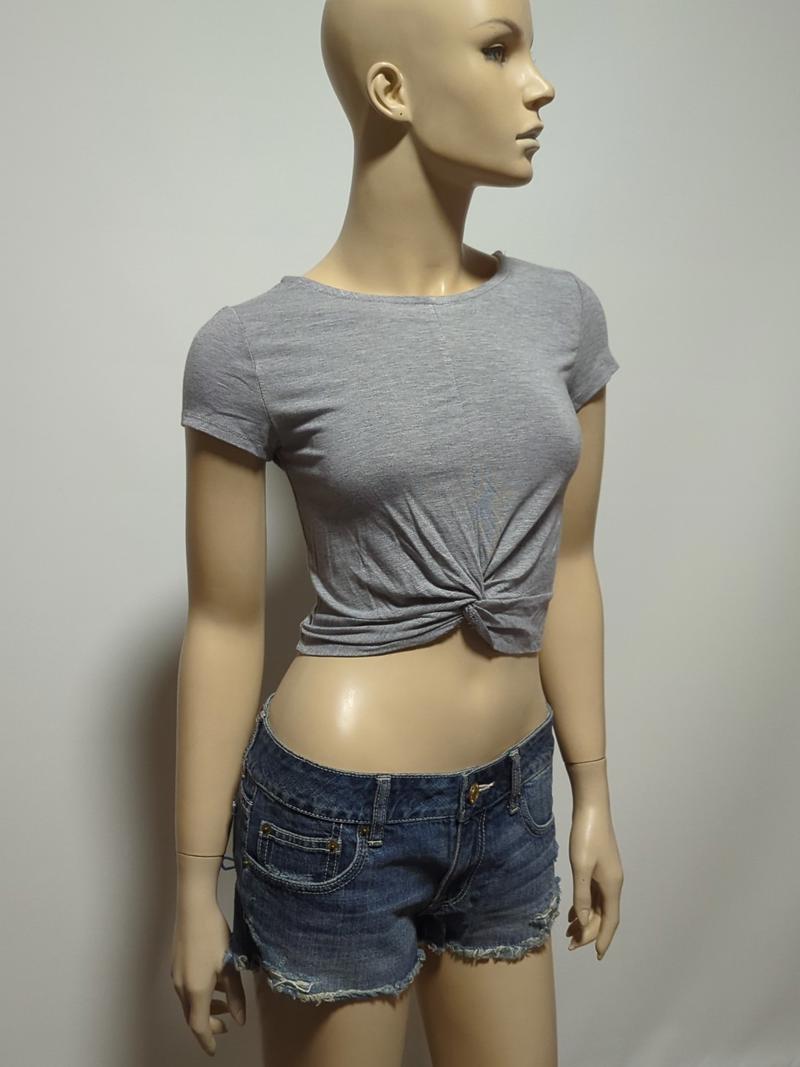
I try to get a good variety of angles, directions, and focal lengths, with a few closeups for detail - keeping in mind not cutting off the bottom edge of anything. I then download the photo set and prepare to edit.
Step 2 - Editing
These photos as is will not give great results. Editing is required. I do my editing in Photoshop since I have it, but any editing tool should work. I prefer photoshop because it makes for really easy touchups, so my tutorial will be based on that.
The first thing I do is make all of the images square. You don't need to resize them, but making them square is important for consistent training. (I may be wrong about this, but its simple and works for me)
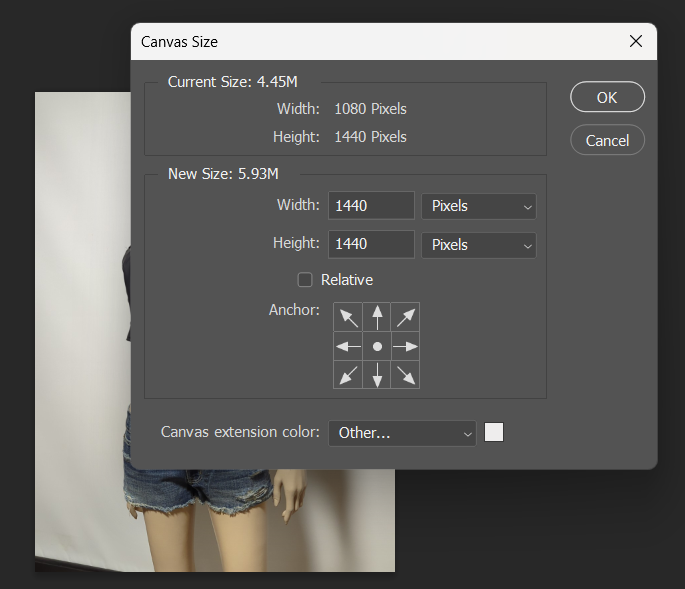
Its not important that the background be perfectly consistent, so I just use Image > Canvas Size
Leave the image centered and adjust the Width to match the Height. For the canvas extension color, I just try to pick something close to my backdrop color.
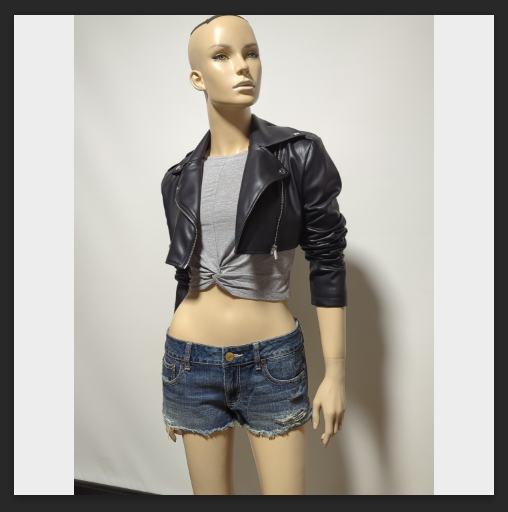
Next, you need to deal with any issues with the mannequin that could bleed over into your Lora (other than the head, we'll address that later). The most common one I find is the seams for the wrists and shoulders. If those seems appear in every photo, they will get included in the Lora.
I just use the Spot Healing Brush Tool to quickly draw over the seams and blend them in.

Set the brush a little bigger than the seam and paint over it.
Next, a vital step in editing - getting rid of that head. If you leave the mannequin head in, its going to play havoc with images. It took me ages to find a hint on the best way to do it:
Paint a White Rectangle over it.
In Photoshop, I select the Rectangle Tool:

Then in the top bar, set the Fill to white and the Stroke to white:

Now I draw a rectangle over the model's head, just enough to cover it, not covering any of the outfit:
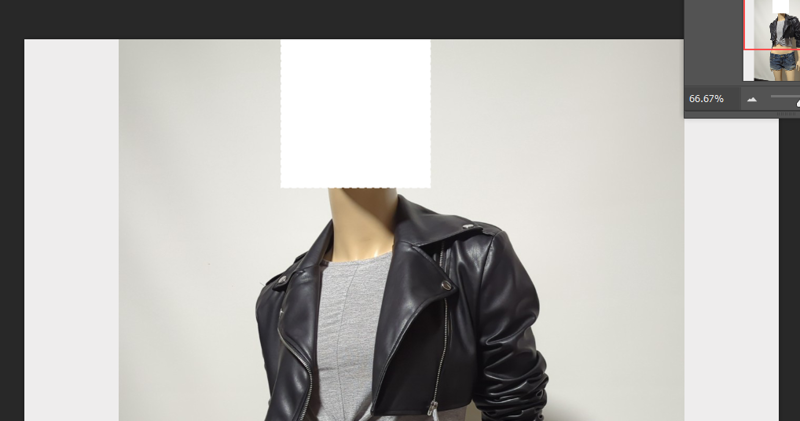
Completely covering the head seems to eliminate any influence the mannequin head or its lack of hair, will have on the model.
The next thing I'll do in Photoshop is to address the White Balance.
For those of you without a photography background, that basically means what "color" is white in your image. White almost always ends up tinted to some degree in phots, based on your lighting.
I've found that my setup and my mannequin have a bit too much of a yellow tinge. You really want to be as neutral as possible. So I usually tweak it a little.
Select your Background layer (not the one with the white rectangle) and go up to Image > Adjustments > Hue / Saturation.
I find that setting the Hue to about -10 is enough to take away that yellowishness on my images. This will vary on your lighting of course.
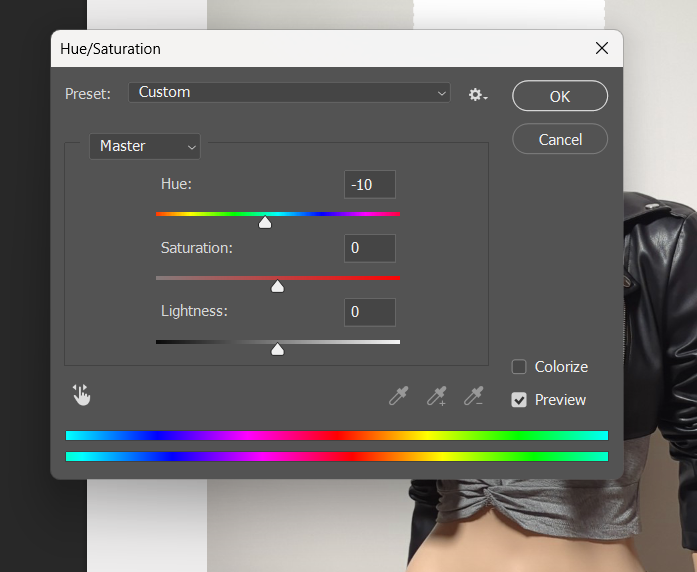
If that doesn't work for you, you can also play with Color Balance or other settings.
Once I'm happy with the color, then I'll select the Layer menu, and Flatten Image, just to make things easier to save. Save the image as PNG.
Note: if you are handy with Photoshop, a lot of these steps can be programmed into an Action.
Now we're ready to train.
Step 3 - Training
These instructions are based around training the Lora in the Civitai trainer, but the principals should work for any setup.
Click the down arrow beside the Create button in the top right, and select Train a Lora.
Select Concept for the Lora type and give it a descriptive name:
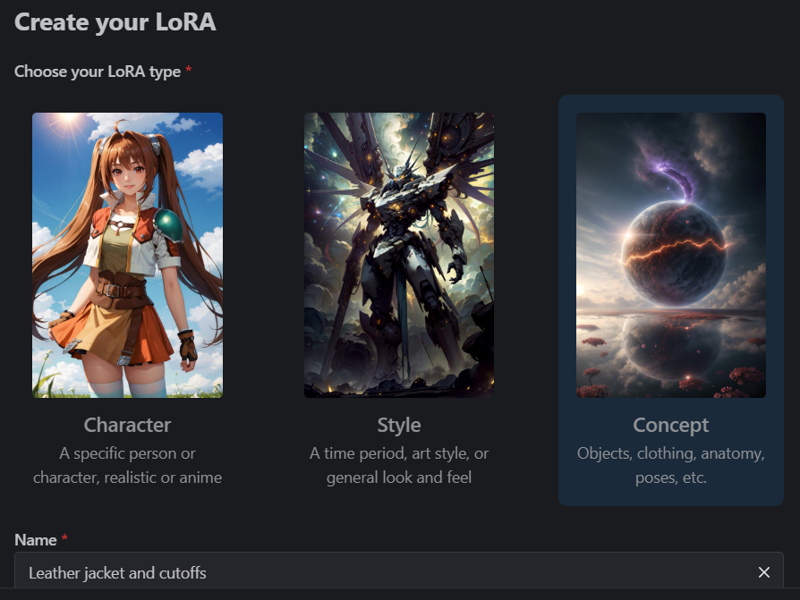
Click Next
Agree to the disclaimer that comes up.
Now you see Add Training Data. I open up the folder I have my edited training images in, select all of them, and drag them all at once into window.
Your images will appear in the interface.
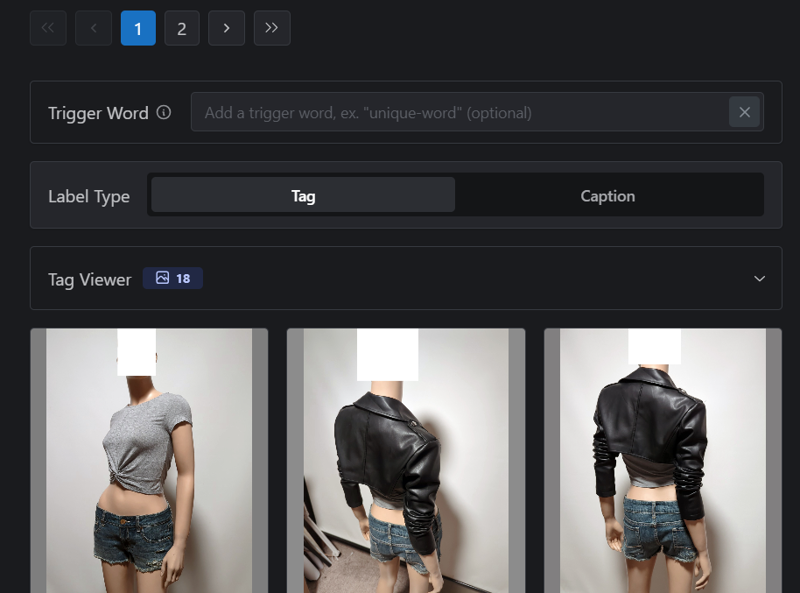
Leave Trigger Word blank, you really don't want or need one for Flux. Label Type however, leave on Tag. This goes against what we are told works best for Flux, but personally I have had way more luck with it when it comes to clothing Loras.
Start with your first tag, type it in where it says Add Tags under the first image, and then highlight the word and hit CTRL-C to copy before hitting the plus sign. Then go through each image that fits that tag, use CTRL-V to paste it in and hit plus. Go through all of them this way, then start back at the beginning with the next tag.
Tags to use:
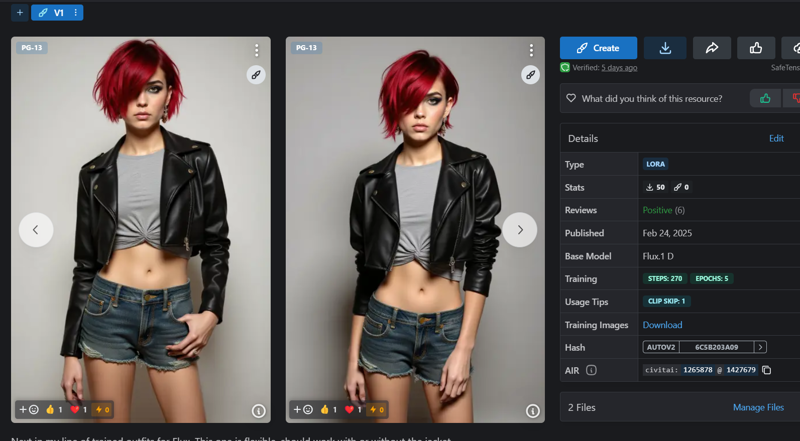
If you pick one all encompassing tag that describes the outfit, it will trigger the whole outfit. In the case of this Lora, I focused on three tags: Cropped Leather Jacket, Cut-off Jean Shorts, and Tied Grey T-shirt. My photo set has a mix of with and without the Leather Jacket. By using all three tags, it gives you the flexibility to only have the lora show part of the outfit.
In any shots where it was a clear back view of the outfit, I tagged it From Behind.
And then finally, in any shots where the white rectangle is seen, I tag them Censored Face.
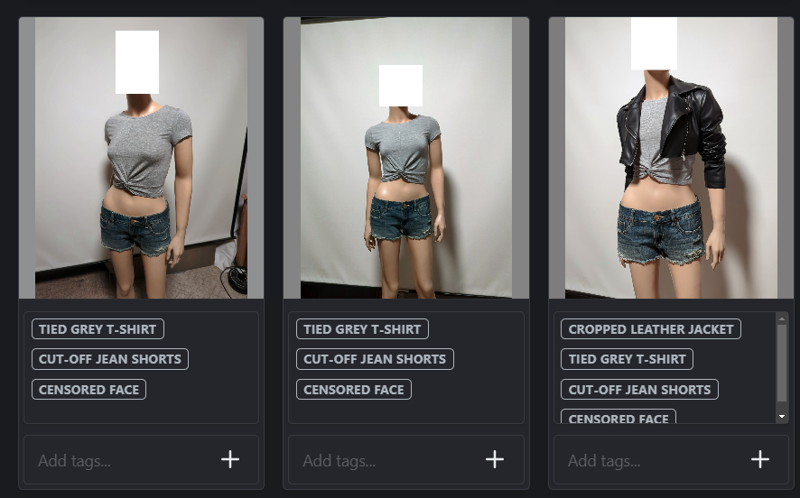
Once all the tags are done, scroll down and check off I own the rights to all these images (assuming you do). Make sure the acknowledgment is checked and hit Next. This will upload your images.
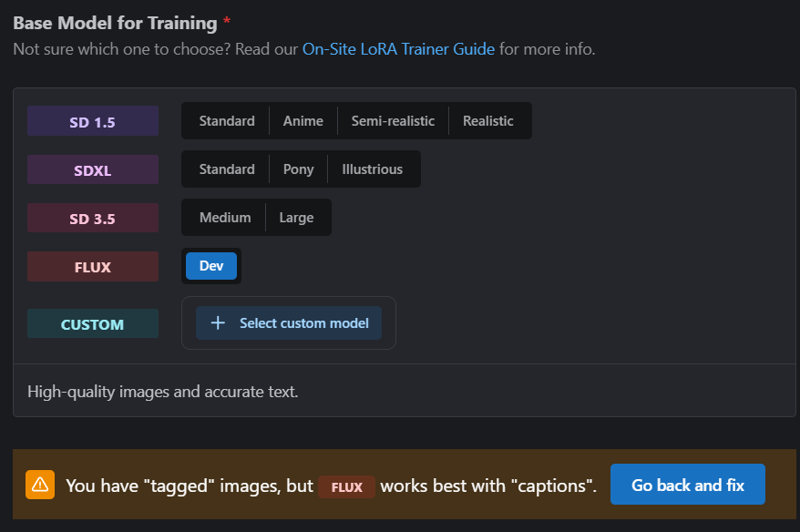
On the next page, scroll to Base Model for Training and select Flux Dev.
This will warn you about Tags. Ignore it.
If you want, you can expand Sample Image Prompts and type in a few using the tags you selected. I like to do this just to give a more varied sample image in the training. I might use: A young woman with red hair standing in a park wearing a cropped leather jacket over a tied grey t-shirt and cut-off jean shorts. If you leave the defaults, it will tend to included your censored faces in the samples.
You can leave Training Parameters at default, I've been perfectly happy with those results.
Click Submit and spend your 2000 buzz.
Click on your Profile Picture and Training to follow the process. When done, download your Lora. Typically the top recommended version is best.
Congrats!
I hope this helps some people. If you found it useful, please do consider following me.

