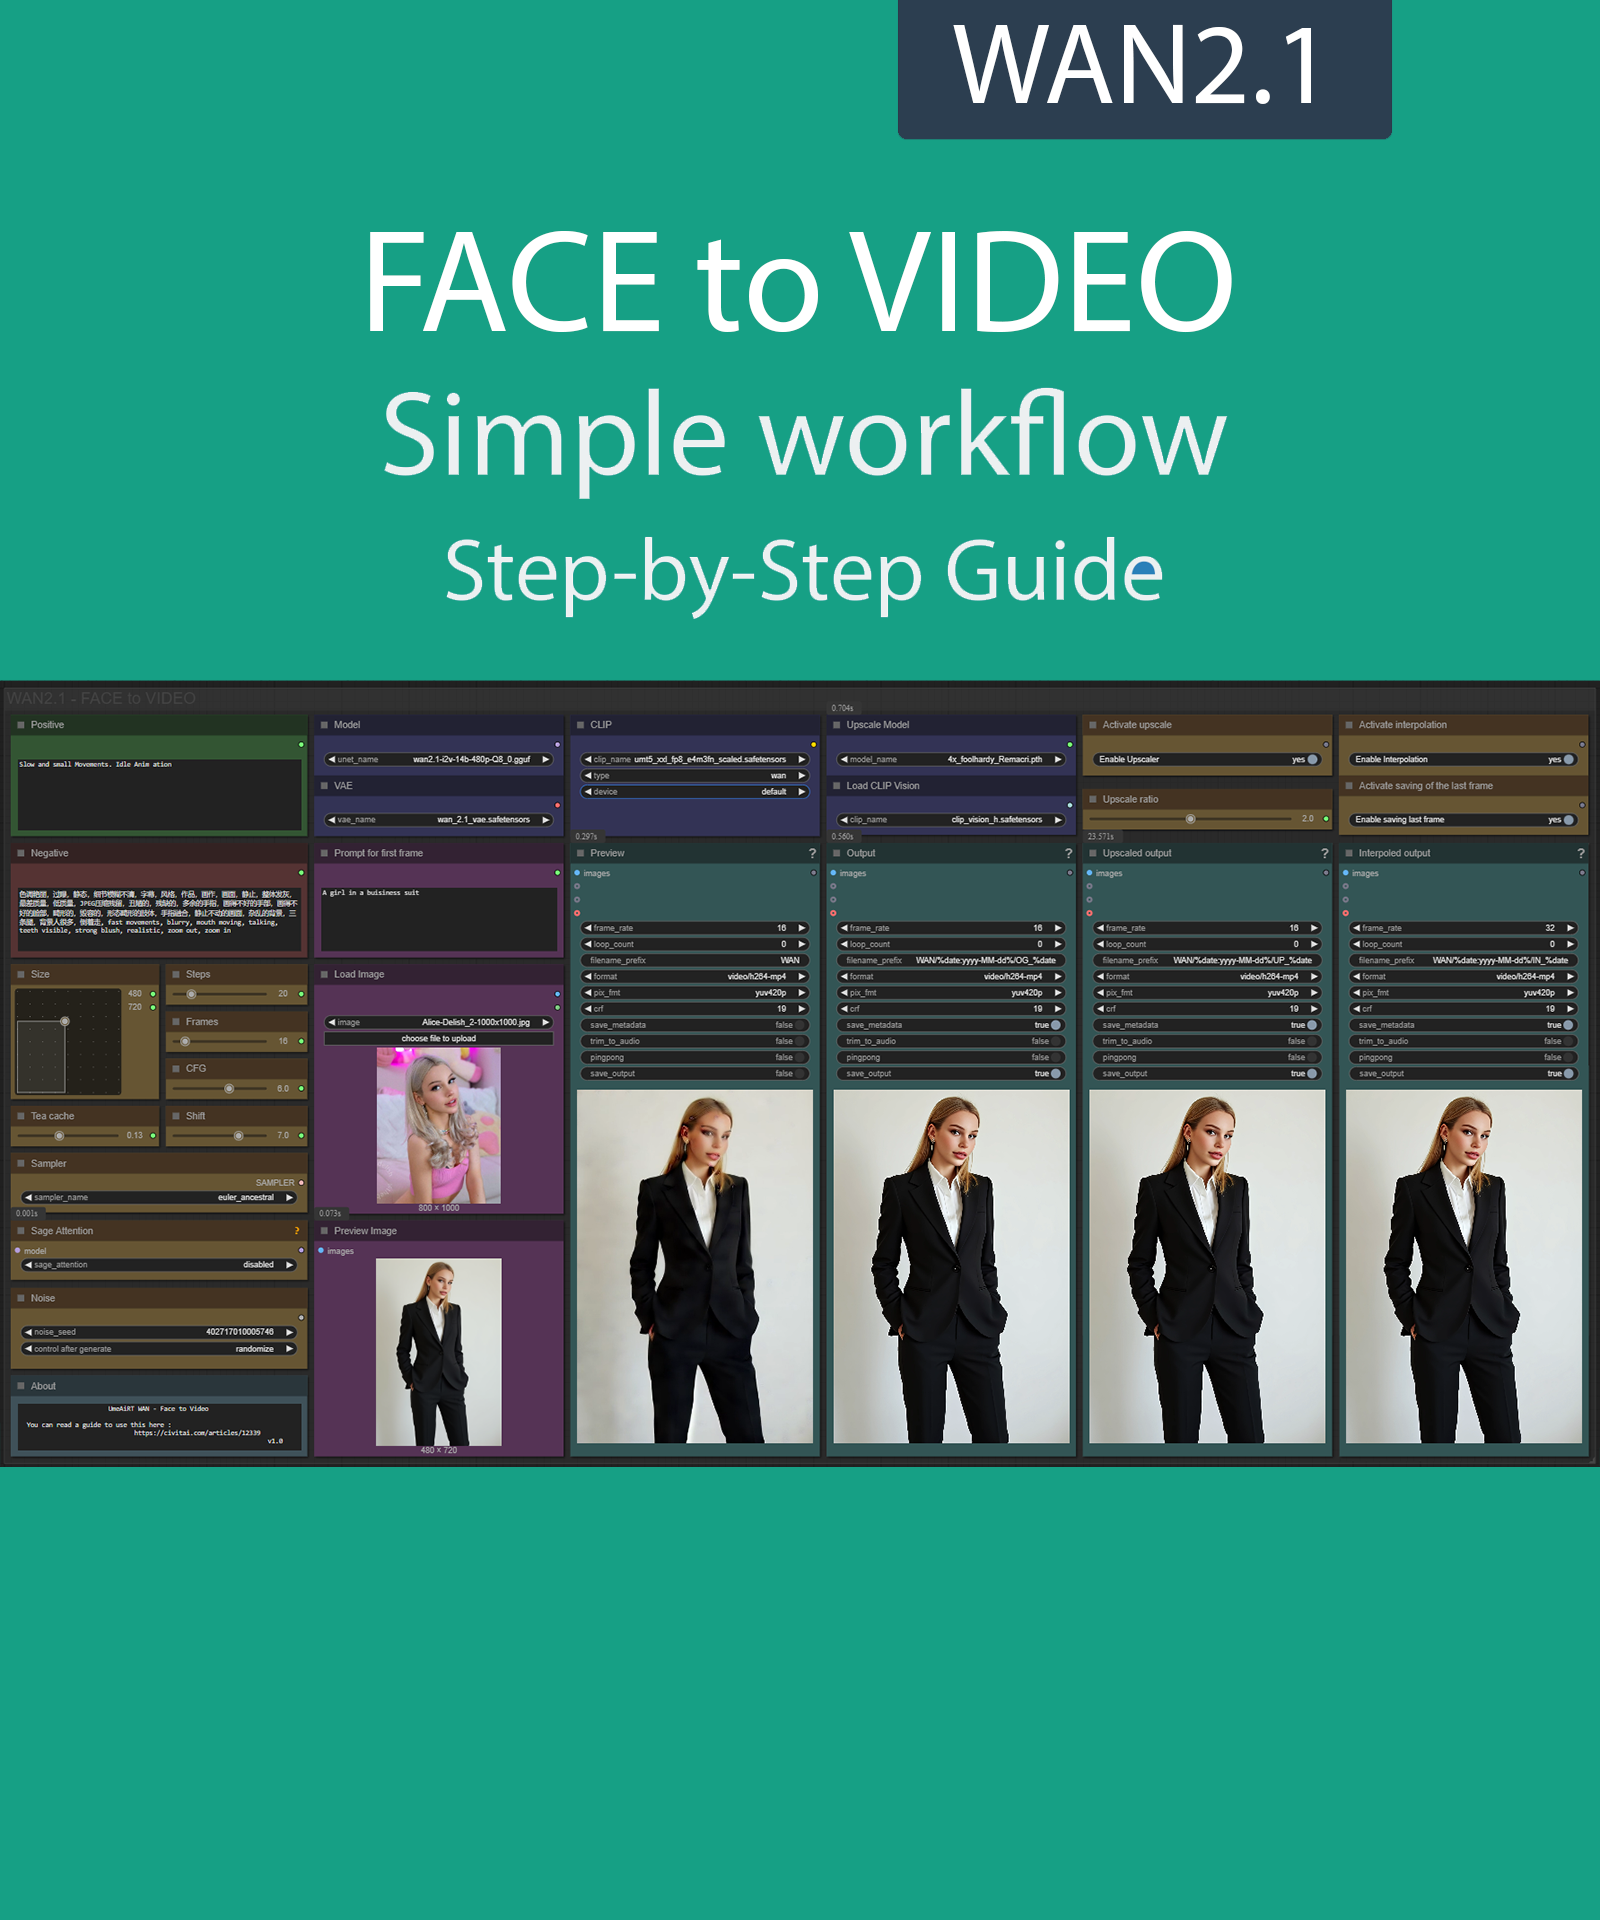
This guide is now outdated, it is only valid up to version 1.2.
Step-by-Step Guide Series:
ComfyUI - FACE to VIDEO Workflow 1.X
This article accompanies this workflow: link
Foreword :
English is not my mother tongue, so I apologize for any errors. Do not hesitate to send me messages if you find any.
This guide is intended to be as simple as possible, and certain terms will be simplified.
Workflow description :
The aim of this workflow is to generate video using the face from an existing photo in a simple window.
Prerequisites :
ComfyUI
Models :
I2V Quant Model : city96/Wan2.1-I2V-14B-480P-gguf at main
In models/diffusion_modelsRecomandation :
24 gb Vram: Q8_0
16 gb Vram: Q5_K_S
<12 gb Vram: Q4_K_S
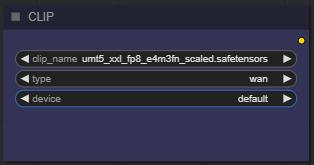
CLIP : split_files/text_encoders/umt5_xxl_fp8_e4m3fn_scaled.safetensors · Comfy-Org/Wan_2.1_ComfyUI_repackaged at main
in models/clipCLIP-VISION : split_files/clip_vision/clip_vision_h.safetensors · Comfy-Org/Wan_2.1_ComfyUI_repackaged at main
in models/clip_visionVAE : split_files/vae/wan_2.1_vae.safetensors · Comfy-Org/Wan_2.1_ComfyUI_repackaged at main
in models/vaeUPSCALE MODEL : ESRGAN/4x_NMKD-Siax_200k.pth · uwg/upscaler at main
in models/upscale_models
FLUX GGUF_Model : city96/FLUX.1-dev-gguf at main (huggingface.co)
"flux1-dev-Q8_0.gguf" in ComfyUI\models\unetFLUX GGUF_clip : city96/t5-v1_1-xxl-encoder-gguf at main (huggingface.co)
"t5-v1_1-xxl-encoder-Q8_0.gguf" in \ComfyUI\models\clipFLUX text encoder : ViT-L-14-TEXT-detail-improved-hiT-GmP-TE-only-HF.safetensors · zer0int/CLIP-GmP-ViT-L-14 at main (huggingface.co)
"ViT-L-14-GmP-ft-TE-only-HF-format.safetensors" in \ComfyUI\models\clipFLUX VAE : black-forest-labs/FLUX.1-dev at main (huggingface.co)
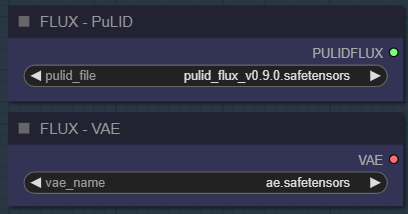
"ae" in \ComfyUI\models\vaeFLUX PuLID : pulid_flux_v0.9.0.safetensors · camenduru/PuLID at main
"pulid_flux_v0.9.0" in \ComfyUI\models\pulid
Custom Nodes :
PuLID need your python to have Insightface :
Check your python version :

for windows portable version : (the path depends on where you unzipped ComfyUI)

Download Insightface whl which corresponds here : Assets/Insightface at main · Gourieff/Assets
(Here my local python is on 310 and mobile version in 312)
Then install all prerequisites and insightface :
python.exe -m pip install --use-pep517 facexlib
python.exe -m pip install git+https://github.com/rodjjo/filterpy.git
python.exe -m pip install onnxruntime==1.19.2 onnxruntime-gpu==1.15.1 insightface-0.7.3-cp310-cp310-win_amd64.whl
Don't forget to close the workflow and open it again once the nodes have been installed.
Usage :
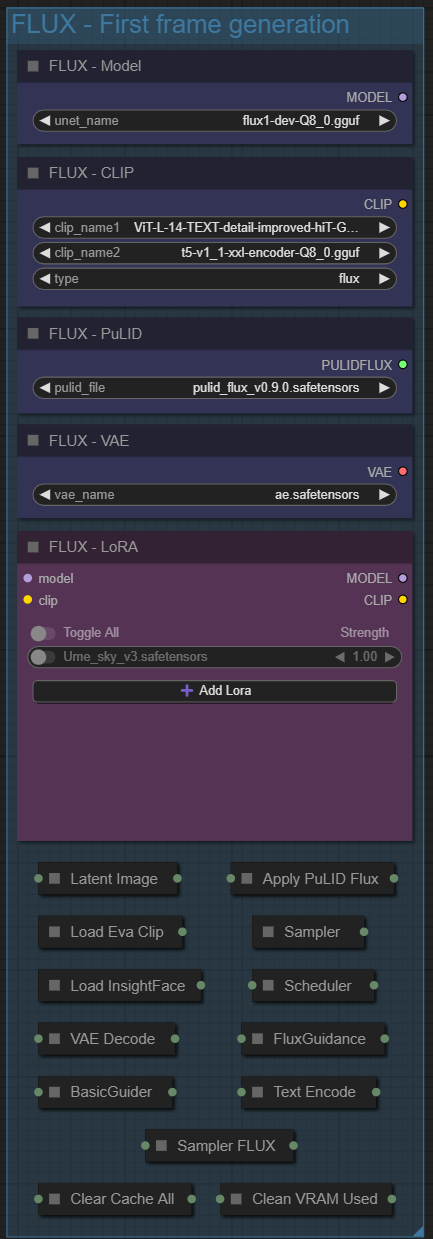
One preproduction workflow :
Models used by flow,
a node to add LoRA.
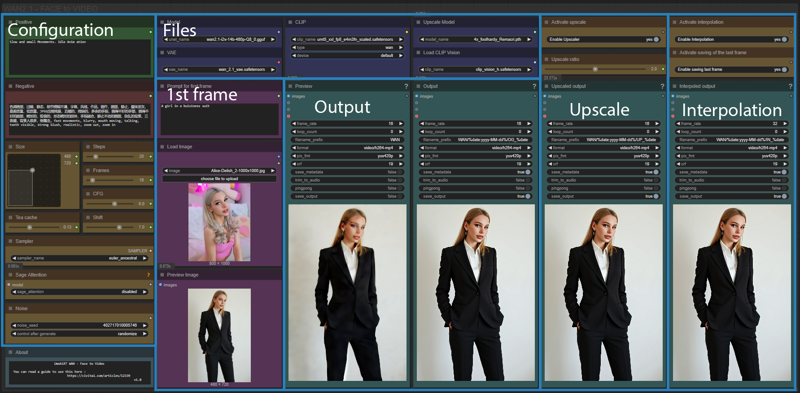
The main workflow is composed of 4 main parts :
Configuration : where you define what you want,
Files : what required for workflow operation,
1st frame : import the image of the face you want to reproduce and describe the first frame,
Ouput : video display and saving.
And two optional parts :
Upscale : allows you to increase the video resolution
Interpolation : allows you to generate intermediate frames for greater fluidity
First frame files :
Choose your flux model :

Here, you can switch between Q8 and Q4 depending on the number of VRAMs you have. Higher values are better, but slower.
Choose your clip and text encoder :
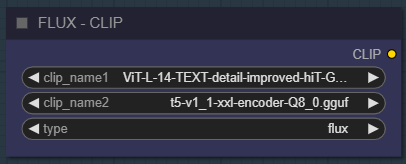
As for the previous node.
Dont change vae and PuLID model :
Add as many LoRAs as you want :
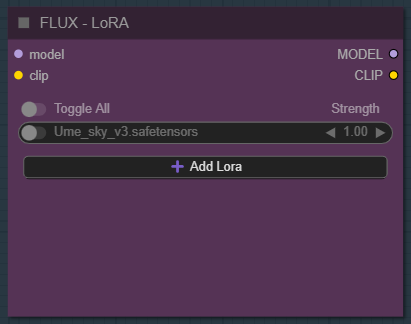
I have not personally tested this workflow with LoRAs.
Configuration :
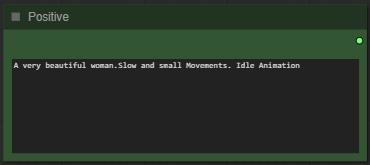
Write what you want in the “Positive” node :
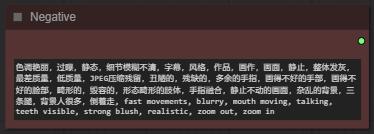
Write what you dont want in the "Negative" node :
Select image format :
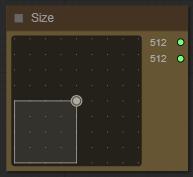
The larger it is, the better the quality, but the longer the generation time and the greater the VRAM required.
Choose a number of steps :

I recommend between 15 and 30. The higher the number, the better the quality, but the longer it takes to generate video.
Choose number of frames :

A video is made up of a series of images, one behind the other. Each image is called a frame. So the more frames you put in, the longer the video.
Choose the guidance level :

I recommend to star at 6. The lower the number, the freer you leave the model. The higher the number, the more the image will resemble what you “strictly” asked for.
Choose a Teacache coefficients :

This saves a lot of time on generation. The higher the coefficient, the faster it is, but increases the risk of quality loss.
Recommended setting :
for 480P : 0.13 | 0.19 | 0.26
for 720P : 0.18 | 0.20 | 0.30
Choose a shift level :

This allows you to slow down or speed up the overall animation. The default speed is 8.
Choose sage attention :

Installing this option is quite complex and will not be explained here. If you don't know what it is, don't enable it.
Choose a sampler and a scheduler :

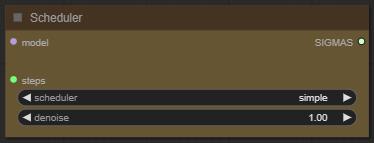
If you dont know what is it, dont touch it.
Define a seed or let comfy generate one: :

Write what you want for the first frame :
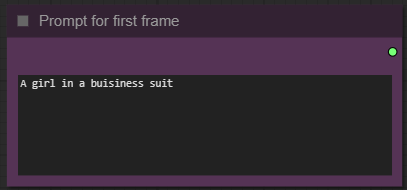
Import your base image :
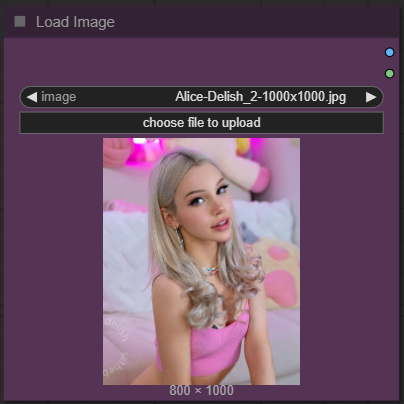
Only the face will be recovered from this image.
Files :
Choose your model:

Here, you can switch between Q8 and Q4 depending on the number of VRAMs you have. Higher values are better, but slower.
For VAE dont change it :

For clip dont change it :
Select an upscaler : (optional)

I personally use 4x_foolhardy_Remacri.pth · utnah/LDSR at main.
For clip vision, dont change it :

Output :
Here you can change the name and path of the output file and the number of FPS. The higher the FPS, the smoother the video :
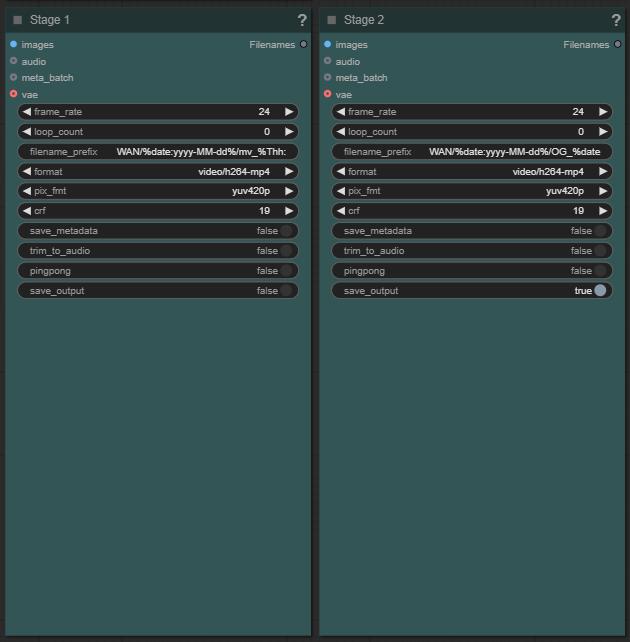
I've already set the parameters I recommend (24fps), change according to your preference.
Upscale : (optional)
Here you can enable upscaling :

Choose a ratio for upscaling :

Too large a setting results in a decrease in quality.
Interpolation :
You can enable the setting to generate a smoother video.

Other :
A final option allows you to save the last frame in order to potentially use it to generate a new video following the one generated.

Now you're ready to create your video.
Just click on the “Queue” button to start:

Once rendering is complete, the video appears in the “stage 2” node.
If you have enabled upscaling, the result is in the "Upscaler node".


