Training a Character LoRA from a Character Sheet
Note: This guide assumes a basic familiarity with AI tools and platforms. For best results, experiment with different settings and refine your prompts to achieve the desired outcomes. This was written with the assistance of AI and is initially intended as a record for my own future reference. If you have any questions, I will do my best to help.
Introduction
This guide outlines an effective method for generating a consistent and high-quality character LoRA without requiring initial reference images or details. Much like creating a character sheet for a novel or a D&D campaign, you will develop a detailed character profile that serves as the foundation for your LoRA, this can also aid in inspiring potential images based on the character’s backstory. You can see some of my results during testing in this collection: Civitai Collection.
Step 1: Create a Character Sheet Template
Begin by designing a comprehensive character sheet. You can use an AI tool, such as GPT or another language model, to generate a structured template that includes:
Appearance: A detailed physical description, including clothing style and unique features.
Name: The character's full name, including any applicable nicknames.
Backstory: Key personality traits, motivations, and life history.
Note: Make sure to do step 1 and step 2 separately. The ai generates better character descriptions when it has a template to work off. So, generate a template then move to step 2.
Step 2: Populate the Character Sheet
Fill out the template using AI assistance, manual editing, or a combination of both. Ensure the profile includes:
Consistent visual elements (e.g., distinctive hairstyles, clothing preferences).
A compelling backstory that informs the character’s personality and behaviour.
Clear motivations driving their actions and decisions.
Step 3: Generate Initial Character Imagery
You can provide your character sheet to a language model and ask it to generate a detailed prompt of your characters appearance, such as:
"A detailed, full-body image of [Character Name] in a standard standing pose. [Character Name] features [detailed character appearance]."
Use an AI text-to-image model (e.g., Flux, SDXL) to create a base image at 1024x1024 resolution using the generated description as a prompt.
Step 4: Create Rotating Character Frames
Convert the static image into a rotating animation using AI video generation tools like Kling or Wan2 Img2Vid. Use a prompt like:
"[Character Name] turning around and walking away from the camera."
This step captures multiple angles in a single video. From testing, Kling has provided the best outputs.
Step 5: Extract Frames and Prepare for Training
Render the video into individual frames using a ComfyUI workflow (e.g., with a load video node and a save image node) or a simple Python script. Select approximately 50 frames showcasing different angles by choosing every 5th frame for an even distribution.
Step 6: Train the First Pass LoRA Model
Using FluxGym or the Civitai onsite trainer, follow these steps:
1. Upload Frames
Organize and upload your selected frames.
2. Auto-Captioning
Use the built-in auto-captioning feature and refine the captions to accurately describe the character’s appearance in different poses.
3. Edit Captions
Manually adjust each caption to ensure precision in describing poses, expressions, and surroundings.
4. Set Training Parameters
Example settings for FluxGym:
LoRA Name: Character Name
Trigger Word/Sentence: act1vate, [Character Name] (note: I use act1vate as a trigger as well as the name, in case the name is similar to data already in the model.)
Base Model: flux-dev
VRAM: 12GB (adjust based on system specs)
Repeat Trains per Image: 10
Max Train Epochs: 3
Expected Training Steps: Auto-populated based on images input
Sample Image Every N Steps: 0 (Higher values generate test images, but I prefer testing at the end)
Resize Dataset Images: 1024x1024
Step 7: Generate New Character Assets
With the newly trained LoRA, generate approximately 50 new images featuring varied poses. Use an AI-generated prompt sheet to guide descriptions if you wish. Example prompts:
"A confident [Character Name] standing in a bustling cityscape."
"A serene [Character Name] sitting on a park bench, gazing at the horizon."
Discard any blurry or inconsistent images and continue generating until you have 50 high-quality images that accurately represent the character.
Step 8: Cleanup Images (Optional And Highly Beneficial)
Review the new images and clean up any anomalies using image editing software like Krita with Krita AI Diffusion or other preferred tools.
Step 9: Second Pass LoRA Training
Repeat the LoRA training process using the refined set of images to further enhance the character model. You can loop this method until you are happy with the final output.
Final Thoughts
Initially, I considered automating character LoRA generation from character sheets. However, after extensive testing, I found that manual editing—adjusting prompts, refining images, and correcting AI errors—yields the best results. This method is my preferred approach, and I am sharing it here for future reference.
Tools Used in This Guide
Below is a list of tools referenced in this guide (Thank you to the amazing devs who make these free tools available.):
Text-to-Image Models: Flux https://civitai.com/models/618692/flux
Video Generation Tools: Kling, Wan2 Img2Vid (quick to run workflow using ltxv: https://civitai.com/models/1335795/looped-i2v-ltxv-frame-interpolation-lightricks-ltx-video-2b-v095-image-to-video)
Frame Extraction & Processing: ComfyUI https://github.com/comfyanonymous/ComfyUI, Python (with a custom script)
LoRA Training Platforms: FluxGym https://github.com/cocktailpeanut/fluxgym or Civitai onsite trainer
Image Editing Software: Krita https://krita.org/ (with Krita AI Diffusion https://github.com/Acly/krita-ai-diffusion)
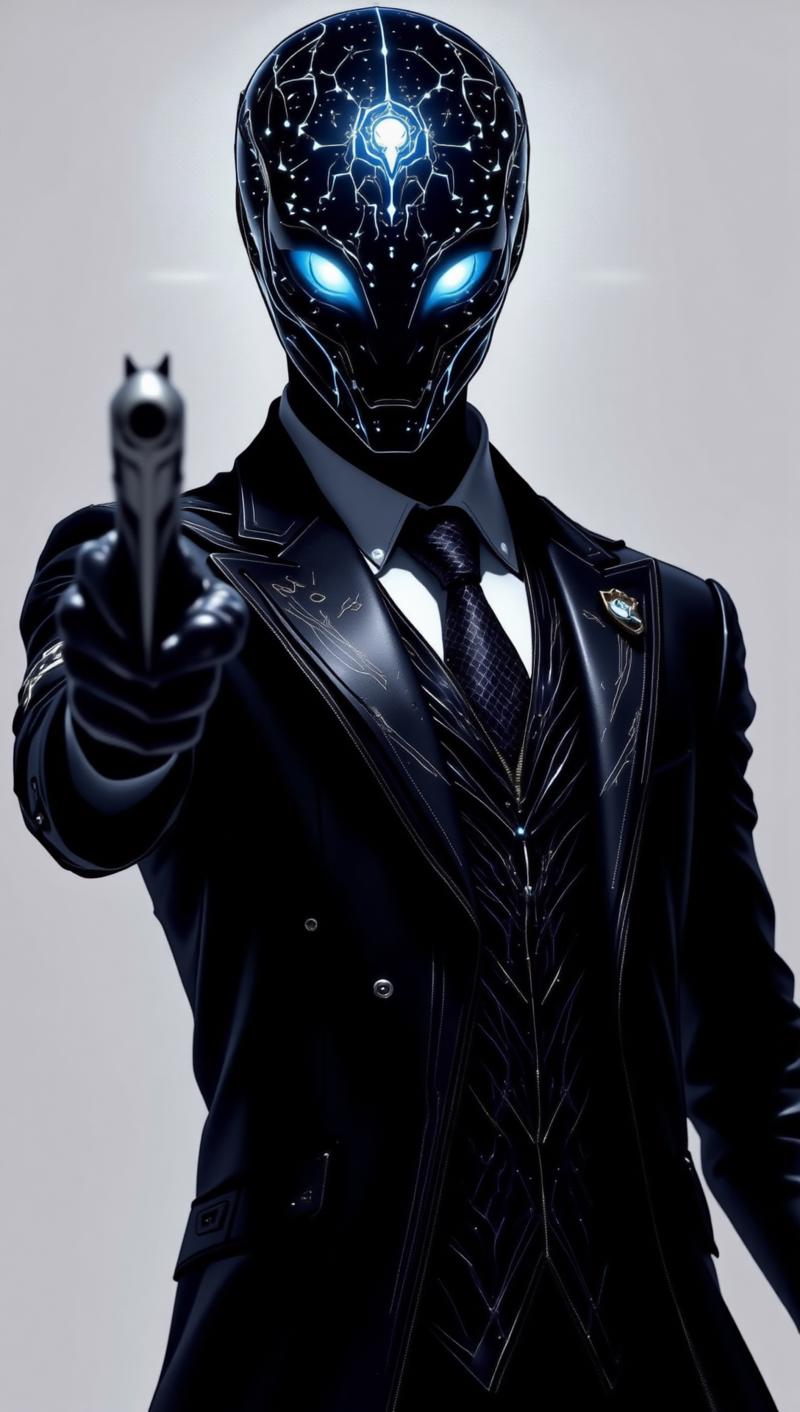
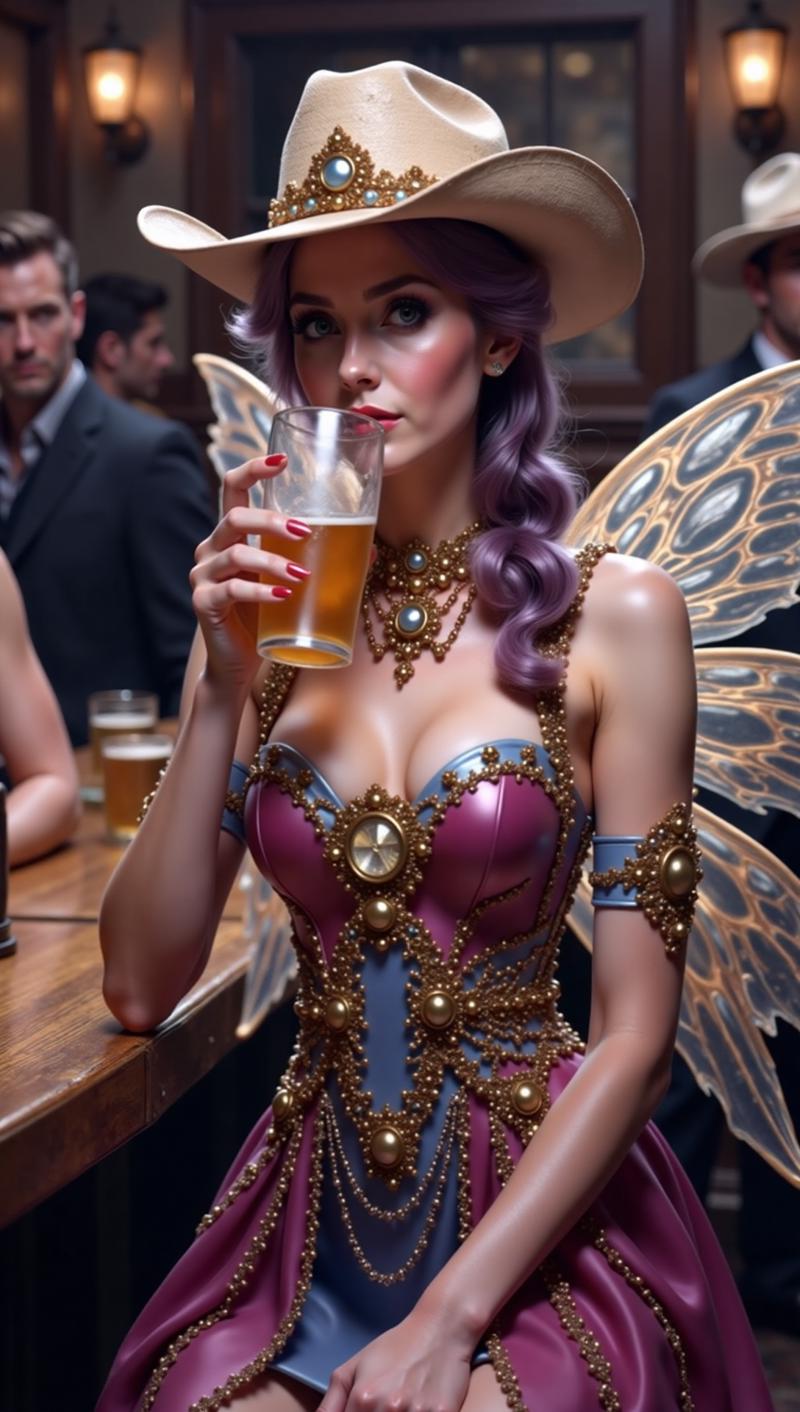
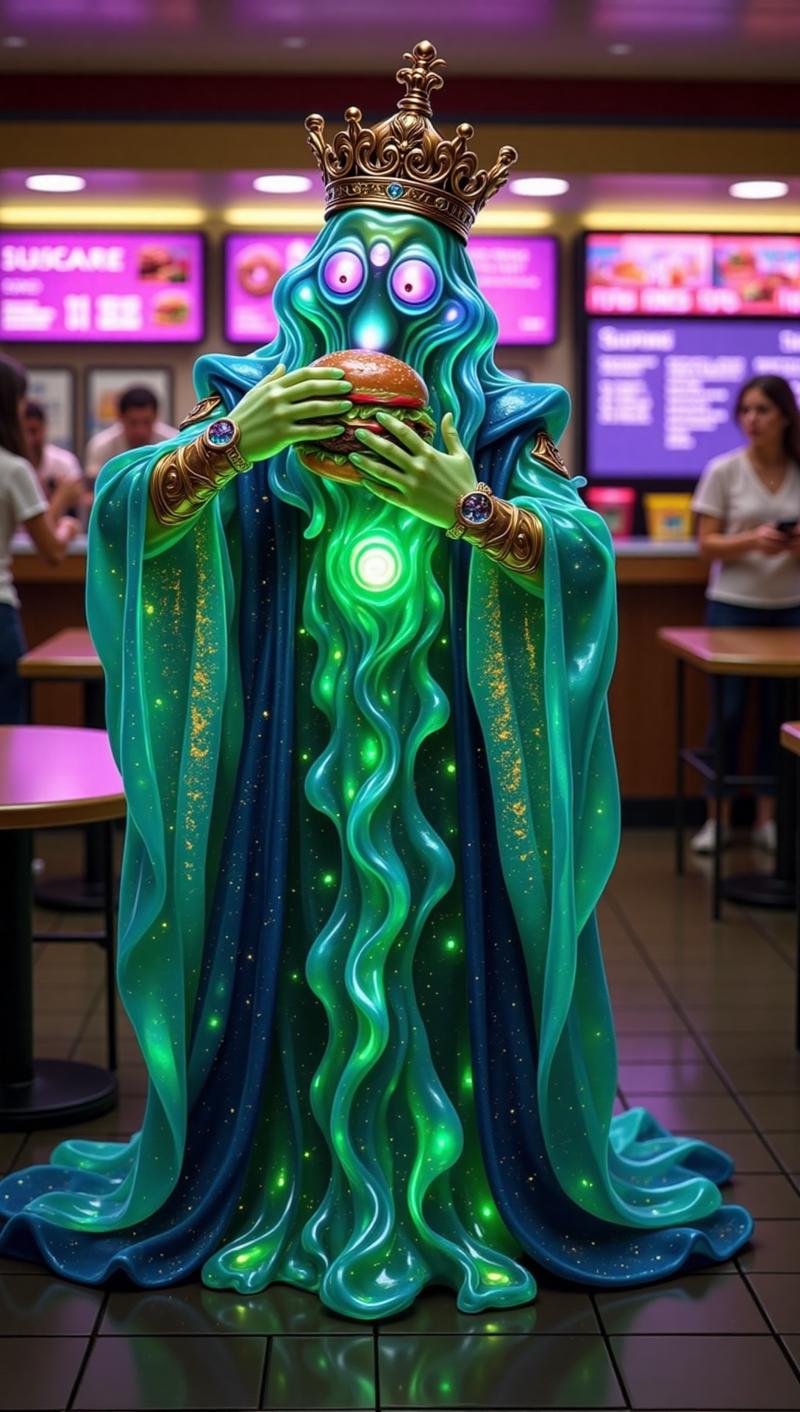
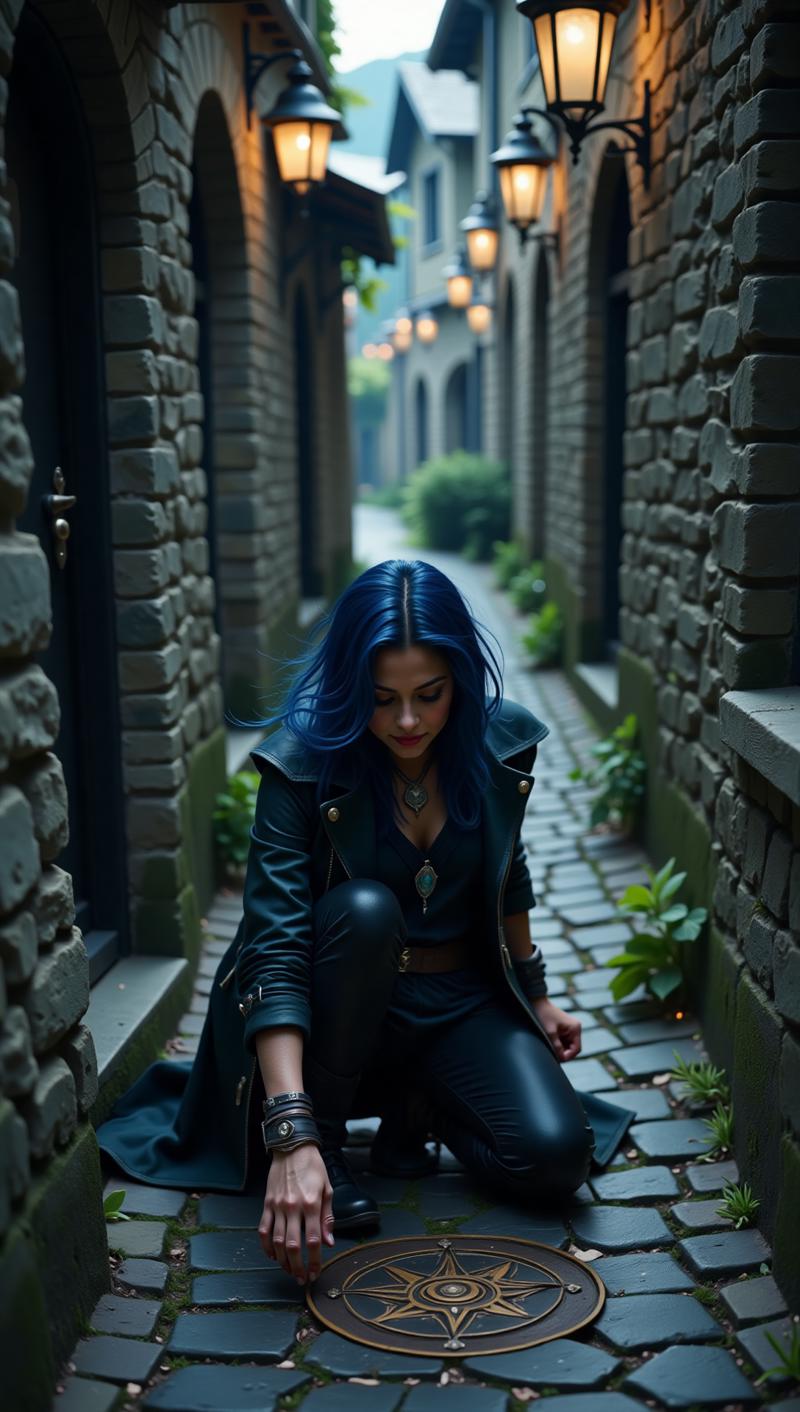
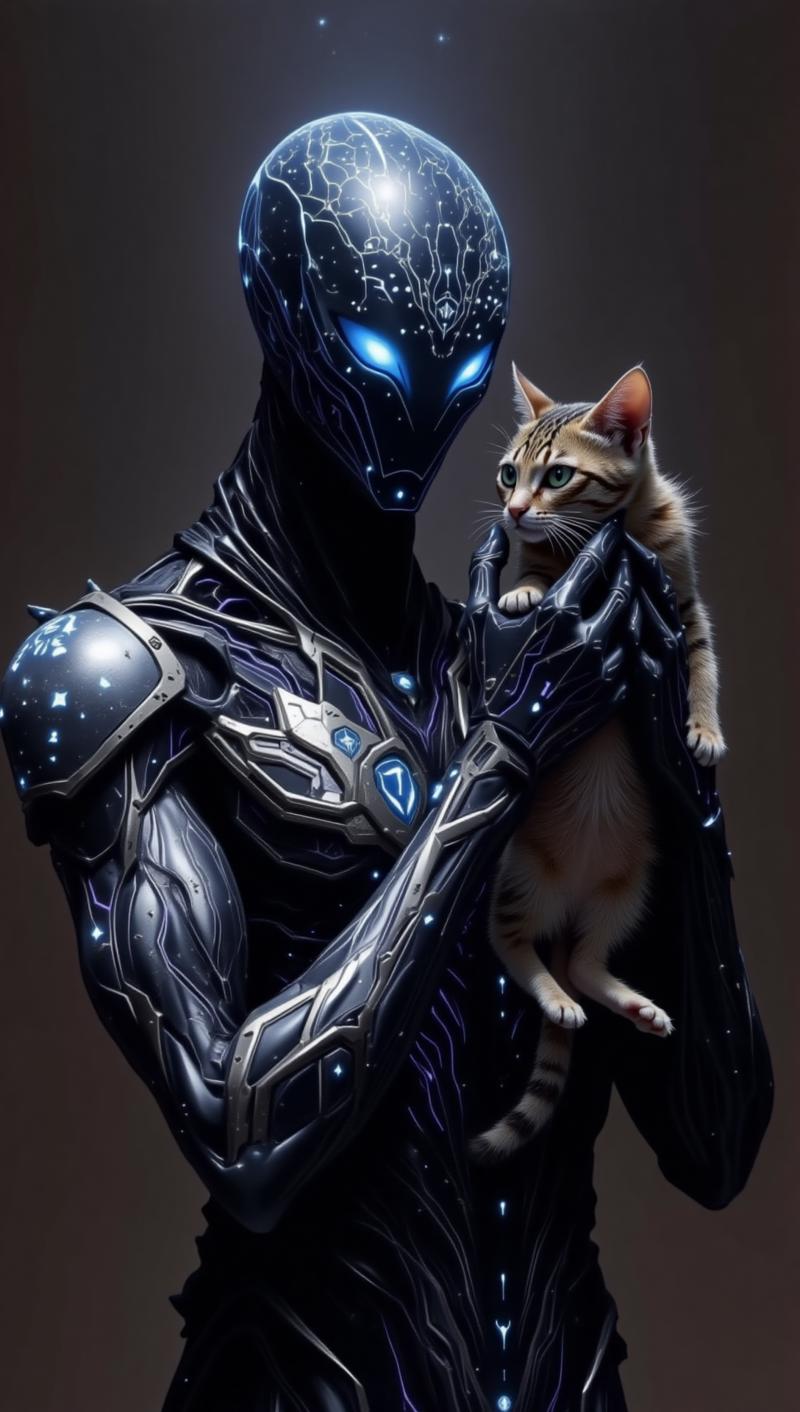
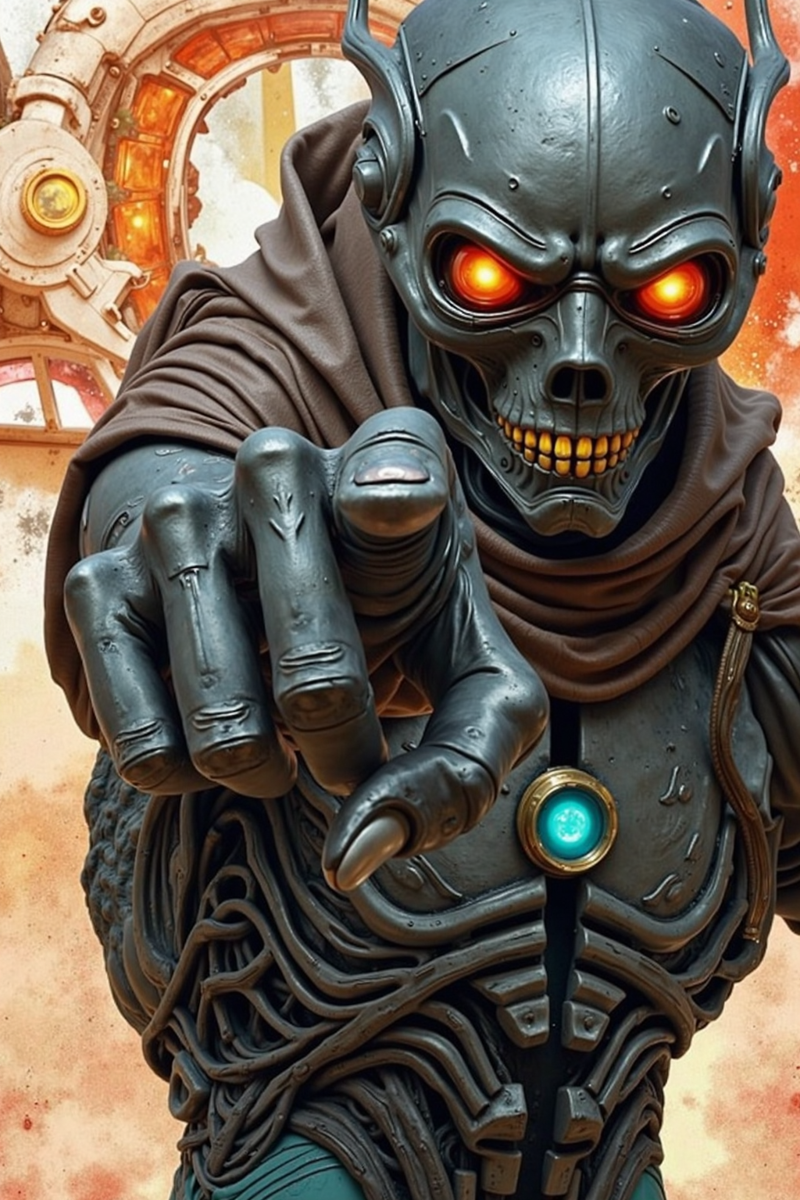
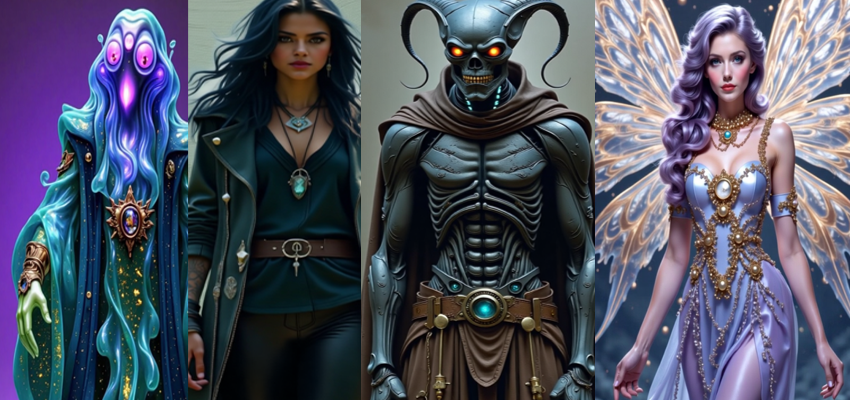
Some example images from my Loras:
