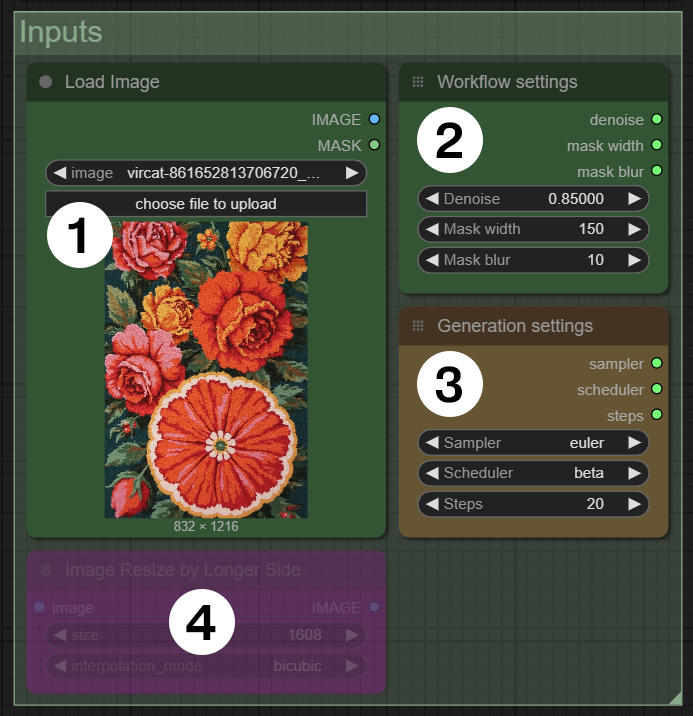
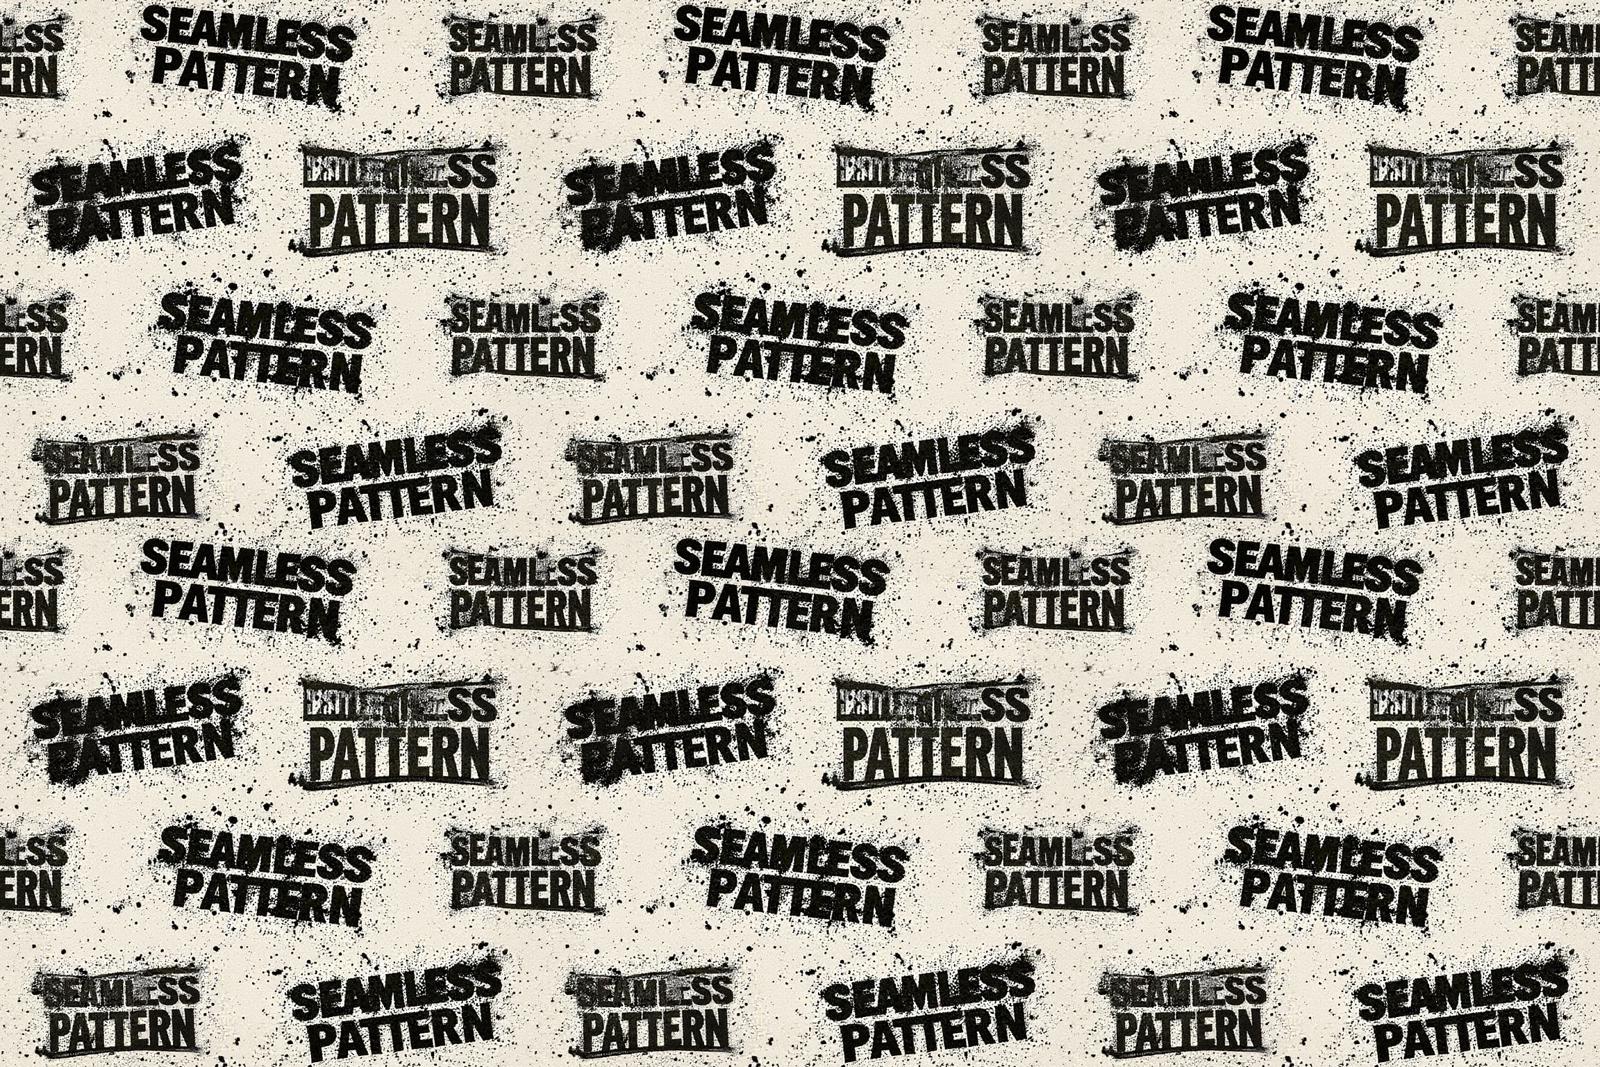
Even if you include the token "seamless pattern" to prompt when generating an image, the result won’t be truly seamless— even if it appears so at first glance.
This workflow is designed to fix generated seamless patterns. The image is reconstructed in a specific way, and inpainting is used to correct any mismatched edges. In just two repainting steps, you'll get an almost identical image but with seamlessly corrected borders.
How to Use:
To use this workflow, you need to install all the required custom nodes and load the necessary models.

1️⃣ Upload your image.
2️⃣ Adjust the main settings:
Denoise – Controls the degree of fragment repainting.
Mask width – Defines the width of the repainted area (avoid setting excessively high values).
Mask blur – Softens the edges of the repainted area.
3️⃣ Set up generation parameters.
4️⃣ If the image is large, you can enable this node for cropping.
The mask for inpaint is automatically generated.
🔹 You can monitor the process in the "Progress Preview" group, where all intermediate steps are displayed.

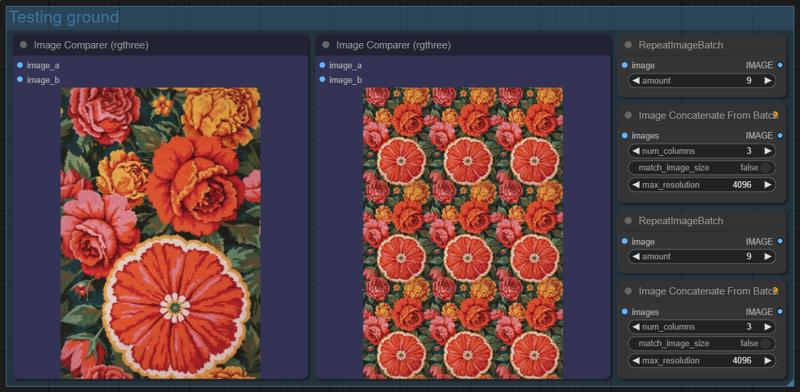
🔹 The "Testing Ground" group provides a side-by-side comparison of the original image and the final result.

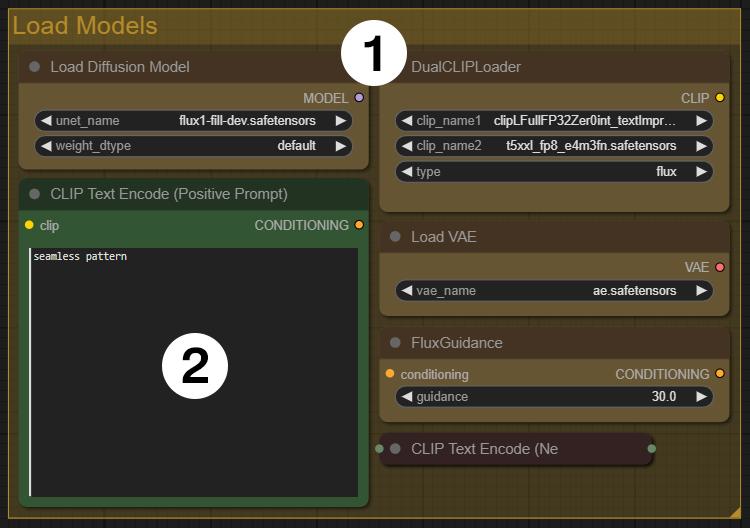
You can replace models as needed 1️⃣.
The "seamless pattern" prompt works well in most cases, but you can add more context for inpainting if desired 2️⃣.

The final image may change in size by up to 0 to 24 pixels in each direction. This is due to the specific nature of the workflow.


