Preface
In my original text2img workflow, I include an array of samplers that ends up obfuscating this topic. The outcomes of the samplers are varied for the better or worse.
Maybe common knowledge / maybe not
I've been tinkering with Image to image alterations. I think there is a general agreement that 'plastic models' are not very interesting and compelling to look at - its showing off what is already fake to a greater degree and not very artistic i assume.
I also like to share what I know - for better or worse.
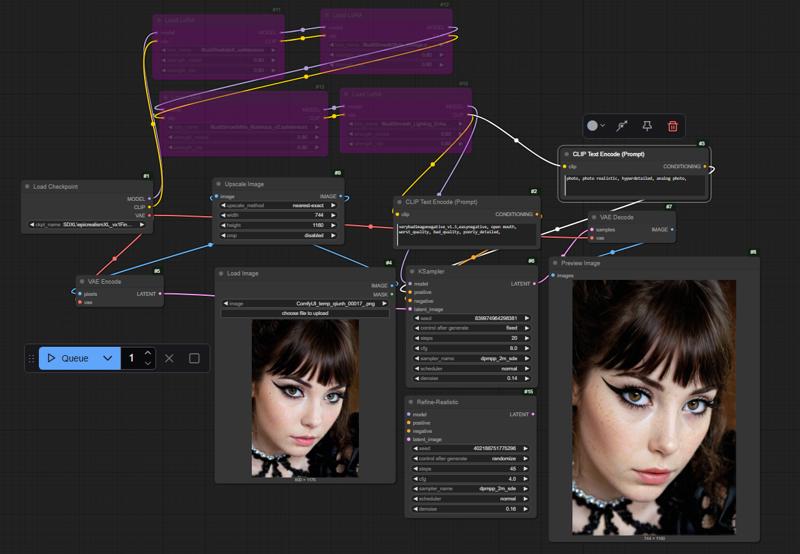
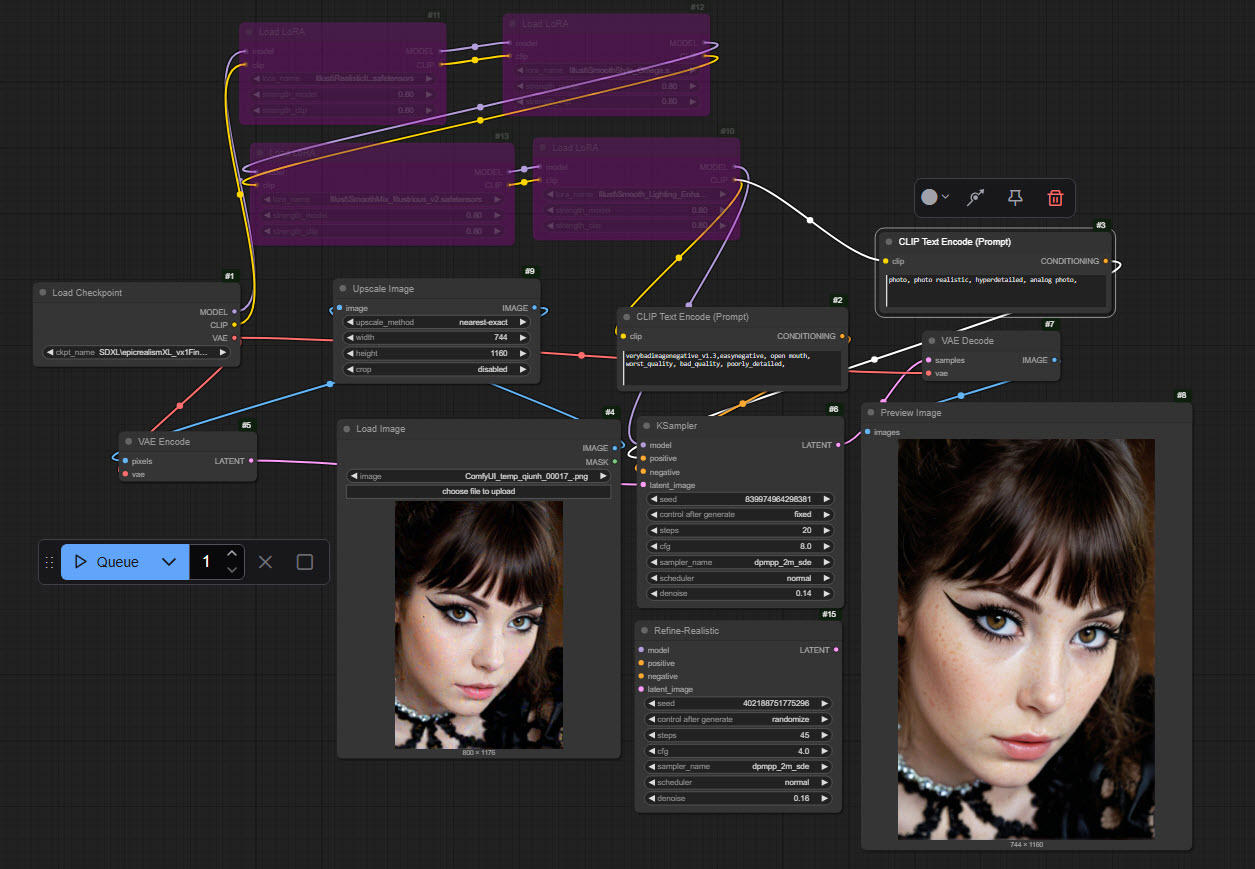
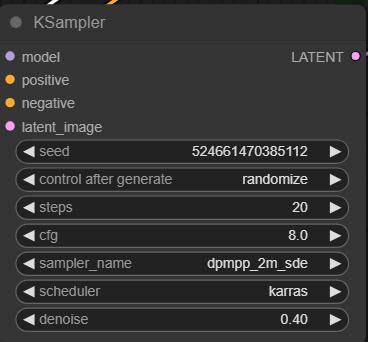
For Img2Img processing, I'm using a sampler with SDE - dpmpp_2m_sde
SDE (Stochastic Differential Equation) sampling — meaning better for refinement and reconstruction tasks - or so they say.
What's the point?
If anything else, I'm documenting sampler setting and the effects of them as personal interest and tracking.
Also, unless I'm messing up something here, you kind of lose the meta-data on the image as I was seeking the seed of the one below with the nose piercing. And I like that one too...
Source Image
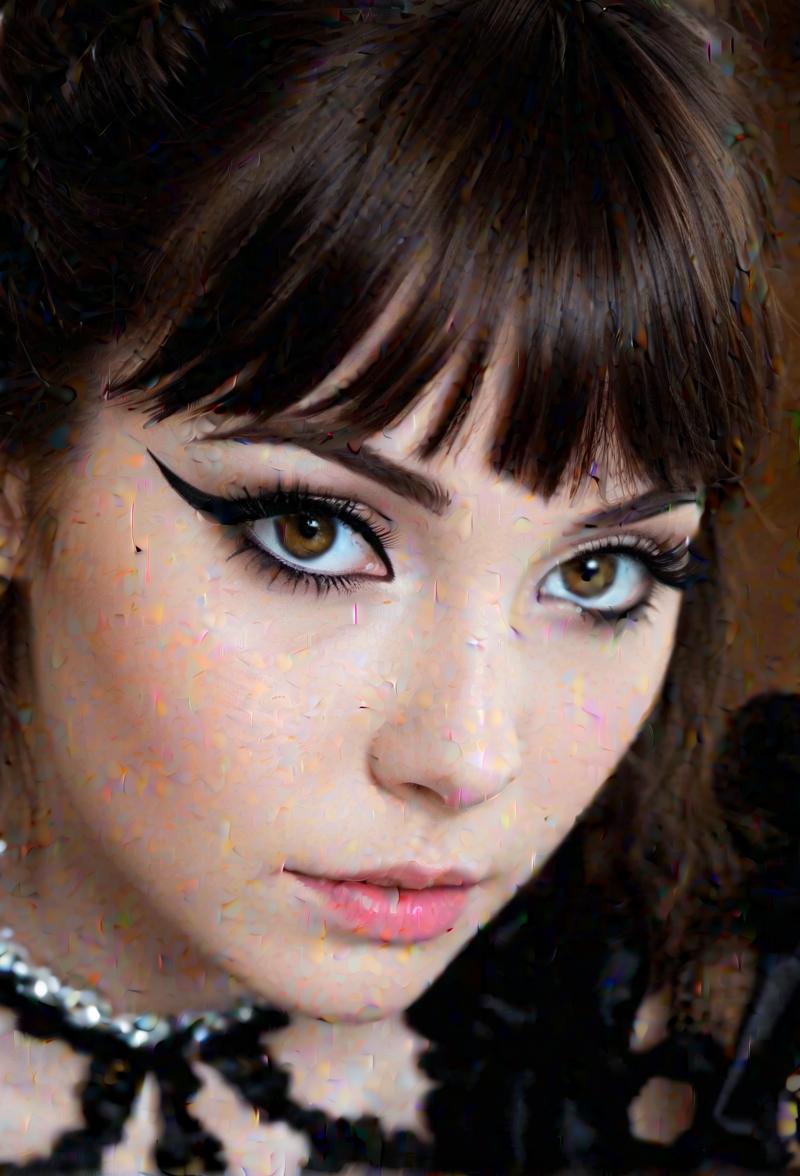
Grainy, unrefined - needed longer to cook
So lets cook longer
Prompt adds - photo, photo realistic, hyperdetailed, analog photo,
* Randomize is set In this circumstance, i am expecting variety in the refining process among seeds
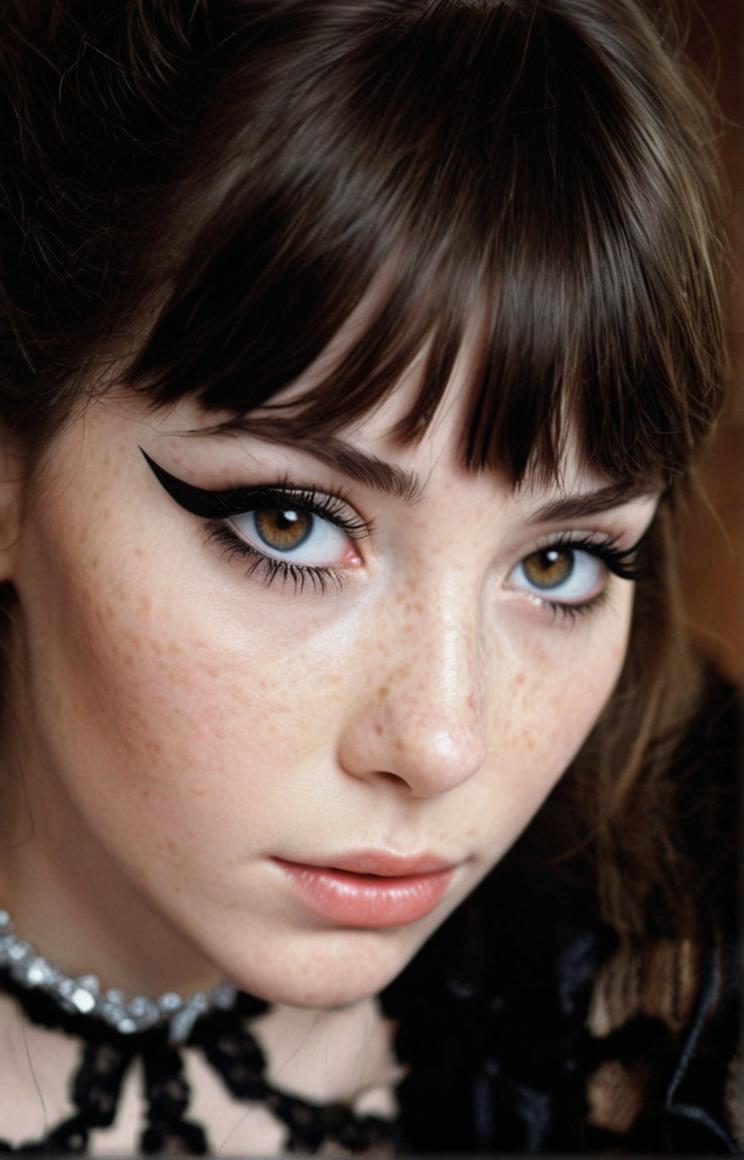
Looks compelling enough, more realistic
without the added prompts, the image is well this
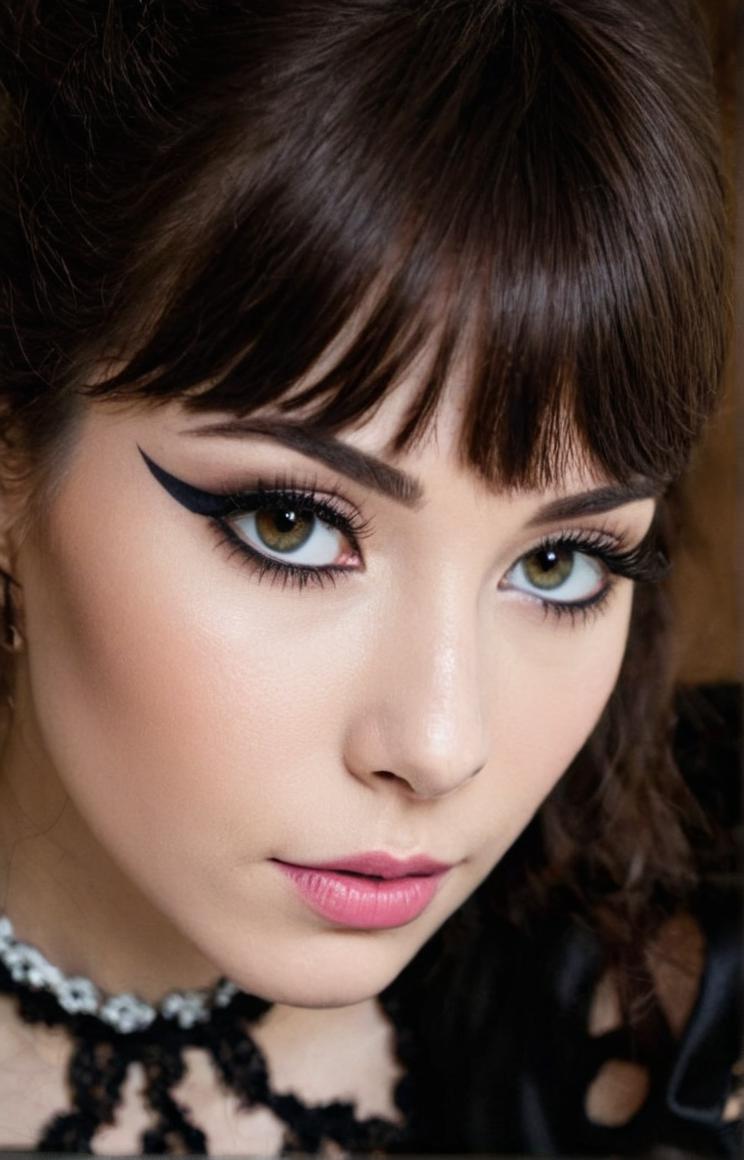
I'm sure some Img to img masking could help, but this time adding the prompts and letting it cook in same sampler get us to : (Oh and look at that - she now has a piercing - thanks to another seed)
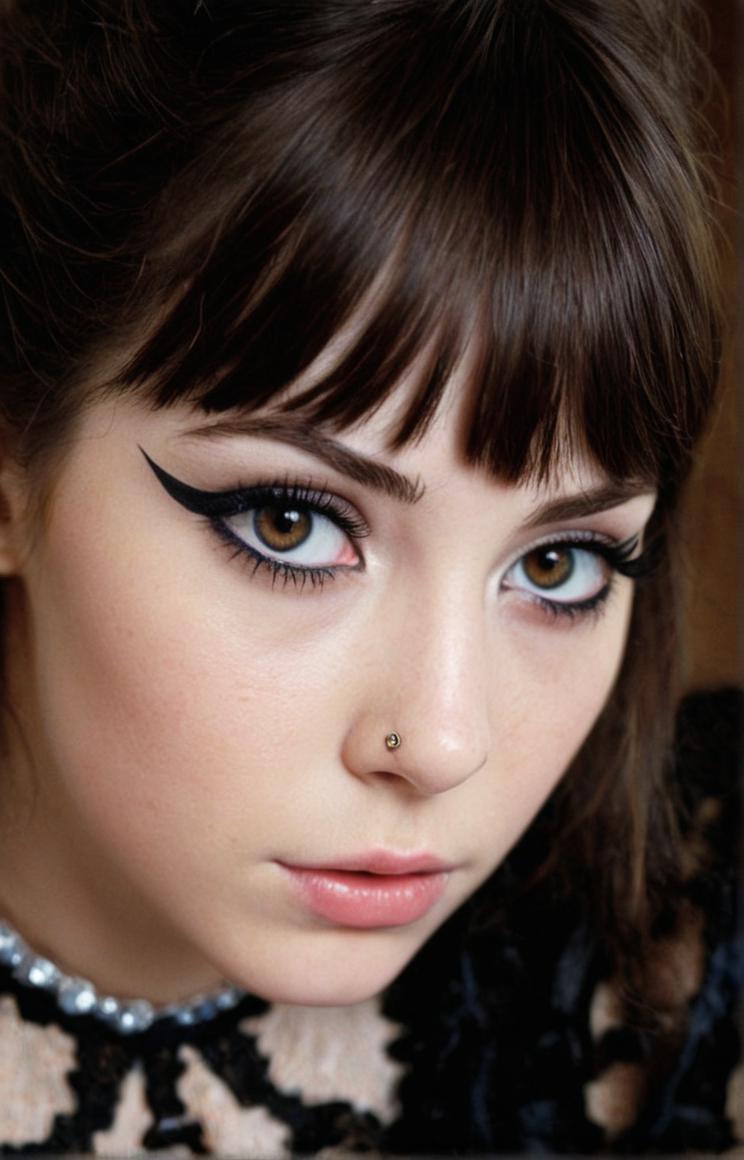
Never did get one with the nose piercing again. There must be something with importing the image and re-sampling that the model no longer gives the output the same meta-data -- none that I have found nor an upload to Civitai. Oh well.
(there is a node for upscaling, but not by much, for me its to show off that the image will re-render at a different size. I mean I want the granular image to change and have the next refined and not be plastic-y)
Let get back to Sampling.
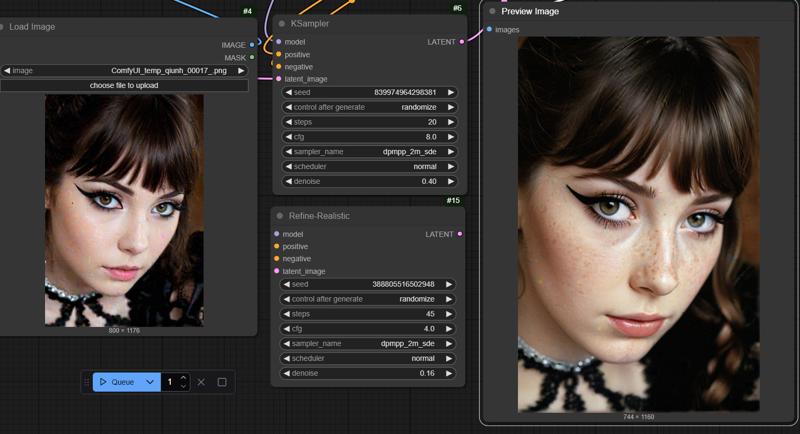
Does seem like there are some artifacts.
I dropped the CFG from 8 to 4
** CFG, or Classifier-Free Guidance scale, controls how closely the generated image adheres to the input text prompt,
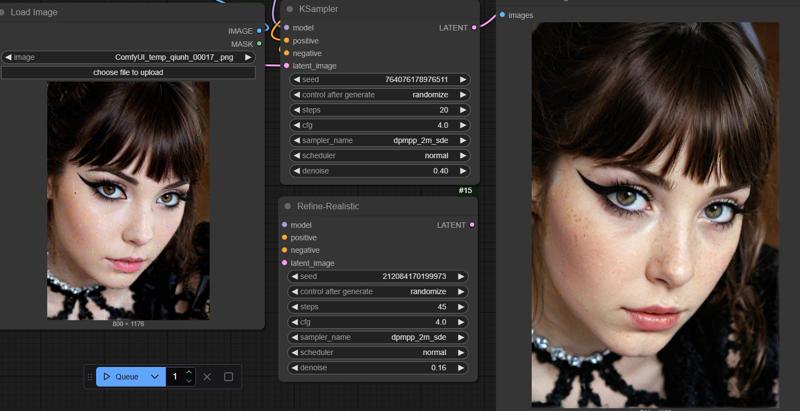
Certainly weird to have the drop in CFG at the same steps and have less artifacts - but artifacts none the ness. Lets stop the randomization of the seed - you know for science - gotta get rid of those artifacts.
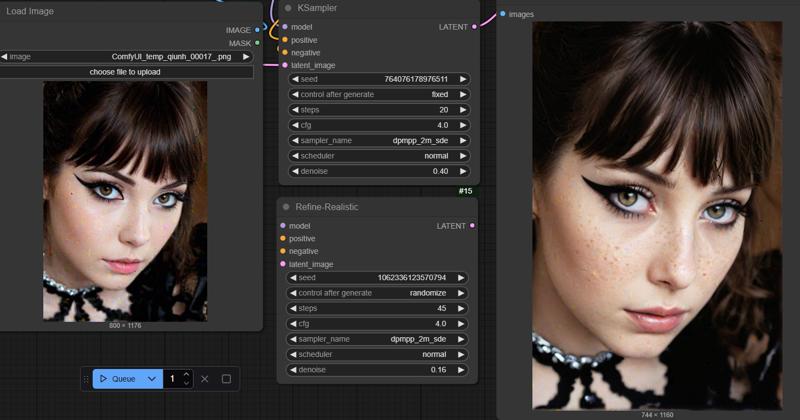
Another rendering - seed fixed - same settings...^
I'd say lets add a couple more steps +5
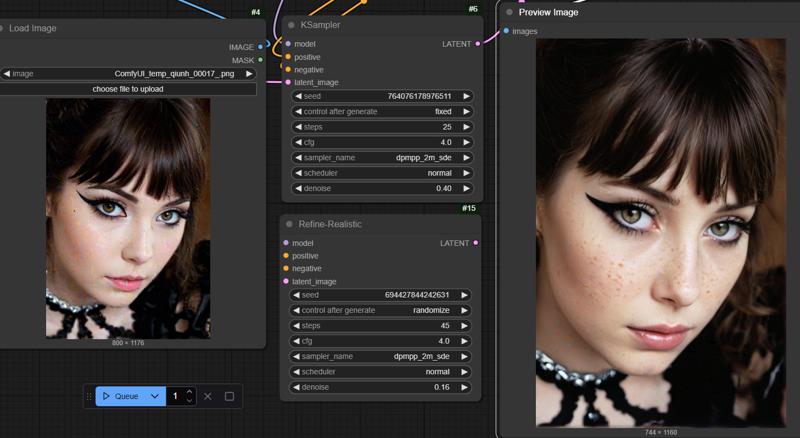
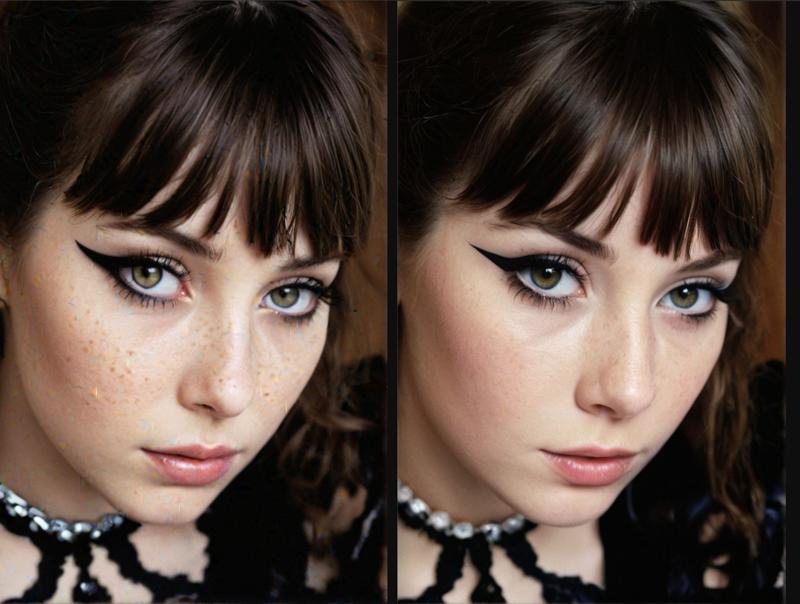
That sure does seem like the ticket, still looks like there are slight imperfections, but less when more iterations are added.
But, try something else - decrease the denoise from .4 to .2
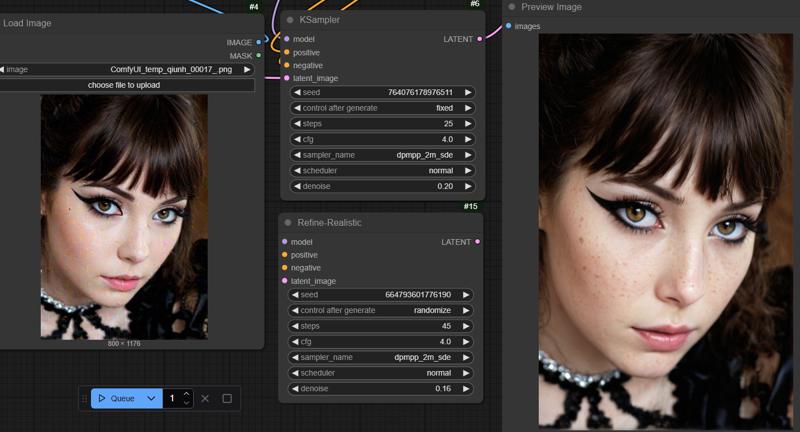
That does seem to work a bit better.
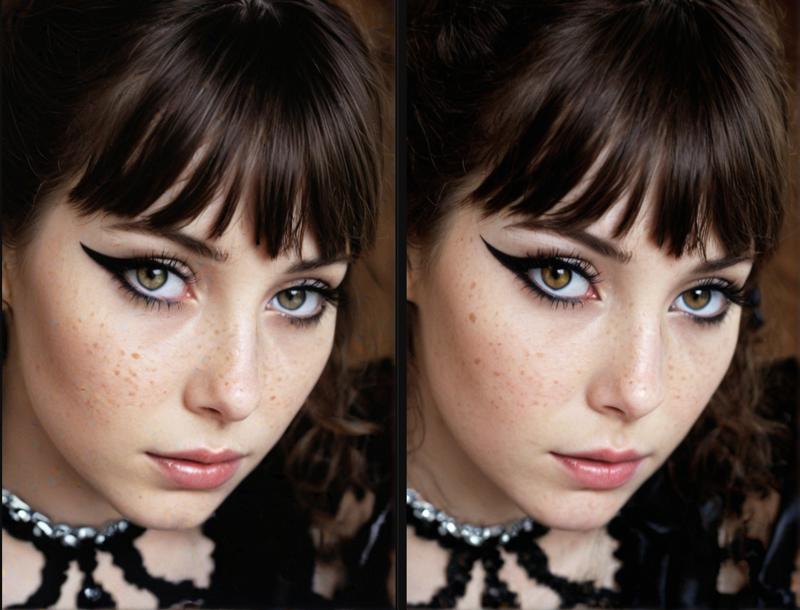
If there are artifacts, I'm just not seeing it. at least here - I think that is the best ill have with these settings.
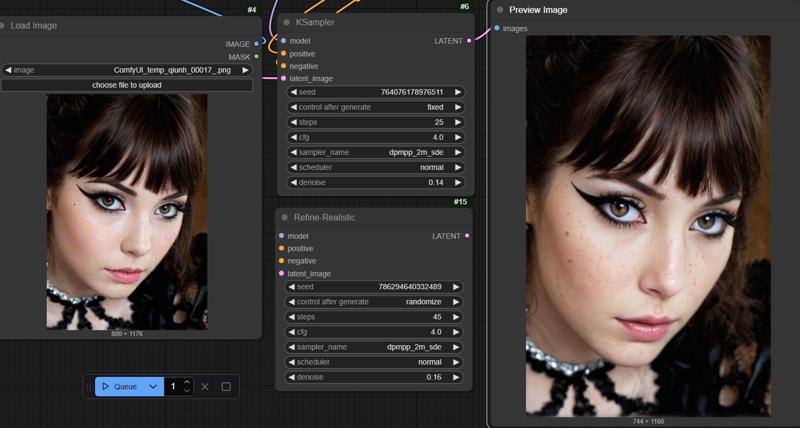
but for giggles, lets drop the denoise a tad lower - .14 sounds good.
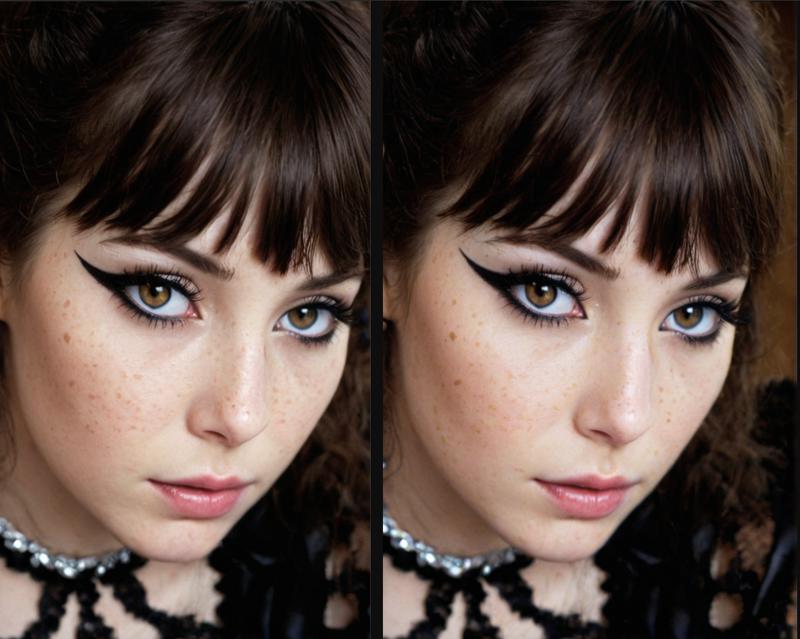
Does sure look like even the slightest artifacts on that seed are removed with denoise lowered. I mean we don't actually want to change the original much.
Alright Alright, lets get back to the original image, original seed and settings - why not just jump to lower denoise?
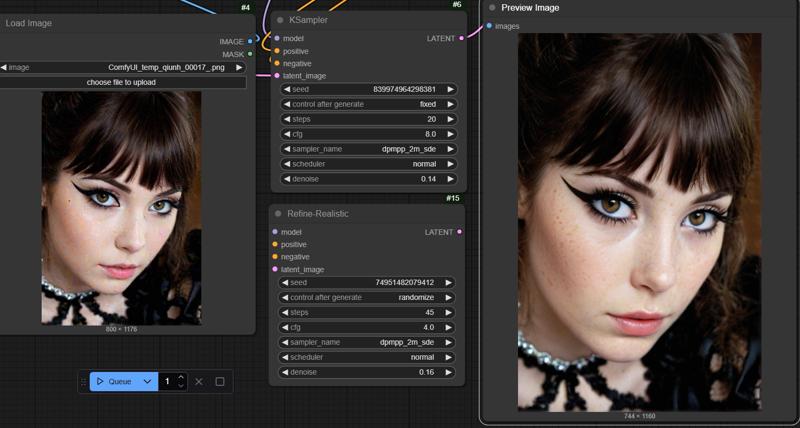
There are definitely subtle differences other than the obvious lowered denoise.
The dress is a bit different, lips are a bit different.
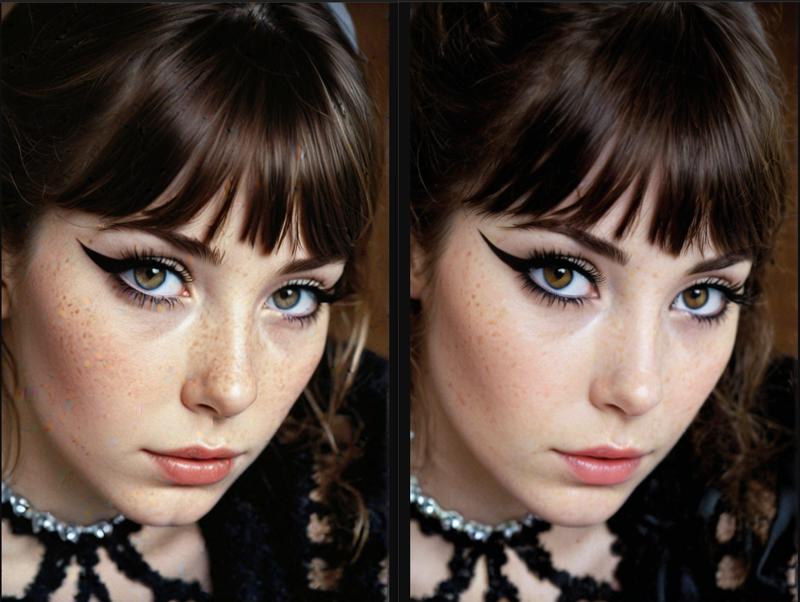
I'm hardly saying the ideal approach, but there are subtleties with the order of operations be it
Reduce CFG, increase steps, lower denoise
or, straight to lower denoise, increase the steps, then lower CFG
increasing the steps (and not lowering CFG) | Seemed like a wasted effort
keeping the steps the same and keeping the CFG the same | Seemed like a wasted effort
You know what - stick with lowering denoise first and tweak the test :D
Summary | TLDR
Dropping the CFG helps restoring the image's fidelity, should the initial be artifact-y
Dropping CFG & Increasing the steps -> drops artifacts some more
Dropping CFG & Increasing the step & decreasing denoise -> drops artifacts even more
BUT dropping the denoise initially is the go to
Next!
A lot wasn't covered and this was a lot to document. If you find it helpful or not, let me know.
Next, I'd want to show differences with scheduler and sampler using the same starting images, just to show off some imperfection removal without LoRA.
Workflow
