Step-by-Step Guide Series:
ComfyUI - TXT to VIDEO Workflow 2.X
This article accompanies this workflow: link
Workflow description :
The aim of this workflow is to generate video from text in a simple window.
Prerequisites :
If you are on windows, you can use my script to download and install all prerequisites : link
ComfyUI,
Microsoft Visual Studio build tools :
winget install --id Microsoft.VisualStudio.2022.BuildTools -e --source winget --override "--quiet --wait --norestart --add Microsoft.VisualStudio.Component.VC.Tools.x86.x64 --add Microsoft.VisualStudio.Component.Windows10SDK.20348" 📂Files :
WAN2.1
Recommendation :
24 gb Vram: Q8_0
16 gb Vram: Q5_K_S
<12 gb Vram: Q4_K_S
T2V Quant Model: Wan2.1-T2V-14B-gguf
In models/diffusion_models
I2V Quant Model (for FLUX version): Wan2.1-I2V-14B-480P-gguf or Wan2.1-I2V-14B-720P-gguf
In models/diffusion_models
CLIP: umt5_xxl_fp8_e4m3fn_scaled.safetensors
in models/clip
CLIP-VISION (for FLUX version): clip_vision_h.safetensors
in models/clip_vision
VAE: wan_2.1_vae.safetensors
in models/vae
FLUX (optional)
GGUF_Model: FLUX.1-dev-gguf
"flux1-dev-Q8_0.gguf" in ComfyUI\models\unet
GGUF_clip: t5-v1_1-xxl-encoder-gguf
"t5-v1_1-xxl-encoder-Q8_0.gguf" in \ComfyUI\models\clip
Text encoder: ViT-L-14-TEXT-detail-improved-hiT-GmP-TE-only-HF.safetensors
"ViT-L-14-GmP-ft-TE-only-HF-format.safetensors" in \ComfyUI\models\clip
VAE: ae.safetensors
"ae" in \ComfyUI\models\vae
ANY upscale model (depreciated):
Realistic : RealESRGAN_x4plus.pth
Anime : RealESRGAN_x4plus_anime_6B.pth
in models/upscale_models
📦Custom Nodes :
Don't forget to close the workflow and open it again once the nodes have been installed.
Workflow versions :
There are three versions in the archive:
WAN2.1 - TXT to VIDEO 2.0 (base),
WAN2.1 - TXT to VIDEO 2.0 (gguf),
WAN2.1 - TXT to VIDEO 2.0 (FLUX+gguf).
The base version uses the classic WAN2.1 model, the GGUF the quantized version (GGUF).
The latest version is a new feature of version 2.X. It allows you to create the first frame via FLUX to achieve a much better result than with the classic WAN engine.
Example for a prompt:
a young woman standing in a room with purple walls and a desk in the background. She is holding a pink phone in her right hand and taking a selfie. The woman is wearing a pink off-the-shoulder crop top with ruffled sleeves and a tie-front detail at the waist. She has blonde hair styled in loose waves and is wearing minimal makeup. The overall look is cute and feminine.WAN result:
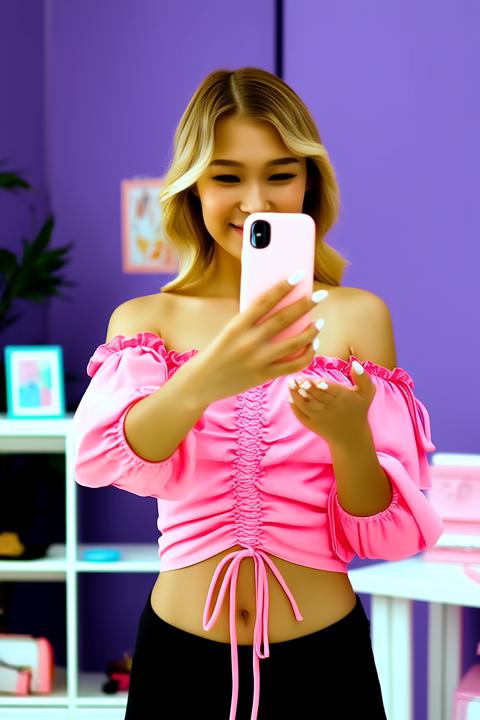
FLUX result:
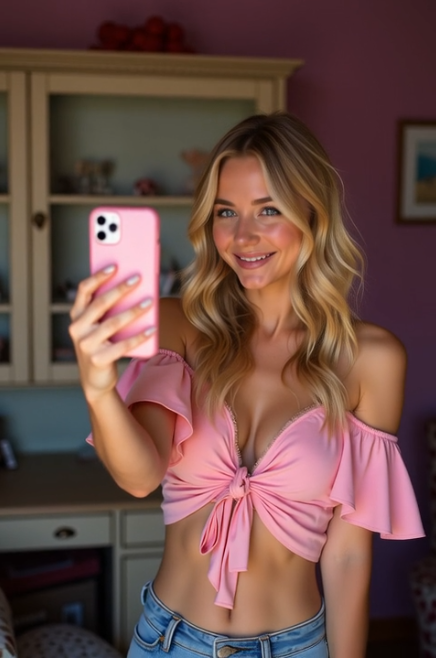
Usage :
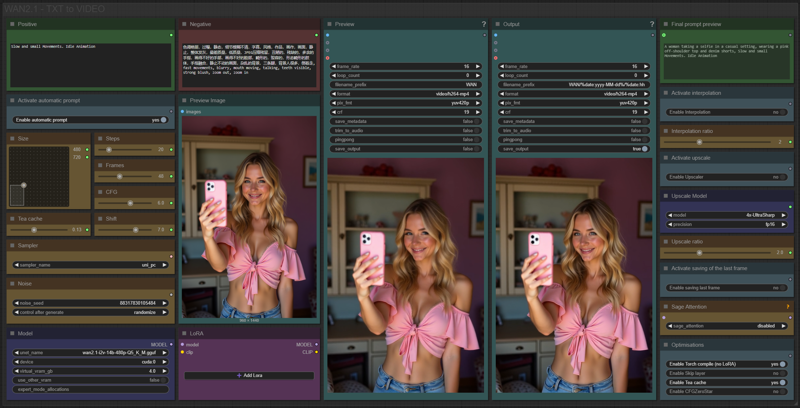
In this new version of the workflow everything is organized by color:
Green is what you want to create, also called prompt,
Red is what you don't want,
Yellow is all the parameters to adjust the video,
Pale-blue are feature activation nodes,
Blue are the model files used by the workflow,
Purple is for LoRA.
We will now see how to use each node:
The FLUX part (exclusive to the FLUX version):
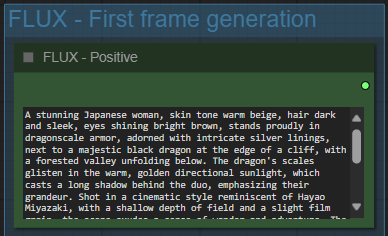
This part allows you to define the first frame.
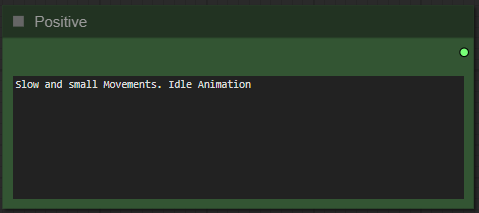
Write what you want in the “Positive” node :
Choose a scheduler and a number of steps:
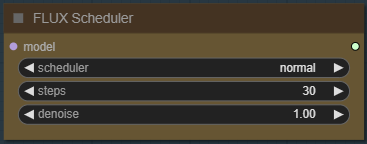
I recommend between 20 and 30 steps for a good result.
Choose a sampler :

Add how many LoRA you want to use, and define it :
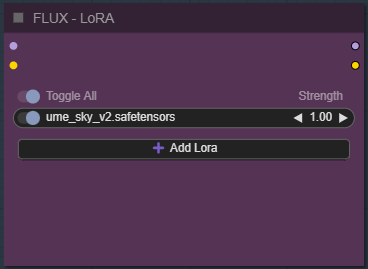
If you dont know what is LoRA just dont active any.
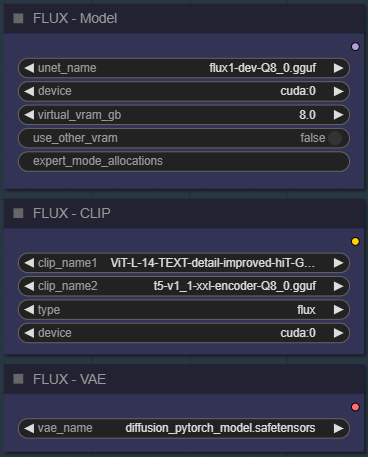
Select your model and set virtual VRAM :
The main part :
Write what you want in the “Positive” node :
Write what you dont want in the "Negative" node :
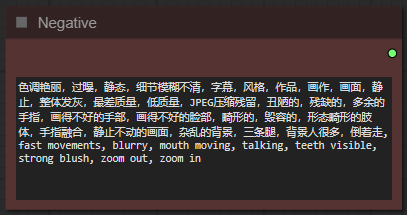
Choose if you want automatic prompt addition (only in FLUX version) :

If enabled, the workflow will analyze your image and automatically add a prompt to your.
Select image format :
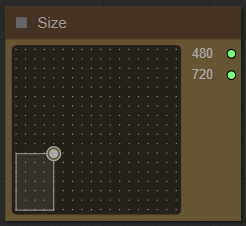
The larger it is, the better the quality, but the longer the generation time and the greater the VRAM required.
Choose a number of steps :

I recommend between 15 and 30. The higher the number, the better the quality, but the longer it takes to generate video.
Choose number of frames :

A video is made up of a series of images, one behind the other. Each image is called a frame. So the more frames you put in, the longer the video.
Choose the guidance level :

I recommend to star at 6. The lower the number, the freer you leave the model. The higher the number, the more the image will resemble what you “strictly” asked for.
Choose a Teacache coefficients :

This saves a lot of time on generation. The higher the coefficient, the faster it is, but increases the risk of quality loss.
Recommended setting : 0.14 | 0.15 | 0.20
Choose a shift level :

This allows you to slow down or speed up the overall animation. The default speed is 8.
Choose a sampler and a scheduler :

If you dont know what is it, dont touch it.
Define a seed or let comfy generate one:

Select your model and set virtual VRAM :
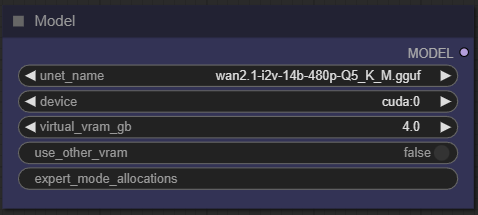
Here, you can switch between Q8 and Q4 depending on the number of VRAMs you have. Higher values are better, but slower.
The virtual VRAM setting allows you to unload part of the model into your RAM instead of your VRAM. This allows you to load larger models or increase stability at a very slight performance penalty.
The right amount depends a lot on your available VRAM. The easiest way is to gradually increase this setting until you notice that all of your VRAM is consumed during video generation. (Indeed, if 100% is used, it is probably you are actually in an overflow situation.)
Add how many LoRA you want to use, and define it :
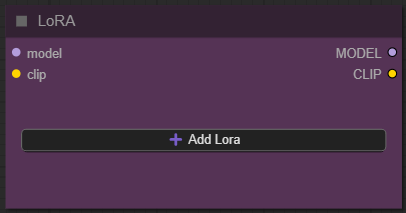
If you dont know what is LoRA just dont active any.
Now you're ready to create your video.
Just click on the “Queue” button to start:

A preview will be displayed here, then the final video :
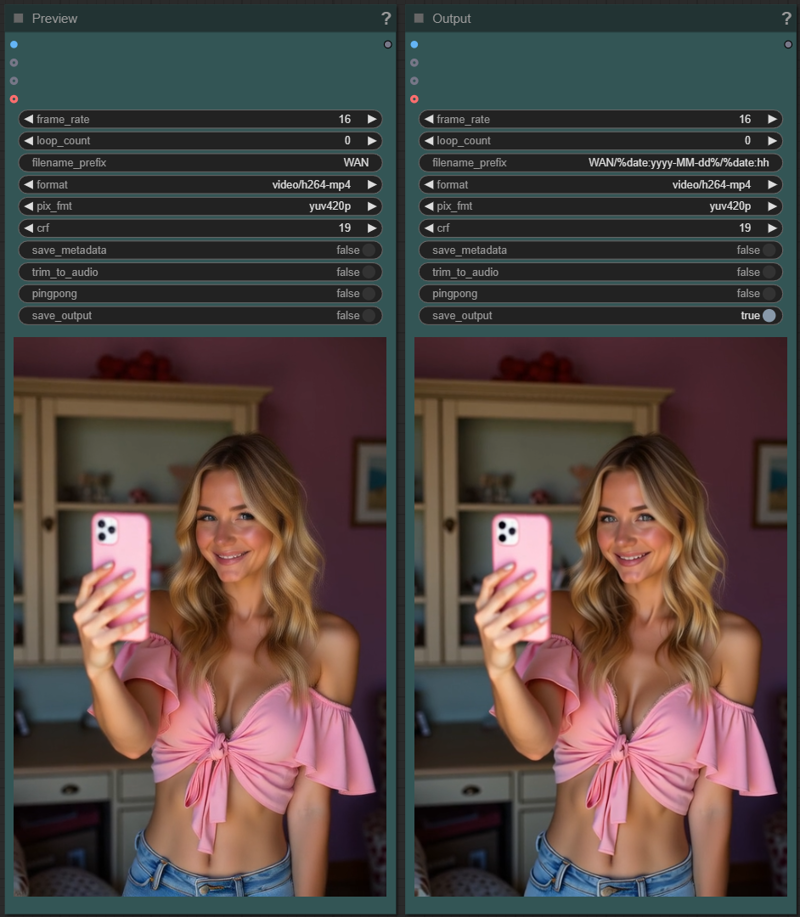
But there are still plenty of menus left? Yes indeed, here is the explanation of the additional options menu:
Only for FLUX version :
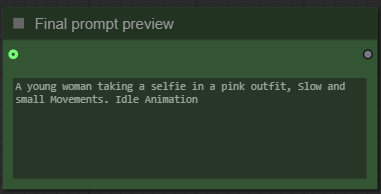
If you have enabled auto-prompt you can see here the final prompt used by the workflow.
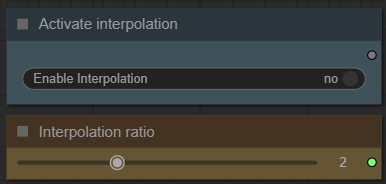
These nodes allow you to enable interpolation and choose its factor. To put it simply, this will generate intermediate frames and thus increase the fluidity of the video.
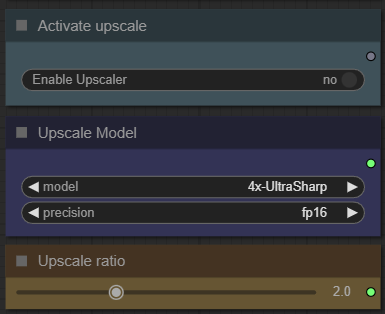
Here you can enable an upscaler. This allows you to increase the resolution of your video. Simply select a model from the list and then the resolution increase ratio.

This option saves the last frame of your video. This makes it easy to create a sequel by reusing this frame as the start for a new video.

Here you can activate SageAttention. This option is quite complex, you can read my dedicated guide here. If you don't know what it is, don't enable it. If you have used my installer for ComfyUI you can use this optimization.
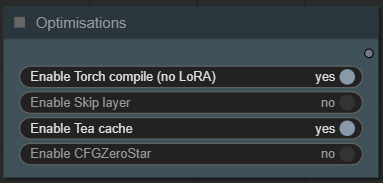
This last node allows you to activate different optimizations:
torch compile improves speed but does not work with LoRAs,
skip layer improves video quality,
Tea cache improves speed,
CFGZeroStar improves the "stickiness" of your prompt.
Some additional information:
Organization of recordings:
All generated files are stored in comfyui/output/WAN/YYYY-MM-DD.
Depending on the options chosen you will find:
"hhmmss_OG_XXXXX" the basic file,
"hhmmss_IN_XXXXX" the interpoled,
"hhmmss_UP_XXXXX" the upscaled,
"hhmmss_LF_XXXXX" the last frame.
This guide is now complete. If you have any questions or suggestions, don't hesitate to post a comment.


