


Preface
I was asked in a comment of a post [1] whether I could also use the SD Prompt Reader node in addition to the Load Image node that I used for my test. Before I try this out, I wanted to clarify a basic question. One can say that loading and saving of an image can something like a pipeline. Pillow is used to load the image. Then the image is converted to a Numpy array. Last but not least the Numpy array is converted to a Tensor and can be used in ComfyUI. Saving of such an image is the vice versa process. I use this to see, what comes out. What I found out surprised me at first glance, but not at second glance.
Example Image

Figure 1: Workflow preview
Python Script
#!/usr/bin/python

# Import the Python modules.
import torch
import numpy as np
from PIL import Image

# Load the image.
PIL_img = Image.open('A.jpeg')

# Convert to a numpy array.
np_img = np.asarray(PIL_img)

# Convert to a tensor.
tensor_img = torch.from_numpy(np_img.copy())

# Convert back to a numpy array.
tensor_img = torch.Tensor.numpy(tensor_img, force=False)

# Convert back to PIL.
PIL_img = Image.fromarray(np.uint8(np_img)).convert('RGB')

# Save the image.
PIL_img.save('C.jpeg', format='jpeg', quality=100, lossless=True, icc_profile=PIL_img.info.get('icc_profile'))
Code Block 1: Python script for testing
#!/usr/bin/python

# Import the Python modules.
from PIL import Image

# Load the image.
PIL_img = Image.open('A.jpeg')

# Save the image.
PIL_img.save('C.jpeg', format='jpeg', quality=100, lossless=True, icc_profile=PIL_img.info.get('icc_profile'))
Code Block 2: Simplified Python script for testing
Input and Output
Figure 2 shows the result of the Python script. The output looks like the input. I do not see any difference visually. The output is created bypassing the Numpy array and the Torch Tensor [see Code Block 2].
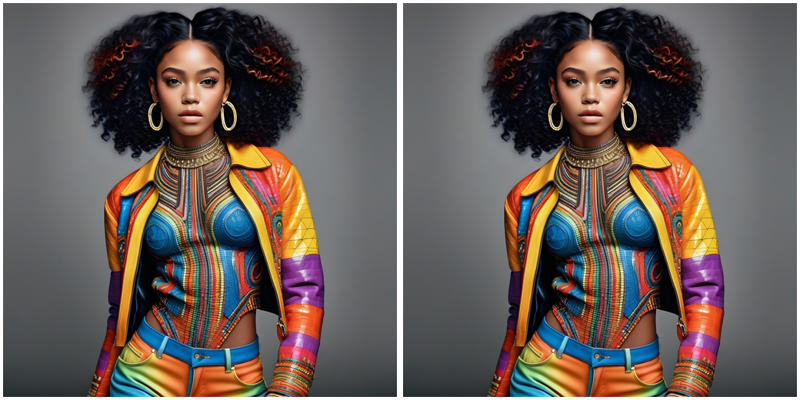
Figure 2: Input and output
Comparison of Input and Output
Standard Approach
I did not use the shadow of the second image in this case. The white parts are untouched and the red parts somehow changed.
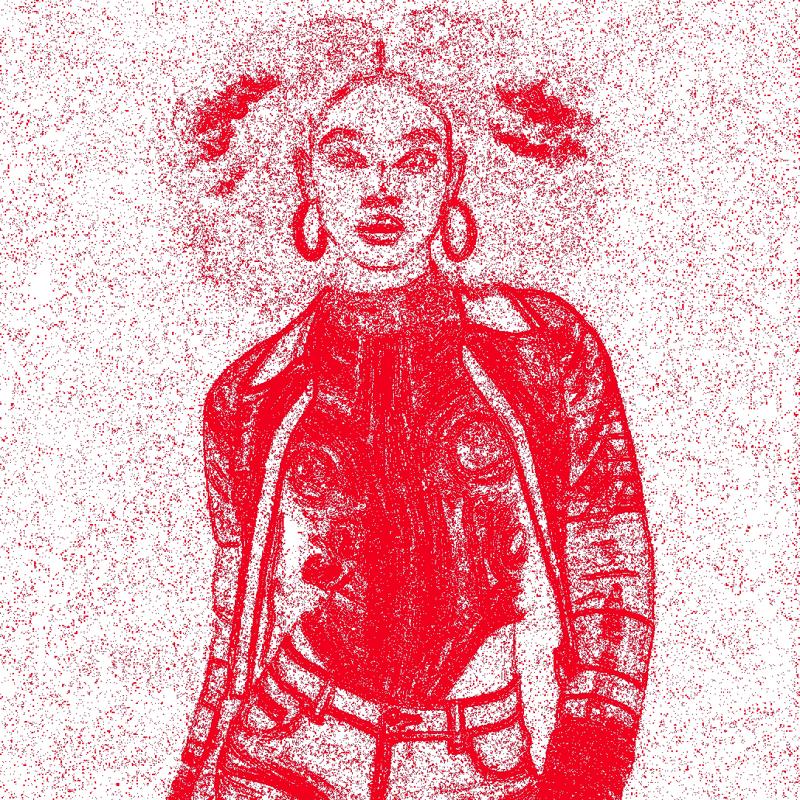
Figure 3: Difference without shadow
Using pillow for loading and saving there is a difference in the images.
Different Setting Result
After I was in principle finished I read the documentation and tested another setting.
After I was finished I read the documentation and tested another setting
# Save the image.
PIL_img.save('C.jpeg', format='jpeg', quality='keep', lossless=True, icc_profile=PIL_img.info.get('icc_profile'))
By setting quality='keep' on gets what on can see in Figure 4.

Figure 4: Difference without shadow
The function argument quality='keep' only works in a constellation where a jpeg exists internally and is recognized as a jpeg. When I am not bypassing the internal conversion process this function argument is not working.
Comparison of Comparisons
Figure shows the comparison of the comparison results using only pillow for loading and saving and using the whole process [see Code Blocks 1,2].

Figure 5: Comparison of bypassed an not bypassed Numpy and Tensor conversion
Blank white so far I see means, that Numpy and the Tensor forwards and backwards conversion are lossless done.
Conclusion
I need to check how I can save an image loaded with pillow so that it is an exactly identical copy. The result shows, that my simple approach leads to a difference in the images. The process in between works forwards and backwards without loss of information so far I see. In case of JPEG one needs to analyse in detail, what goes exactly in to be able to try to save exact the same informations.
References
[1] https://civitai.com/articles/13611/comfyui-loading-and-saving-images