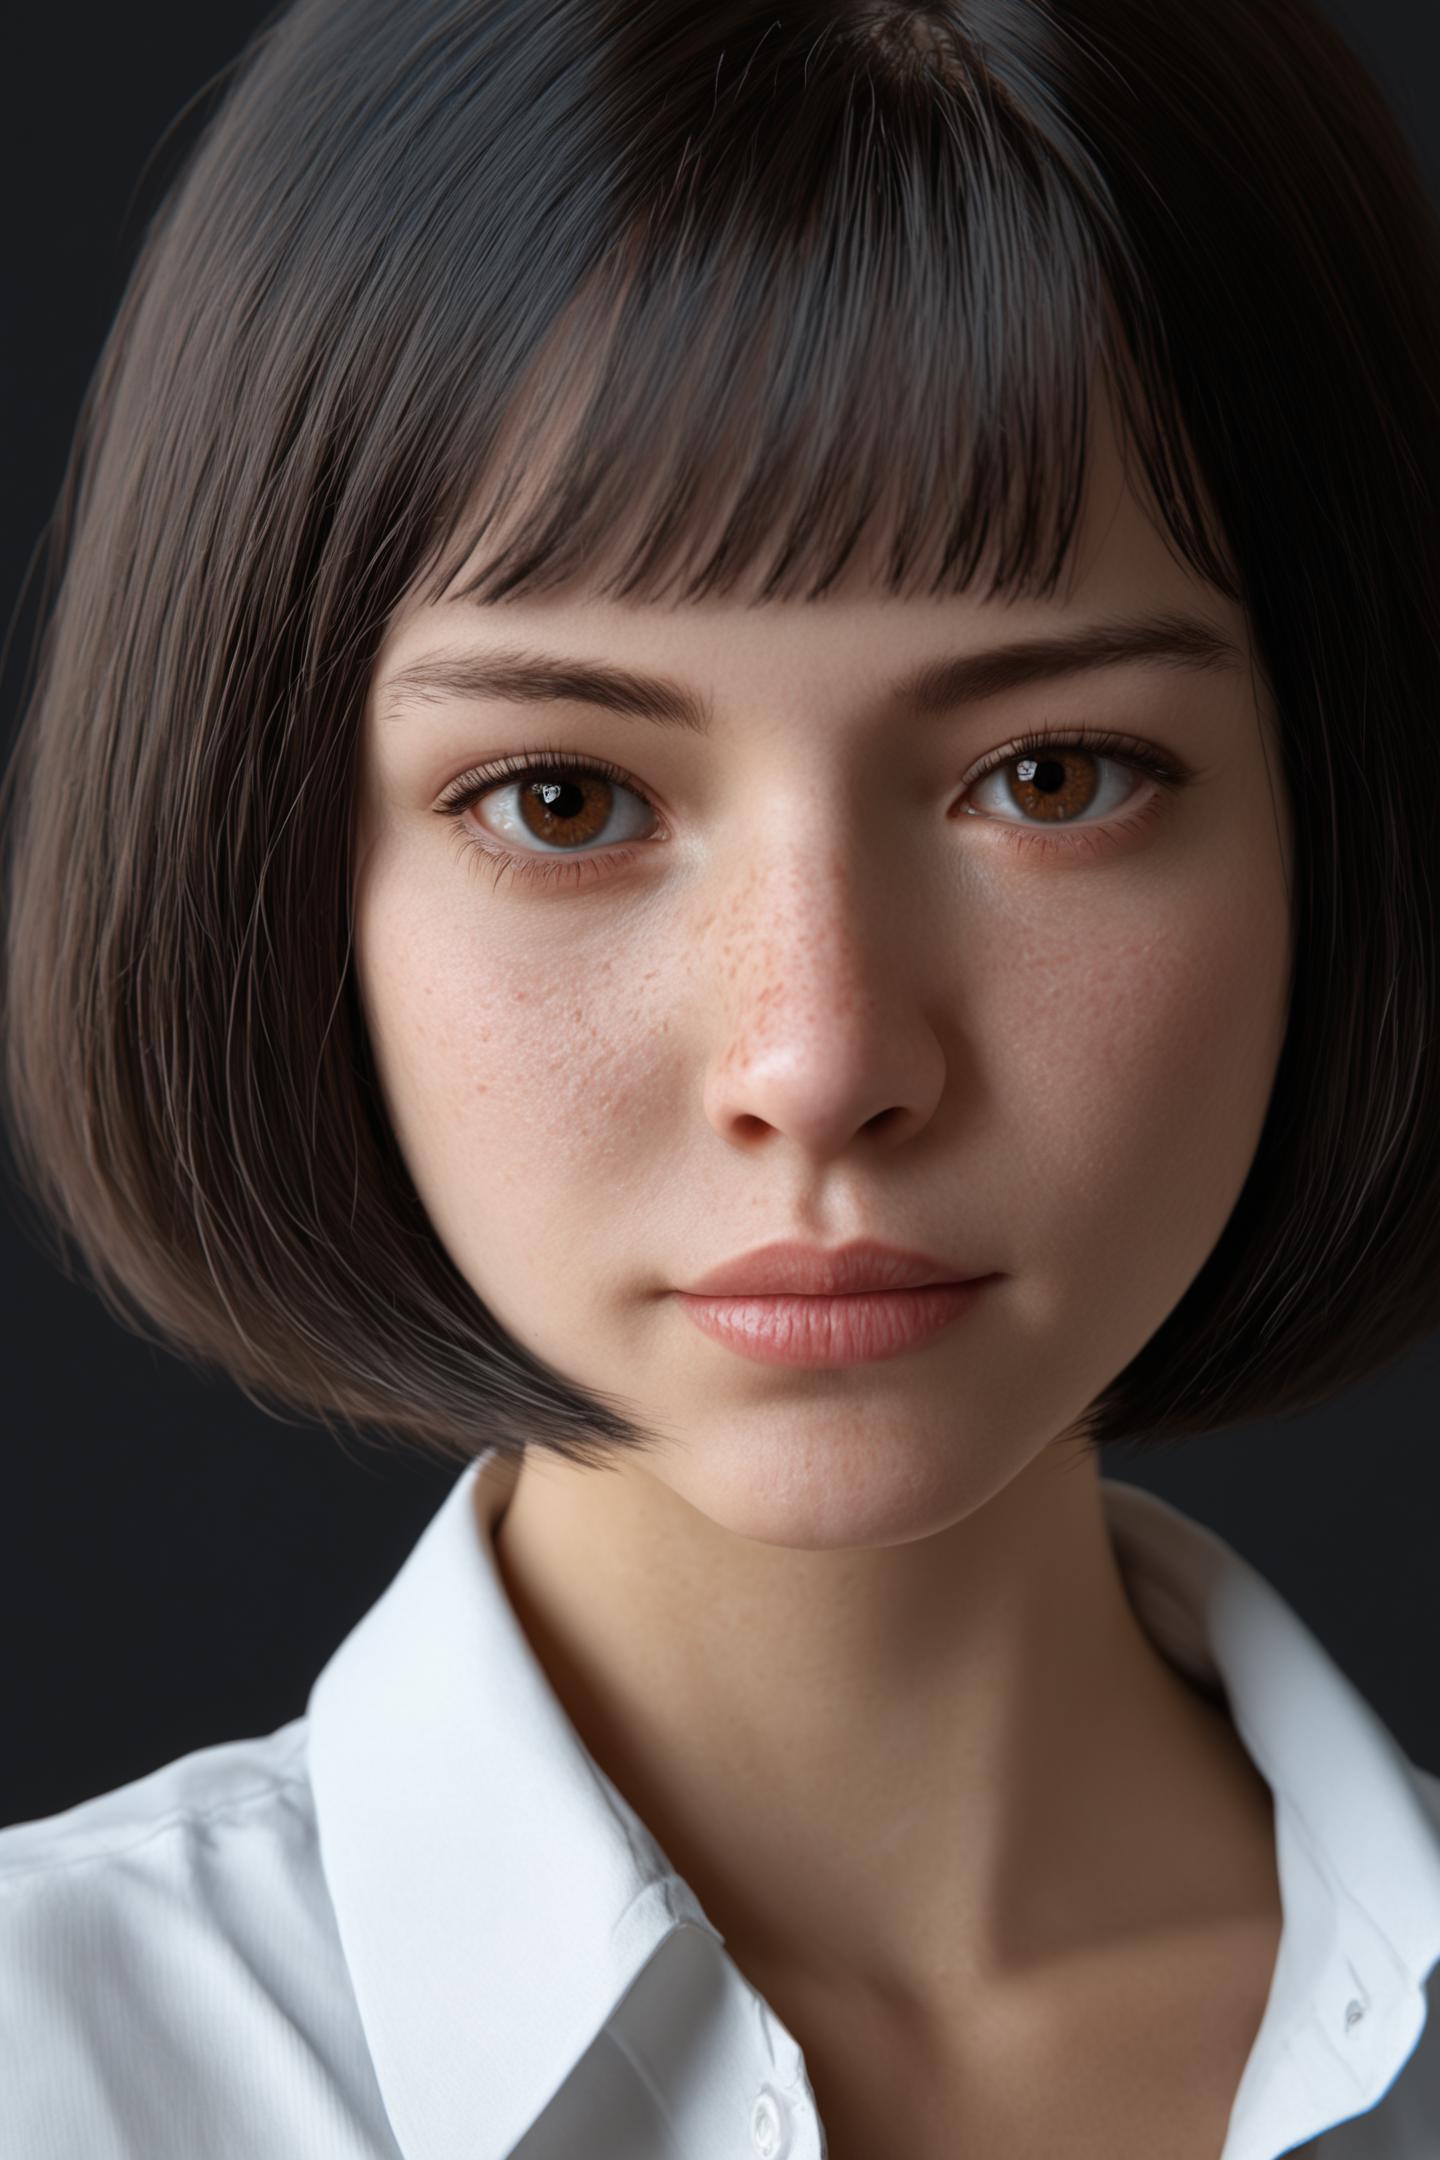
Recently, NoobAI has been gaining traction with its models trained using the V-pred method instead of the traditional EPS. Surprisingly, it delivers stunning results with higher detail, more refined lighting, better prompt adherence, a wider color range, and a noticeably more aesthetic output than recent SDXL finetuned or derivative models like Pony or Illustrious XL.
However, NoobAI's V-pred currently faces difficult-to-resolve issues — it's mainly suitable for 2D and 2.5D datasets, while 3D or realistic data struggle with V-pred (all the current realistic NoobAI-trained models I’ve seen still use EPS). Moreover, auxiliary features like ADetailer face fix often cause errors, and its lack of support in user-friendly interfaces like automatic1111 or ForgeUI makes it harder for users to access.
I’ve been constantly thinking and trying to make realistic data work better with V-pred. After investing quite a bit of time and money, every attempt ended in failure. So I shifted my focus: what if we could make EPS-based models produce results similar to V-pred? If that’s achievable, it could not only solve the quality issues of EPS models but also address many of the challenges V-pred is currently facing.
At first, I thought about increasing saturation in the model since that seemed to be one of V-pred’s strong points. I tried using LoRA to adjust saturation and VAE to enhance saturation — both had their strengths and weaknesses. LoRA could adjust saturation levels but often altered the model’s original details uncontrollably. VAE didn’t change the original image but lacked control over how much saturation was applied. However, I realized that merely increasing saturation wouldn’t solve the problem.
Neither LoRA nor VAE could address the issue where brighter areas became too bright and darker areas too dark, losing detail in the shadows. It didn’t truly create more refined lighting or enhance details meaningfully, nor did it improve prompt understanding.
That’s when I started thinking about distillation methods (like Lightning, Turbo, TCD, Hyper, etc.), because both V-pred and distilled models share a key characteristic — low CFG values, though distilled models often go even lower, around 1 to 1.5.
But the problem is that distillation models are created with the goal of producing images with as few steps as possible. This reduces quality instead of enhancing it — the low CFG and step count are clearly trade-offs for speed. Increasing either of these too much causes the output to break.
However, I saw untapped potential. With such low CFG, the model could still understand prompts acceptably well, and with only 4–8 steps it could generate clear images. So what if we could raise CFG and steps without breaking the image? The quality might actually surpass normal models, while still keeping steps and CFG relatively low.
After numerous trials and attempts with various techniques — though I still don't understand exactly why it works — I actually succeeded. And this method is replicable across many different SDXL-based models.
I’ve truly discovered a method to make EPS models retain their EPS nature while gaining the optimization characteristics of V-pred — even exceeding V-pred’s capabilities.
I call this method Snapvu — sounds like “snap view,” though don’t pay too much attention to the name; I’ve never been good at naming things.
The important thing is that models combined with Snapvu can fine-tune lighting and color balance more delicately, enhance details more reasonably, better align with training data, reduce errors like finger distortions, and improve prompt comprehension. Meanwhile, all the major issues of V-pred are avoided, simply because it's still an EPS model. In fact, V-pred models can also be combined with Snapvu to further enhance detail and prompt understanding.
With all those strengths, of course, there are still a few minor issues — but they are easily manageable:
Models using Snapvu must be used with hires fix, otherwise, artifacts like color blotches may appear. The number of steps in hires fix should also be fairly high — ideally the same as in the initial image generation.
Snapvu-based models only work with the Sampling methods
DPM++ 3M SDEandEuler a, and Schedule typeSimple.
(For high detail with complex lighting, use DPM++ 3M SDE; for a softer, smoother, more natural look, use Euler a.)Snapvu models only work well with CFG values between 3 and 4.5, with 4 being the optimal value in my experience.
For Snapvu models, the number of steps is extremely important. It not only helps generate full details and makes the image more visually pleasing, but also allows elements in the prompt that are missing at low step counts to appear once the step count is raised by just 1 or 2. That’s why the step count shouldn’t be too low or too high — around 30 to 32 steps is ideal.
The most optimal settings based on my numerous experiments are:
Sampling method:
DPM++ 3M SDEorEuler a(though I personally prefer DPM++ 3M SDE)Schedule type:
SimpleSteps:
32Hires fix:
4x_NickelbackFS_72000_G,Denoising strength:
0.3Hires CFG Scale:
3
CFG Scale:
4ADetailer: Not recommended when generating close-up face images, as it tends to smooth out skin texture and reduce detail. However, when the face is farther away, it is advisable to use it.
Below are some comparison images to give everyone a clearer perspective:
DucHaiten-NoobAI-Cinematic: a perfect replacement for DucHaiten-Pony-Real.
A: No Snapvu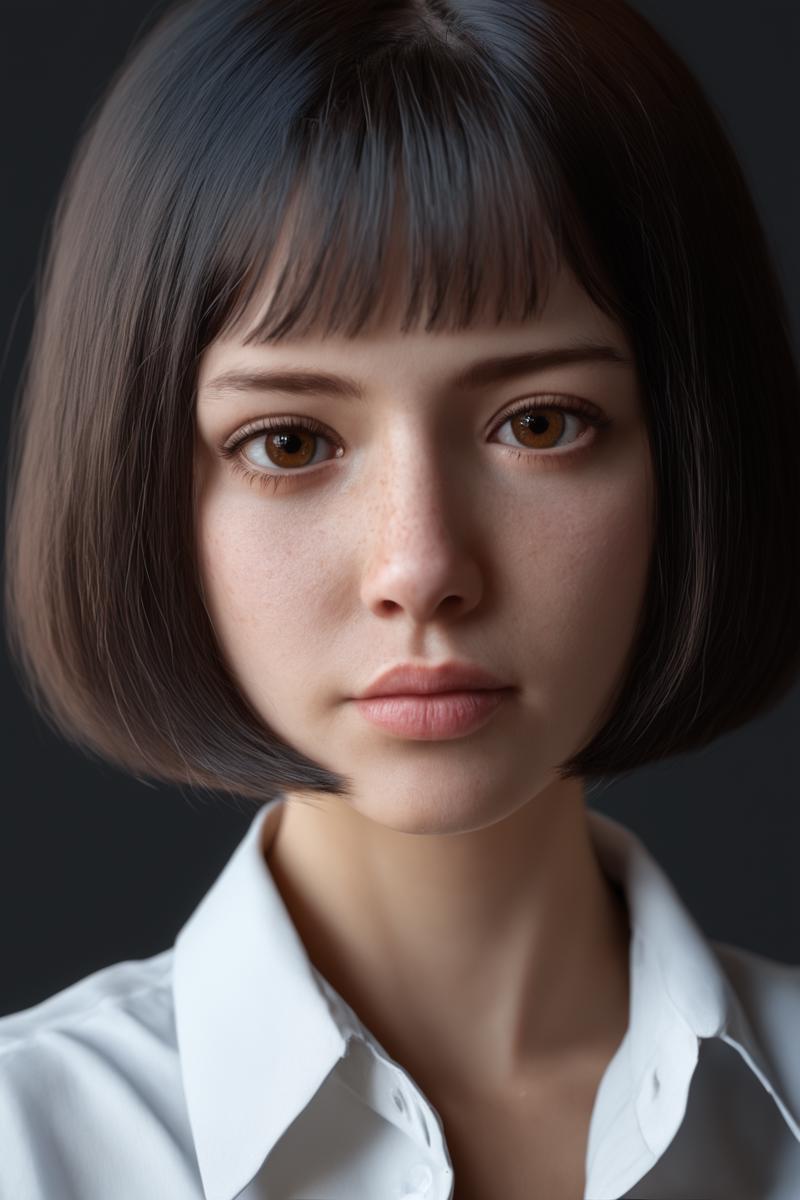
B: Have Snapvu
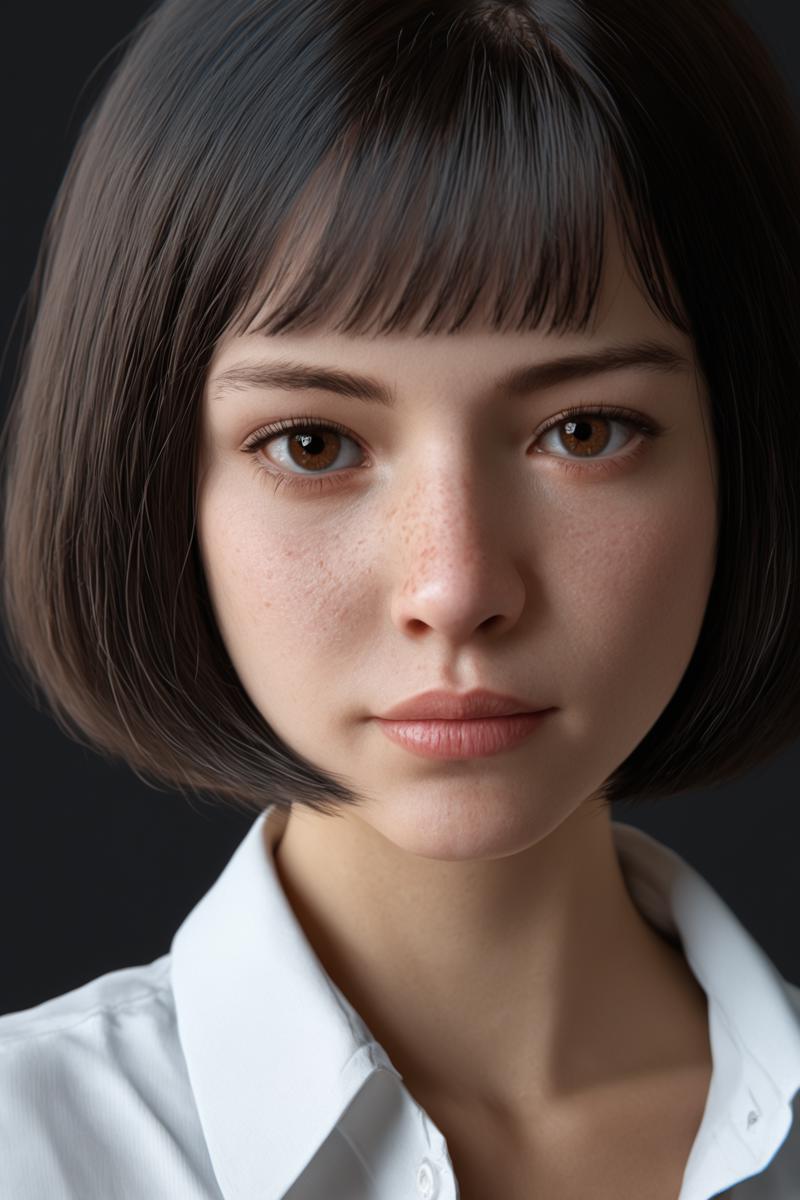
As you can see (or maybe not), with Snapvu, the way light passes through the skin looks more realistic — every pore, every strand of eyebrow hair becomes more clearly defined. You can even see tiny blood vessels within the whites of the eyes. The image uploaded here seems to be slightly blurred, so it might be hard to notice all the details. I’ll try using a full-body image next so everyone can better evaluate it.
A: No Snapvu
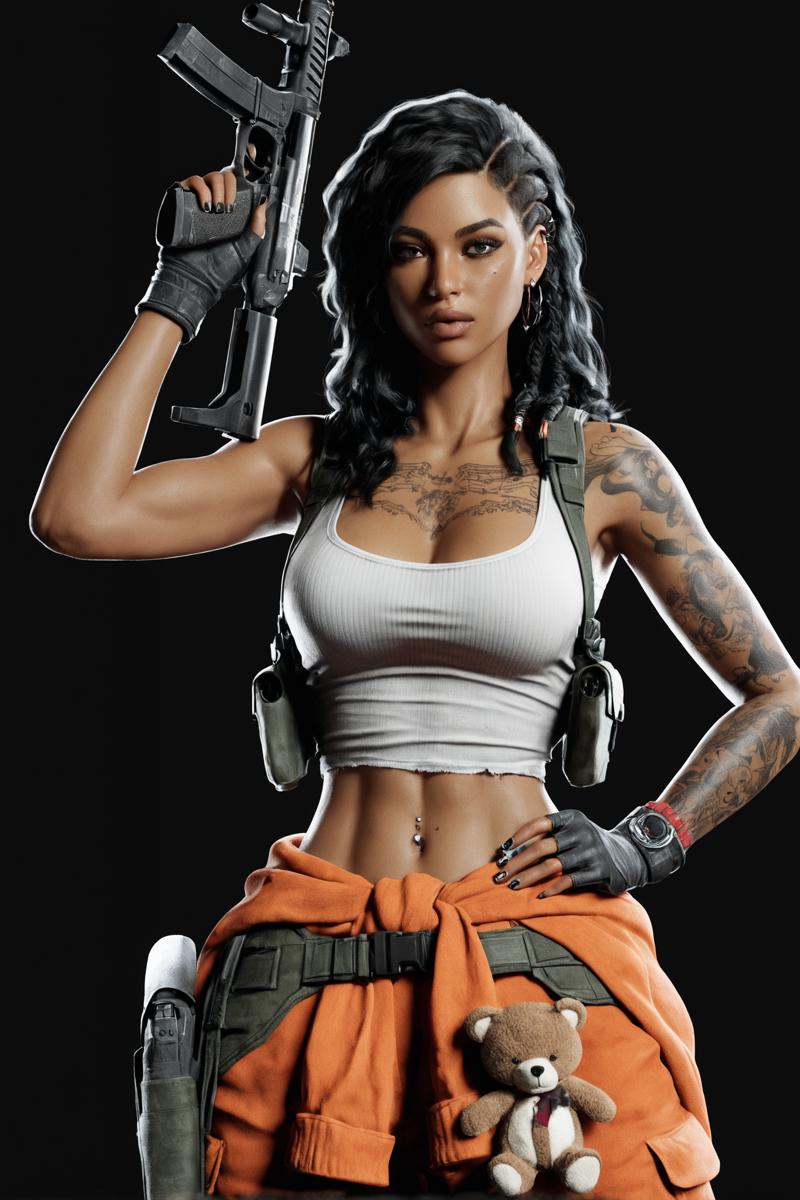
B: Have Snapvu
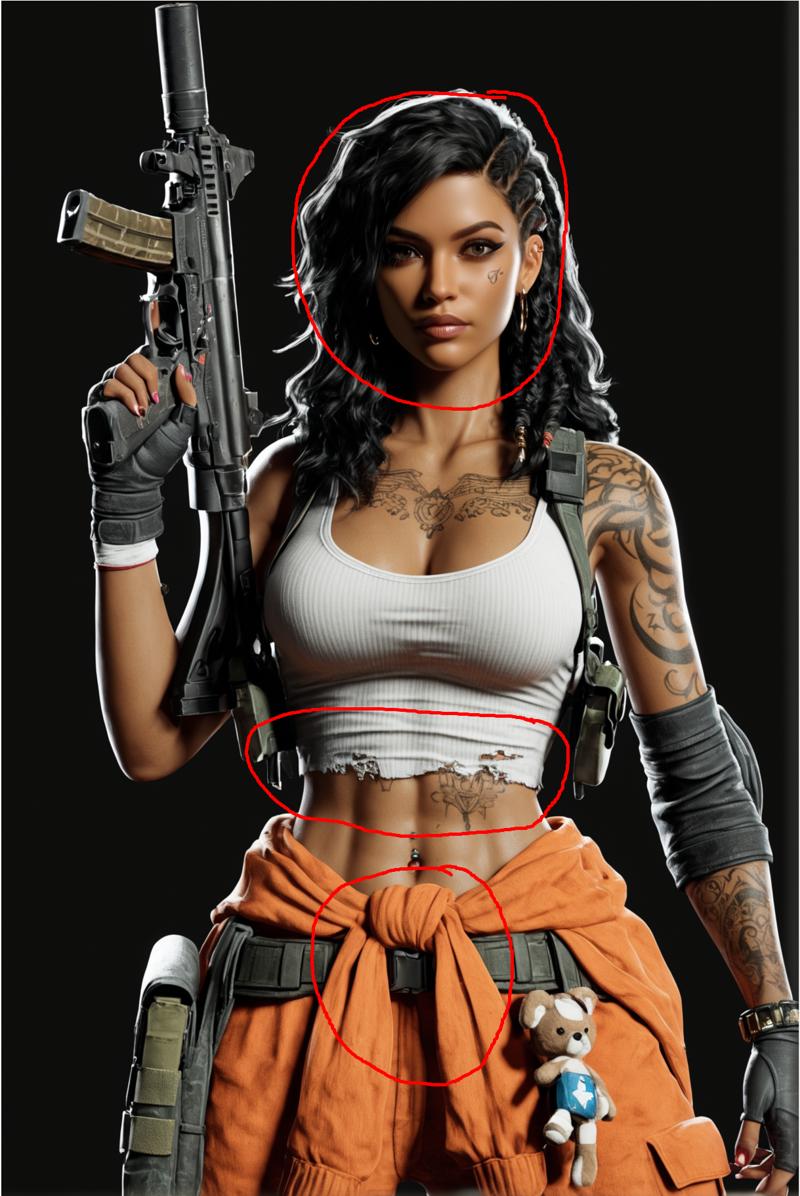
With Snapvu, you can see that the lighting is handled better, and more importantly, the face appears much more natural. Details are enhanced in a balanced way — for example, the chest tattoo becomes clearer, and the clothing details are more accurate.
A: No Snapvu
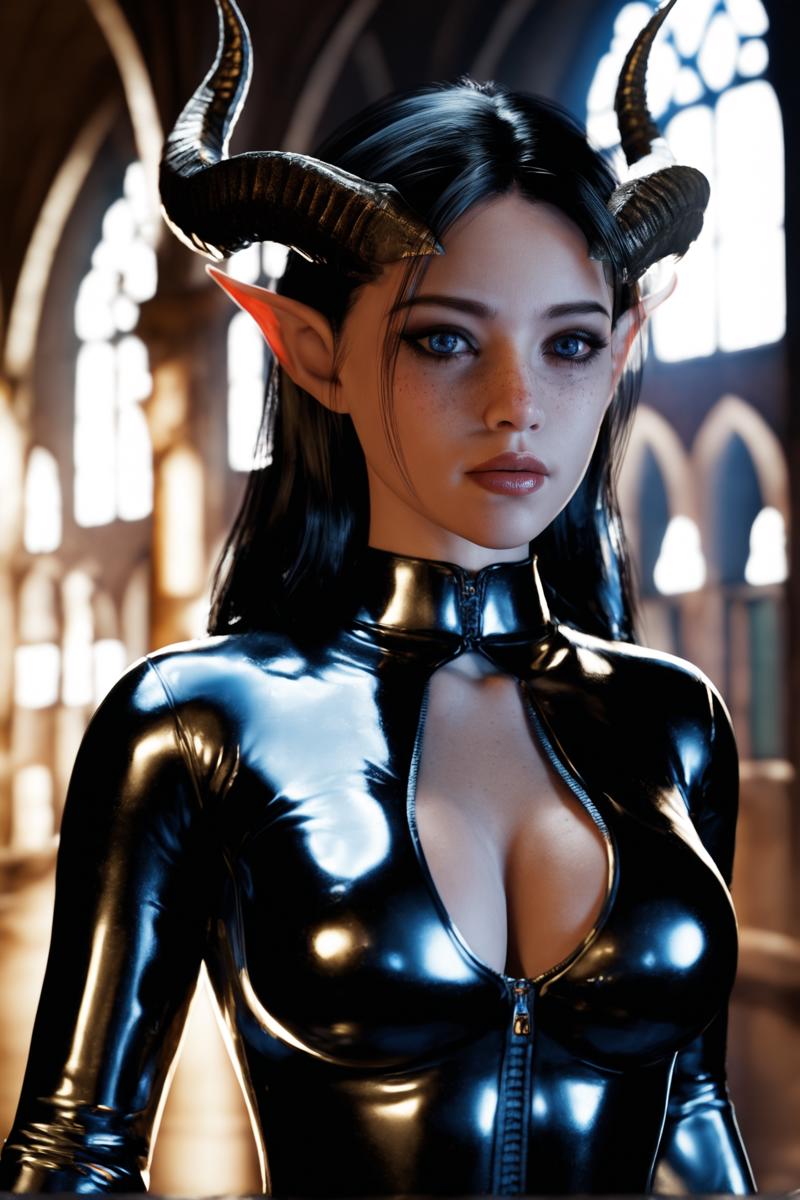
In this image, you can see that the lighting composition is quite messy — the face is unnecessarily dark, there's no proper shadow casting, and the colors lack clarity. It feels like the AI is stubbornly trying to mimic something without actually understanding it.
B: Have Snapvu
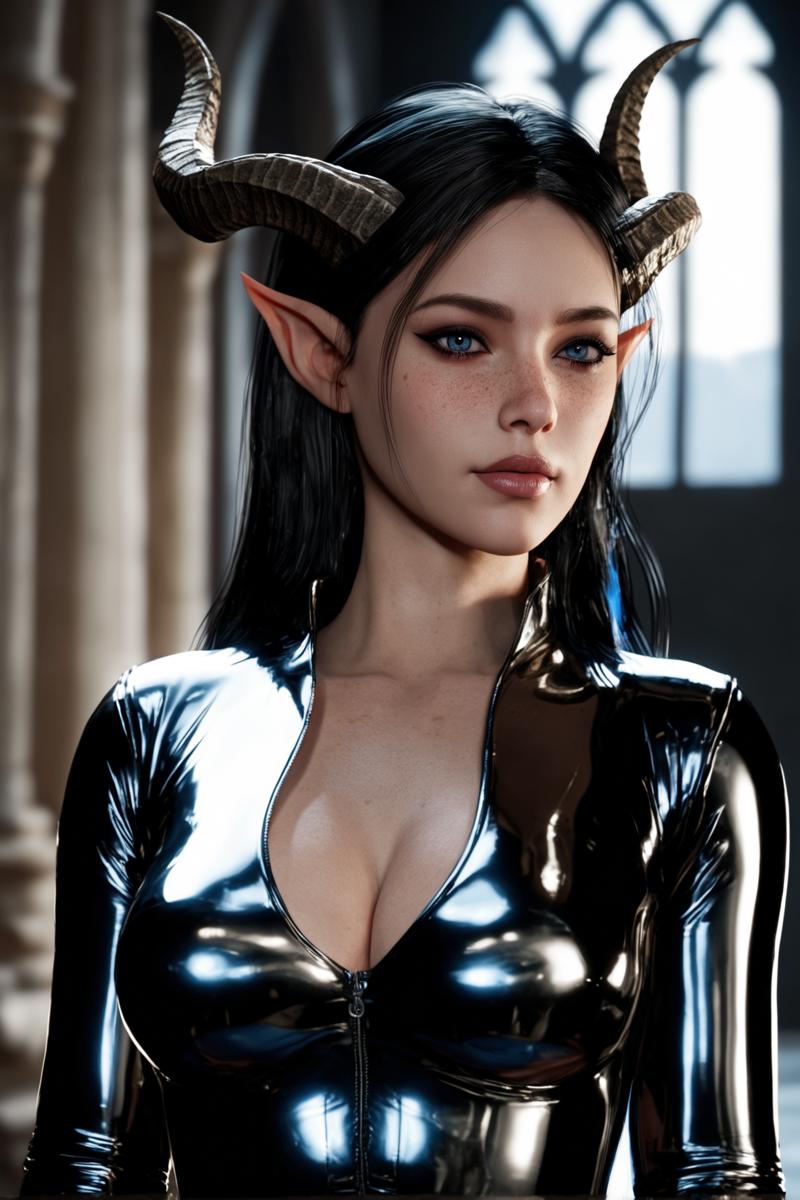
But with Snapvu, the lighting composition becomes clearer, the colors and shadows are more coherent, the face is well-lit, and the expression appears much more natural.
This method is clearly working extremely well, and the great thing is that I can apply it to all of my models. Of course, I’ll only be using it on my latest models, which are:
The older models are already outdated and simply not as good as these new ones. People are just sticking to their old habits and reluctant to explore new things — but I strongly encourage everyone to give my latest models a try.
I don’t really like how the auction system is currently operating, but I’ll try to accumulate buzz to push my models higher in the auction rankings.


