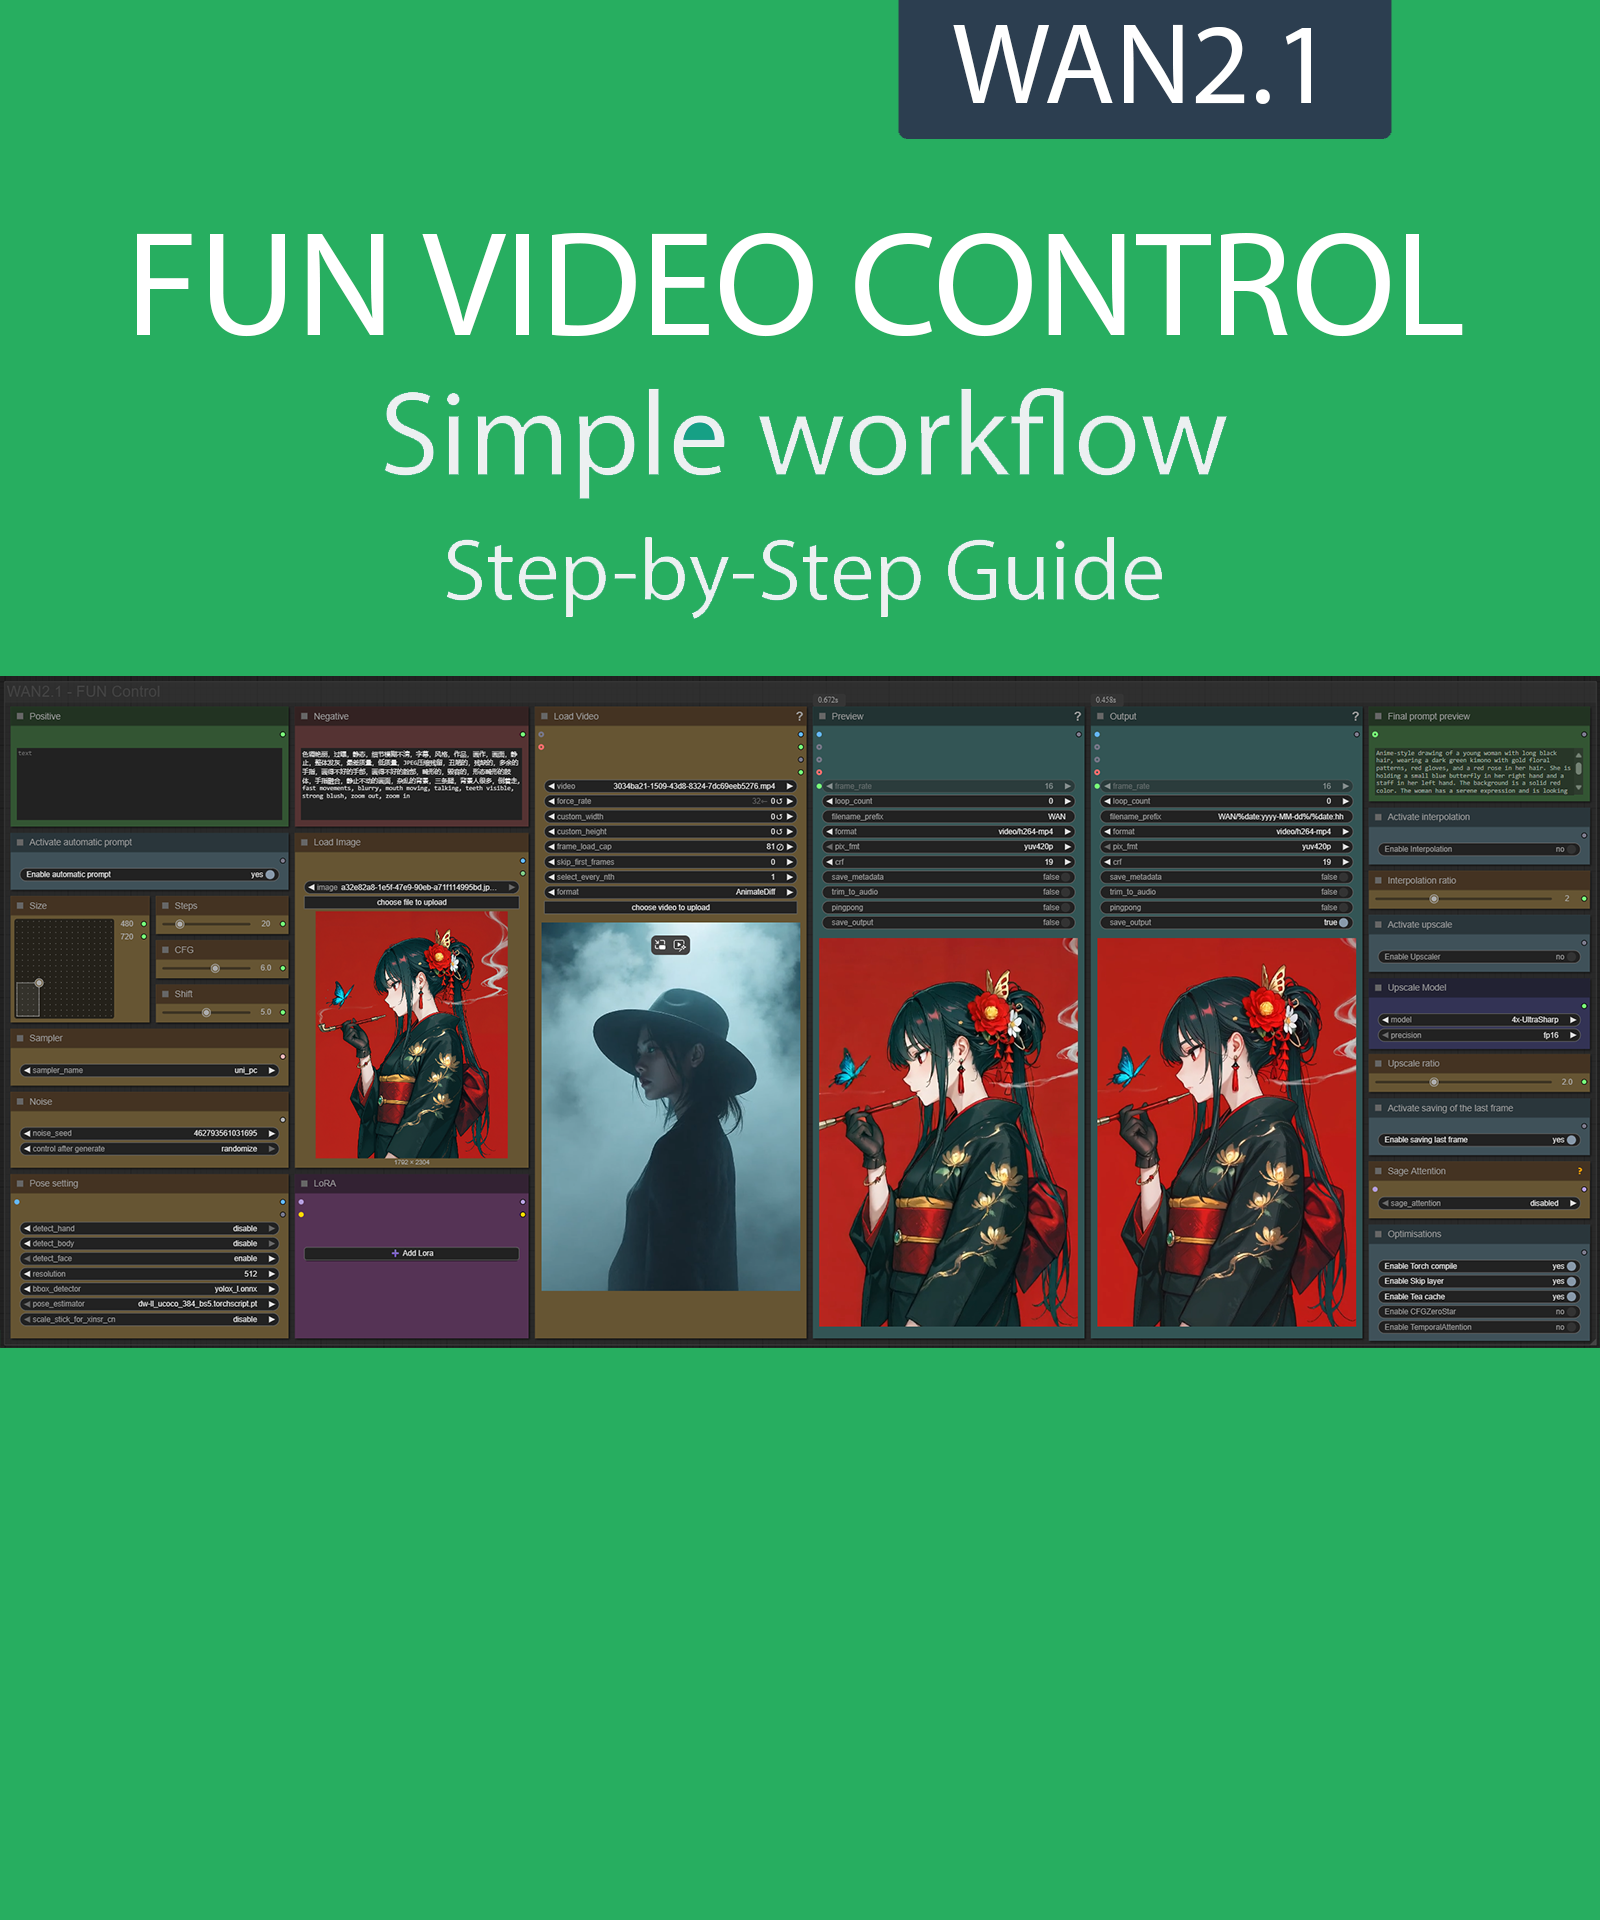
Step-by-Step Guide Series:
ComfyUI - FUN VIDEO CONTROL
This article accompanies this workflow: link
Foreword :
English is not my mother tongue, so I apologize for any errors. Do not hesitate to send me messages if you find any.
This guide is intended to be as simple as possible, and certain terms will be simplified.
Workflow description :
This workflow allows you to generate a video using movement from another video.
Prerequisites :
If you are on windows, you can use my script to download and install all prerequisites : link
ComfyUI,
Microsoft Visual Studio build tools :
winget install --id Microsoft.VisualStudio.2022.BuildTools -e --source winget --override "--quiet --wait --norestart --add Microsoft.VisualStudio.Component.VC.Tools.x86.x64 --add Microsoft.VisualStudio.Component.Windows10SDK.20348" 📂Files :
For base version
FUN Model : wan2.1-fun-14B-control.safetensors or wan2.1_fun_control_1.3B_bf16.safetensors
In models/diffusion_models
For GGUF version
FUN Quant Model : wan2.1-fun-14b-control-QX.gguf
In models/unet
CLIP: umt5_xxl_fp8_e4m3fn_scaled.safetensors
in models/clip
CLIP-VISION: clip_vision_h.safetensors
in models/clip_vision
VAE: wan_2.1_vae.safetensors
in models/vae
ANY upscale model (depreciated):
Realistic : RealESRGAN_x4plus.pth
Anime : RealESRGAN_x4plus_anime_6B.pth
in models/upscale_models
📦Custom Nodes :
Don't forget to close the workflow and open it again once the nodes have been installed.
Usage :
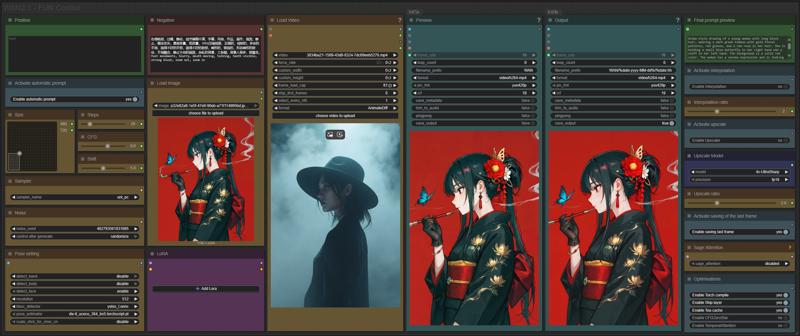
In this new version of the workflow everything is organized by color:
Green is what you want to create, also called prompt,
Red is what you don't want,
Yellow is all the parameters to adjust the video,
Pale-blue are feature activation nodes,
Blue are the model files used by the workflow,
Purple is for LoRA.
We will now see how to use each node:
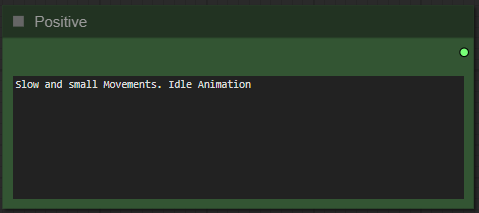
Write what you want in the “Positive” node :
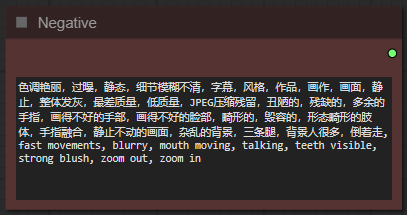
Write what you dont want in the "Negative" node :
Choose if you want automatic prompt addition :

If enabled, the workflow will analyze your image and automatically add a prompt to your.
Select image format :
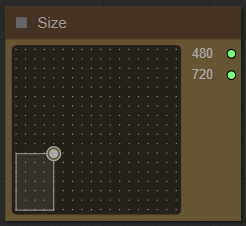
The larger it is, longer the generation time and the greater the VRAM required.
Choose a number of steps :

I recommend between 15 and 30. The higher the number, the better the quality, but the longer it takes to generate video.
Choose the guidance level :

I recommend to star at 6. The lower the number, the freer you leave the model. The higher the number, the more the image will resemble what you “strictly” asked for.
Choose a shift level :

This allows you to slow down or speed up the overall animation. The default speed is 8.
Choose a sampler and a scheduler :

If you dont know what is it, dont touch it.
Define a seed or let comfy generate one:

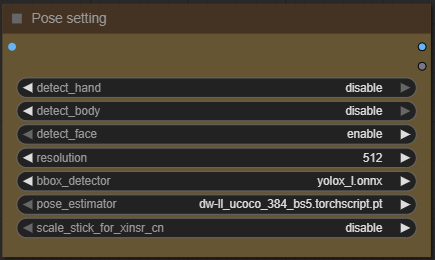
Activate the different body parts you want to import from the imported video :
Import your first frame image :
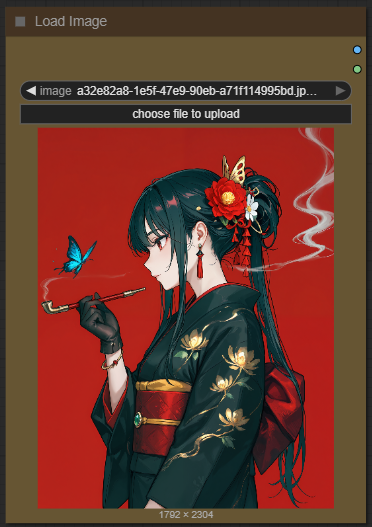
Don't forget that it will be reduced or enlarged to the format you've chosen. A video with too different a resolution can lead to poor results.
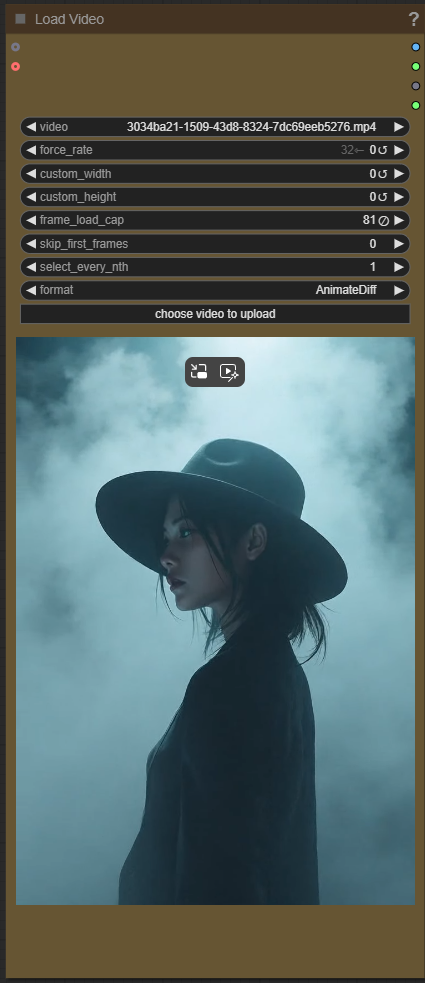
Import your "control" video :
Add how many LoRA you want to use, and define it :
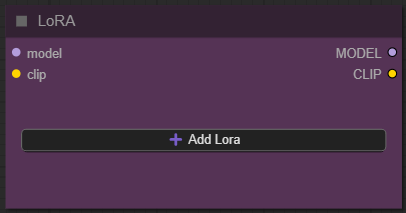
If you dont know what is LoRA just dont active any.
Now you're ready to create your video.
Just click on the “Queue” button to start:

A preview will be displayed here, then the final video :
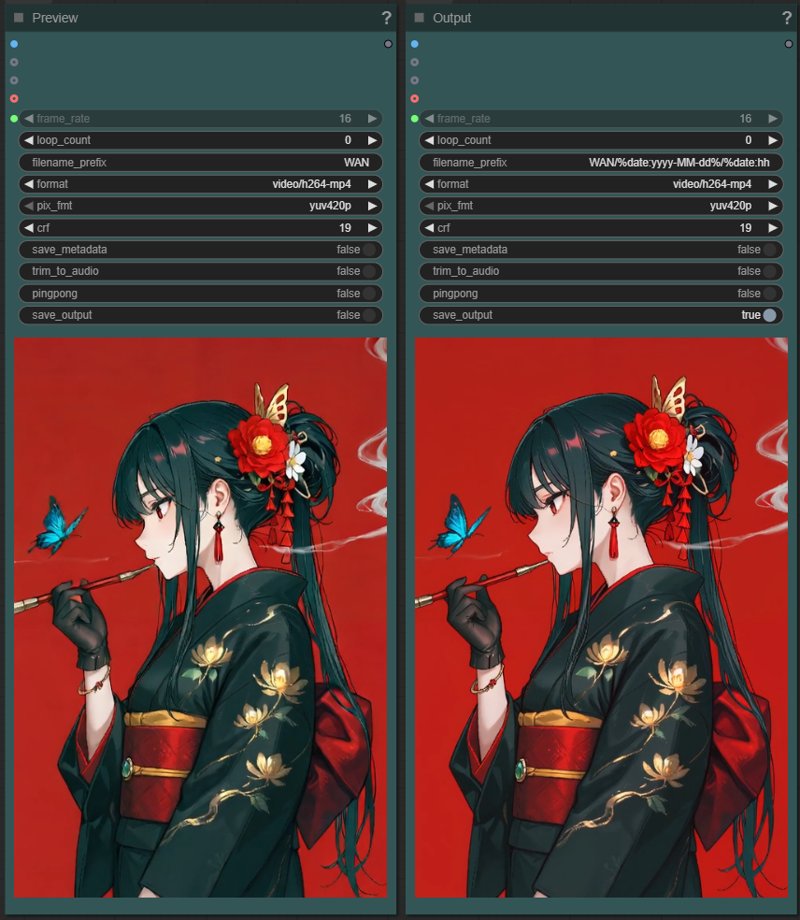
But there are still plenty of menus left? Yes indeed, here is the explanation of the additional options menu:
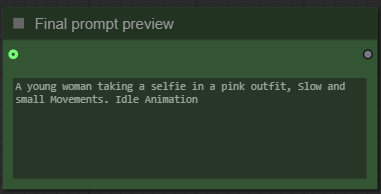
If you have enabled auto-prompt you can see here the final prompt used by the workflow.
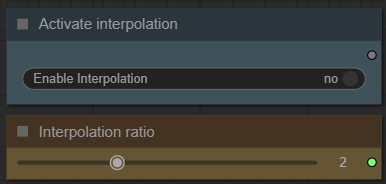
These nodes allow you to enable interpolation and choose its factor. To put it simply, this will generate intermediate frames and thus increase the fluidity of the video.
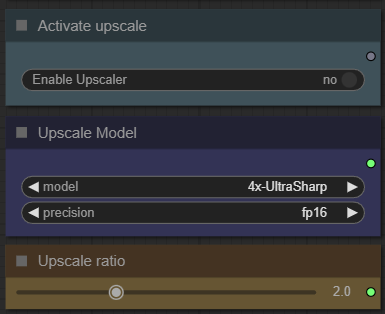
Here you can enable an upscaler. This allows you to increase the resolution of your video. Simply select a model from the list and then the resolution increase ratio.

This option saves the last frame of your video. This makes it easy to create a sequel by reusing this frame as the start for a new video.

Here you can activate SageAttention. This option is quite complex, you can read my dedicated guide here. If you don't know what it is, don't enable it. If you have used my installer for ComfyUI you can use this optimization.
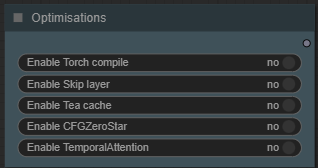
This last node allows you to activate different optimizations:
torch compile improves speed,
skip layer improves video quality,
Tea cache improves speed,
CFGZeroStar improves the "stickiness" of your prompt,
TemporalAttention improve spatiotemporal predictive.
Some additional information:
Organization of recordings:
All generated files are stored in comfyui/output/WAN/YYYY-MM-DD.
Depending on the options chosen you will find:
"hhmmss_OG_XXXXX" the new extended video,
"hhmmss_IN_XXXXX" the interpoled,
"hhmmss_UP_XXXXX" the upscaled,
"hhmmss_EX_XXXXX" the extension,
"hhmmss_LF_XXXXX" the last frame.
Attention: if you're using a 1.4B model, you'll also need to change the "Apply Tea Cache" node settings.
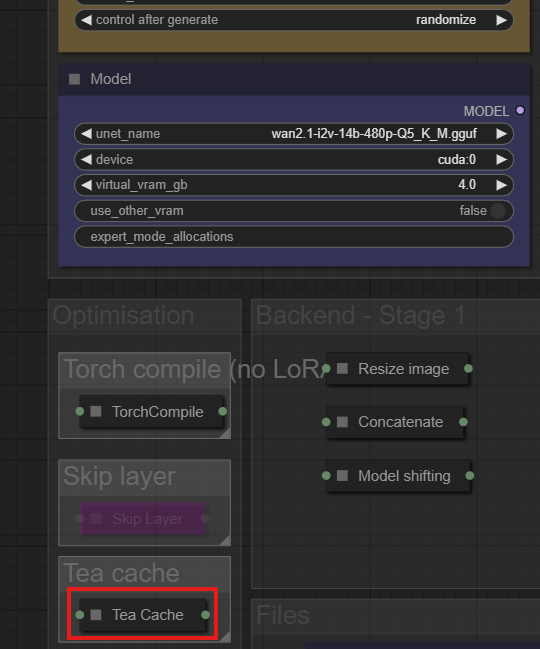
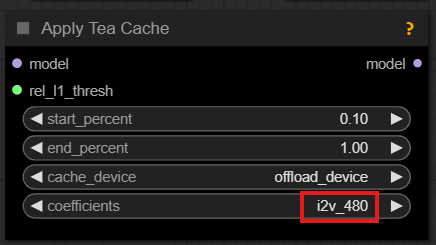
This guide is now complete. If you have any questions or suggestions, don't hesitate to post a comment.


