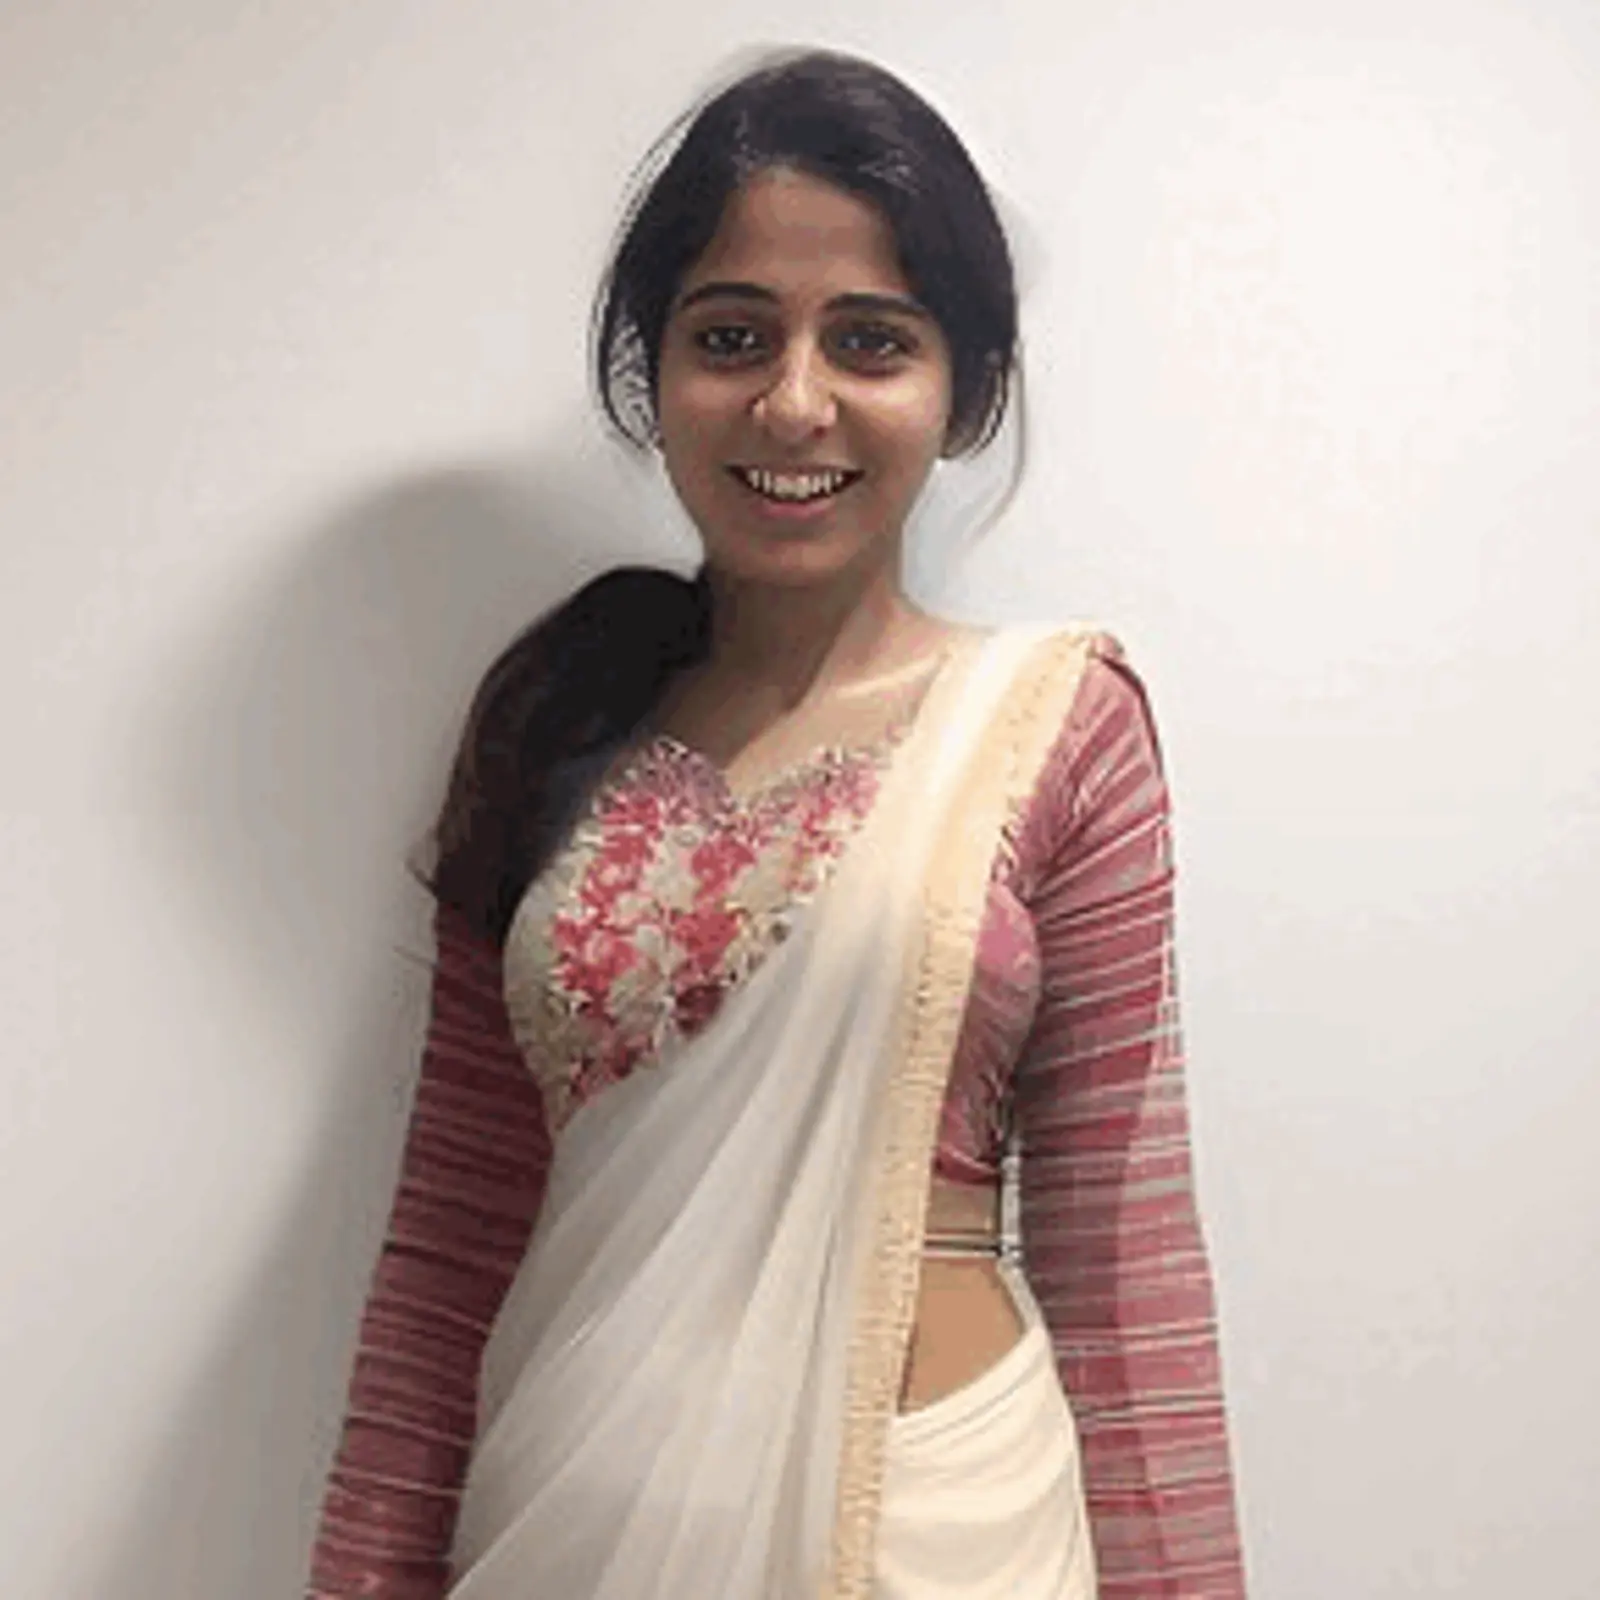
There was a request for a step by step guide on how I created this GIF using LEOSAM's excellent LoRA: https://civitai.com/images/1686536?postId=422863
A little strapped for time, so this tutorial is going to be briefer than my others. I may come back to this later.
[Edit 7/30] Please note, I am not the creator of the LoRA. So if you have questions/ comments about the LoRA itself, those are best asked on that model's page.
Prerequisites
There are a few different extensions/ resources that you will need to have installed for this image generation. I use the the vladmandic repo, so some of these come built in:
Leosam's LoRA: https://civitai.com/models/88132?modelVersionId=117151
Controlnet: https://github.com/Mikubill/sd-webui-controlnet (I am not going to go into the specifics of how to use this, or set it up, because that's a tutorial itself. There are good resources on Civitai that go into that)
(Optional) Roop: In case you want to keep the face standard. https://github.com/s0md3v/sd-webui-roop (Again, I am not going into the specifics of using this extension.)
(Optional) Embeddings, LoRAs to generate a style/ ethnicity: I used my Desi Latte TI (of course!) https://civitai.com/models/86615?modelVersionId=92122
Step 1: Choose a simple pose for putting into Controlnet
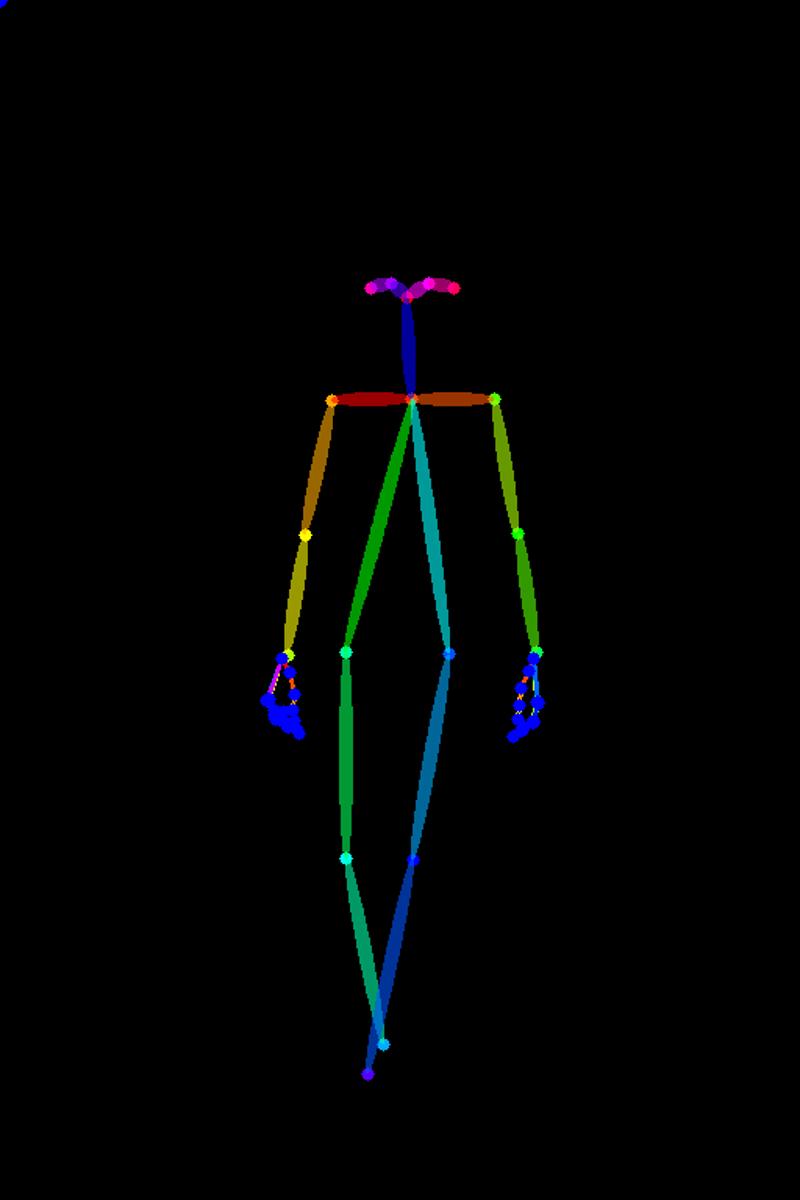
There are plenty of resources including those on Civitai that have collections of poses. For this particular animation I used a simple pose (below). Use something that is easy to fit clothes on (imagine you have a Barbie in your hands, if you must), but something that'll look sexy disrobing.
Enable the controlnet (of course!)
Choose preprocessor > None
Choose Model > your specific 'openpose' model
Leave other settings at defaults, unless you know what you're doing
(Optional) Step 2: Choose a face you want to have consistently in the animation and put into Roop extension
For my purposes I used an AI generated hottie that I call 'Stunita' (Sunita + Stunner, get it?)
Drag and drop the image with the face you want into roop
Enable roop
Step 3: Create a prompt and generate images till you find one that you like
When creating a prompt, emphasize a simple background, otherwise it'll keep changing between the images generated and make it look crappy. My prompts were:
Prompt: ((simple white wall background)), woman, slim, dglatte, Full body, white embroidered dress, smiling, <lora:ClothingAdjuster3:-1>
Negative: easynegative, background details, curtain
You can alternatively use controlnet to fix the background, but that's beyond the scope of this tutorial.
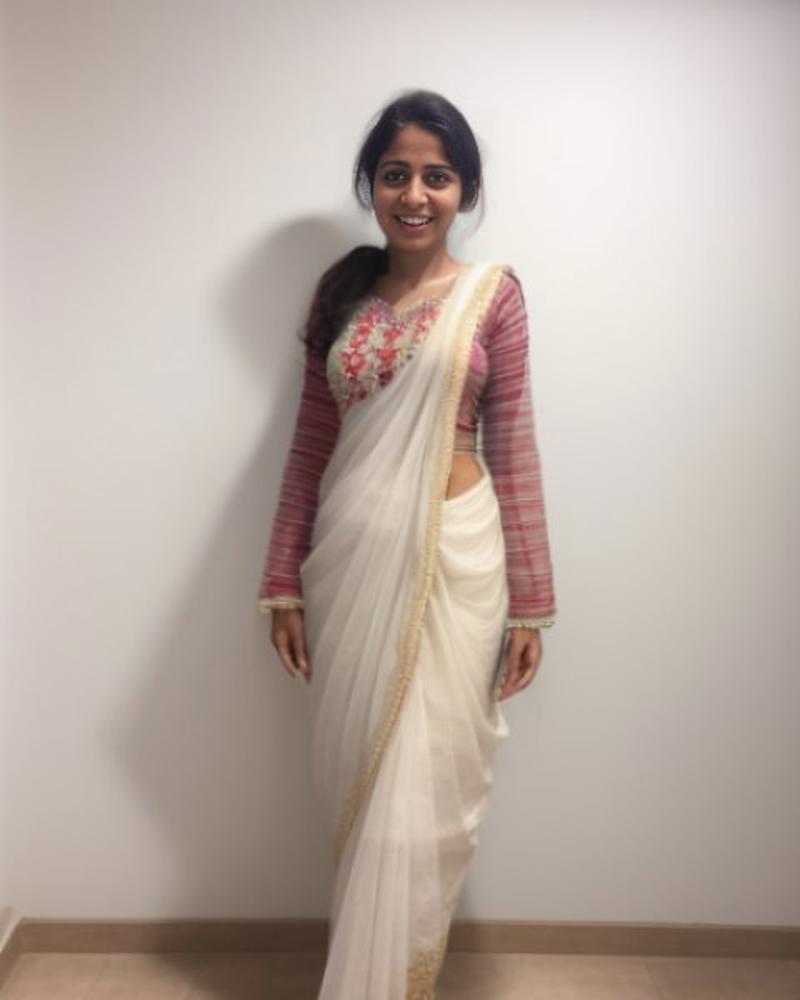
Generate images till you find one that you like. In my particular case I chose the one below.
Once you find the image you like, freeze the seed (in my case I froze both the seed and the variation seed to 1344212117)
Step 4: Choose the right options in the 'Scripts' section of the txt2img tab
This is usually at the bottom of the page, so you may need to scroll down.
Pick 'X/Y/Z grid' from the drop-down
Under the X type, or Y type drop downs, choose: 'Prompt S/R'
It doesn't matter whether you pick X or Y, the only difference is how the end grid will be produced - horizontally or vertically, respectively. You won't be using the grid anyway.
I chose X type.
In the box that appears alongside the X type that is titled 'X values', paste the following:
VARIABLELORAPROMPT, <lora:ClothingAdjuster3:-1>,<lora:ClothingAdjuster3:-0.9>,<lora:ClothingAdjuster3:-0.8>、<lora:ClothingAdjuster3:-0.7>,<lora:ClothingAdjuster3:-0.6>,<lora:ClothingAdjuster3:-0.5>,<lora:ClothingAdjuster3:-0.4 >,<lora:ClothingAdjuster3:-0.3>,<lora:ClothingAdjuster3:-0.2>、<lora:ClothingAdjuster3:-0.1>,<lora:ClothingAdjuster3:0>,<lora:ClothingAdjuster3:0.1>,<lora:ClothingAdjuster3:0.2>,<lora:ClothingAdjuster3:0.3>,< lora:ClothingAdjuster3:0.4>, <lora:ClothingAdjuster3:0.5>, <lora:ClothingAdjuster3:0.6>, <lora:ClothingAdjuster3:0.7>, <lora:ClothingAdjuster3:0.8>, <lora:ClothingAdjuster3:0.9>, <lora:ClothingAdjuster3:1>
Scroll up, and in the main txt2img prompt box, make sure you have the exact prompt, below, as a part of the positive prompt:
VARIABLELORAPROMPT
The word above can be whatever you want it to be, just as long as you start the X Values with the same one.
Click generate and wait patiently as the SD generates 19 images. If you have previews tuned on, you should start to see a gradual state of undress.
Note: the Leosam LoRA does seem to have an impact on the way the faces look, so you'll see that the face of the girl gradually changes. Not much you can do about that. You weren't really looking at the face anyway, right?
Note: There are 19 images generated because there are 19 prompts in the S/R above. You can generate more 'steps' if you want, I was too lazy to type those many prompts.
Step 5: Generate a GIF using https://ezgif.com/maker
Drag and drop your 19 generated files into the section that says 'Choose files'
Click on 'Upload and make a GIF!'
Generate a first GIF with default options to see that it's broadly okay. Do this by pressing the 'Make a GIF!' button. The first output is as below:
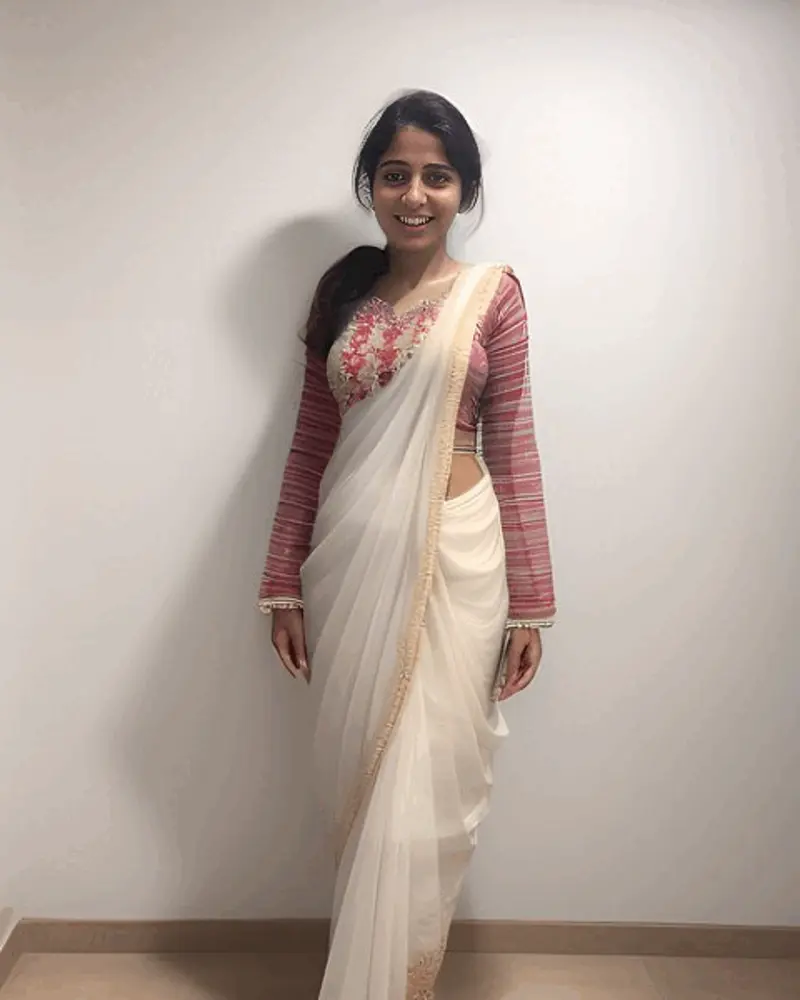
Good! But a little too jerky/ jumpy!
I made the following modifications for a better output:
Skipped frame 13 where a dress comes back on
Skipped frame 15 where there's more undress than the frames that follow
Enable crossfade frames under effects
Fader delay 5
Framecount 10
This gives us the final animation: https://civitai.com/posts/443226
(Animation is too big to upload inline, but is the full view of the cropped animation in the cover image.)
Hope this helps folks!
Please post your questions about the process and I'm happy to answer if I can find time.
Attachments:
Generated images in case you want to see the generation data


