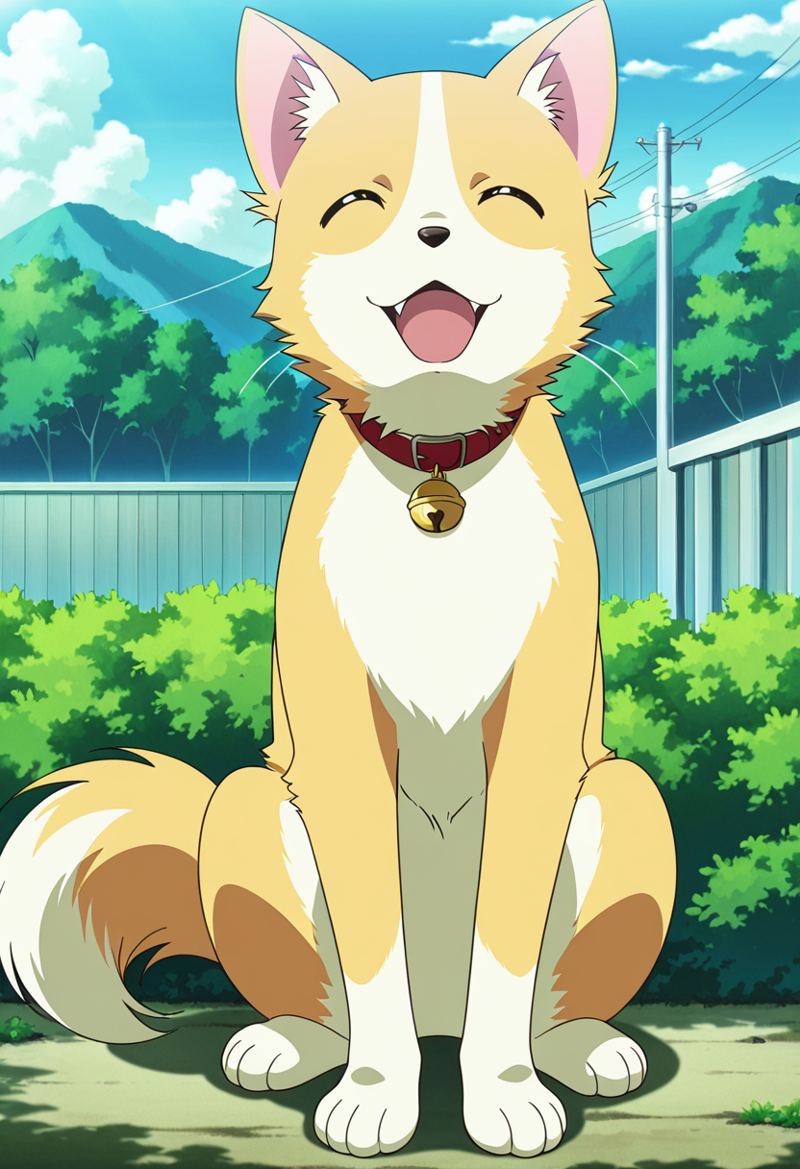
After the last article I wrote, a bunch of people were really interested about prompt editing, with lots not even having heard of it before. It also made me notice that there are very few resources on how to use it and showing practical applications of it.
So what better time to go into depth about it than now. Followe me as I teach you all I know about it while showing you some practical examples.
PSA
Apparently, this function doesn't work in the civitAI generator while using SDXL based models. Either run the models locally, or pester the staff so that they add the fuctionallity.
What is "Prompt editing"?
First things first, for those who don't know, Prompt editing is a technique that you can use to alter or well, edit, your prompt in the middle of generation. It can be used on every model regardless of version, as it doesn't interact with the model itself, which means it will always be useful to know.
How does it work?
A simple way to explain it is imagining your prompt as a set of instructions the model needs to follow. Every time the model generates a step, it reads the instructions again before continuing to the next step.
When we use prompt editing, we can change the intructions at a certain step, making it so the model now follows a different set of instructions.
A real world example would be making a pancake batter, but it the middle of pouring the milk, you change it for cream instead. The product will be different, but will contain qualities of both.
How does one use it?
There are multiple ways of using prompt editing, the two most common ways are:
[prompt:step] = This one uses the prompt ONLY AFTER the amount of step specified.
[prompt::step] = This one uses the prompt UNTIL you reach the chosen step.
Technically, you only need these two to do everything you need, but there are some other forms that can help you too.
[prompt1:prompt2:step] = This one uses prompt1 until the chosen step, then uses prompt2 until the last step.
[prompt1|prompt2] = This one change between prompt1 and prompt2 every step. the chain can be as long as your want.
You can also use floating point numbers instead of exact steps. number between 0 and 1 target the main generation. Numbers between 1 and 2 target hi-res fix generation.
Example:
[Horse:Cat:0.3]. This will generate a horse until 30% of generation, then a cat for the rest.
Also, you can nest your prompt editing. Lets say you want to generate something only between x and y steps. you can do the following:
[[prompt::y]:x]
When do you use this?
Without any practical applications, this technique is only a gimmick. Most showcases of this techniques fail to show things that are actually improved by its usage, lets fix that.
(All the following images are generated at 30 steps, using WAI illustrious v10. Depending on the amount of steps you use and other factors, you will need to change when you do the swap)
Case 1: Generating Clothes
When making an outfit for a character, sometimes you want to get more wild and creative with it, but most models only know basic pieces of clothing. You can combine two or more pieces of clothing to create an entirely new one.
[sundress:armor:4]:

[crop top:parka:6]

[thighhighs:(jeans, denim:1.2):5]
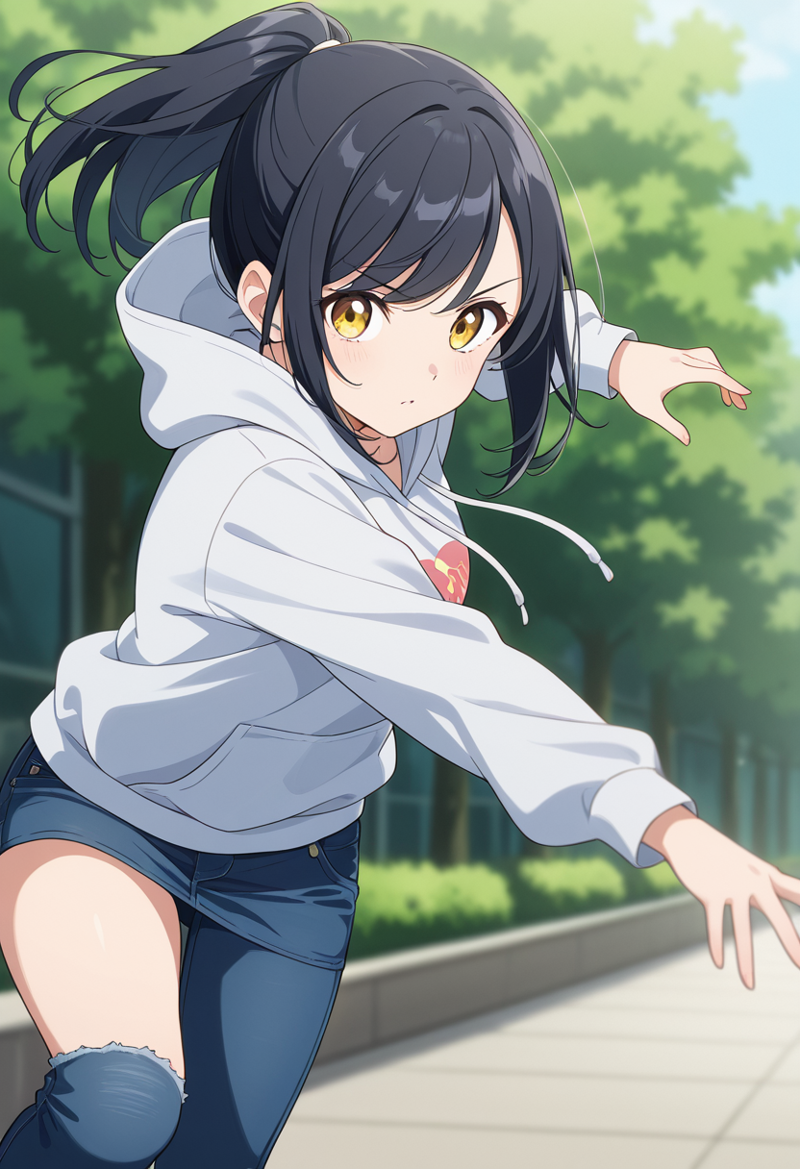
[dress:pants, hoodie:6]

As you can see, pretty much any piece of clothing can be combines with another that would overalp with it to create something new.
Case 2: Character mixing
Maybe you want to see how two characters would look like if they were fused together?
[princess peach:misty \(pokemon\):8]

[samus aran:link:8]
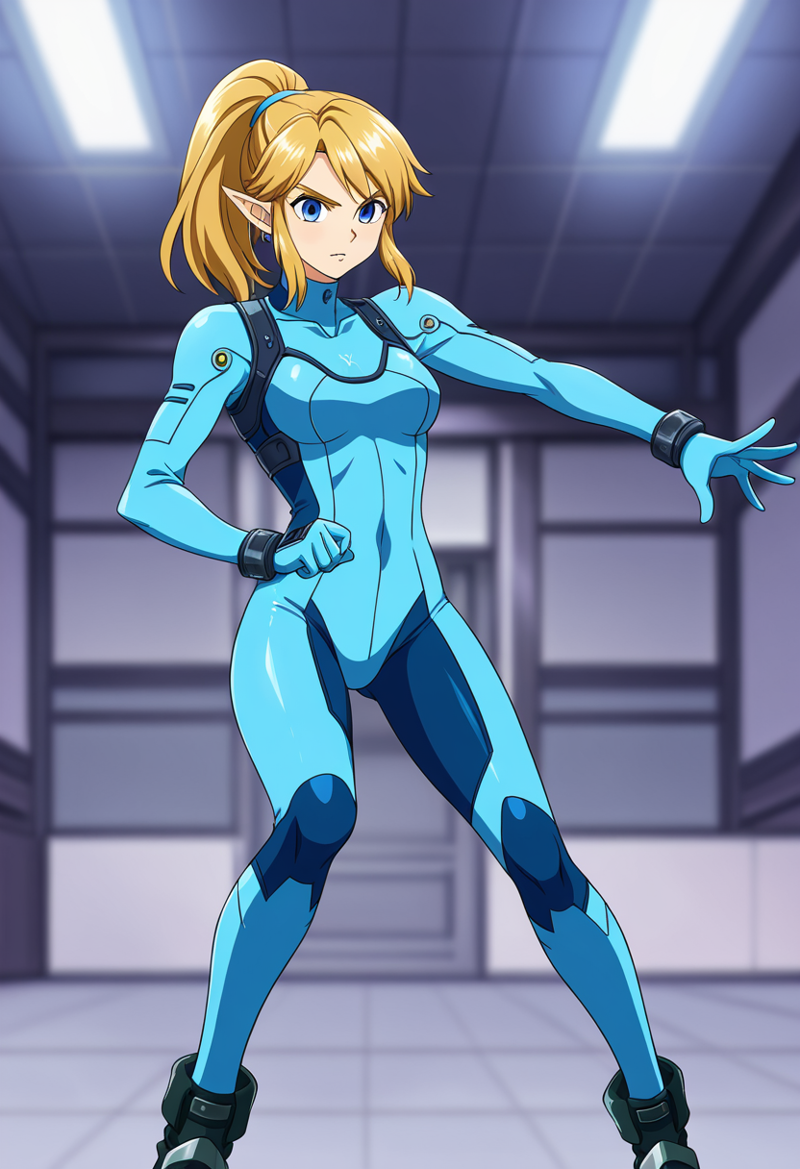
[alice \(alice in wonderland\):saber \(fate\):8]

Case 3: Scene enhancing
Sometimes, when you generate a scene with a character in it, the character takes all the attention. Delaying character generation a few steps can enhance the rest of the scene, and make it look more natural.
forest,[(dynamic pose:1.3), (1girl, solo), green hair, long hair, twintails, diagonal bangs, red eyes, sitting, hand on own hip:6]
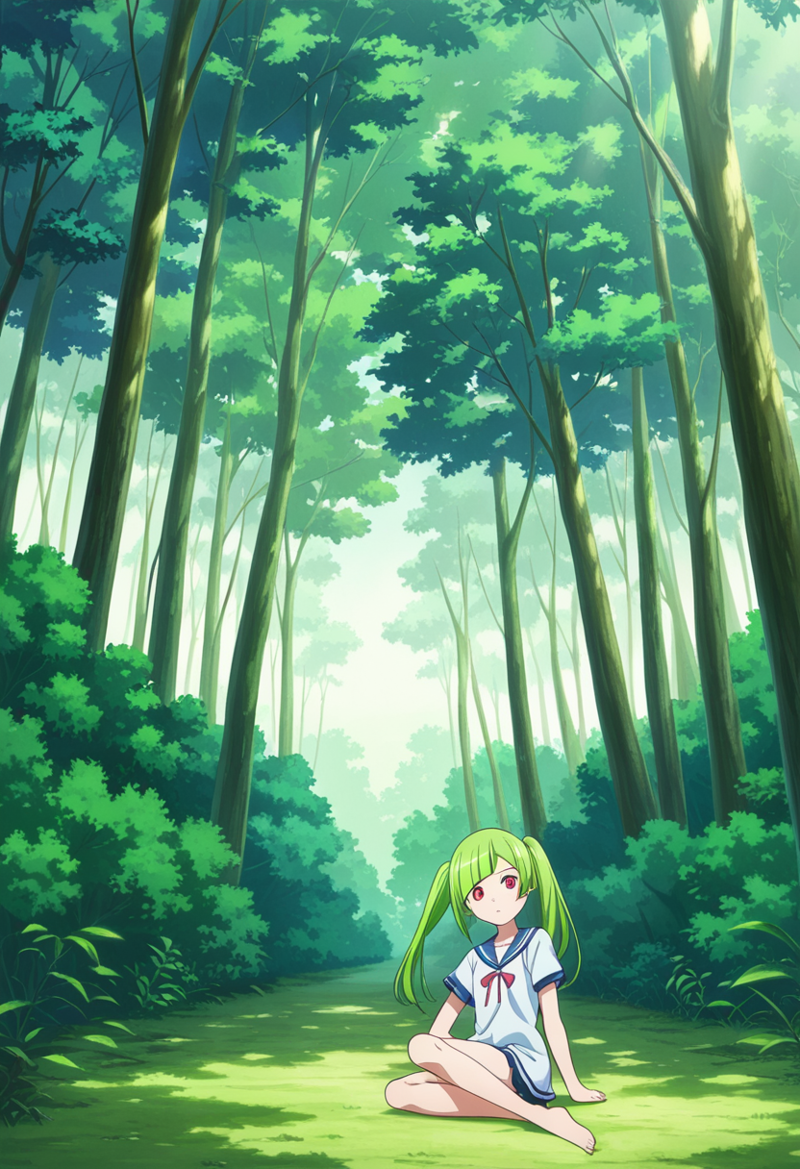
As you can see, the generation of the girl was delayed until step 6, giving the forest enough time to generate by itself without fully stabilizing, then the girl is added as part of the forest.
The more delay there is between the start of the generation and the addition of the character, the less emphasis the image will have on the character. This is a doble edge sword, as the character will also be lacking detail and may have some wrong anatomy.
Same seed and prompt, but delay of 3 steps instead

The girl now has a lot more of real state in the image, and is much more detailed. Still, glitches like extra fingers do remain, but those can probably be fixed by hi-res fix, inpainting, or just doing more steps or using a higher resolution.
Case 4: colors
Actually I don't recommend using it for this as it can be quite inconsistent and requires a million tries to get a decent result, use tags like "split-color hair", or simply things like "white dress, black dress" instead.
If you can make it work in a somewhat consistent way let me know.
Case 5: Horrors beyond our comprehension.
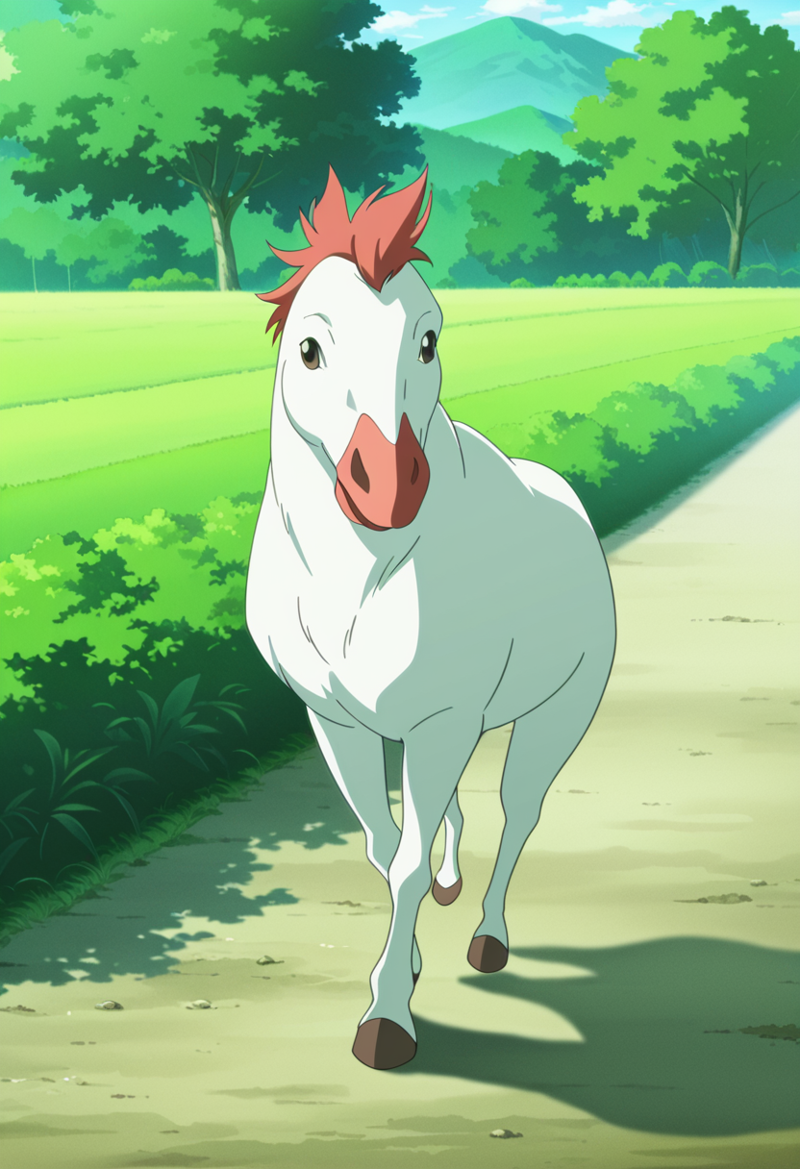
[chicken|horse]
[cat|dog]
