Prerequisites
1. Collecting and preparing a Dataset
To start, you need to compile together a dataset. A dataset is a collection of images with each image having a prompt to go alongside it to describe the image.
1A. Collecting images
A good image count is around 20 - 100
For character models, you can use Google Images by looking up your character.
For more advanced usage, usually if there's lots of images of your character you can use Grabber
If you are having issues finding enough images for your character you can check booru's, take screenshots yourself (For example: TV shows, Anime), or just continue on if you want. It will still work even If you don't have 20 images.
1B. Preparing the dataset folder
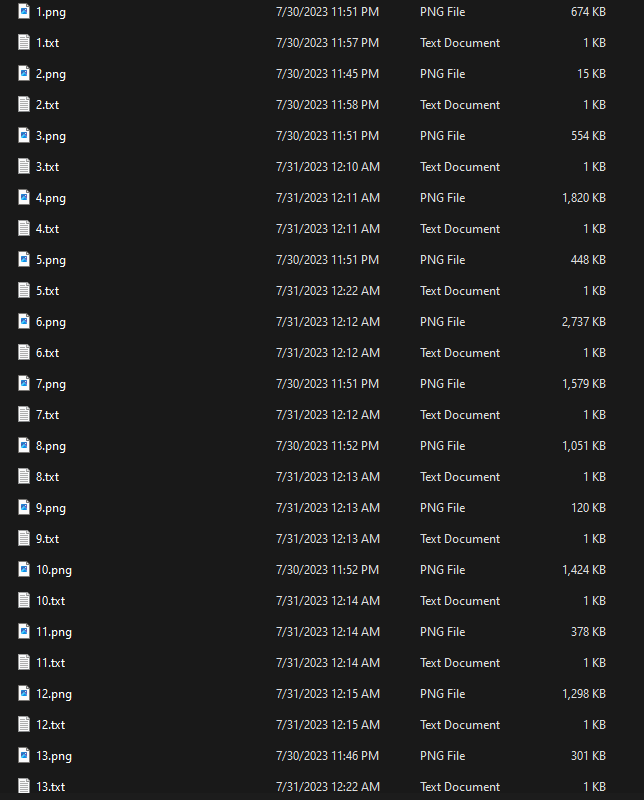
Ok, next onto the actual creation of the dataset. The structure of the dataset is numbered. You'll want your images to all be the same whether it's jpeg or png. To fix the names you can use Bulk Rename Utility
After installing Bulk Rename, put all of your images into a folder with the name of the lora you want it to be
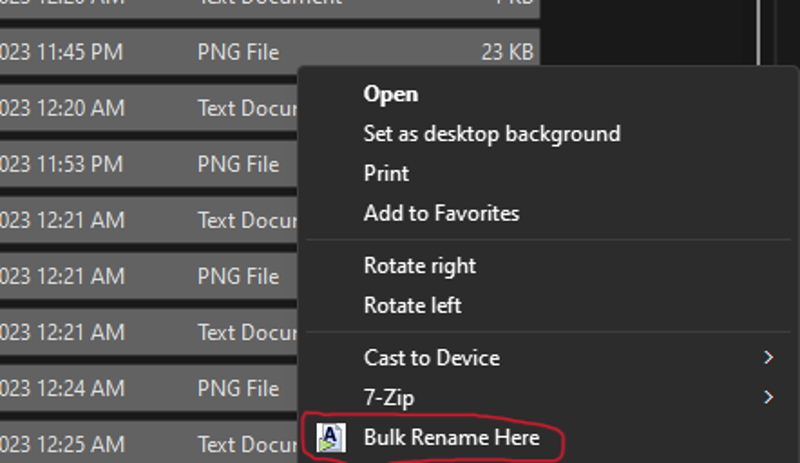
Select all the images in the folder with either Ctrl+a, or clicking the top image holding shift and clicking the bottom image. Then right click and select Bulk Rename Here.
Then look at the bottom of the Bulk Rename window and change these exact settings, nothing else
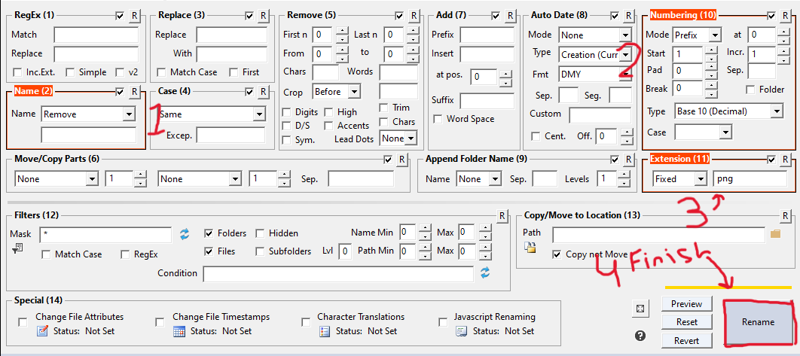
Then close the Rename Utility
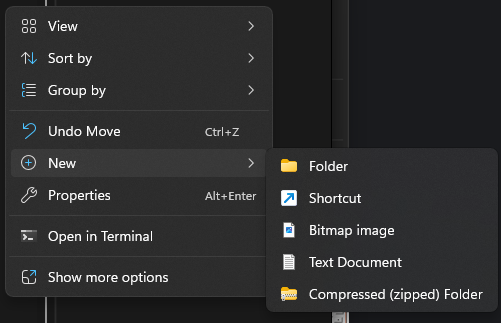
Next make text documents that match the same number of images you have in your dataset
Then select ONLY THE TEXT DOCUMENTS you just created, then re-open the "bulk rename here" prompt and only change the Name (2) to remove, Numbering (10) to prefix / start 1 and set the (11) to same
The finished folder should look something like this ⬇️
2. Prompting
Now it's time to start prompting the training images and for this guide, I'll be using my Yukari LoRA as an example. (This also may take a long time to do, so put on some music!)
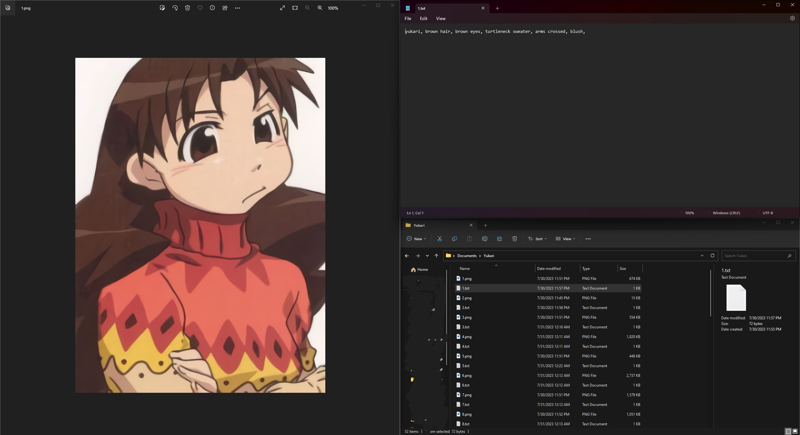
It's easier to work on prompting if you set your windows up right. My personal favorite looks like this
Ok, now onto actual prompting.
Have your windows set up like mine or however you like yours.
The prompt in that text document is describing what's in that image to the left.
It's set-up like so: [subjects name], [physical features], [clothing], [the action they are performing (aka crossed arms)], [other features like blush and emotions]
And if we look at the prompt it's in that exact order: yukari, brown hair, brown eyes, turtleneck sweater, arms crossed, blush
You don't have to put it exactly like how mine is laid out, but you should include at least those categories into your prompt.
Now, if you want to have another outfit you can change your prompt like so:
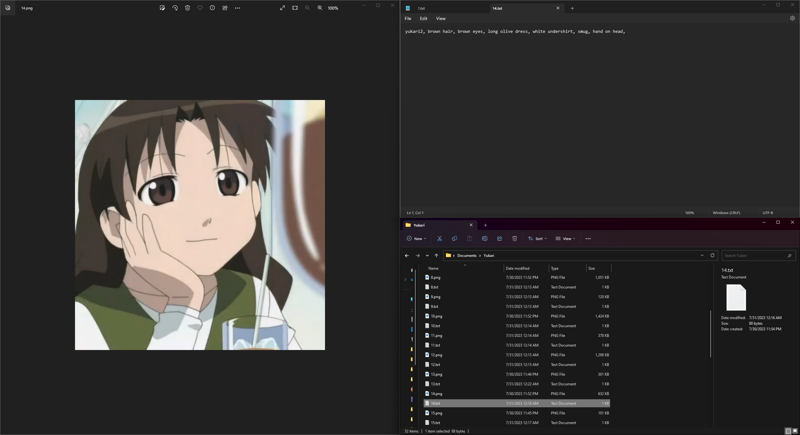
In the image, she's now wearing a green and white outfit.
To emphasize to the AI that you want another outfit, try changing the subjects name to something else like so whilst also explaining the new outfit's design in your prompt:
yukari2, brown hair, brown eyes, long olive dress, white undershirt, smug, hand on head,
You can repeat this same step for each outfit, just make sure to change the subjects name for each one.
Getting Ready to Train!
1. Getting Google Drive set-up
This guide does use google services to help train, don't worry it's super easy!
Head on over to https://drive.google.com Right click in your files area and select New Folder (DO NOT MAKE THIS FOLDER IN ANOTHER FOLDER, IT HAS TO BE AT THE ROOT OF YOUR GOOGLE DRIVE)
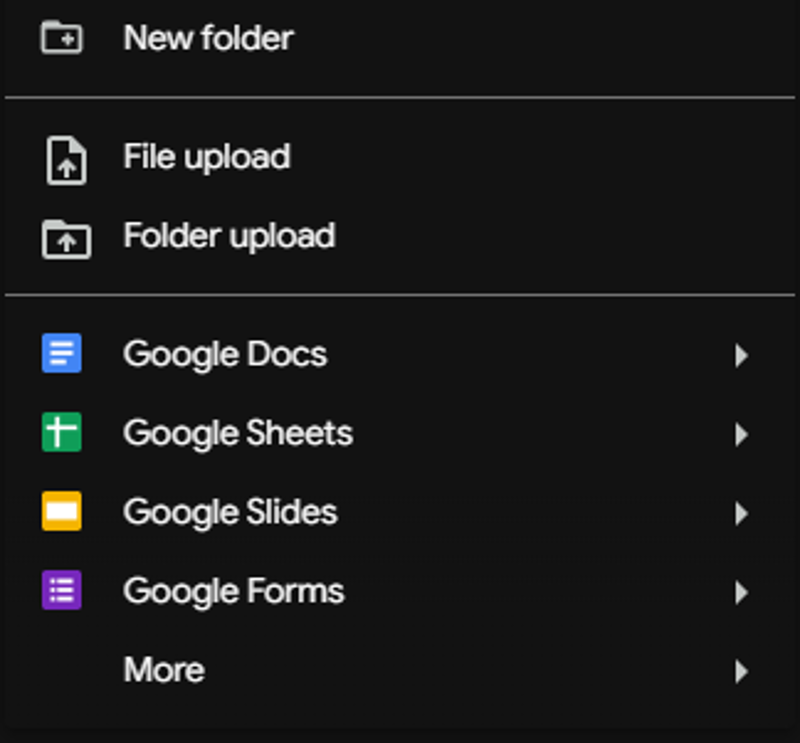
Name the folder: Loras
Head into the folder and make another folder the same name you made your dataset folder or just the characters name (Spaces aren't allowed)

Inside the character folder, make another folder called dataset
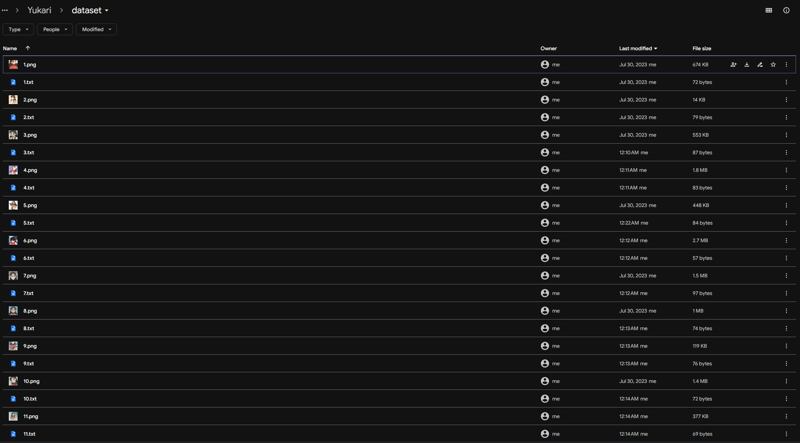
Now head into the dataset folder and right click the empty space, select file upload. Navigate to where you made the dataset on your computer and DON'T upload the folder, but select all the images and text documents inside the folder and click Open.
It should look like this:
This is it for Google drive for now, we'll come back to it later.
2. Getting the Colab Set-up
Head on over to this link here to bring you to the Training Colab: https://colab.research.google.com/github/hollowstrawberry/kohya-colab/blob/main/Lora_Trainer.ipynb#scrollTo=OglZzI_ujZq-
The page should look like this:
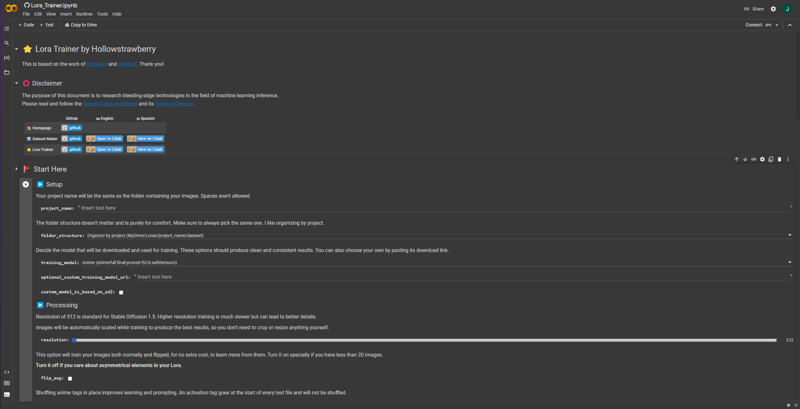
To start off, over on the left side of the page, there is a folder icon, click it.

A sidebar shows up, and at the top of the sidebar there's a folder with a google drive logo. Click that icon.

Click the play button on this node it highlighted
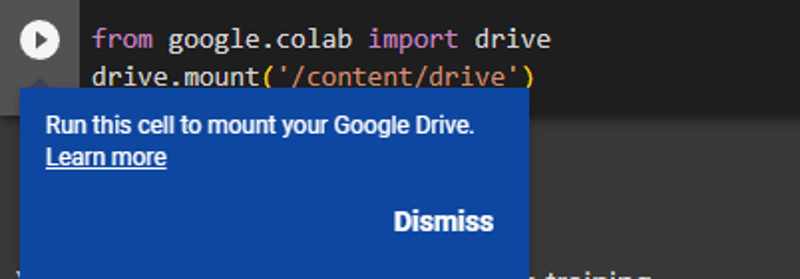
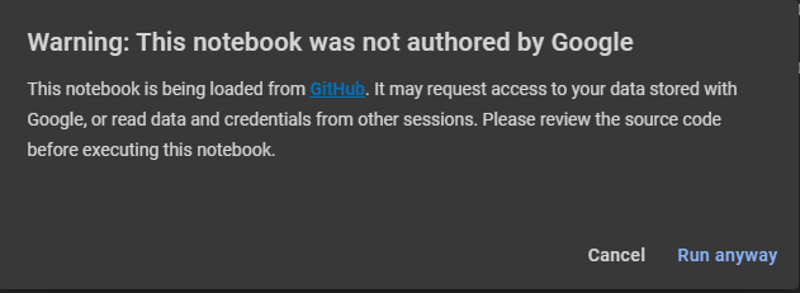
Click run anyway and Connect to Google drive
Select the account you used to put the dataset into
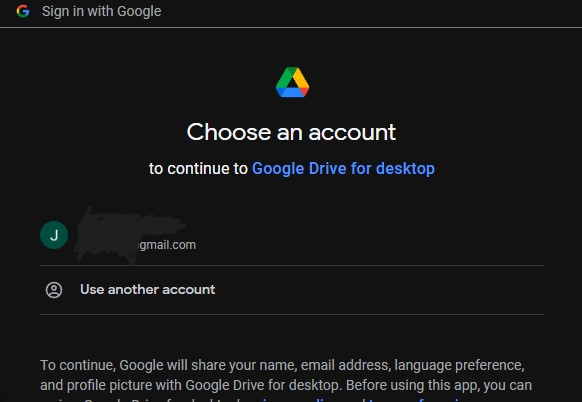
Then click Allow, this will have to be done with every other model you make in the future.
Now that that's done, go back to the sidebar, right click the empty area and click refresh. A drive folder should show up.
Scroll back up to the top of the colab page. And find these:

Set the project_name to the same folder name of your character that you set in google drive, not the Loras or dataset folder.
Find the flip_aug check box and select it only if you have under 20 images as the page says.
ALMOST DONE!

This drop down box let's you select what type of model you want. Once that's done scroll back up to the top and start the training!
TRAINING TAKES A WHILE, SIT BACK AND RELAX WHILE IT TRAINS. The tab should look like this when it's done:

If the logo is red, it means it failed. Most likely you misspelled or forgot to Connect Google drive.
If the logo is grey, it means it's training, don't touch anything on the page.
Collecting and using your model!
Head on back to your google drive and locate the Loras folder with your character. The folder looks a bit different now. Select the output folder.
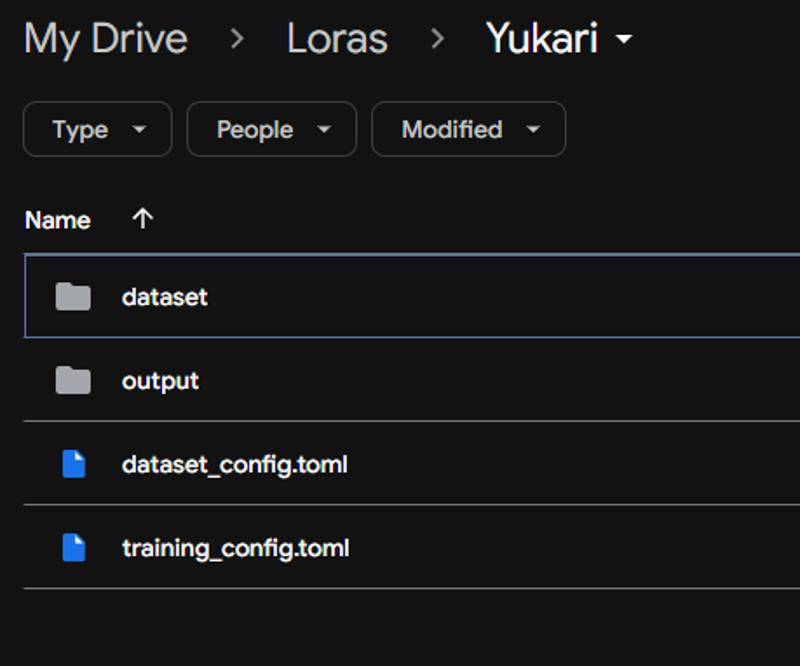
You should be presented with 10 different .safetensors files, choose the last one or the -10.safetensors and download it.

Once it's done, throw it into your loras folder and try it out using some of the prompts from your dataset. If it looks bad, try changing the weight of the lora from :1 to :0.8 or :0.6.
That's it! If you're happy with how it turned out, go ahead and upload it to civitai or keep it if you want, that's up to you. Although make sure when you are uploading it, give some sample prompts and the best weight to use, so other people don't have to figure that out themselves.


