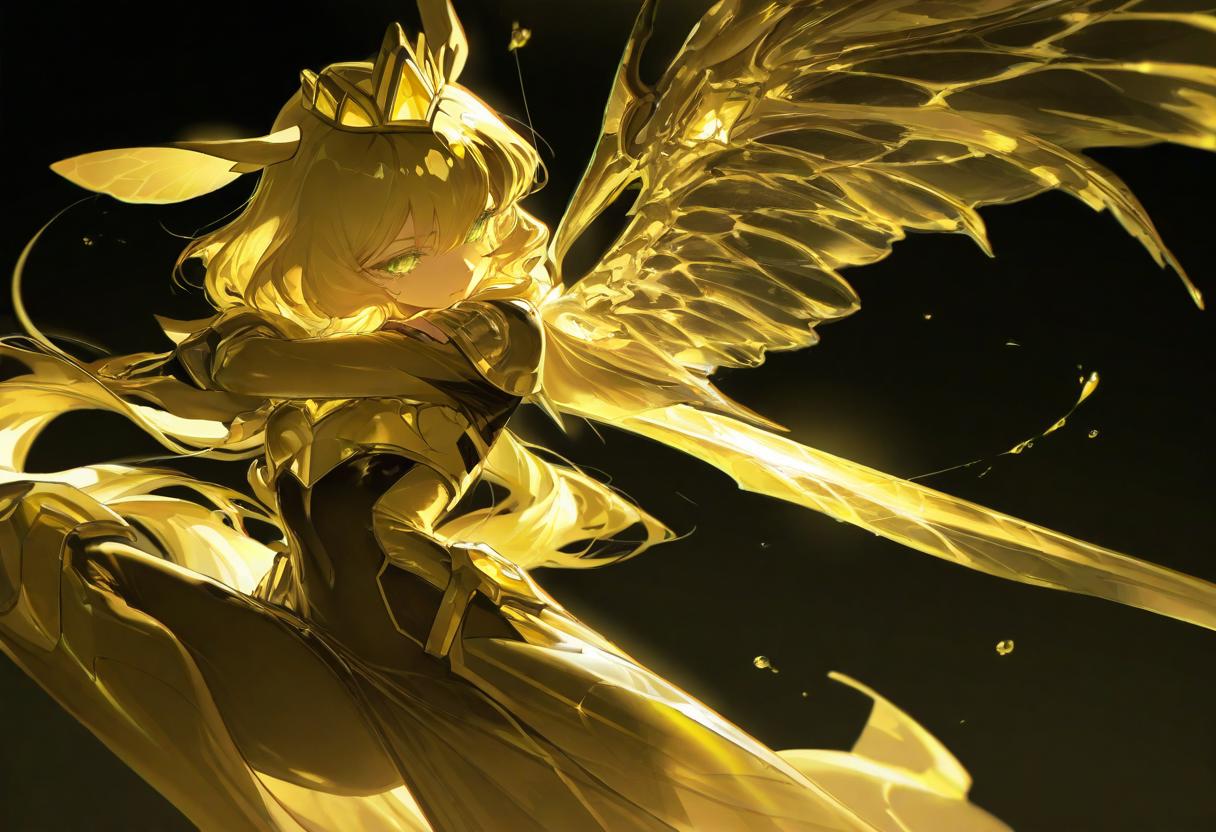
Introduction to Conceptor
Before jumping into the models, I want to clarify that everything you’re about to read is stuff I learned through trial and error. I don’t have any formal training or background in this — I just really got into the topic and started experimenting. So this isn’t some definitive guide or a closed-off methodology. It’s more of a summary of what worked for me, what I found interesting, and some ideas that might be useful to someone else out there.
I’m not trying to sell anything or position this anywhere in particular. I just want to share what I’ve discovered because it’s fun, and maybe it’ll spark something in someone else, or they’ll feel like giving it a shot on their own.
To make some sense out of the chaos, I divided everything into four main parts: Models, LoRAs, Prompts, and Canvas Size. Each one touches on a different part of the process — from the early experiments to how I ended up using all of this in my own illustrations.
And at the end, I’ll also explain how to use the Conceptor model, which is the result of this whole journey.
Alright, let’s get into the first part:
MODELS
As some of you might know, I started by merging Illustrious and Noobai models in search of something that felt interesting.
Noobai, in particular, caught my attention due to how well it adapted to artist-tag prompts (via Danbooru). It made me realize that the same prompt can generate almost infinite results. You probably already know that, but I still like pointing it out.
Noobai models became a very solid base for everything that came after. One interesting outcome of that process was NTR MIX, which had a lot of personality in the images it created.
Just to be clear: I’m not a technical expert. Most of what I’m about to say is just personal experience and some guesses about what might be happening inside the model.
While testing different models privately, I also started creating my own merges (NoobMerge), mixing the ones I found most promising and testing them with prompts (many of which I picked up from the community and adapted). But after a while, I got bored — it started to feel like a gacha game, just hoping for the perfect seed to give you something cool.
So I stopped using character tags and started using tags for things: plants, fruits, instruments — whatever. Just to break the routine.
To my surprise, some models actually responded, vaguely, to those kinds of words. That’s when I noticed “something.” You could call it intuition... or maybe I’ve just spent way too much time in front of the computer, haha.
But that “something” really caught my attention. Up until that point, I was mostly using models to find interesting poses, cool framing, nice lighting, weird perspectives... or just to undress anime girls now and then.
Once I figured out which models responded best to abstract tags, I tested them one by one — probably over 30 of them in those days. The ones that could really represent the prompt stayed, the others got deleted. At that early stage, I didn’t care much about how “good” or “bad” the image looked — what mattered was whether it represented the idea.
That’s also when I started changing how I wrote prompts (more on that later).
As newer versions of Noobai came out, so did new merges and models. That helped me a lot in continuing to make my own merges, and eventually, I leaned more into this idea I had: concepts.
At the end of this article, I’ll go over how I prompt and how my approach evolved — but this part is all about the discovery process.
As my merges started getting “better,” I adapted to what I liked or what worked best. That’s how I arrived at NoobMerge V0.6-A, probably the turning point where I really started to understand the power behind all this.
That model doesn’t have anything special, really. If you use it, you might think it’s just another merge — and even artists or illustration enthusiasts might find it pretty mid.
But believe me: that model has something.
With that model, I discovered that some models don’t need a negative prompt at all, that CFG can massively affect results depending on the concept, and that certain trigger concepts can completely wreck or elevate an image with a single word.
It also taught me that “quality tags” often blind you by chasing “top-tier” illustrations, when really, if you’re dealing with concepts, you don’t need things to be polished. You’re exploring.
I might go off-topic at times, but hey — this is my first article. I hope to write more about specific topics in detail later, and if someone actually reads this, take it as a little brain dump of what I’ve experienced these past few months.
LoRAs
LoRAs are a huge part of experimentation — they give you control (or chaos) for very little RAM or VRAM cost.
They’re one of your best allies. They can capture interesting concepts like “details,” “lighting,” or “face structure” in just a few activation layers.
Some I still use today:
748cm, Artist: Pepa, 96YOTTEA, Pony: People’s Works, Sowasowart, USNR STYLE, Kuhuku Style
(Just to be clear — these are LoRAs, not artist tags. Those go in the prompt.)
The key takeaway here is that LoRAs often learn more than we expect. When you make a dataset and label it, you think they’re learning just a style or character — but sometimes they absorb entirely different qualities.
And that’s why prompts matter so much at this stage — a LoRA can completely transform a model sheet or character with just a slight change from 0.1 to 0.2.
So go find good LoRAs, or better yet, train your own depending on what you need.
PROMPTS
Like everyone, I started by copying other people’s prompts, trying to understand why theirs worked and how they pulled off that magic.
It felt like having a bike and watching people pop wheelies, while you don’t even know how to pedal.
I started experimenting with the classic SD1.5, getting the hang of things like "masterpiece" and "best quality."
The point is: it’s important to learn how a prompt is structured, because models will change — CLIP or whatever comes next — and understanding prompt structure is key.
Now, getting into it:
First of all, I highly recommend using artist tags.
Here are some of my go-to tags:(748cm:0.4), (rella:0.4), (yoneyama_mai:0.4), (Dino_illus:0.4), (ribao_bbb:0.4), (SENA_8ito:0.4)
You can change the 0.4 depending on what you want, but that’s how I usually write them.
It’s best to find artists you like that are listed on Danbooru so you can use their tags effectively.
Aside from artist tags, prompt order and trigger words are crucial.
These trigger words can completely reshape an image. This (I think) happens because the dataset contains an overwhelming number of images with that concept.
For example, using words like crystal or ice can turn everything into a cold, blue, sparkly mess — even if you just wanted a crystal skirt.
The trick is to use that power to your advantage.
You’ll eventually develop a sense for which words are affecting what parts of the illustration. It just takes practice — and once you get it, it clicks.
Here’s a list I’ll keep updating over time (behavior depends on the model you’re using):
acid – vibrant colors, chaotic patterns, psychedelic, glitch
radioactive – green glow, particles, sense of danger, mutated textures
holographic – translucent, shiny, light patterns, neon colors
neon – bright colors, cyberpunk or retrofuturistic style
glitch – visual errors, pixelation, digital distortion, fragmentation
ethereal – translucent, luminous, ghostly, incorporeal
spectral – like ethereal, but more ghostly or spiritual
luminous – emits light, soft glow
glowing – similar to luminous, but more localized or intense
shimmering – subtle shine, iridescent
iridescent – color shifts depending on light angle
chromatic – intense or full-spectrum colors
prismatic – rainbow-like light dispersion, faceted look
crystalline – crystal texture, faceted, sparkly
metallic – metal-like appearance: gold, silver, chrome, etc.
molten – melted material, lava, liquid metal
liquid – fluid appearance, even in solids
gaseous – gas, vapor, mist
smoky – smoke, dark or mysterious visual
fiery – fire, flames, embers
icy / frozen – frozen look and blue tones
vintage – old-school aesthetic, sepia, faded
retro – aesthetics from past decades
ancient – very old, eroded
decaying / rotting / withered / shriveled – decaying, decomposed look
petrified – turned to stone
calcified – turned to bones or white tones
oxidized / rusted – rusty appearance
charred / scorched – burnt, blackened
pixelated / 8-bit / low_resolution – retro pixelated look
pixel_art – pixel art style
faceted – gem-like facets, geometric surface
glossy / high-shine – shiny and reflective
matte – no shine
translucent / semi-transparent – lets light through, but not clear
transparent – fully see-through
textured – with texture
patterned – patterned
bioluminescent – emits biological light, like deep-sea creatures
CANVAS SIZE
Just a quick reminder: if your prompt seems to be “failing,” it might not be the prompt.
Try running the same idea at different resolutions — you might be pleasantly surprised.
it is recommended to use trained values listed below:
- 1024 x 1024
- 1152 x 896
- 896 x 1152
- 1216 x 832
- 832 x 1216
- 1344 x 768
- 768 x 1344
- 1536 x 640
- 640 x 1536
How to Use the Conceptor Model
I tested this model for over 3 months. It might be outdated or not the best, but for me, it’s been an endless source of creativity.
Just when I thought I couldn’t be surprised anymore, it kept showing me incredible things.
It’s not all sunshine and rainbows — this model won’t give you perfect faces, super sharp details, or flawless hands.
That’s not the point.
But once you understand that, and if you’ve made it this far: thank you for reading an article from some random person on the internet.
This guide is meant to be an intermediate bridge between illustrators and AI artists.
If it helps anyone, I’m happy.
I hope to keep experimenting and exploring new paths. And if you want to share your concepts, experiences, images — whatever — you’re more than welcome.
I divide this model’s use into two parts:
Model Sheet
Illustration
Model Sheet
This part is all about discovery — go in expecting to fail and test a lot. This is where you find out if your prompt is on the right track.
The model responds extremely well to concepts. I haven’t found many other models that can do this so clearly.
I use the model sheet images for inspiration or to develop new characters.
You’ll notice I use the tag “model sheet” instead of “reference sheet” (like on Danbooru). That’s because “reference sheet” tends to force the model to output a bunch of small visual elements.
Most of the time, I just wanted something closer to “multiple views” of the concept.
So “model sheet” worked way better for me.
One of the simplest setups I used at the beginning was:
1girl, hair, large breasts, kiwi monster girl, full body, yellow eyes, long hair,

white background, model sheet, lewd, feets,

(748cm:0.7), (rella:0.7), (yoneyama_mai:0.5), (reoen:0.3),

very awa, masterpiece, highres, absurdres, newest, year 2024, year 2023,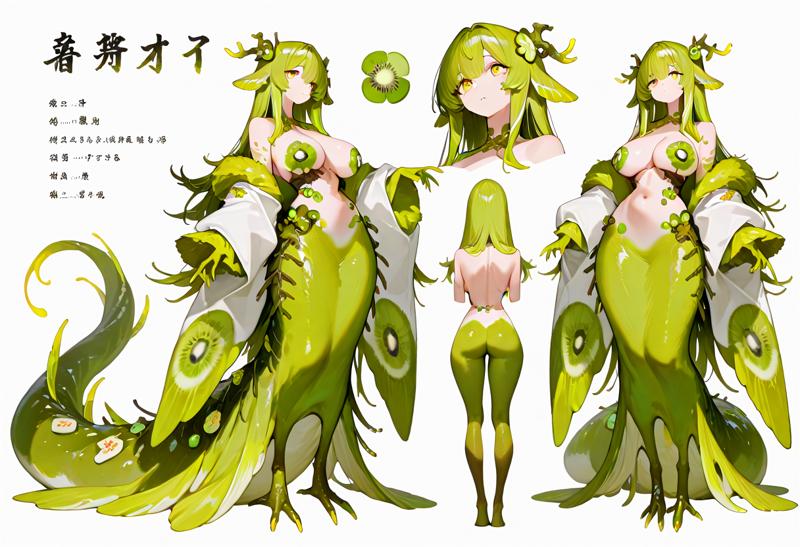
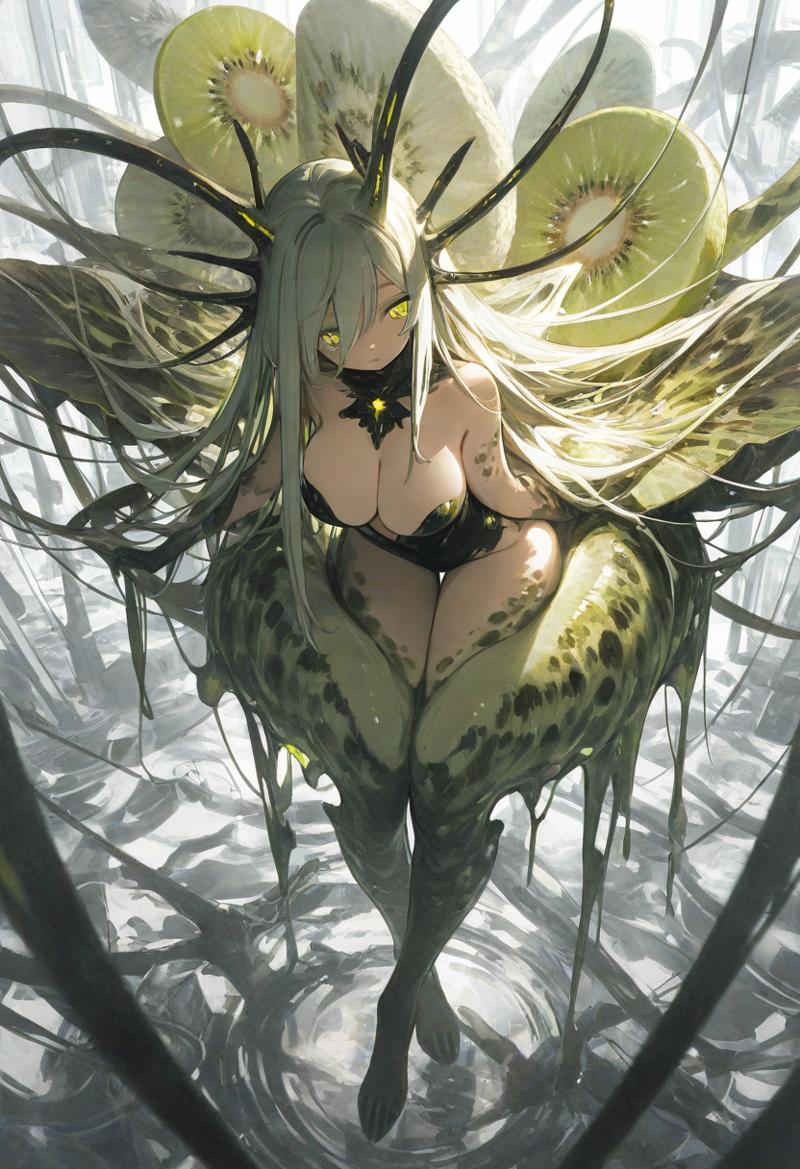
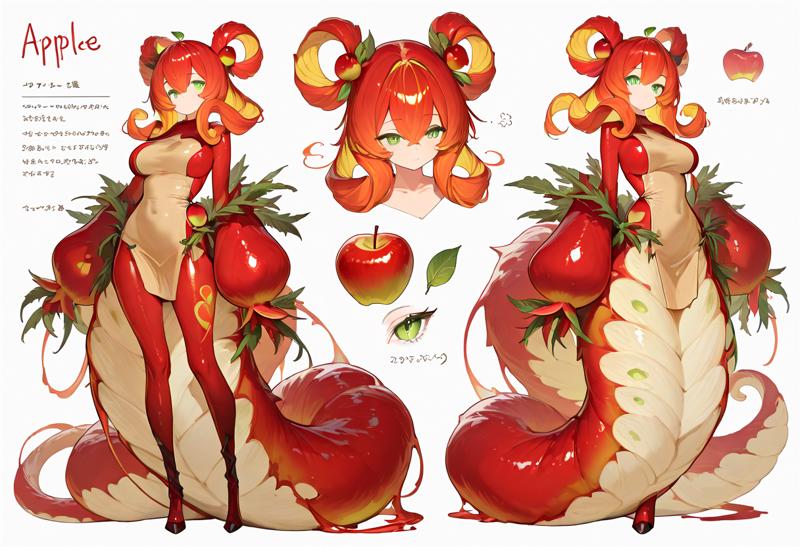
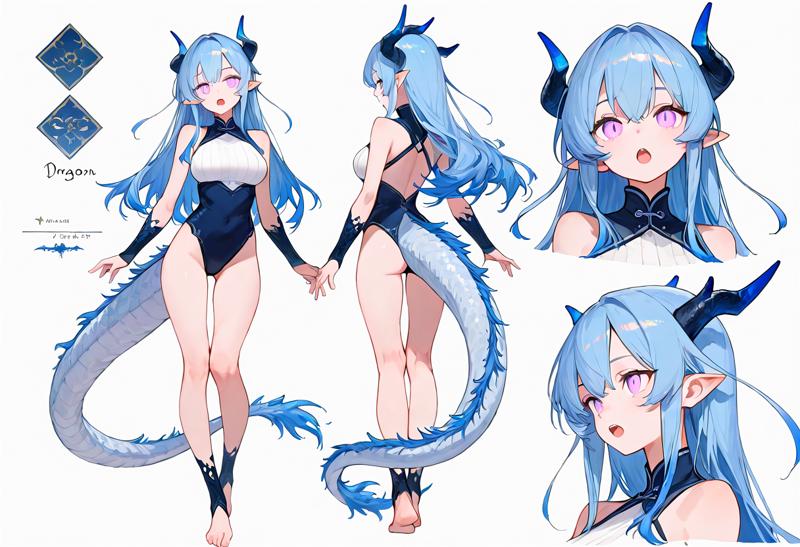
After a lot of trial and error, I refined the process and started playing more freely.
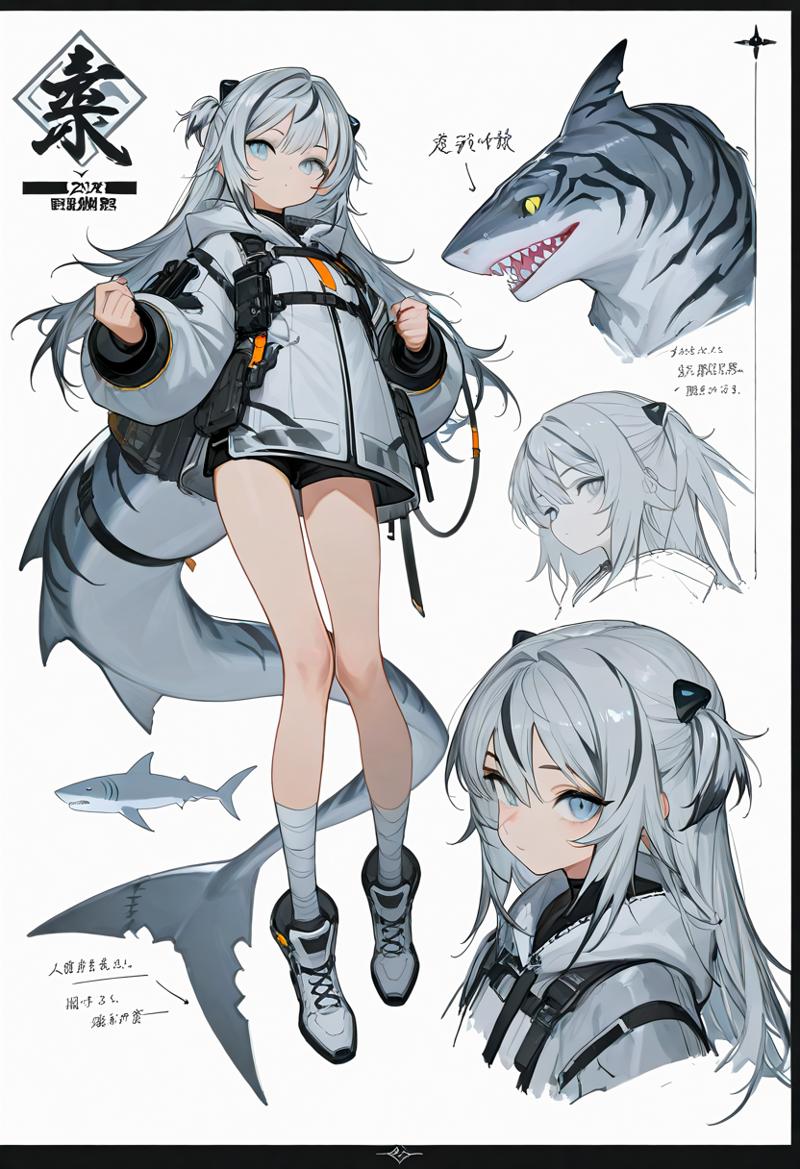
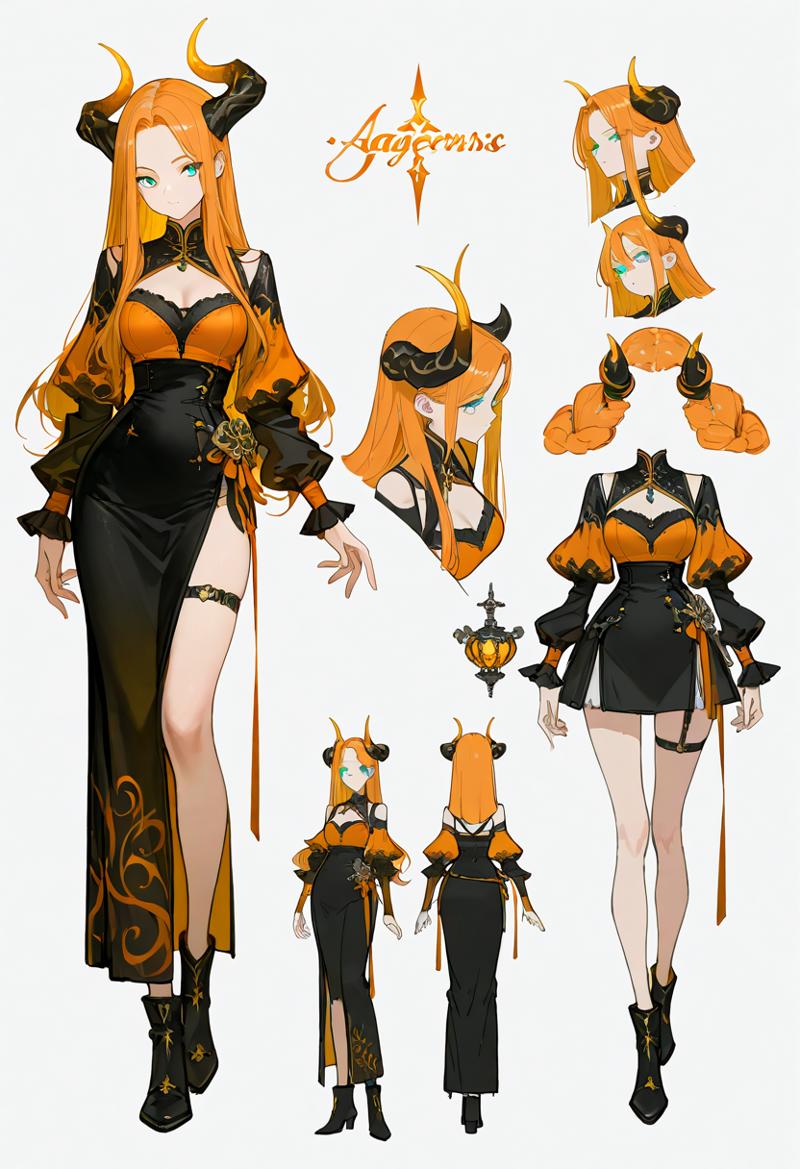
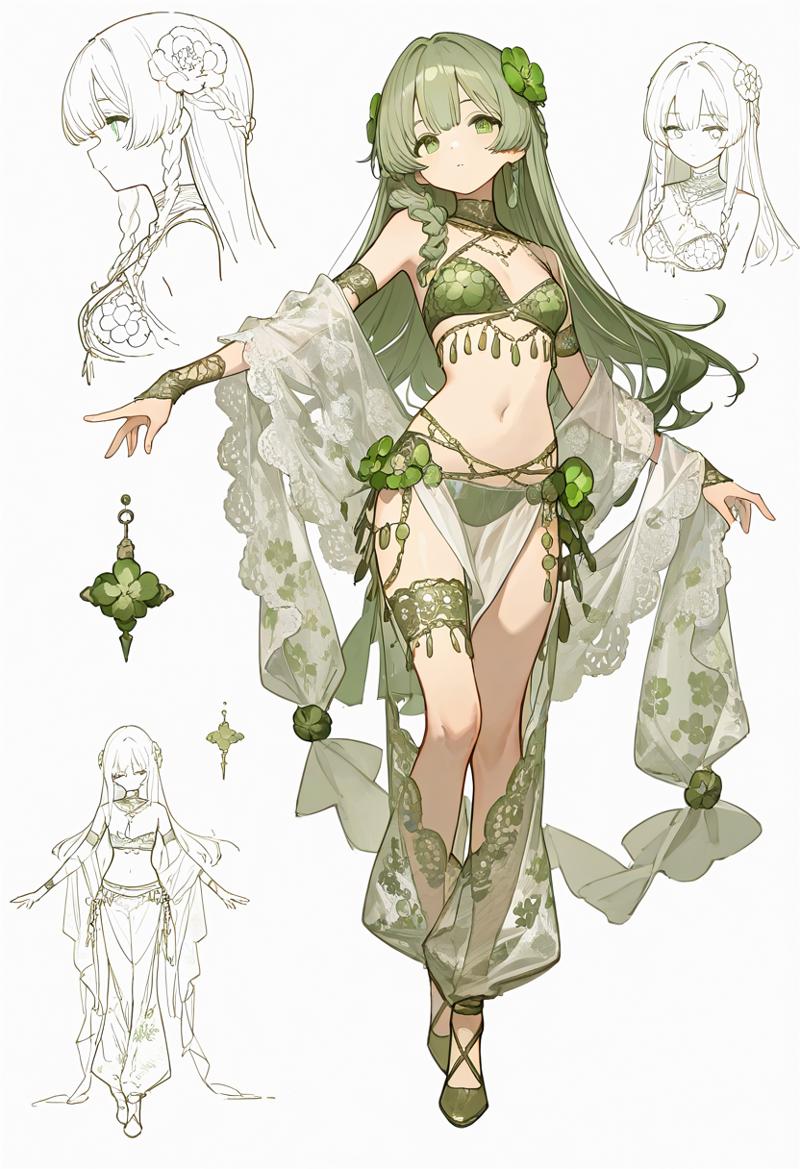
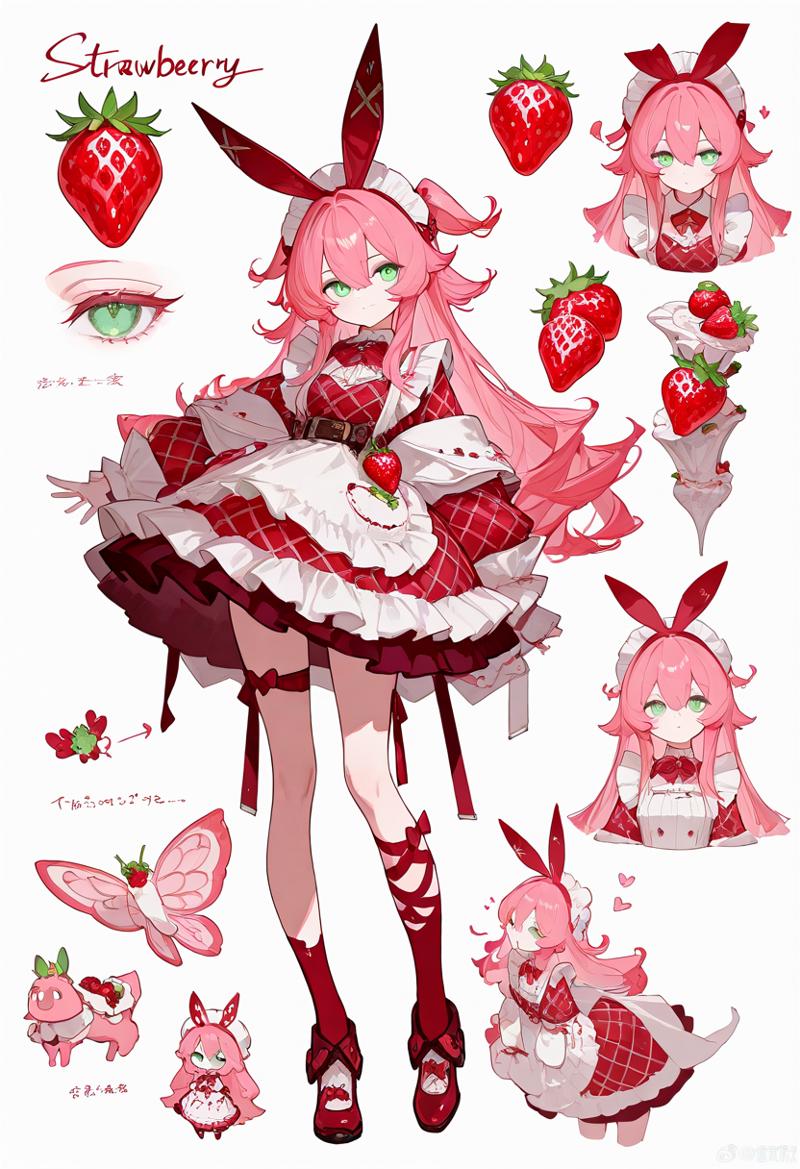
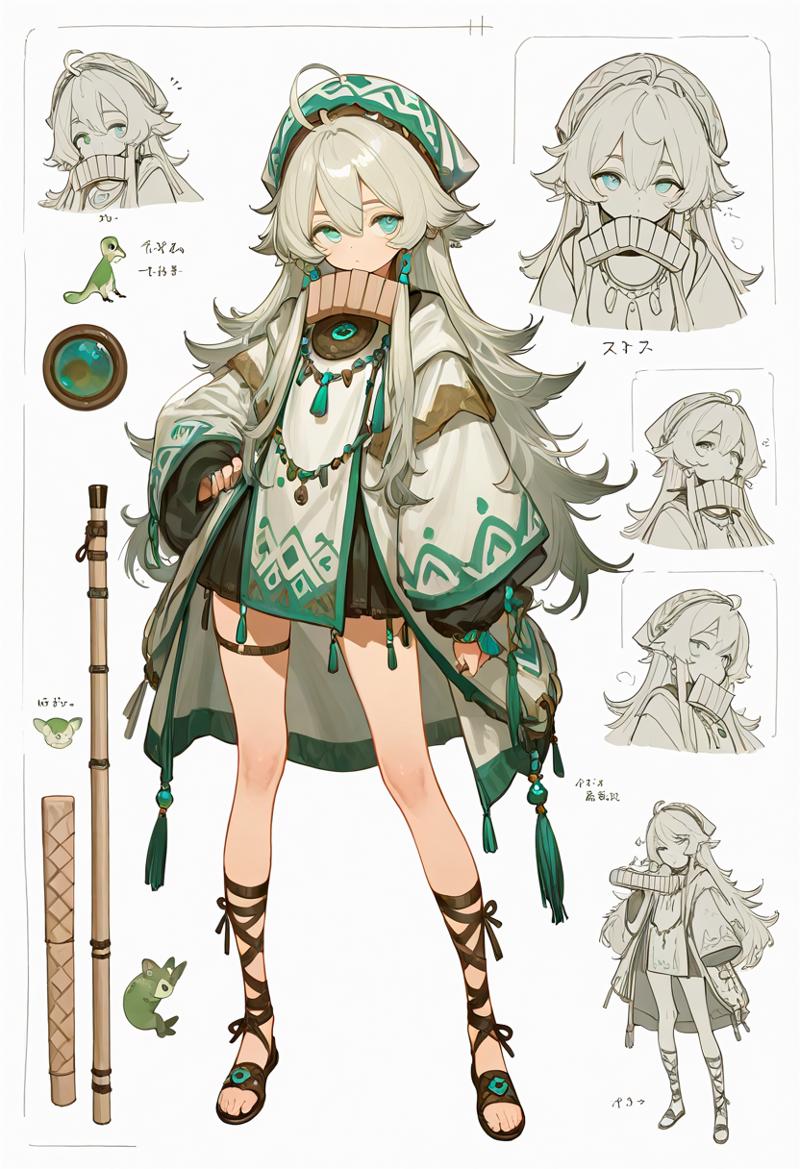
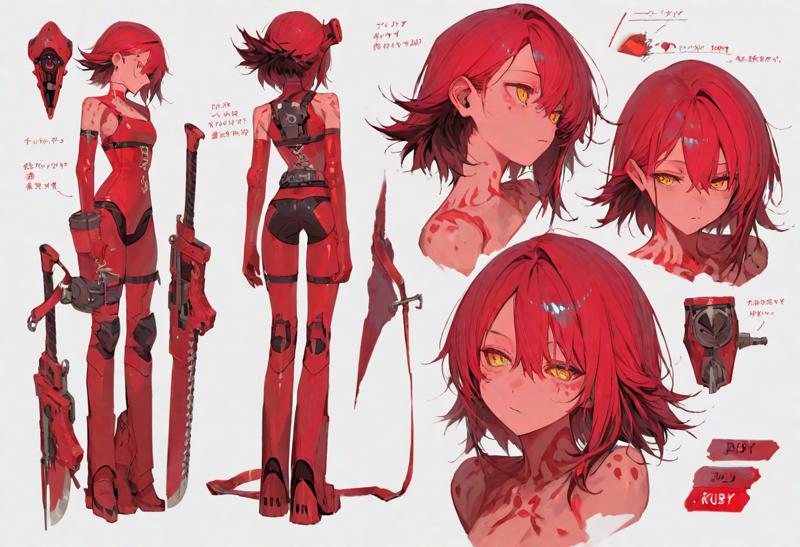
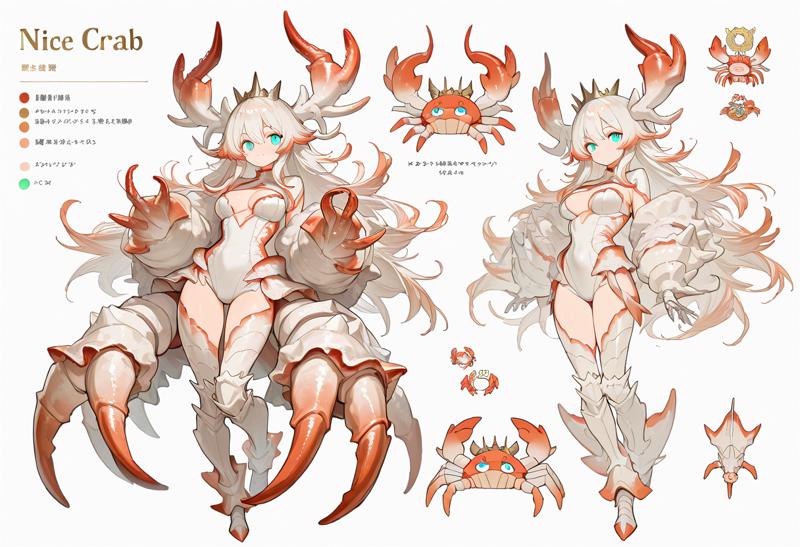
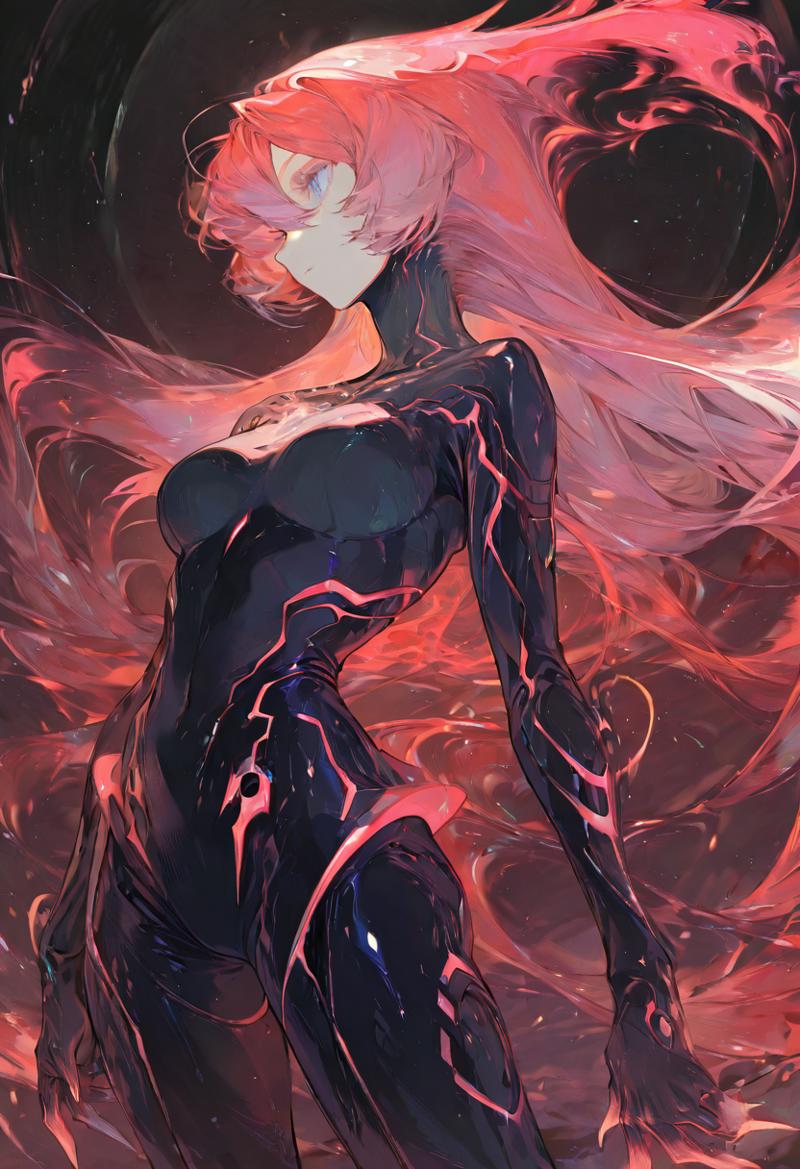
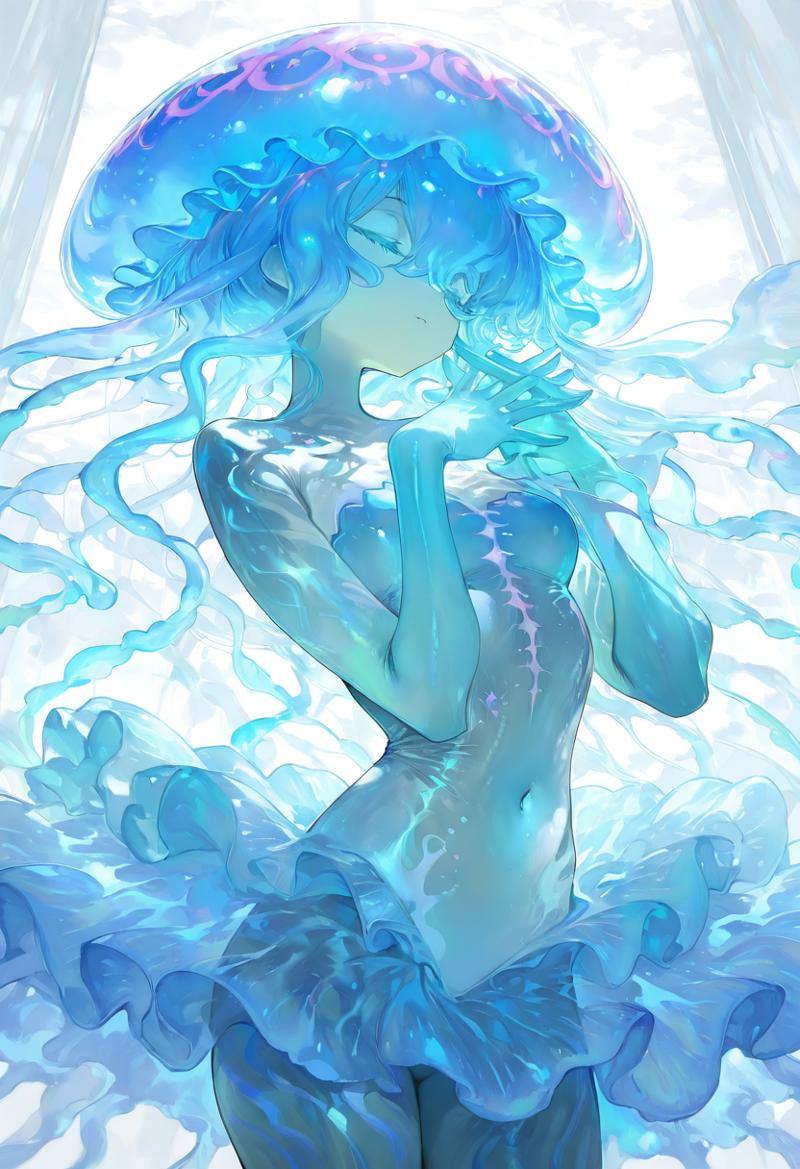
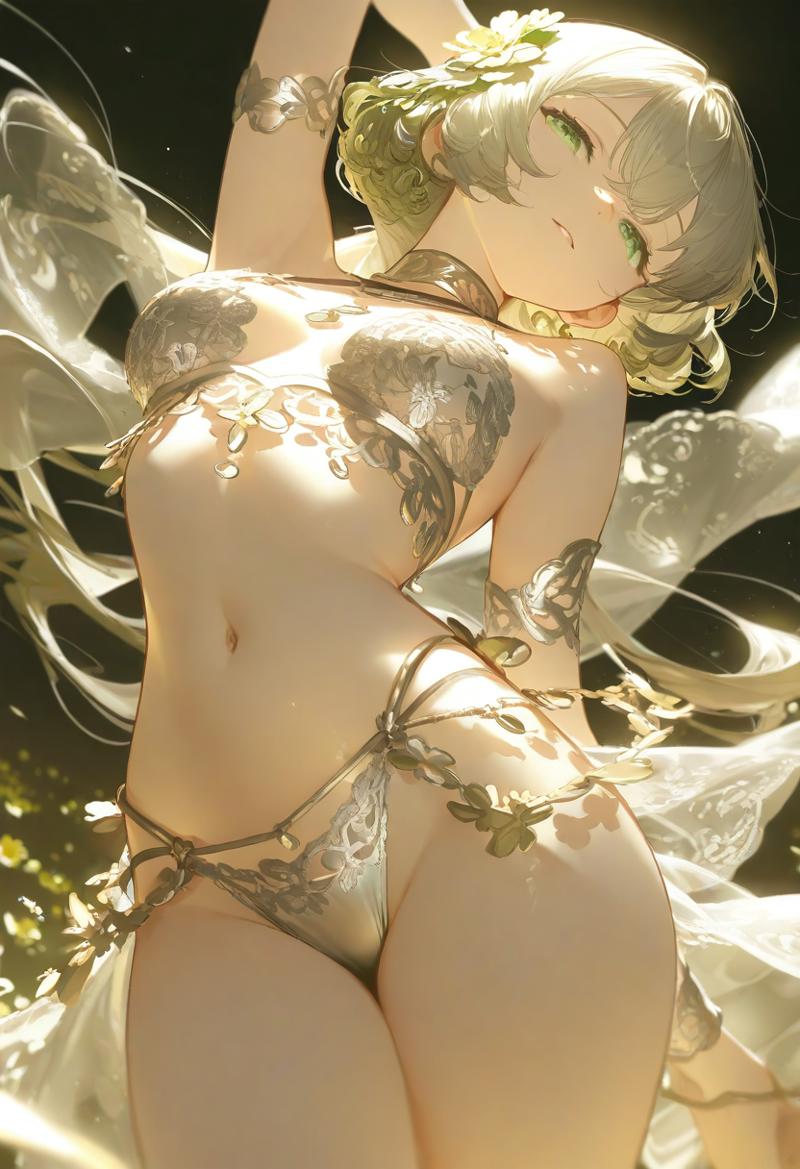
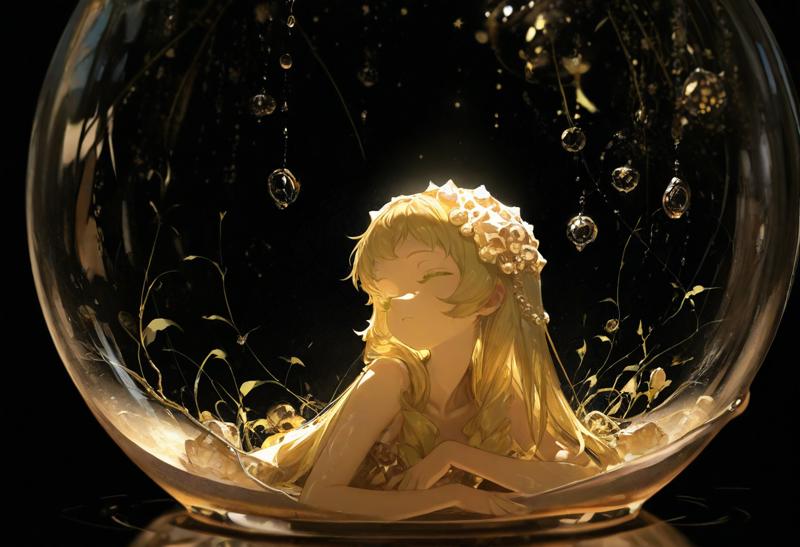
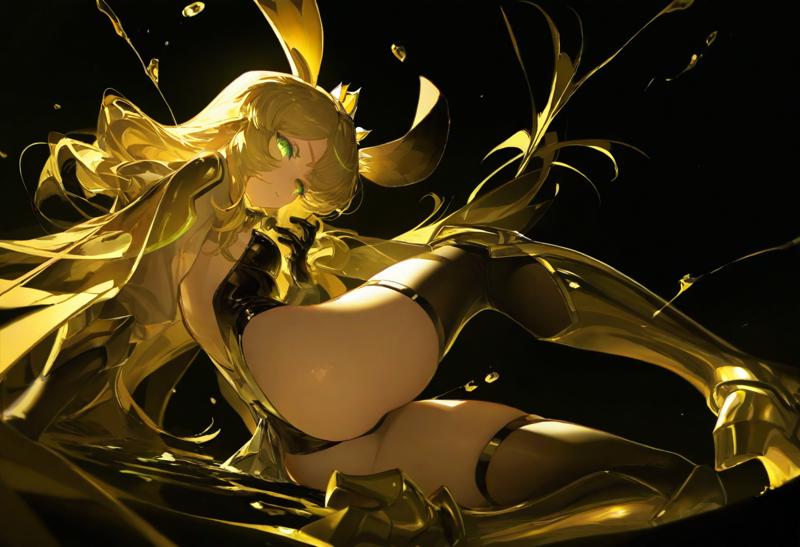
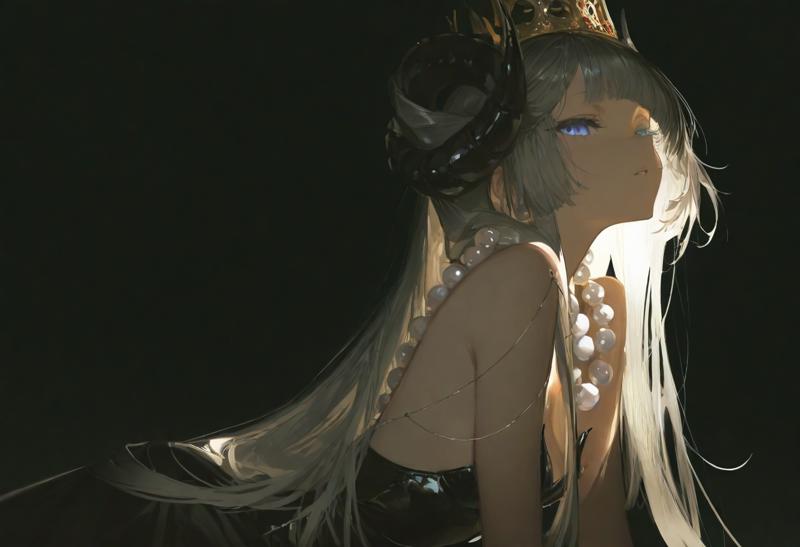
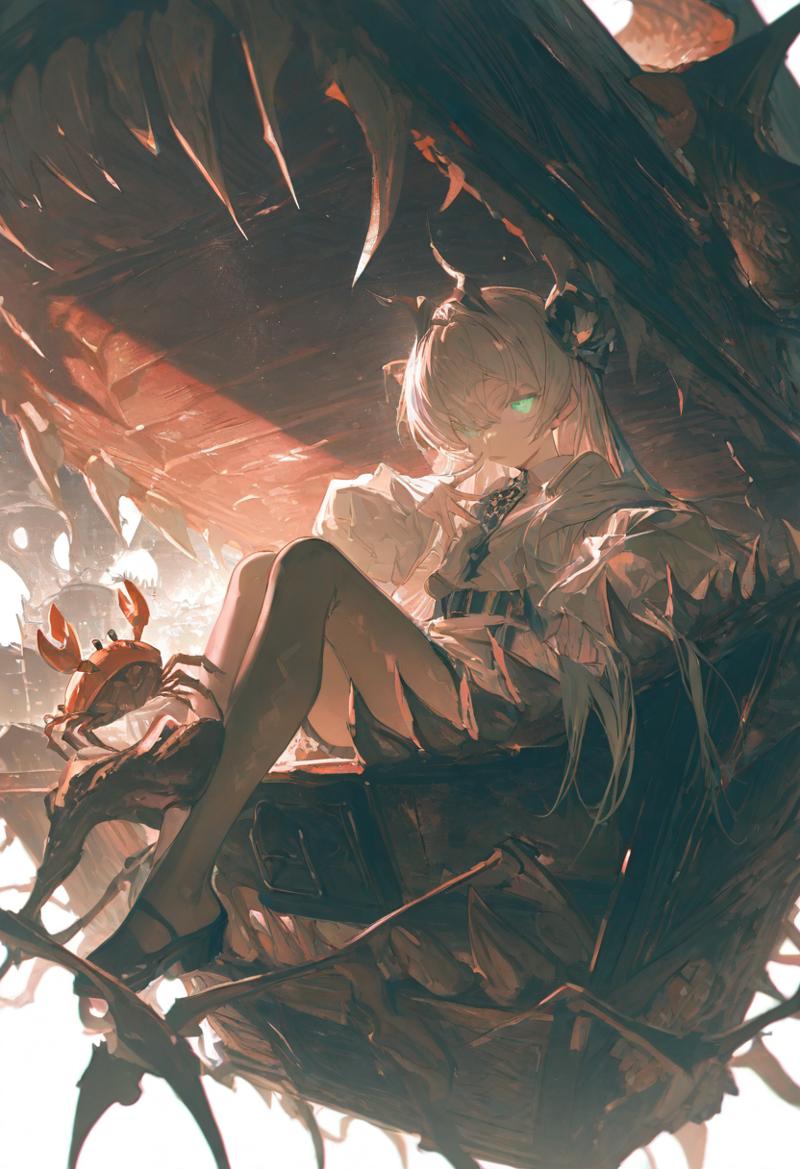
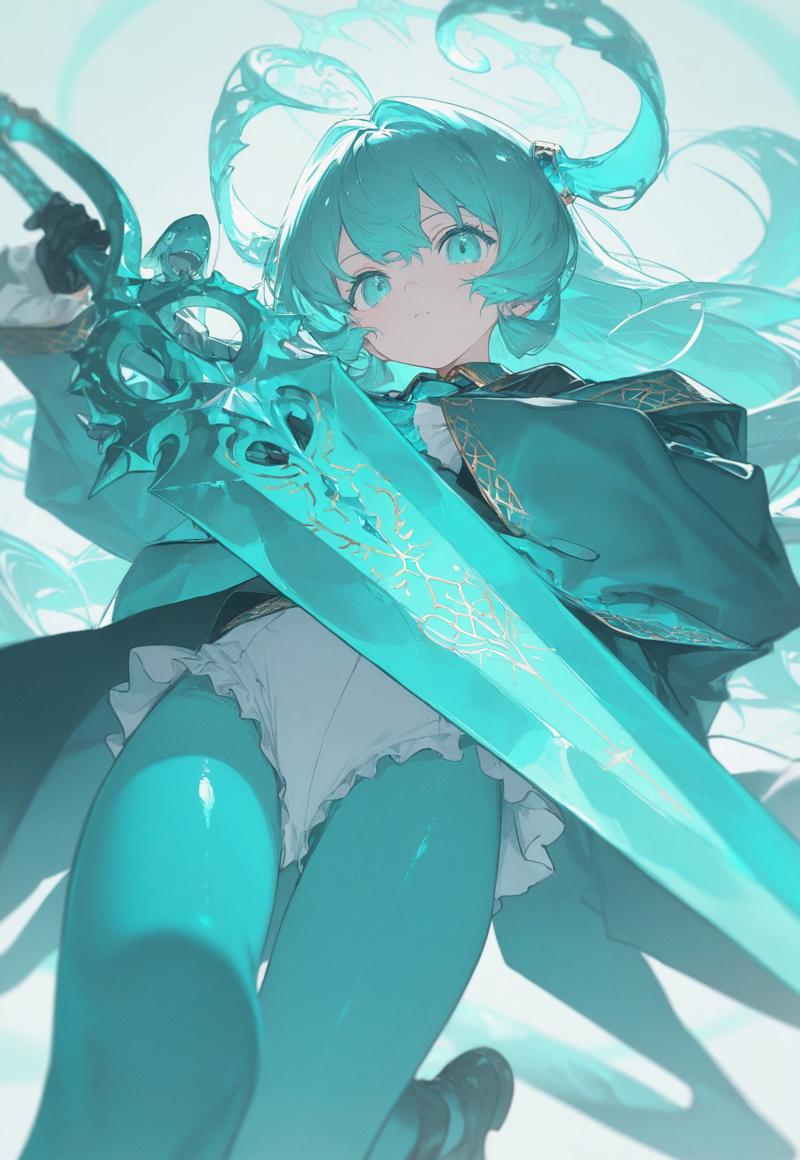
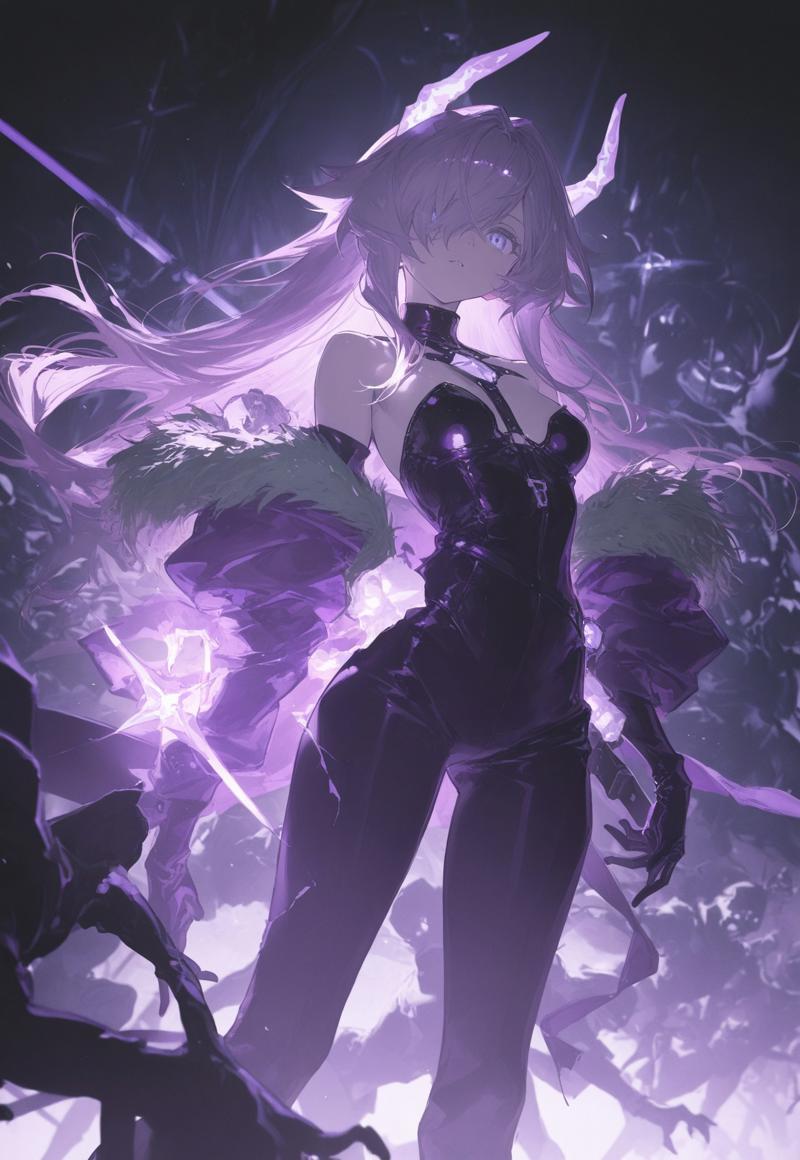
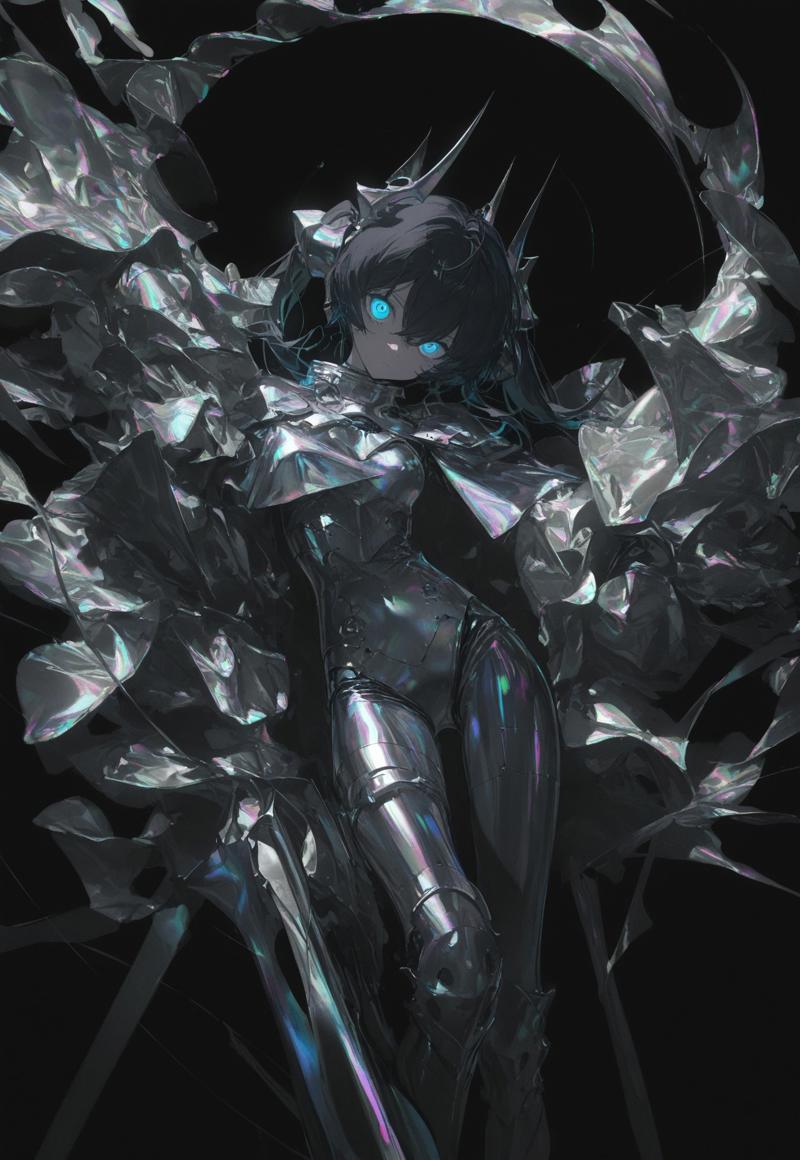
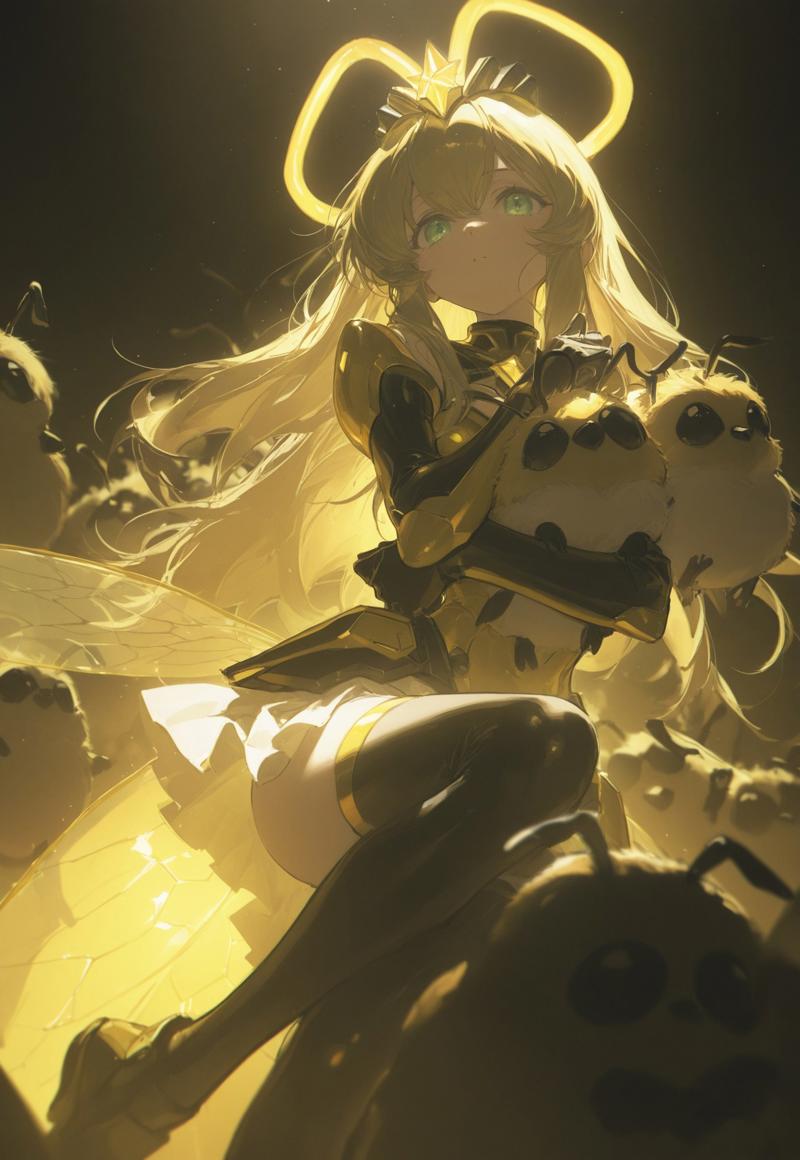
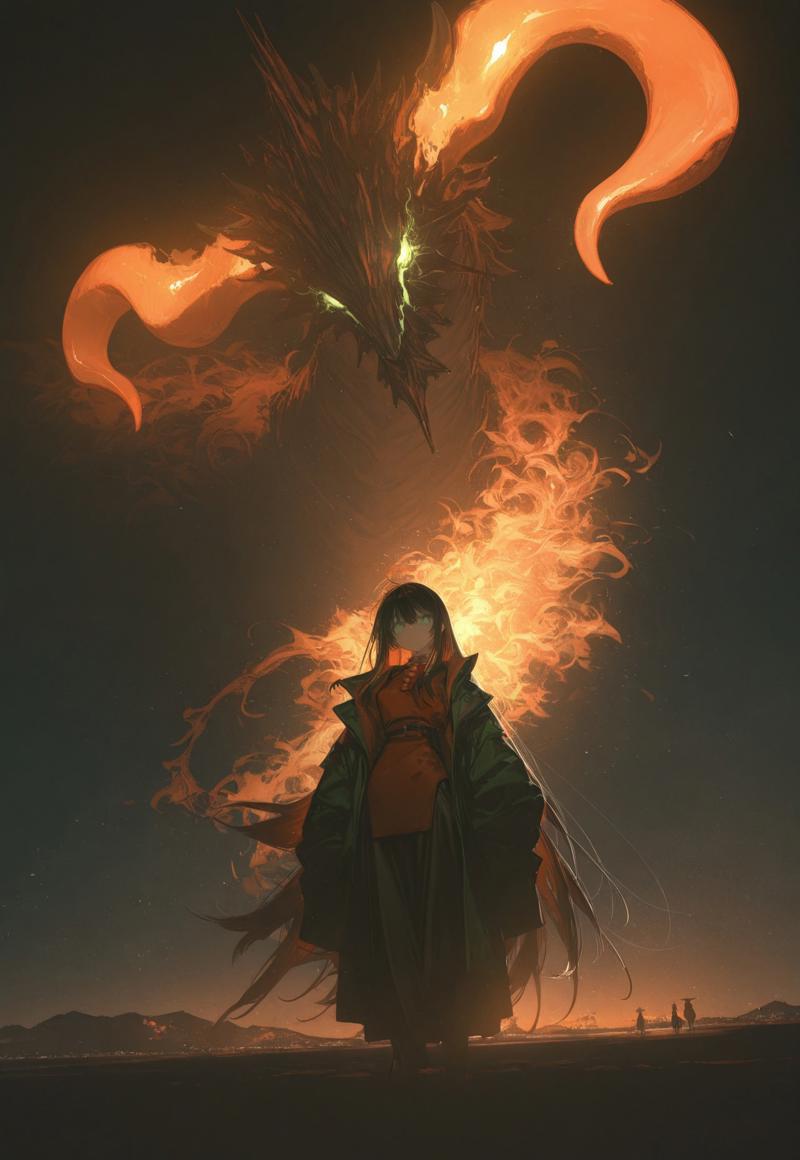
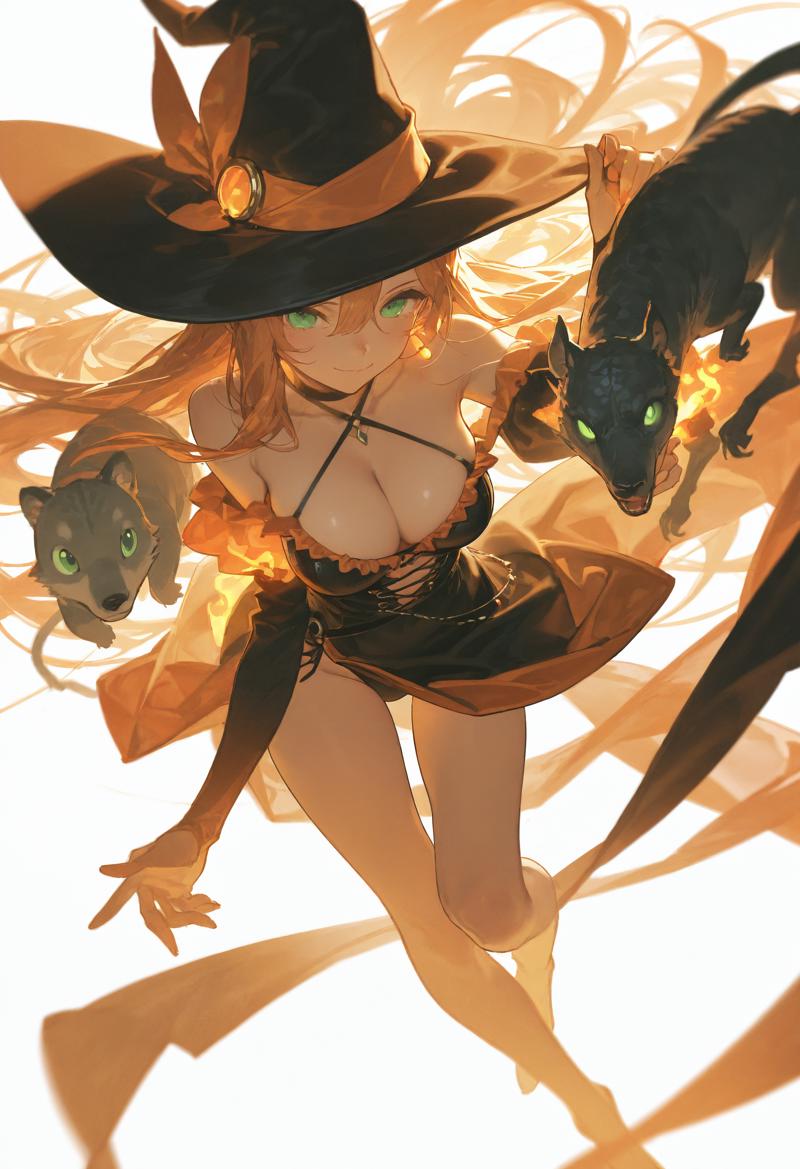
(some of these images don't have the metadata because they were upscaled in civitai, but I will upload the ones without upscale in the model!)
Illustration
For illustration prompts, you basically remove the middle chunk of the prompt that includes stuff like:
white background, model sheet, multiple views, dynamic_poses, etc.
You can keep “dynamic_pose” if you want something more fluid or active, but that’s totally up to you.
The quality part of my prompt changed over time.
As I mentioned earlier, I realized that using “maximum quality” tags (the ones everyone uses) isn’t always necessary.
You can use them if you want, but I got some of my best results just sticking with more basic tags:
"masterpiece, highres, absurdres, newest, year 2024, year 2023,"
Important note: If you start seeing “2024” or “2023” actually appear in the image, the model is interpreting it literally. In that case, remove those tags for that specific concept.
Negative Prompts
Try generating without any negative prompt first — or just use "worst quality," and you might already get something good.
But if you want more consistency, here’s my go-to set:
"worst quality, bad quality, normal quality, bad anatomy, bad hands, error, watermark, username, censored, red eyes, qipao, chibi, blurry,"
Parameters
Steps: Between 18 and 30 — sweet spot: 24
CFG: I adjust this per concept, but 5.5 is a solid baseline.
Sampler:
For exploration/speed: Euler a
For final illustrations or more detail: DPM++ 2M Karras
I’m definitely leaving a bunch of stuff out, and there’s a lot I’d love to dive into more deeply.
If something didn’t make sense, feel free to ask.
With this, you should be able to generate interesting concepts, turn them into illustrations, seek out creativity or inspiration — or just have a good time.
Probably in the future, I’ll publish articles for posterity on some of the following topics:
how to use AI in illustration virtuously
virtuous and vicious cycles in AI-driven illustration
a hypothesis: AlphaEvolve applied to generative AI
system prompt design for Conceptor
the model will be uploaded in a few days!

