


Hello everyone this will be my first article about training a anime character pack lora and testing the lora in Stable Diffusion A1111. I will be using the anime Ishura for the example, so if you haven't seen the anime or plan to see it I will be keeping any spoilers to a minimum.
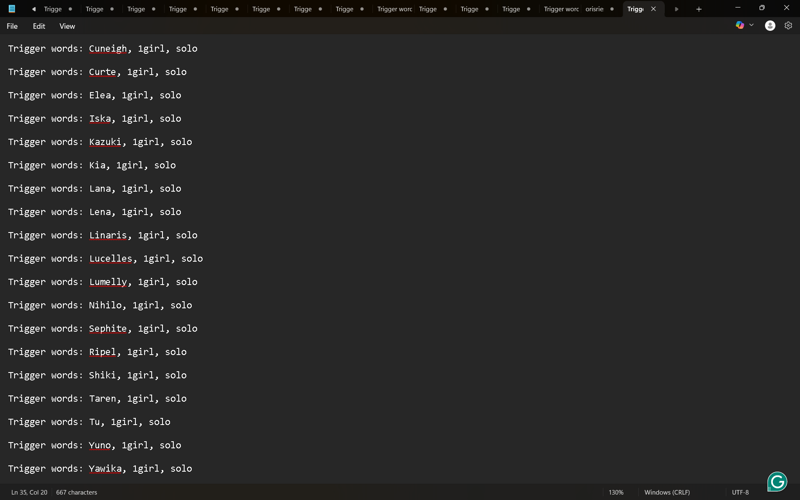
Once you come up with the characters from whichever anime series you chose you should make a new notepad or a word document then save it to a folder to keep track of all your characters in the anime as seen in the example below.
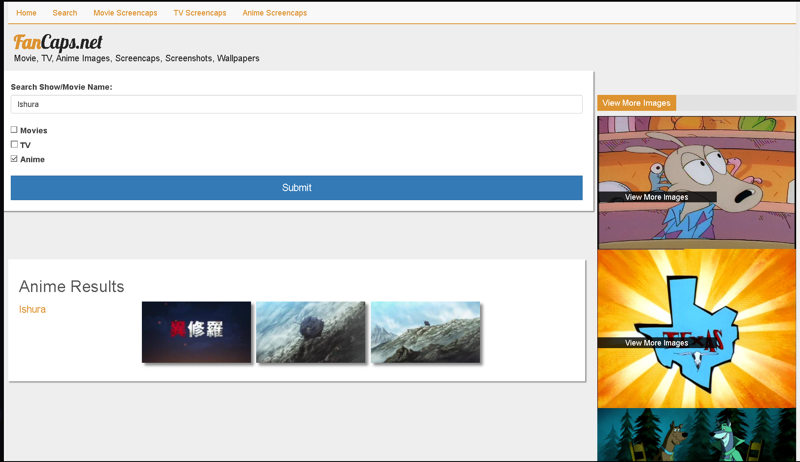
To get my images for the anime I use FanCaps.net and use the search bar to find the anime I'm gathering images for as in the example below.
When gathering images for the characters I make sure that the character takes up a majority of the screen, that there is no overly used effects or blurriness, and I cut out as many background people as I can here are a few examples below. (These images are from the beginning of the first episode)

Once you gather all your training images and organize them in a folder you should go to Birme.net and drop all your training images onto the page.
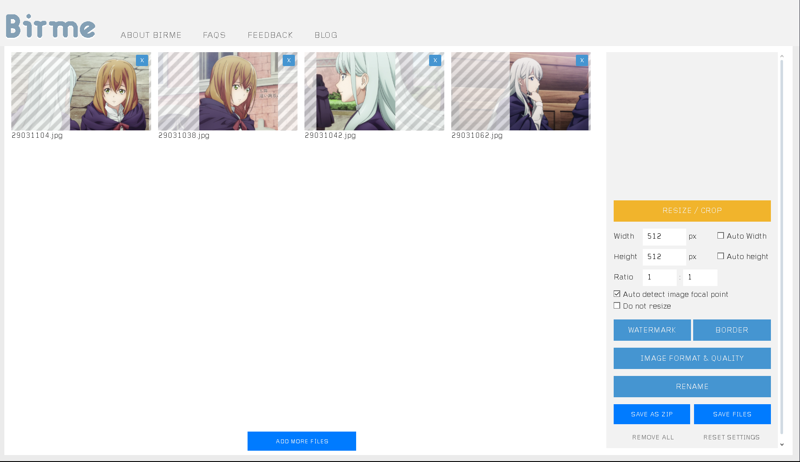
From here you can choose which resolution you want to cut your images down to each size is 512x512, 768x768, or 1024x1024 these are the resolutions you should stick with when training.
When you change the width and height on the right to your preferred resolution all the images should have lines that show you the cropped area of the image that will be taken away, and the clear side that shows the new image after being cropped. Here you should go through all your images and make sure the clear part of the crop is on your character or characters.
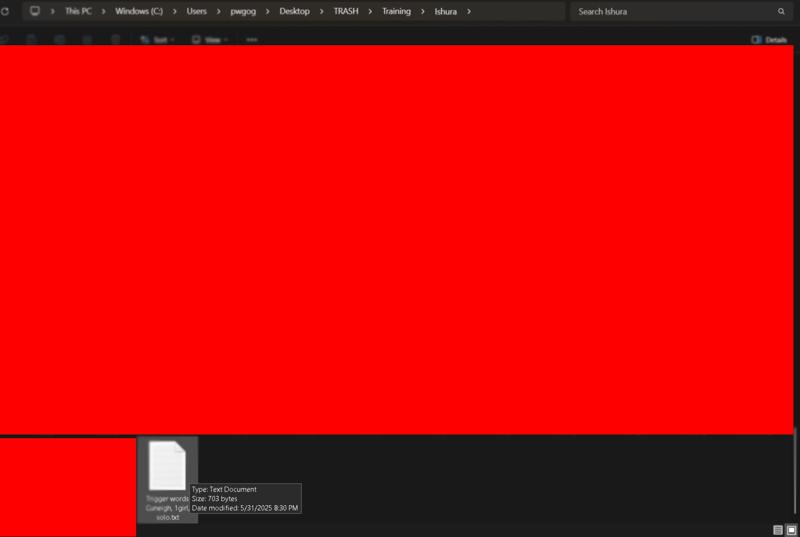
Once you finish cropping all your images to finalize your crops click on the save as zip button, and this will save a zip folder that will contain your new folder with all your cropped images as seen in the example below.
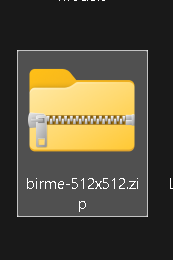
When you get your compressed zip file put it in your training folder then unzip the file to get your images out and upload them to Civitai.com to start tagging your images as seen below in the example.
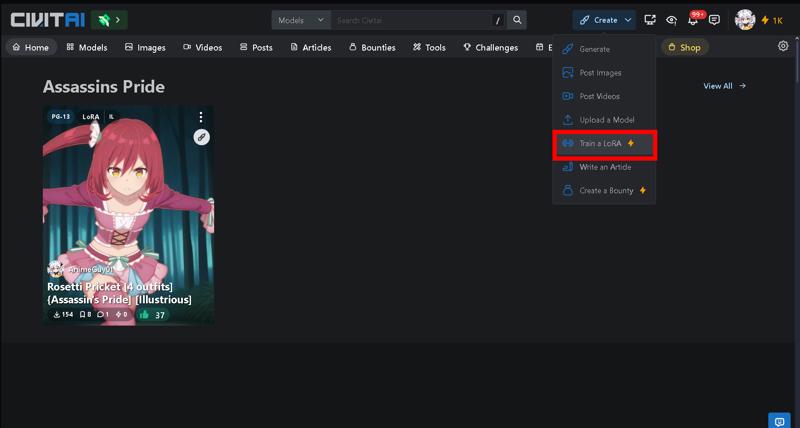
Once you enter the site click on train a lora
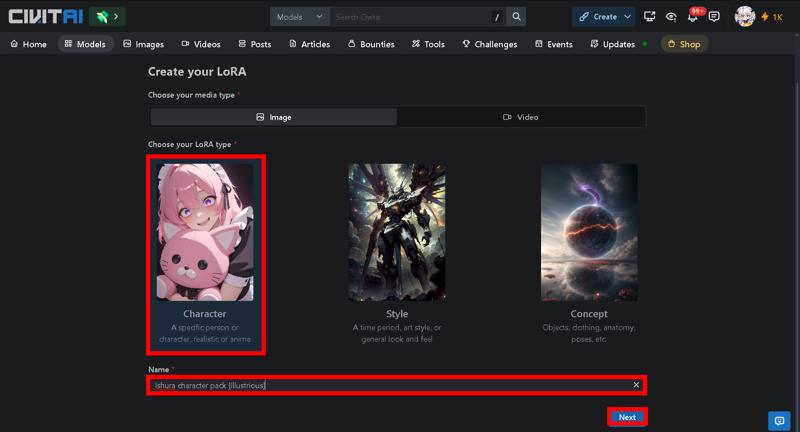
Next you want to click on character then put a name for your lora then hit next
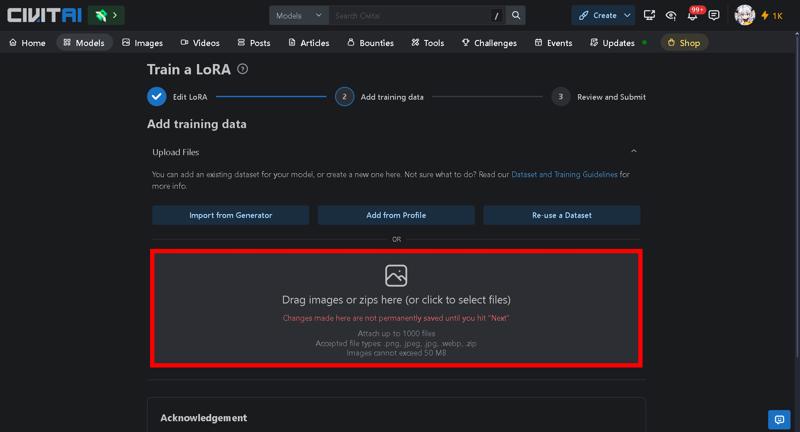
Drag your zip file to upload your images or just your images
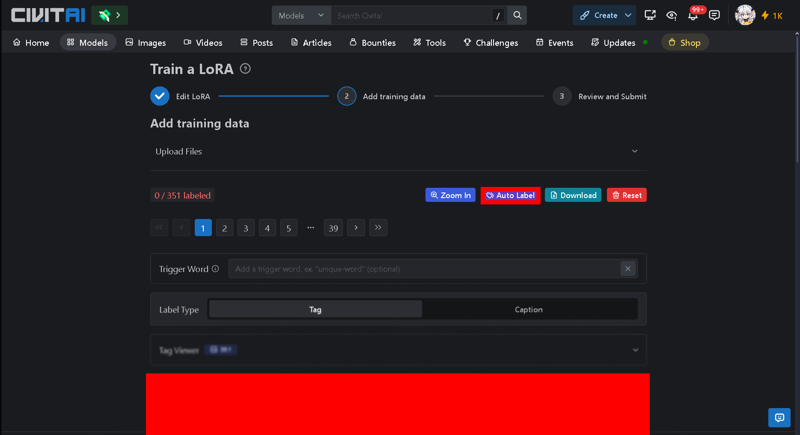
Click on auto label to bring up the options
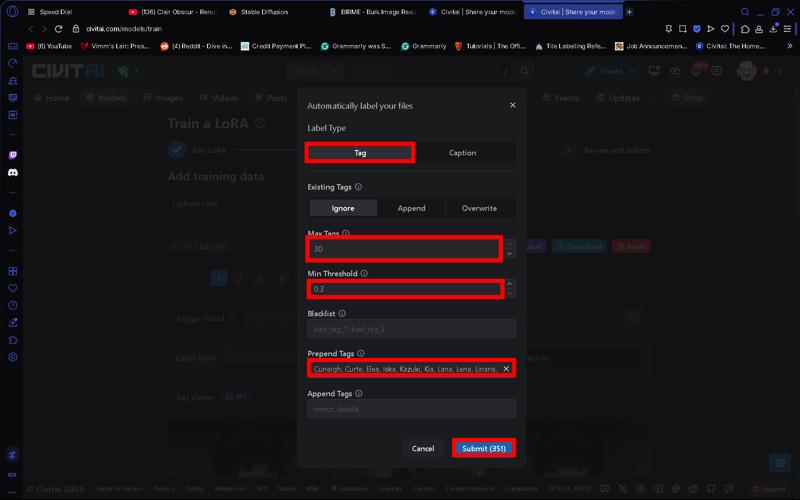
I like to increase the amount of tags to 30 and lower the threshold to 0.3, and to make things easier I like to put all character names in prepend tags which means that all the images will start with these tags and get priority when training it's also easier than adding each character name one by one as the image comes up.
Append tags will add the tags to the end instead of the beginning and gets less priority when training.
Blacklist will take the tags in the list and not add them to any images.
Once your done hit submit to add your tags.
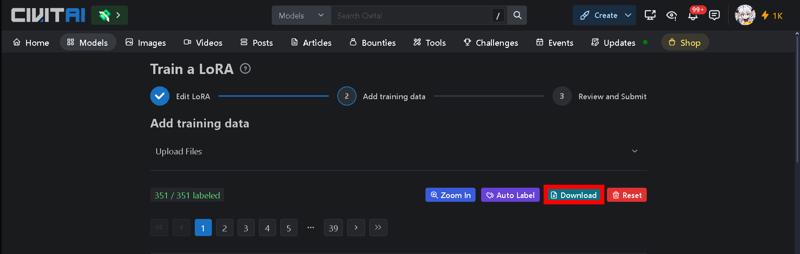
Now once your done adding the tags you have to go through each image and make sure the tags and character names are right so the lora can train everything the right way.
If you need a break from looking through your tags there is a download button at the top where it will give you a zip file of all your images with the tags, so you can easily get back by dragging that zip file on Civitai
Next go through your tags and make sure each tag is right because even the auto tagger makes mistakes for example their is a thigh pouch in the image that's not tagged, and also make sure each character has the proper names attached, then open your notepad or word document to put the outfit tags under the right character.
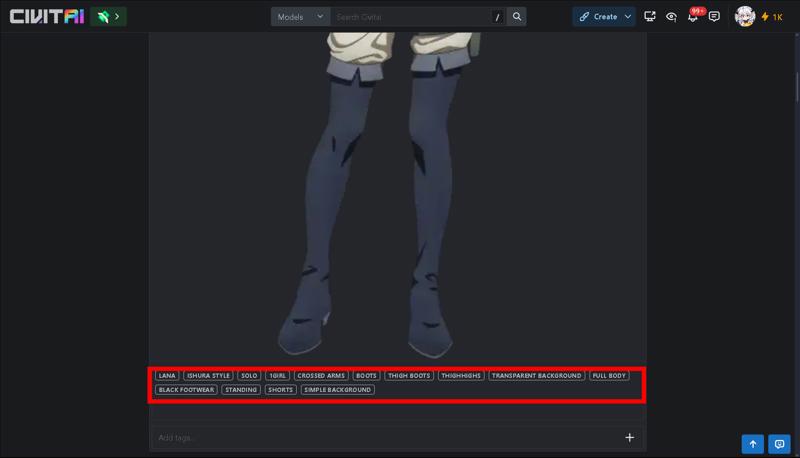
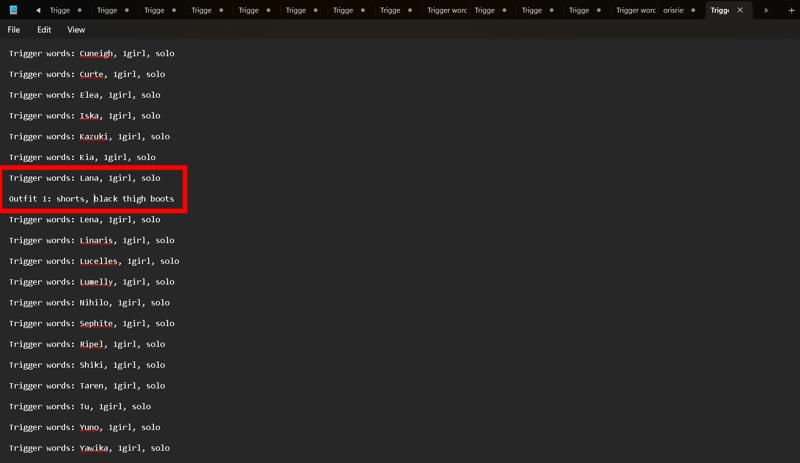
You probably noticed the image above is just the bottom half of the character, and it is fine from my experience to show the training the bottom half of a character to correctly generate the whole outfit just don't put too many in the training images.
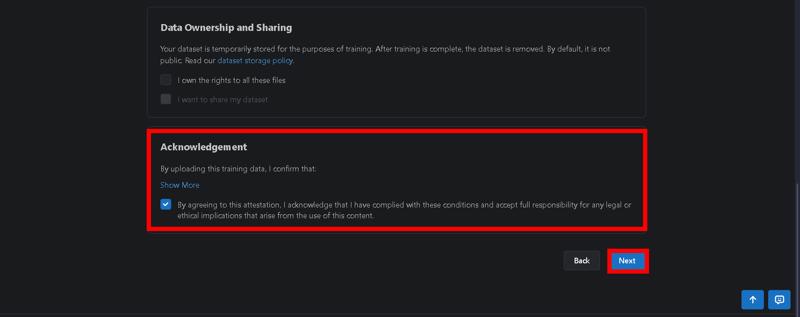
Once you're done tagging your images hit the download button to keep a backup on your computer of all the tags with the pictures, then hit the next button after agreeing.
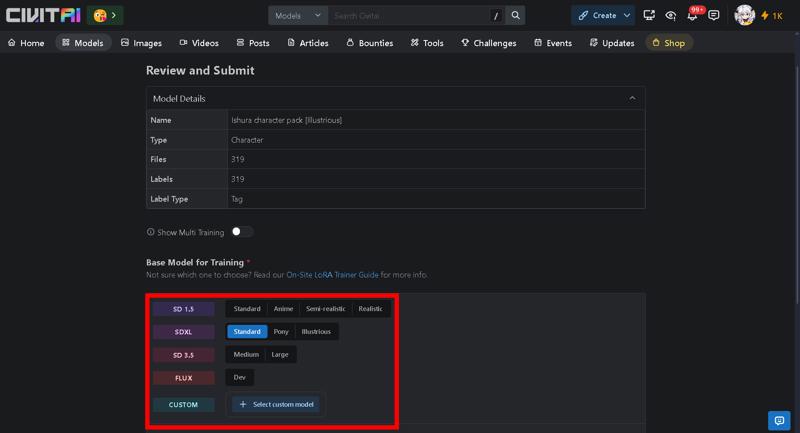
Now you're going to choose what model to train on, but since I'm doing Illustrious I'll choose that, and after that you're going to choose some training settings.
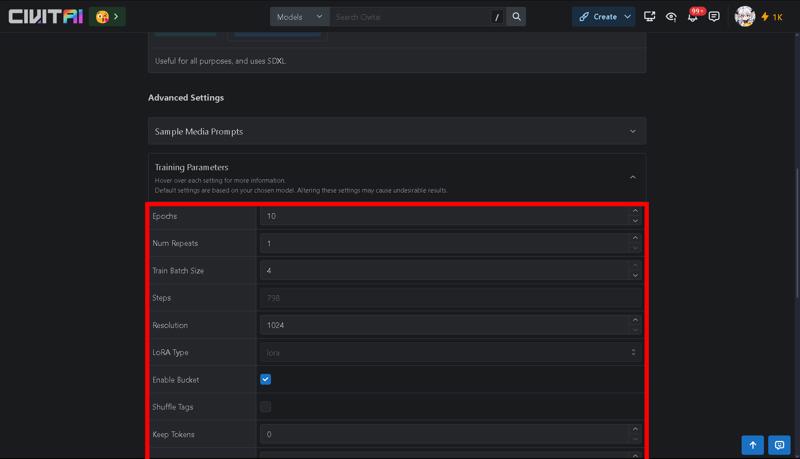
When I make a character pack model I try to aim for 4000 - 6000 steps, with 6 or 7 epochs and I mostly figured out what I know through trial and error. If my dataset has 20 or more characters I will aim for over 5000 steps, but if I have less I will aim for less so I use 5000 like a middle ground. Repeats can change a lot based on how many images you have, and other factors like how complicated the outfits are, so my rule of thumb is to set the always use the same amount of epochs then adjust repeats to aim for the amount of steps I want. One last thing is if you are working on an anime mode scroll sown and change clip skip to 2 as this works better for anime models.
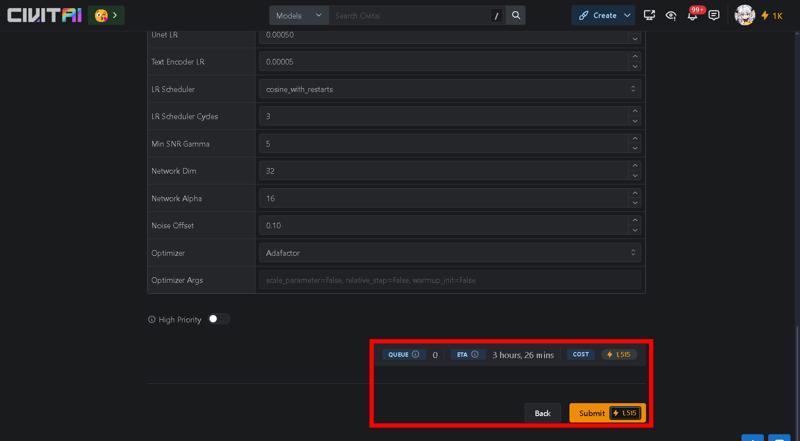
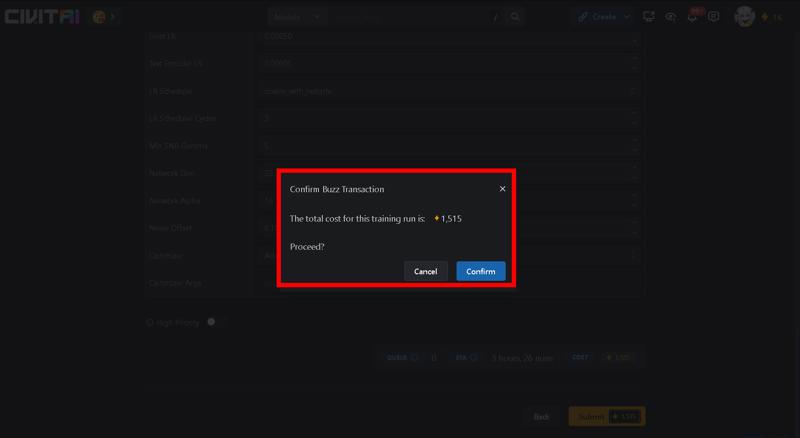
Once you find out the steps you want hit the submit button and wait until the lora is done.

When your training is done click on it and choose which lora you want out of each epoch.
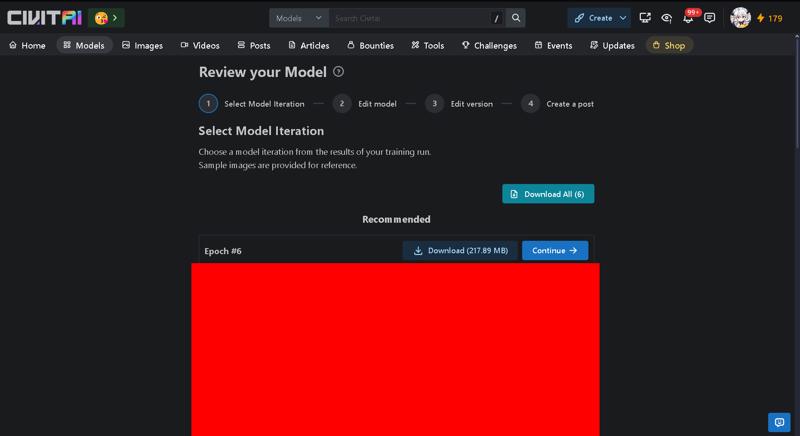
I download epoch 6 and epoch 5 just to see if I overtrained the lora you can also choose other epochs if need be.
Next you want to open where you train your lora, but I will be using Stable diffusion (A1111) to train.
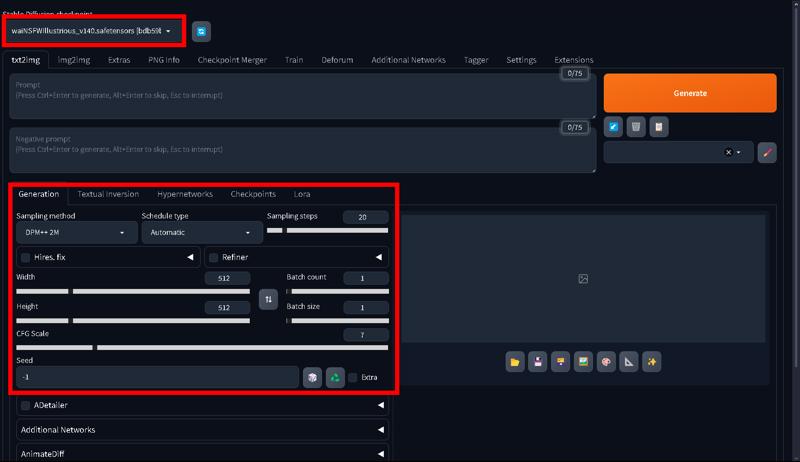
Change the settings to what you want but if you want to use mine here they are.
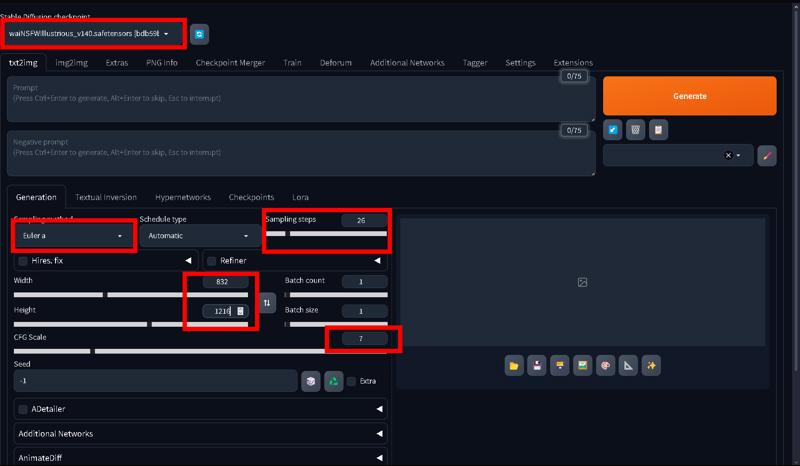
Wai-NSFW is a good checkpoint to use with a illustrious model.
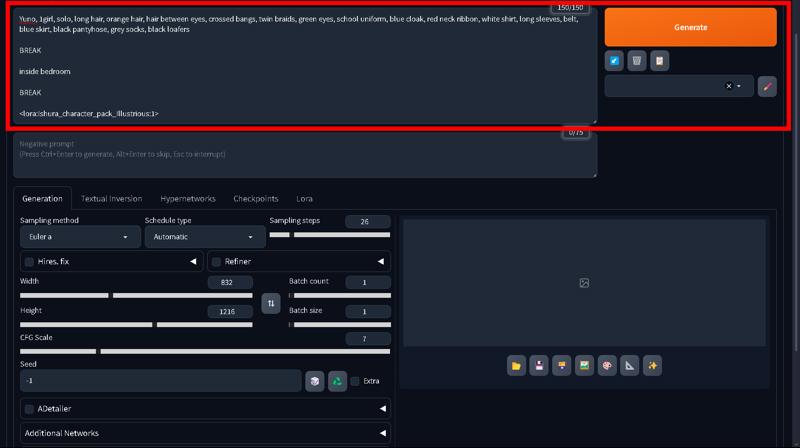
Once that's done open the lora tab to find the lora you made and place it in the prompt with your characters prompt to test out your lora.
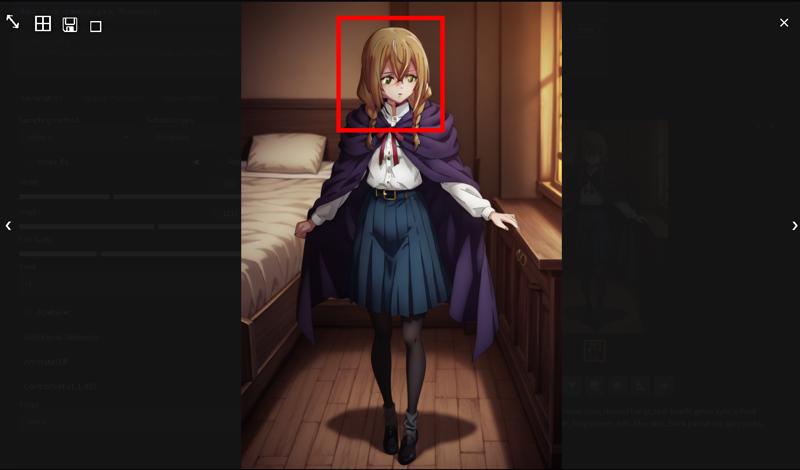
The eyes look a bit messed up on the first generation, so lets change some settings to see if we can get a better result.

I changed the strength of the lora to 0.7, added some loras to add detail and fix eyes, and raised the sampling steps while lowering the cfg now lets see the new result.
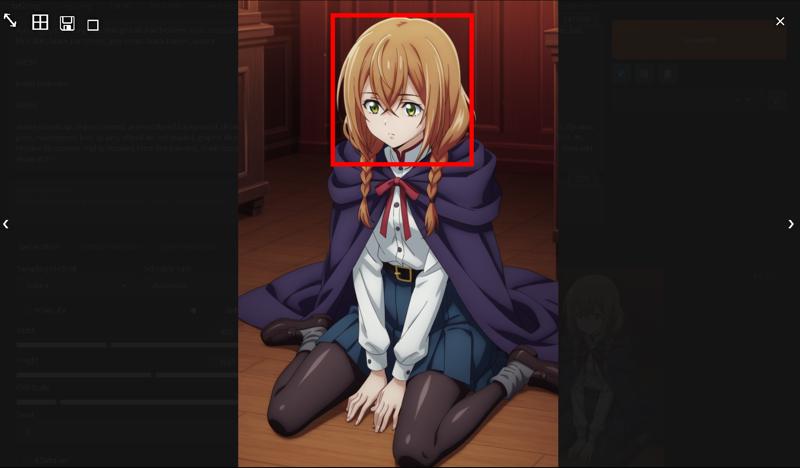
A whole lot better looks good now this worked with my lora, but your lora will probably have different settings so make sure to test the lora thoroughly to make sure it's consistent.
After you should make some generations of your lora, put them in a folder, and upload it to civitai.