

My Links: twitter, discord, IG
Subscribe for FBB images @ https://patreon.com/fitCorderAI
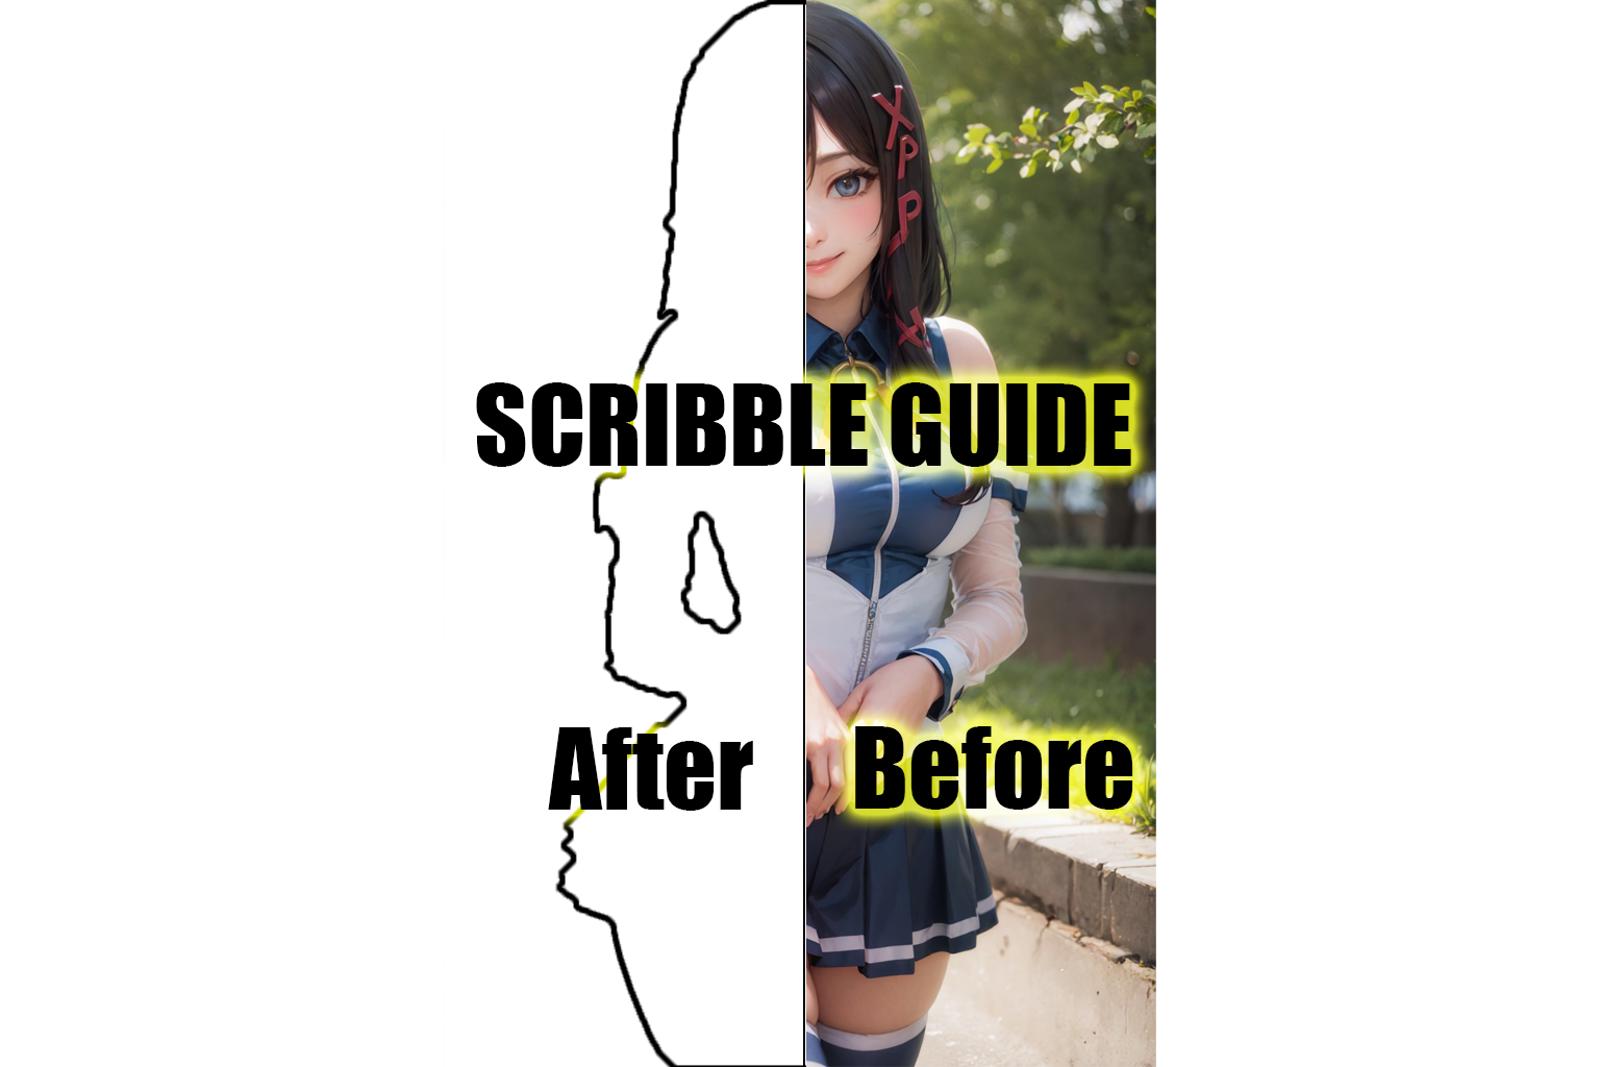
IMG to Scribble to TXT2IMG
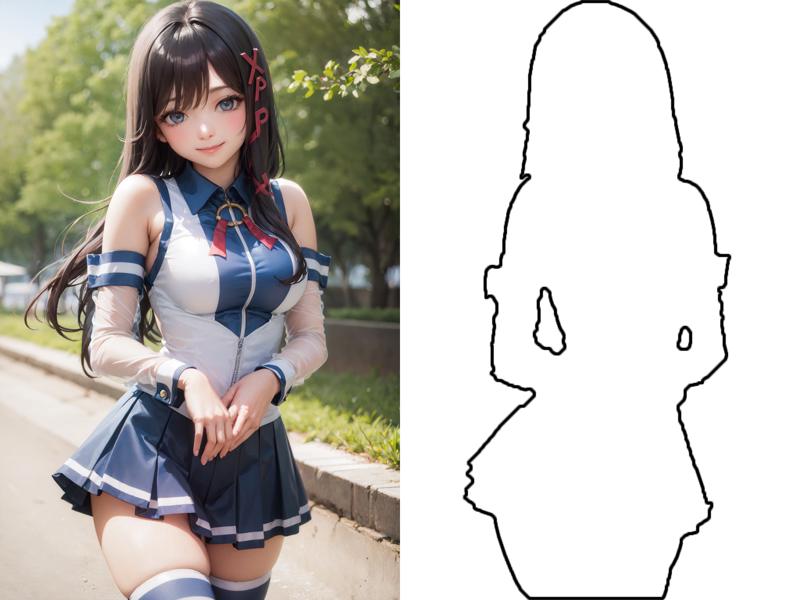
This guide will show you how to create a scribble from an image with photoshop.
This allows you to take this image and generate this scribble.
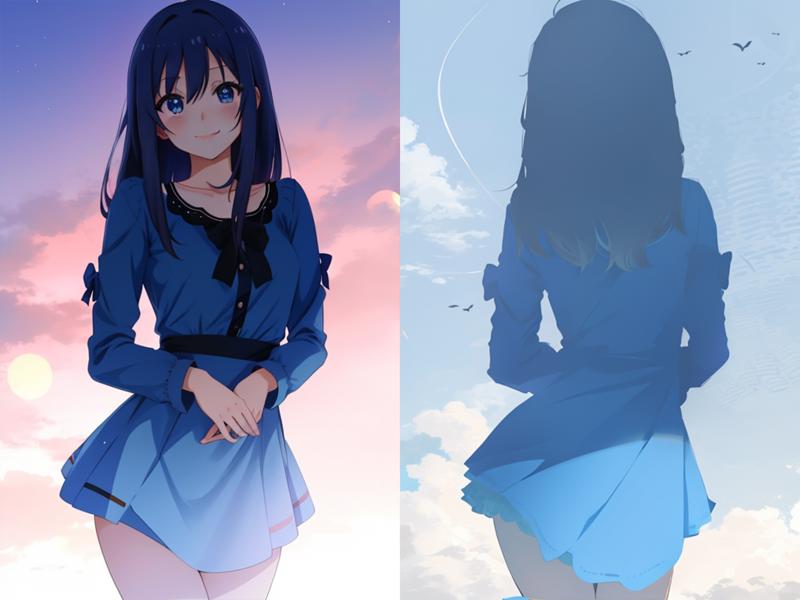
Then you can turn that scribble into images like these two.
You can DM me on twitter @ https://twitter.com/fitCorderAI
You can also reach me on Discord @ fitCorder Releases & Requests
How to Select a Subject in Photoshop
Prerequisites
Before you begin, make sure you have Adobe Photoshop installed on your computer. If you don't have it yet, you can download it from Adobe's official website and use it as a part of the Creative Cloud plan.
Steps to Select a Subject
Open the Image in Photoshop: Launch Adobe Photoshop. Go to
File > Openand choose the image you want to edit.Select the Quick Selection Tool: In the toolbox on the left side of the screen, click on the Quick Selection Tool. If you can't see it, it might be hiding under the Magic Wand Tool. Just click and hold the Magic Wand Tool and you'll see the Quick Selection Tool in the drop-down menu.
Select the Subject: With the Quick Selection Tool selected, go up to the Options bar at the top of the screen and click on the
Select Subjectbutton. Photoshop will analyze the image and automatically select what it believes to be the main subject. You'll see the "marching ants" around the subject indicating that it's been selected.Refine the Selection: If the initial selection isn't perfect, don't worry. You can manually add or subtract from the selection:
Add to the Selection: If Photoshop missed parts of your subject, you can add them to the selection. With the Quick Selection Tool still active, simply click and drag over the area you want to add.
Subtract from the Selection: If Photoshop selected too much, you can remove the extra areas. Press and hold the Alt key (Option key on a Mac), then click and drag over the area you want to remove from the selection.
Refine Edge (Optional): If your subject has hair or other fine details that weren't selected accurately, you can use the Refine Edge tool for better results. With the selection active, go up to the Options bar and click on
Select and Mask. In the new window, use the Refine Edge Brush Tool on the left to paint over any areas with hair or fine details. Adjust the settings on the right as needed, then click OK when you're done.
Remember, practice makes perfect. The more you use these tools, the better you'll get at selecting subjects in Photoshop. Happy editing!
Applying a Stroke and Creating a White Background
Now that you've selected your subject, you can apply a stroke to create an outline around the character. Following that, you'll learn how to replace the background with a solid white color.
Apply a Stroke to the Subject
Create a New Layer: With the subject still selected, create a new layer by going to
Layer > New > Layer...or simply pressingCtrl + Shift + N(Command + Shift + Non a Mac). Name this layer something like "Outline" and click OK.Apply the Stroke: Make sure the new layer is selected in the Layers panel. Then go to
Edit > Stroke.... A dialog box will open. Set the Width to 5px. For the Color, click on the color box and select the color you want for the outline. Make sure the Location is set to "Outside". Click OK to apply the stroke.
Create a White Background
Deselect the Subject: Press
Ctrl + D(Command + Don a Mac) to deselect the subject.Add a New Background Layer: In the Layers panel, click on the "Create a new layer" icon at the bottom. Drag this layer to the bottom of the layers stack to ensure it's underneath your subject and outline layers.
Fill the Background Layer with White: Make sure the new background layer is selected. Then go to
Edit > Fill.... In the dialog box, set the Contents to "White" and click OK. This will fill the layer with white, creating a white background behind your subject.
If you want to view your subject and its outline against the white background, you may need to hide or delete the original background layer. To do this, simply select the original background layer in the Layers panel and click on the "Delete layer" icon at the bottom, or drag it to the trash can icon.
And that's it! You now have an outlined character on a white background. Remember to save your work by going to File > Save As....
Install guide if you don't have controlnet setup already.
Prerequisites
Before you begin, ensure you have already downloaded AUTOMATIC1111's Stable Diffusion WebUI. If not, follow the installation instructions for your platform.
Installing ControlNet
Open the "Extensions" tab in the AUTOMATIC1111's Stable Diffusion WebUI.
Navigate to the "Install from URL" tab.
Enter
https://github.com/Mikubill/sd-webui-controlnet.gitinto the field labeled "URL for extension's git repository".Click the "Install" button and wait for the confirmation message.
After installation is complete, go to the "Installed" tab, click "Check for updates", and then click "Apply and restart UI". Note: You may need to completely restart AUTOMATIC1111 webui including your terminal. If you are unsure what a "terminal" is, rebooting your computer will achieve the same effect.
Downloading ControlNet Models
Download the ControlNet Scribble models from this link: https://huggingface.co/lllyasviel/ControlNet-v1-1/tree/main. Download the model files ending with ".pth".
Once downloaded, place the models into the folder "stable-diffusion-webui\extensions\sd-webui-controlnet\models". Note that this folder is different from the one where you put your diffusion models.
Important: Do not right-click the filenames on the HuggingFace website to download. Click the small download arrow “↓” icon to download the correct files.
Using ControlNet and the Scribble Model
Open the AUTOMATIC1111's Stable Diffusion WebUI. ControlNet doesn't have its own tab; instead, it'll show up as its own section at the bottom of the txt2img or img2img tabs.
Scroll down and expand this section. Check the "Enable" box.
Select a Preprocessor and then select the corresponding Model (e.g.
control_v11p_sd15_lineart&lineart_coarse).For img2img: Drag and drop the image you want to use into the normal img2img input area. Then scroll down to the ControlNet section. Drag and drop your controller image into the ControlNet image input area. The controller image is what you will actually use to constrain/control the result. What you're using for this image really depends on what model you are using. For example, if you're using the OpenPose model, the controller image will contain the actual pose you want. Write a prompt and press Generate.
Note: If the ControlNet input image is not working, make sure you have checked the "Enabled" box in the ControlNet panel, selected a Processor and a Model, and your ControlNet Extension is fully up to date.
That's it! You should now be able to use ControlNet for AUTOMATIC1111. Enjoy!
My Links: twitter, discord, IG
Support my efforts at @ ko-fi.com/fitcorderai
Subscribe for FBB images @ https://patreon.com/fitCorderAI