Before I begin, this demonstration uses a Checkpoint I recently released called XAVIER. I would really appreciate readers giving it a try. https://civitai.com/models/1689192/xavier
Additionally, if you're interested, there is an ongoing (until 06/26/2025) image generation contest for my checkpoint with a 12,000 buzz award for the winner!
Now, on to the meat of this article...
I've been doing a lot of inpainting lately, and found myself wishing this sort of article existed as I grew my technical understanding of it. There are plenty of inpainting guides of sorts on the internet for Stable Diffusion, but I didn't find them to be digestible - and if you feel the same way, hopefully this article will be of use to you.
All of my inpainting showcased here was done using SwarmUI, but the same general concepts should be largely universal (albeit some solutions will lack necessary features to fully match my documented process).
I'm going to start with a underwater scenery image generated with the following prompt:
underwater, ocean, scenery, no humans, no animals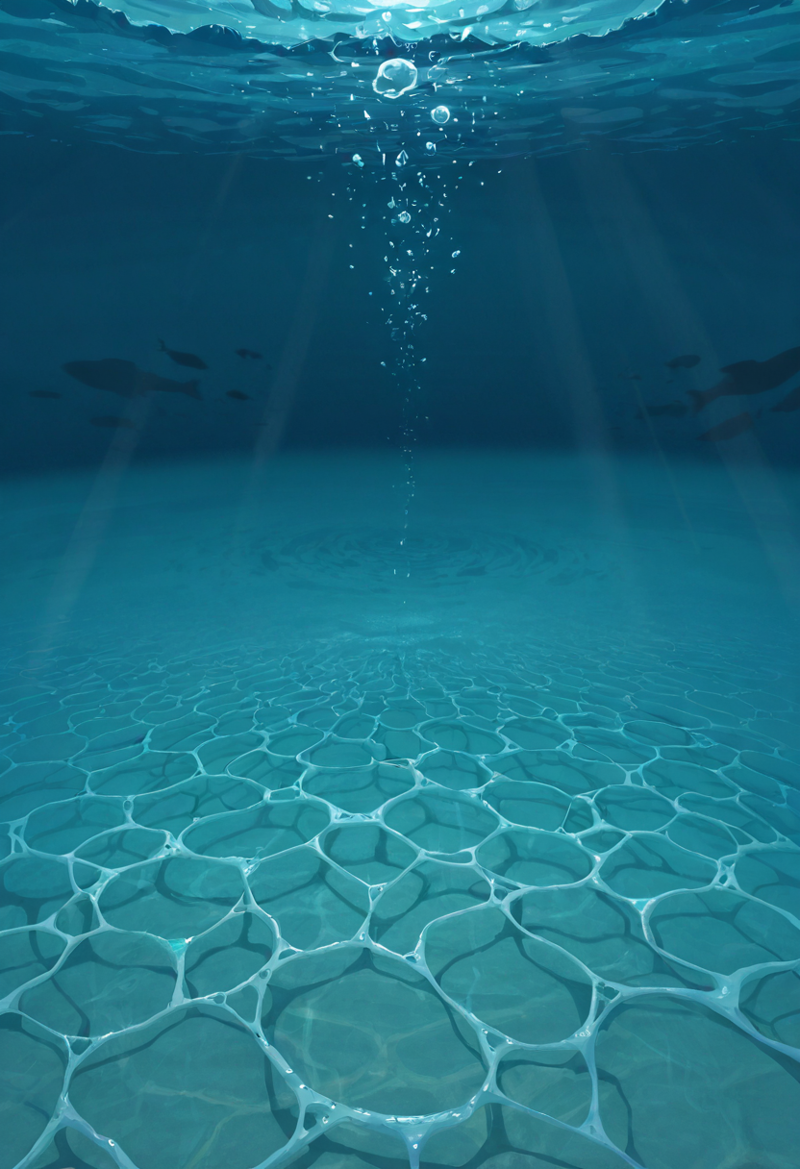
This is a pretty basic image matching our basic prompt, an image like this can be very lucrative for inpainting potential because we have an ample areas to make changes to.
In this case the first thing I noticed is I don't want any fish in the image, so I start by placing a large mask over the fish and the area above them until a natural breakpoint.
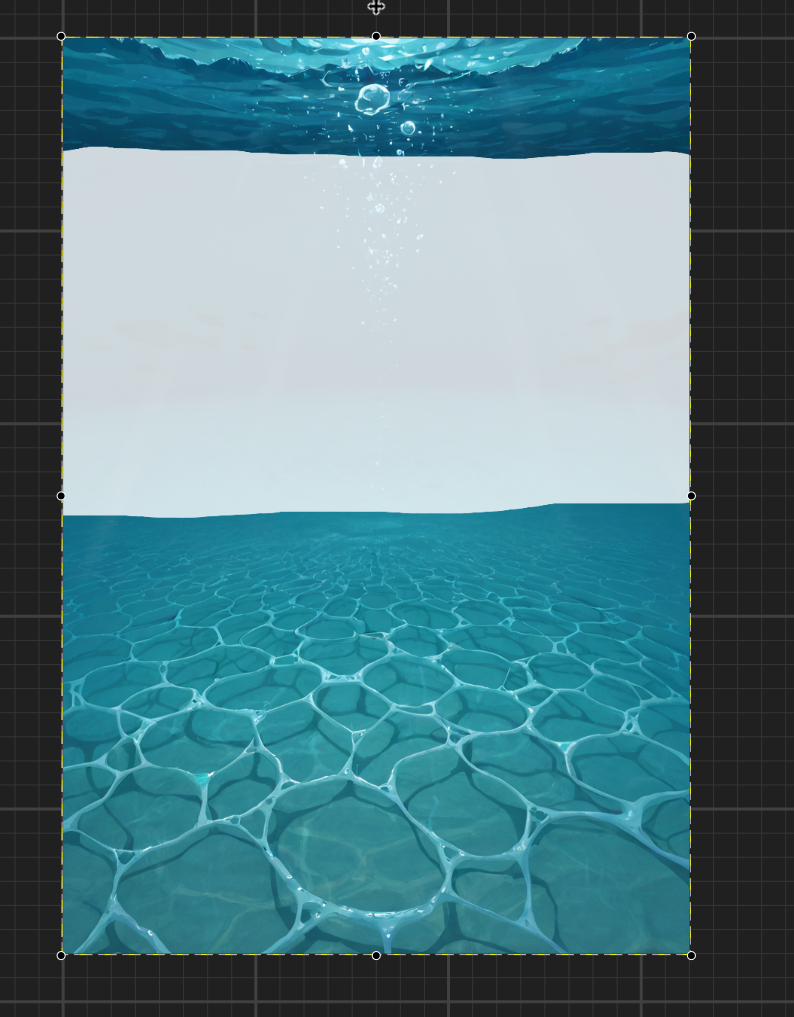
I then run img2img against my masked image at 0.7 Creativity with the simple prompt (note: the grid behind the image is SwarmUI's inpainting tool):
simple background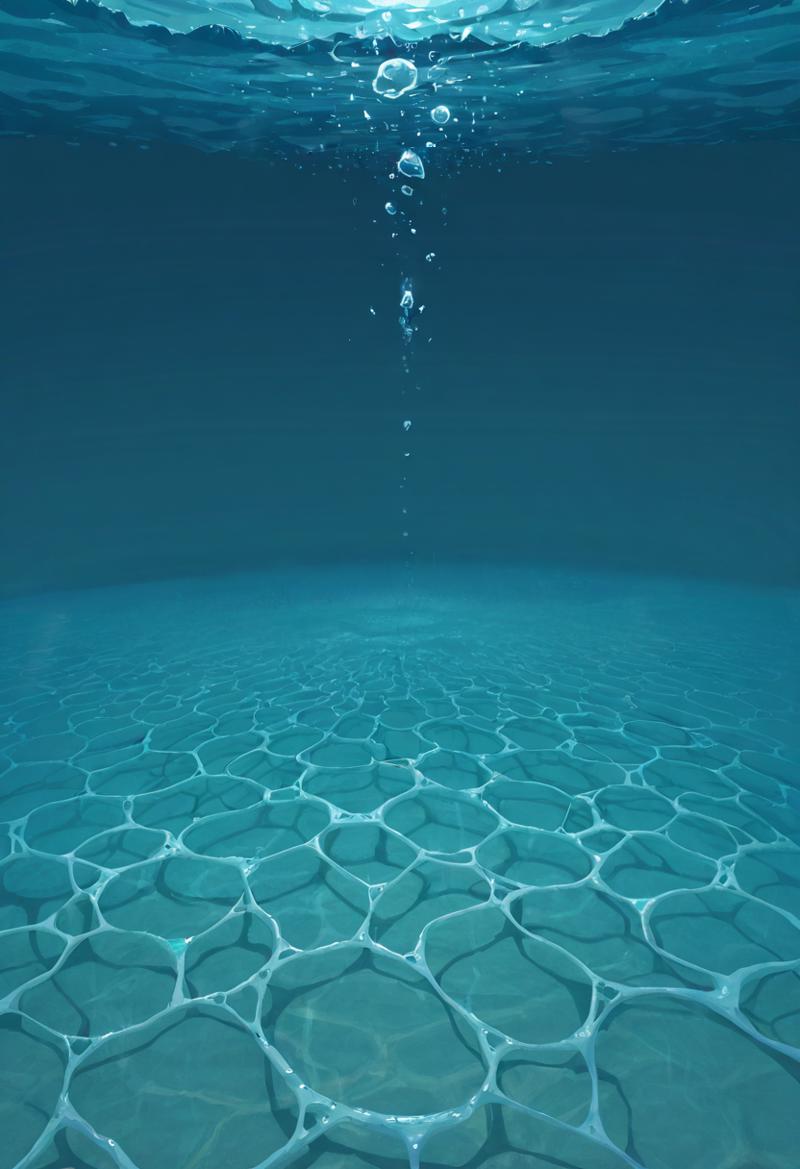
You can see the fish are gone, and I'm left with an empty backdrop.
At this point I notice that the lower area of the image looks sorta like a low tide underneath the surface of the ocean.
I'm thinking leaning into this effect is a good idea, so I once again apply a large mask; this time over the entire lower portion of the image, up until the start of the empty area.
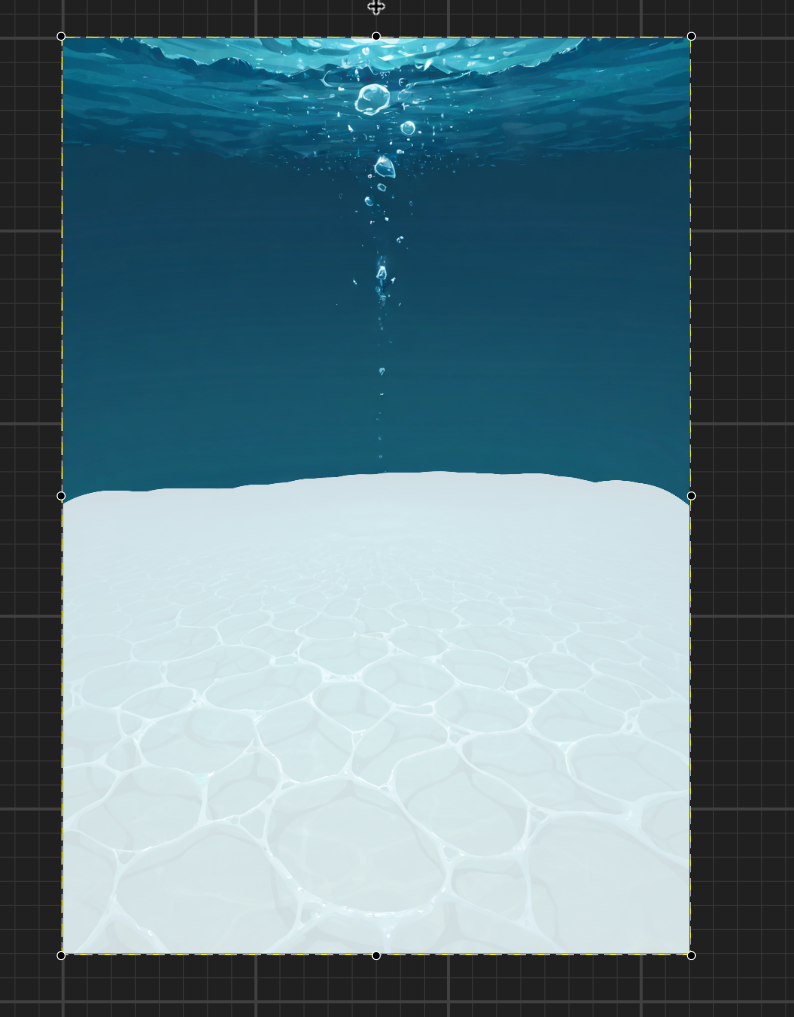
I then run img2img against my masked image at 0.7 Creativity with the prompt:
waves, no humans, horizon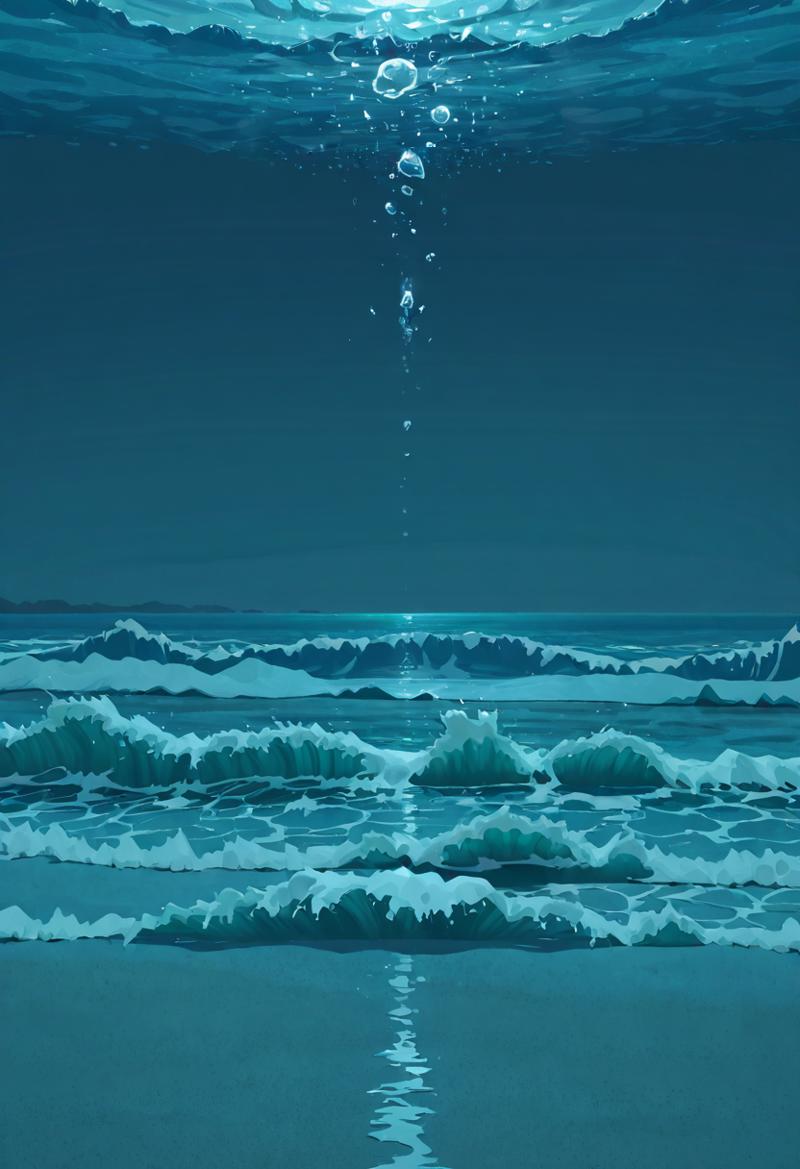
That worked quite nicely...
The lower area is much more shore like, and the horizon tag resulted in what was a large curve flattening out - which gives me another idea.
This image could use a centerpiece, and I figure a lighthouse is a good fit.
Once again, I add a mask, but this time in a more targeted fashion.
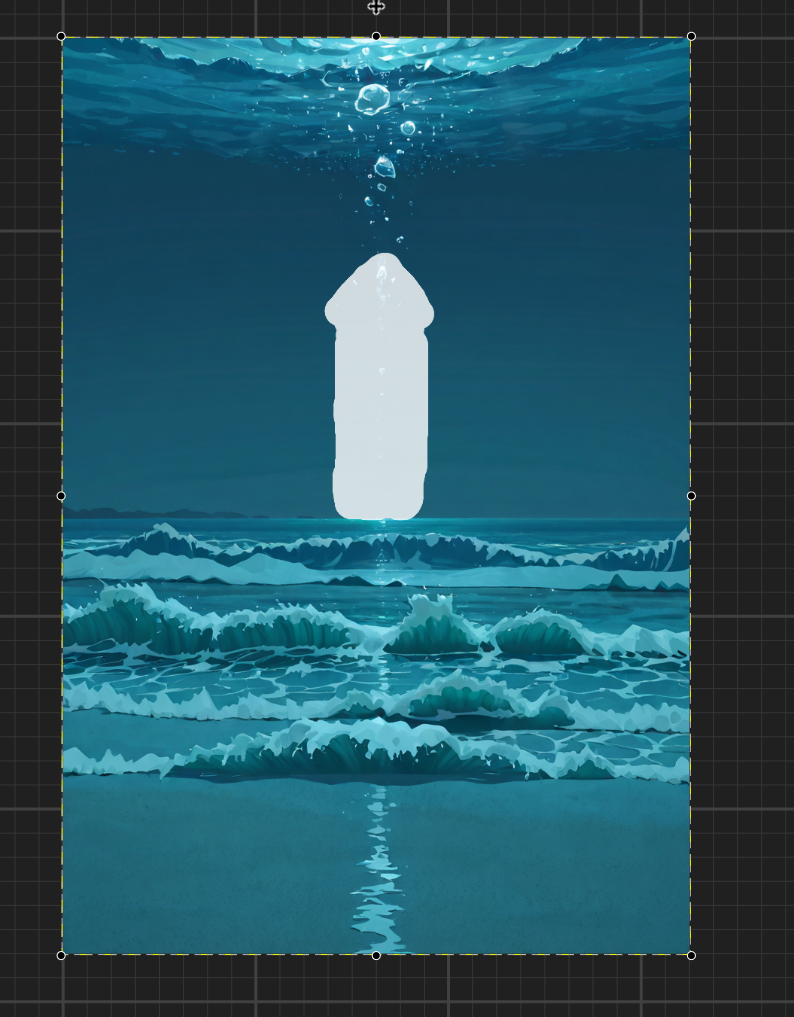
My admittedly phallic mask has a point (I thank you)... Lighthouses commonly have varying sized, err, houses for their light - and I wanted to make sure the model had some room to account for that.
This time I run img2img at 0.6 Creativity with the following prompt:
(lighthouse, fog, foggy background:1.2), waves, no humans, horizonThere is some technique going on here I should take a moment to point out.
I have lowered Creativity from my earlier images, the reason being that I want to avoid the model being liberal about how it changes my image. There is no 'correct' value in that respect, the more you inpaint with a specific checkpoint the more you'll come to know what works well for what purpose.
Additionally, I've prepended to my previous prompt with some emphasized tags.
Basically, I am aiming to instruct the model that I would like a lighthouse and some fog that affects the background, however I don't want it to lose consideration for the surrounding image as it generates what I do want.
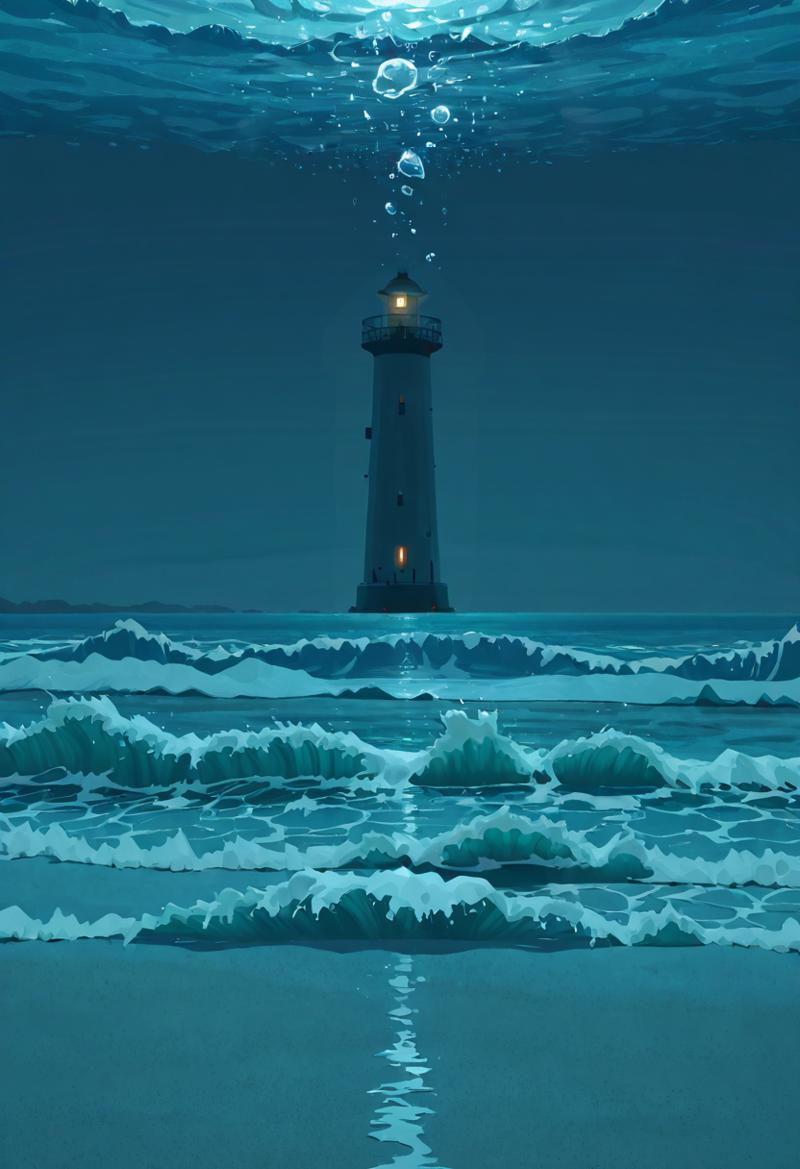
Well, it got the lighthouse down, but not the fog. It's also poorly blended (there are ways to limit that from happening, but that's outside of the scope of this particular article).
How I resolve the lack of fog is where inpainting can really get fun in your ability to enhance dynamic outcomes with very minor changes.
I start by refining my mask a bit as I don't really care for the way the base of the lighthouse turned out, and while I'm at it I add some bits of color to a new image layer (that part is important).
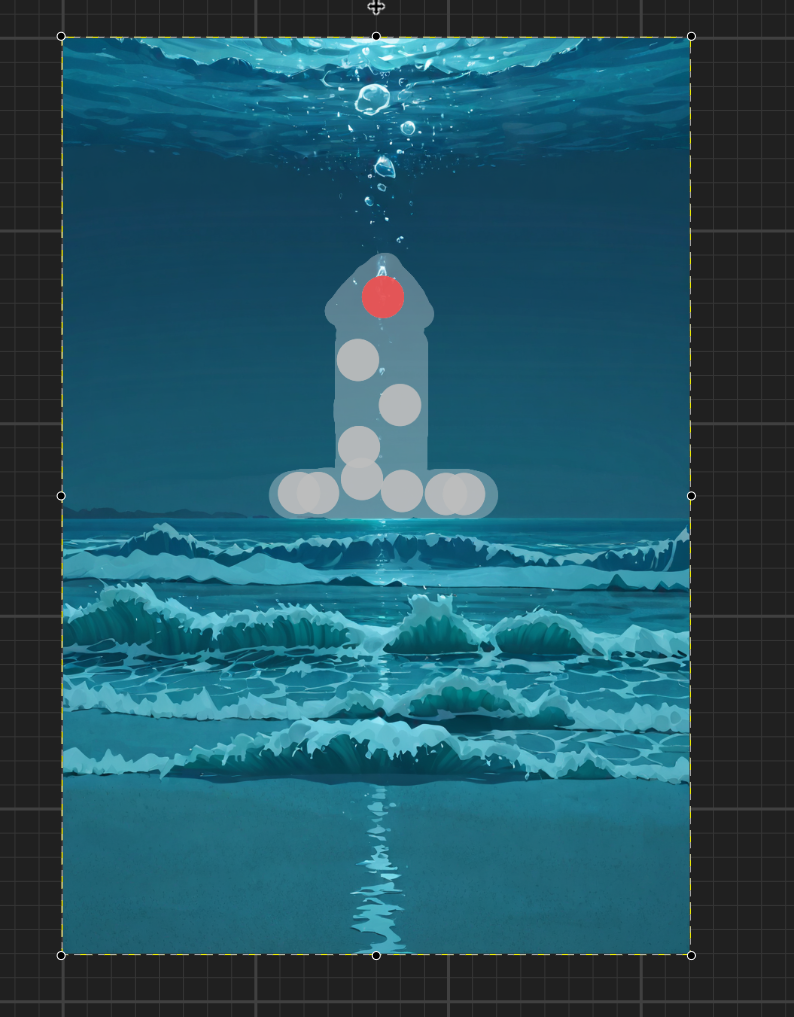
I've added several light grey dots, and one red dot, within the bounds of my mask.
The grey dots are a rough area of where I'd like to see fog.
The red dot is a spur of the moment idea I had for the lighthouse to have a red light.
Also, these dots are at 90% opacity. Them being somewhat transparent prevent the model from just redrawing a bunch of solid colored dots on the image.
I run img2img again with the updated mask/new image layer...
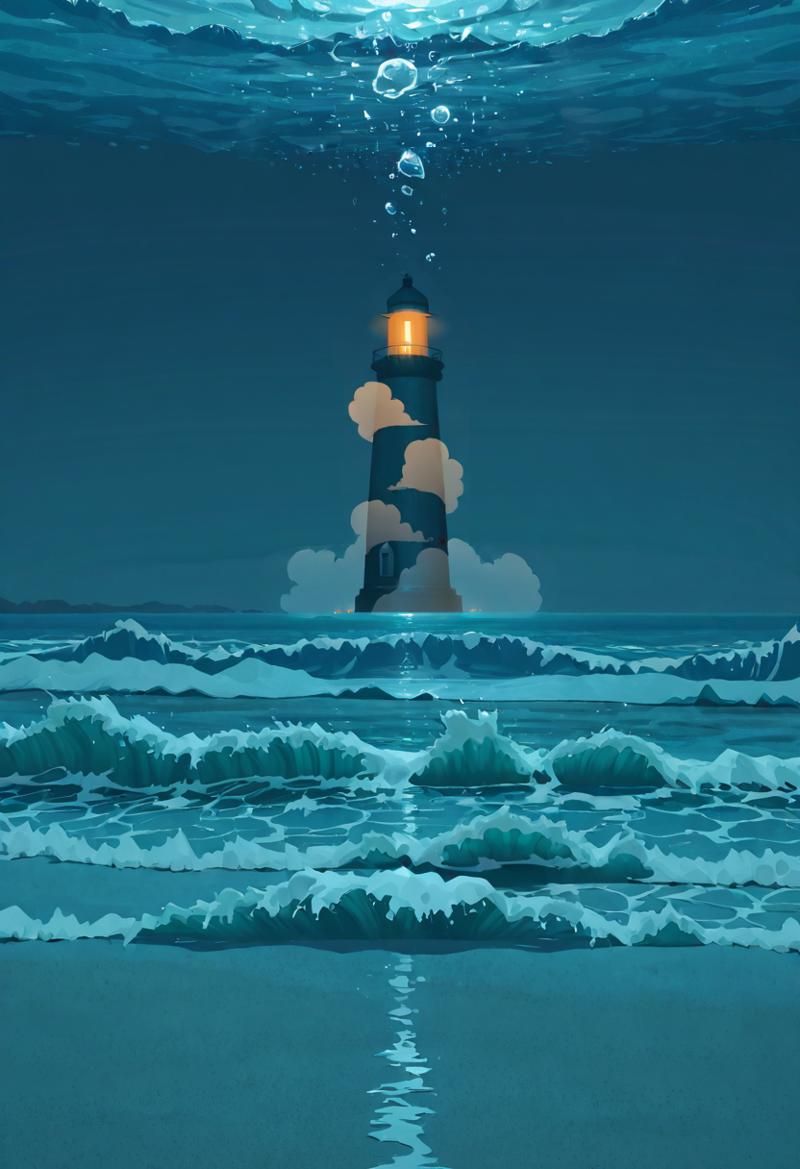
The fog is showing up now and is properly both in front of and behind the lighthouse; it also came out somewhat cartoony which I think adds some flair to the image.
The resulting light is more orange than red, but that's okay, it's a happy accident I'll iron out shortly.
Before I do that though, there is something bugging me. If you look closely near the base of the lighthouse there is something on either side of it that looks very janky.
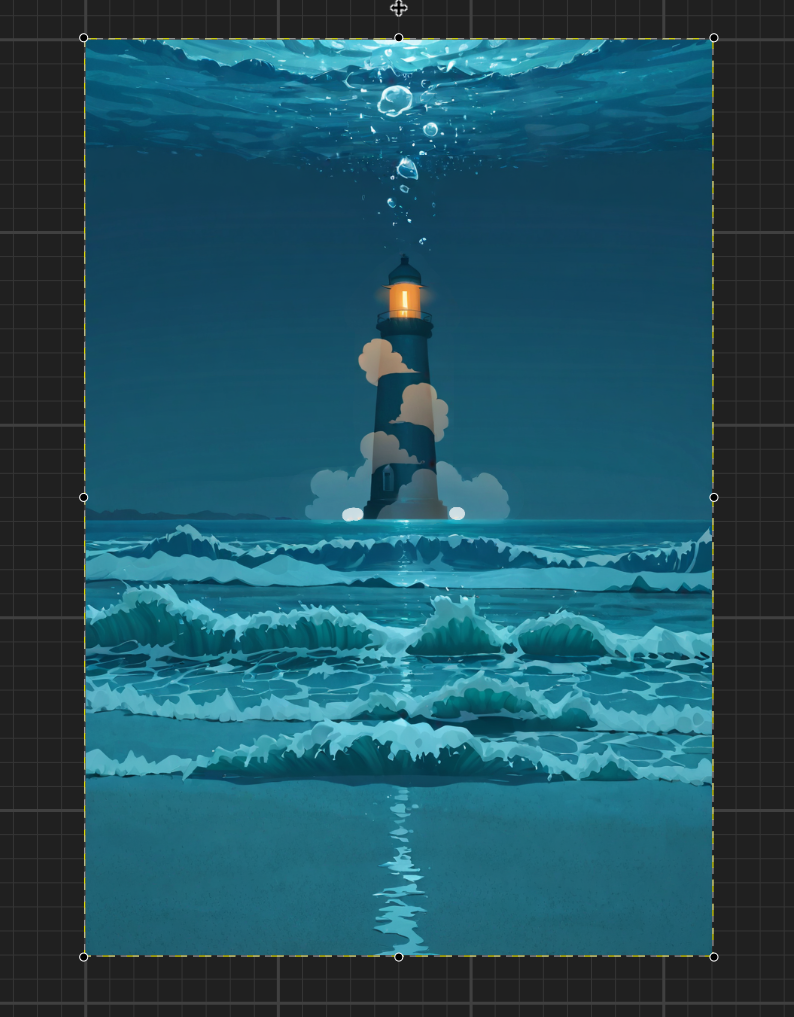
I want to get rid of that jank, so I mask the image just over the offending areas.
I do not change my prompt, but I do bump Creativity down to 0.55 before running img2img to further ensure minimal change.
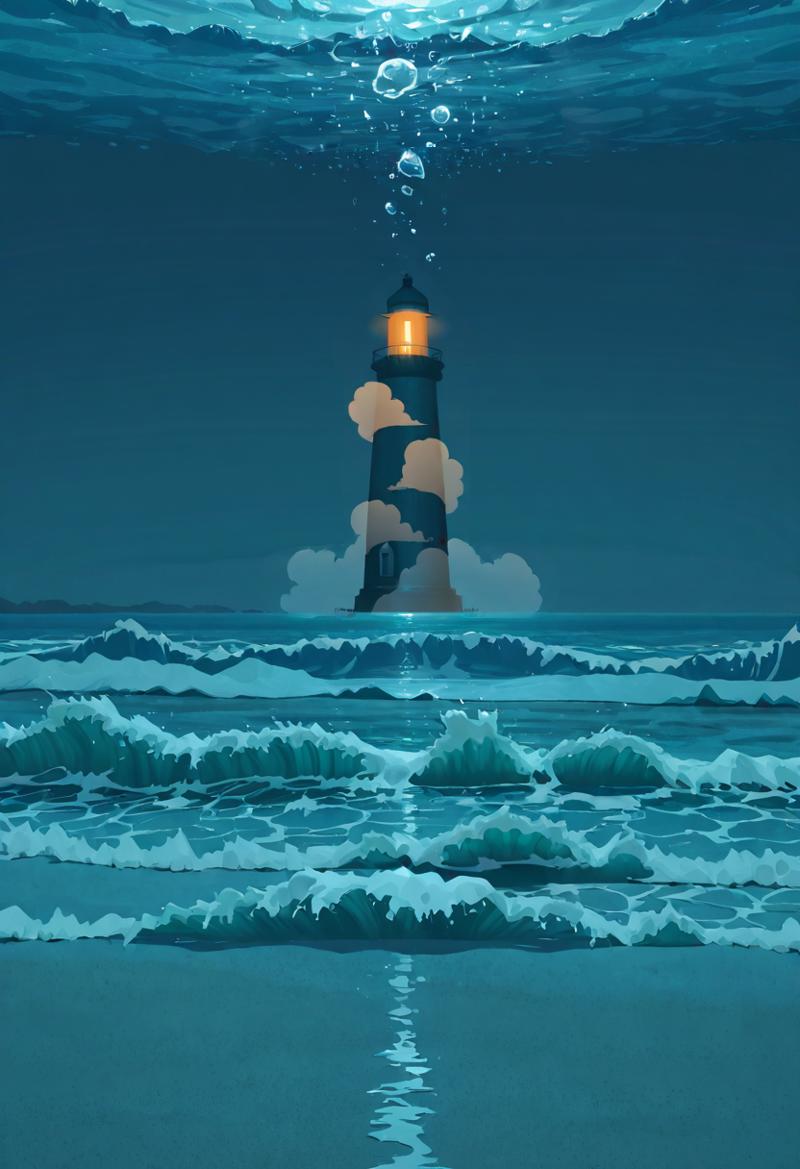
That's better, it's given the lighthouse a sorta jagged base which I am comparatively satisfied with.
Now to tackle the light...
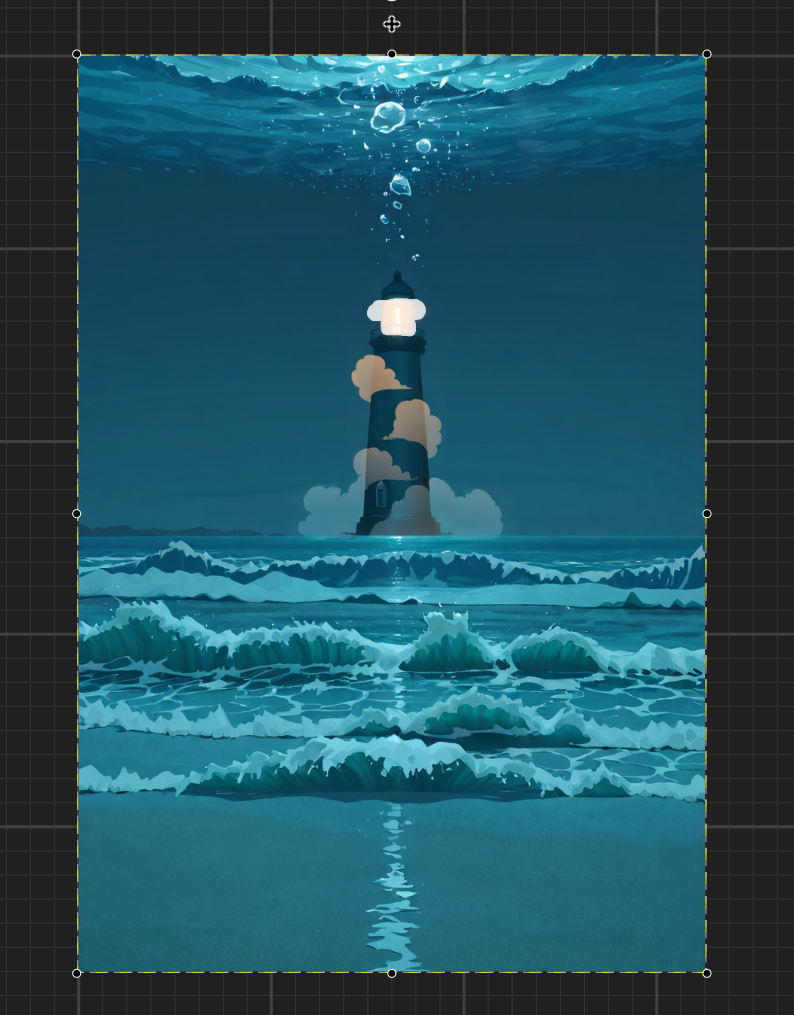
If you noticed I didn't add red to the area again, that's because I wanted the model to be a more openly creative in how it generated this light.
I increase Creativity to 0.7 and supply the following prompt:
(lighthouse, red light:1.2)I probably could have done without emphasis on lighthouse (that won't have much impact because the masked area is already a lighthouse), but emphasis on red light was important. I wanted the model to really focus on giving me a red light.
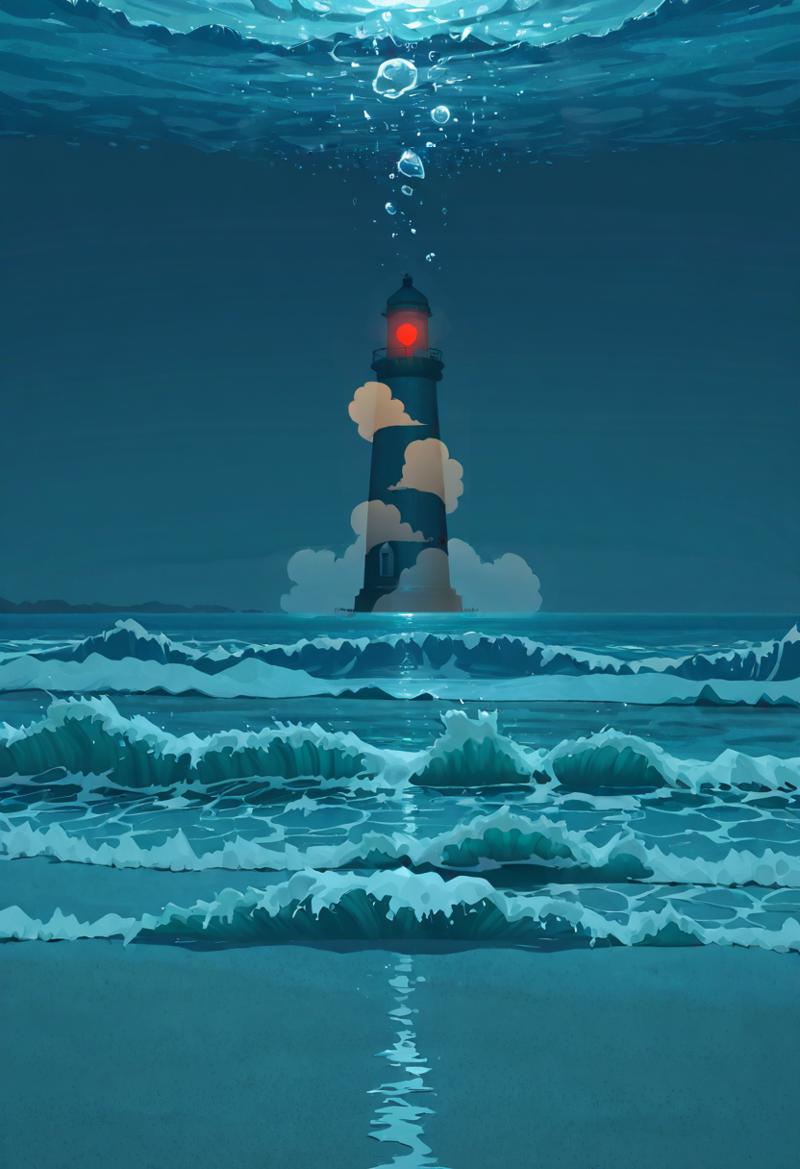
And there we go, we have a red light.
At this point I decide I want to get a little weird with things, so I give myself a more complex goal.
I want to add a skeleton riding a rocking horse, to the shore near the forefront of the image.
You might find yourself asking why (understandable), but the question I'm going to answer is how...
As I've made a pattern of doing up to this point, I'm going to start with masking an area.
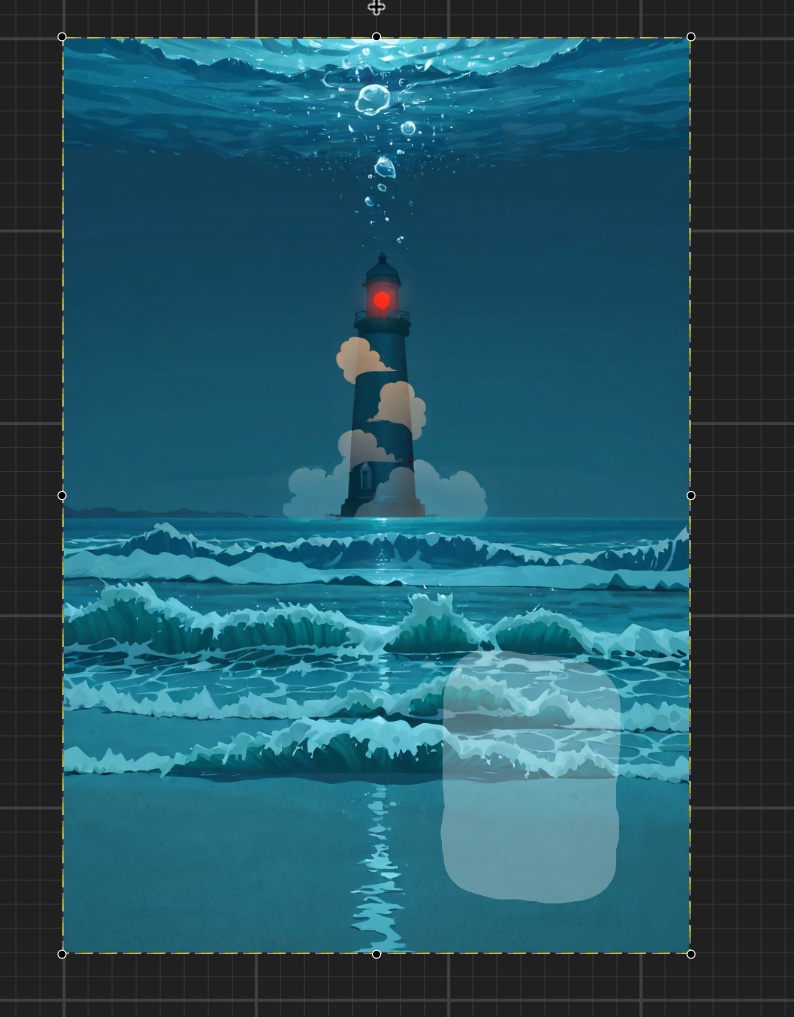
But I'm going to need to change things up a bit and use a different inpainting method known as "inpaint only masked".
In basic terms this will crop the image to the masked area before the model generates anything.
This method can be very useful for touching up faces or limbs, but I am going to use it for a parlor trick.
I am going to increase my Creativity all the way to 1.00, and supply the following prompt:
(skeleton, rocking horse, sitting:1.2), wavesI have essentially just instructed the model to draw an entire new image within my masked area, and it does exactly that...
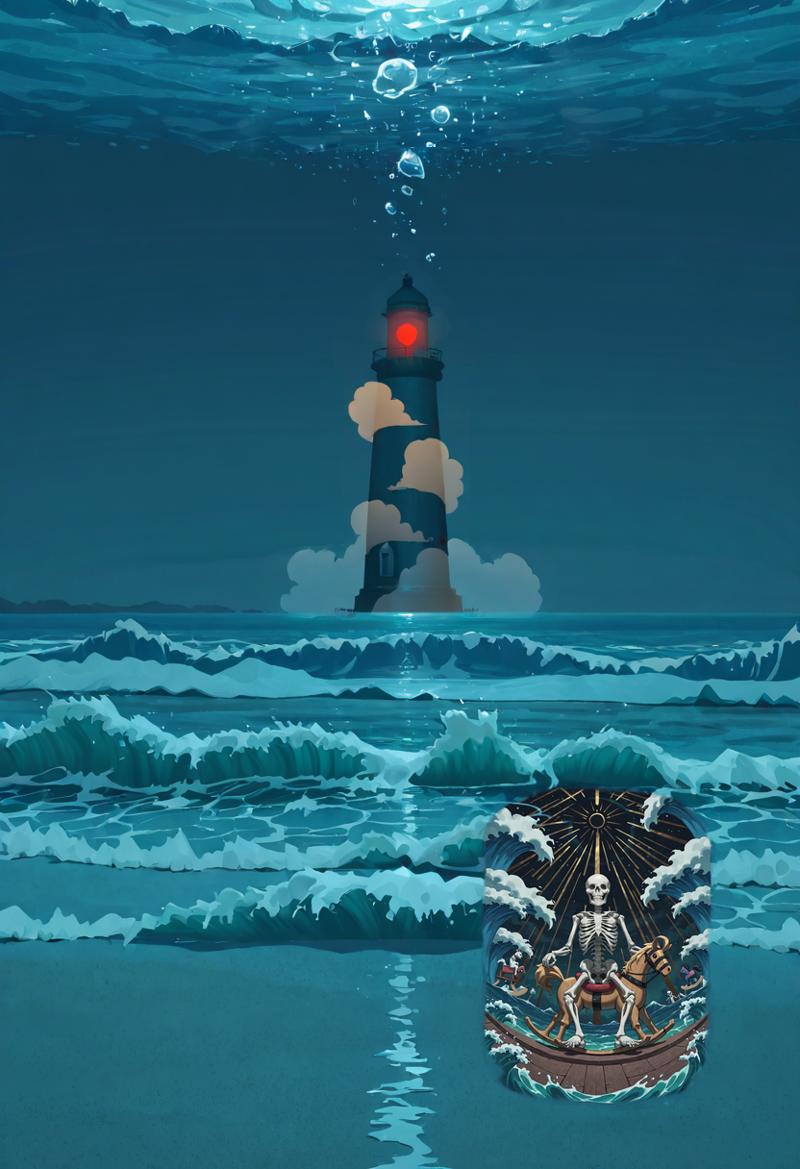
I should explain that my idea of adding a skeleton riding a rocking horse with any sort of coherence to it, by simply prompting it, would have been considerably unlikely; the image I was inpainting over has practically no natural elements to it where the model could assume placement of such a subject would make sense.
However, there is certainly such a subject to consider in the image now, even if it's technically an entirely different smaller image.
We can work with that.
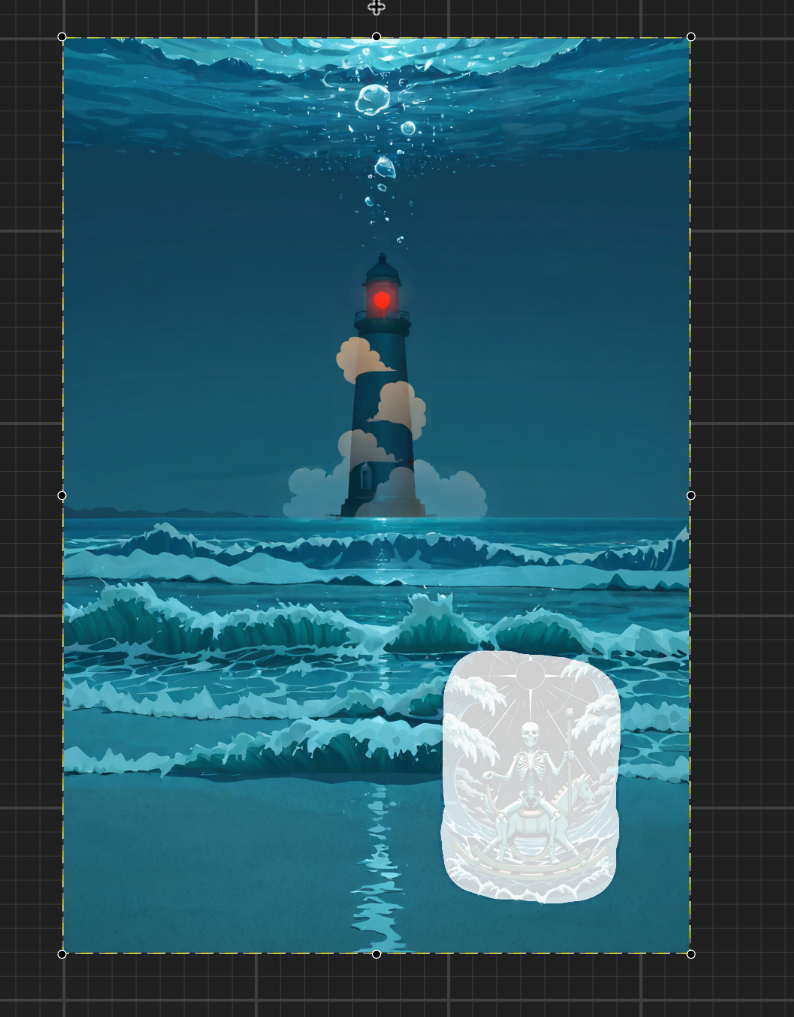
The image you are looking at above is technically a layered composite consisting of the following:
The earlier iteration of the image without anything on the shore.
The later iteration of the image with something painted over the shore.
A mask over both of those.
I'm going to img2img this composite at 0.7 creativity... My prompt remains the same as before.
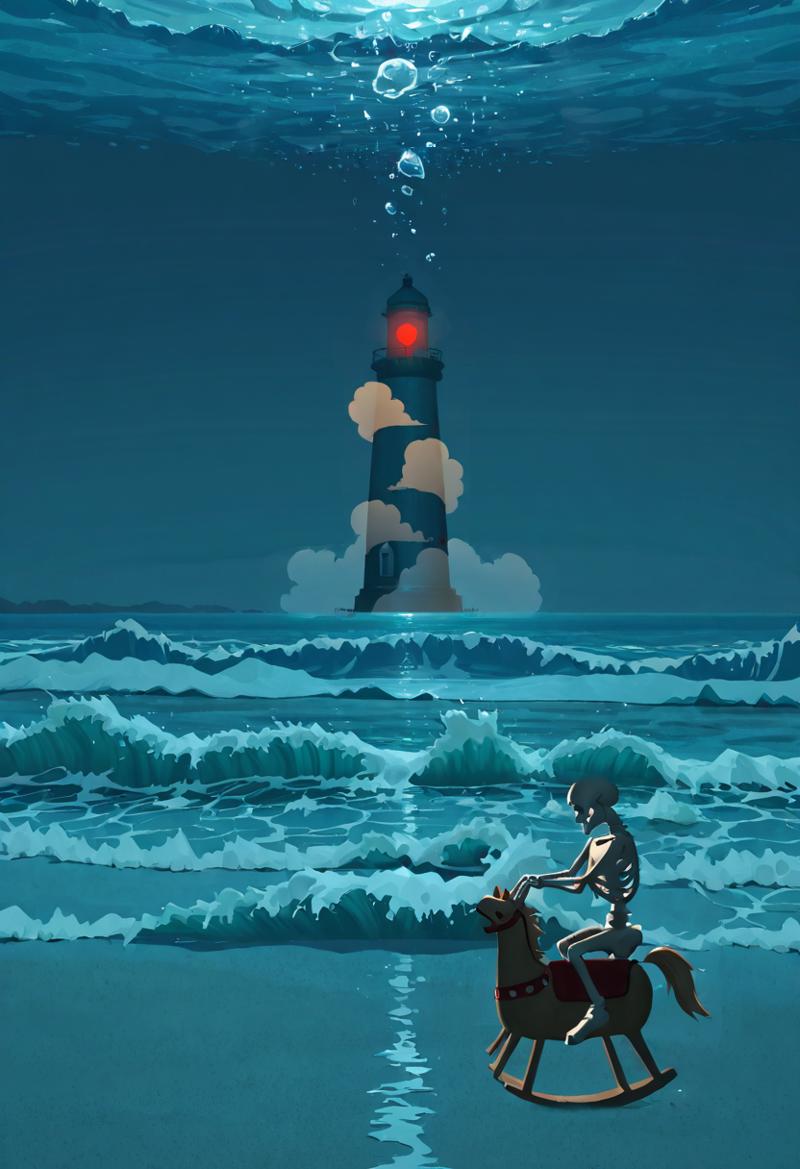
And like magic we now have a skeleton riding a rocking horse on the shore.
It's a bit cropped around the head, so we'll mask the image one more time to fix that...
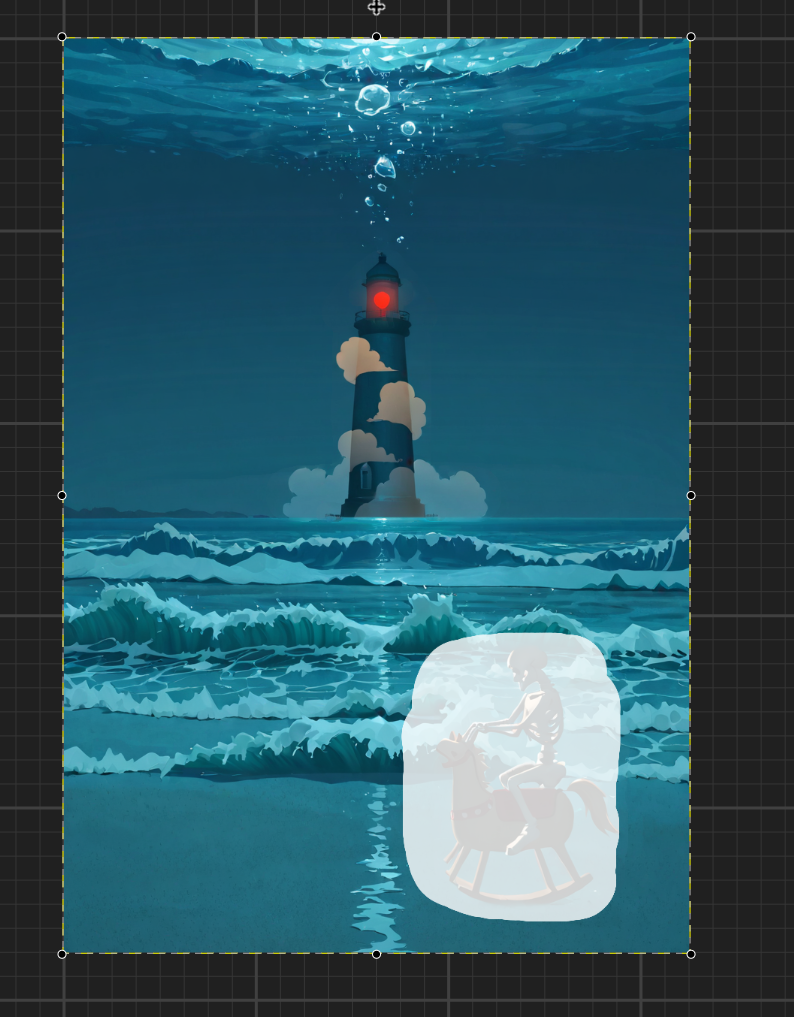
I one last time use img2img again, without any changes to my earlier configuration.
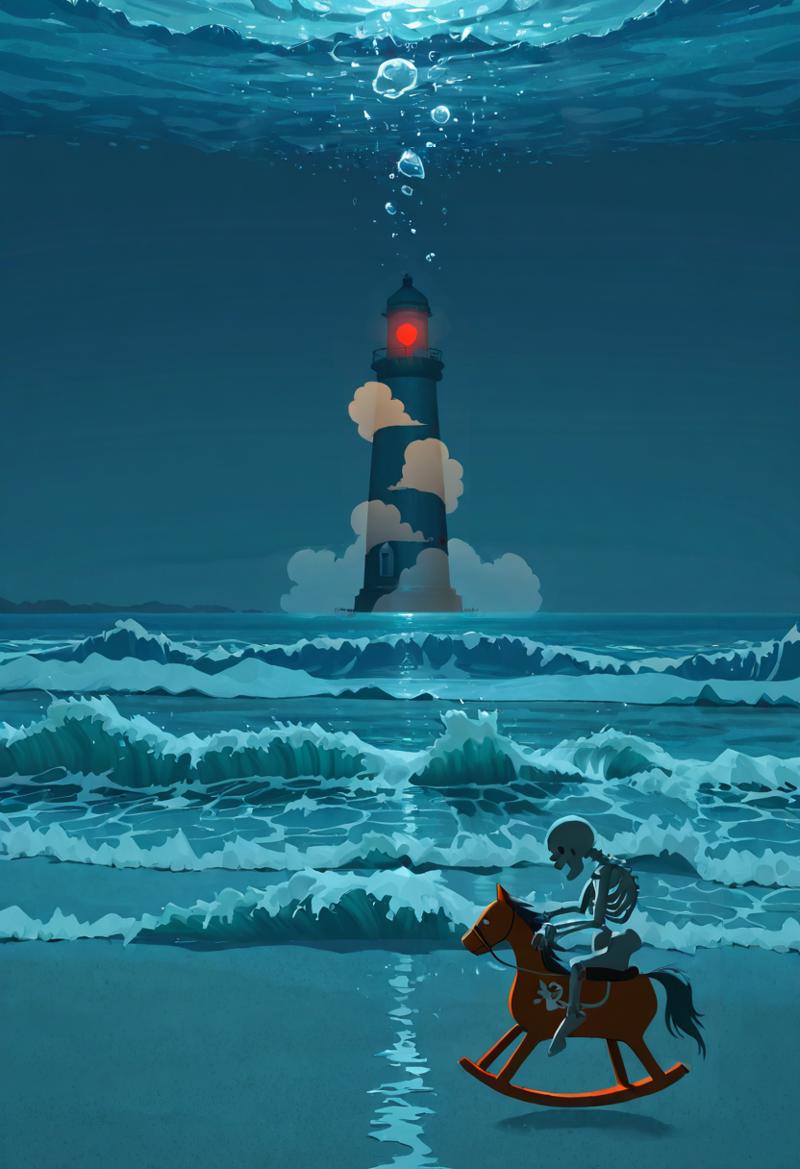
And there you have it, a piece worthy of the The Louvre!
In all seriousness, I hope this article actually helped you learn a thing or three about inpainting.
Maybe in the near future Civit will get around to adding inpainting to the generator features onsite, and lots more people will have a reason to read this article (fingers crossed).
One last thing, I should mention that despite the structure of my article making it look like I got acceptable results on my first try each time; I want to be clear that isn't the case. Inpainting is a lot of trial and error, which can be very frustrating when you are new to doing it. Keep at it though, and you may find you are a lot more capable than you realized.
Thank you for reading. In the words of the great Tigger, "TTFN, ta ta for now".


