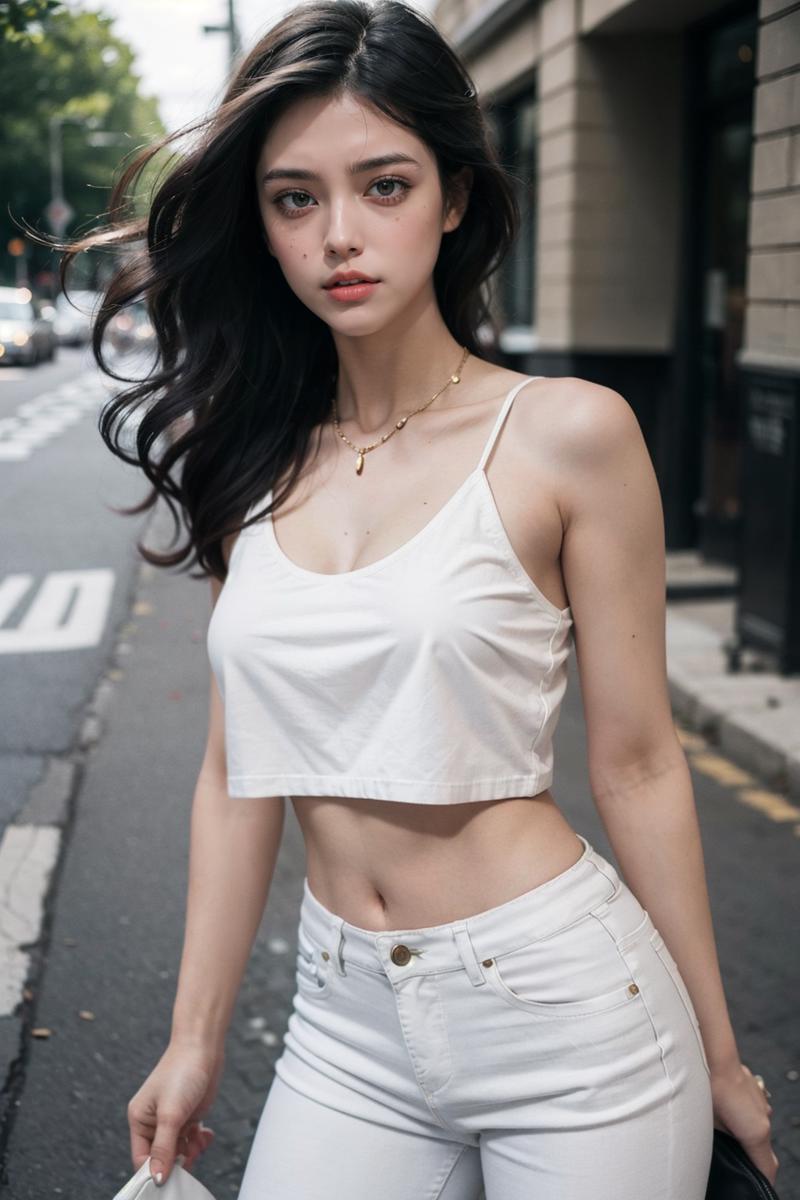
There's a lot of conflicting information flying around regarding hi res fix in Automatic1111 UI compared to img2img manipulation with different settings. There are claims that hires fix cannot be substituted with "post-processing" (we know it's not really post) via img2img. We're trying to check whether hires fix + Adetailer in txt2img workflow is better than low res txt2img sample + "post-processing" in img2img.
For people running med to low VRAM setups having to run txt2img with a hires fix and ADetailer is quite a task, since generation times skyrocket and you never know what kind of hellish 3-legged, one-eyed abomination will be generated after 10 minutes as opposed to getting 4 rough ideas after less than 4 minutes when doing 2 in batches of 2 which is completely fine for these low-memory setups.
In this post I'm testing different approaches to "high resolution". I'm a software engineer but I don't know sh*t about the tech and math behind Stable Diffusion. The disclaimer here is that I might be fundamentally wrong, or the interpretation of the results may be wrong. But as a good code monkey that I am, I basically brute force test cases and see what pops up.
Disclaimer: there are obvious limitations to that approach - not every model will work well with ADetailer, all anime ones I've tried produce mixed results to say the least. Take this with a gain of salt and experiment on different models.
tl;dr version
Direct comparison will never be foolproof due to denoising giving everything a bit of "flavour" that being said, here are the different setups tested summarized:
For uncompressed originals, please see catbox links below:
txt2img at 512x768 + Hires Fix x 2.0 + ADetailer

This is our baseline for comparison. It's nice, but we had to wait a lot to arrive at it, and quite honestly the base 512x768 that we are working with is not what I have imagined - the prompt mentioned heels and long legs for instance, none of which are part of the image. The other variants that I generated just out of curiosity from these prompts did include both of these.txt2img at 512x768 => img2img "Just resize" to 1024x1536

The face is pretty much a different person at this stage. Definitely the model needs ADetailer to produce results intended by the author. Interestingly the "raw" 512x768 image without any hi res workflows is nice on it's own and quite honestly if it wasn't this comparison I would probably go with that idea with a much lower denosing.txt2img at 512x768 => img2img "Just resize (Latent upscale)" to 1024x1536

I think any visible difference in face itself is due to denoising strength. That being said, it is a bit faster, but produces more artifacts. I don't know if this is because of the latent upscaler action (since some sources say it provides better performance over quality) or is it again, just denoising doing it's thing and adding sh*t.txt2img at 512x768 => img2img Just resize" to 1024x1536 + ADetailer

Absolutely awful result! This proves that ADetailer makes no sense at higher resolutions. Looks unrealistic and overexposed.txt2img at 512x768 => img2img "Just resize" to 1024x1536 (Latent upscale) + ADetailer
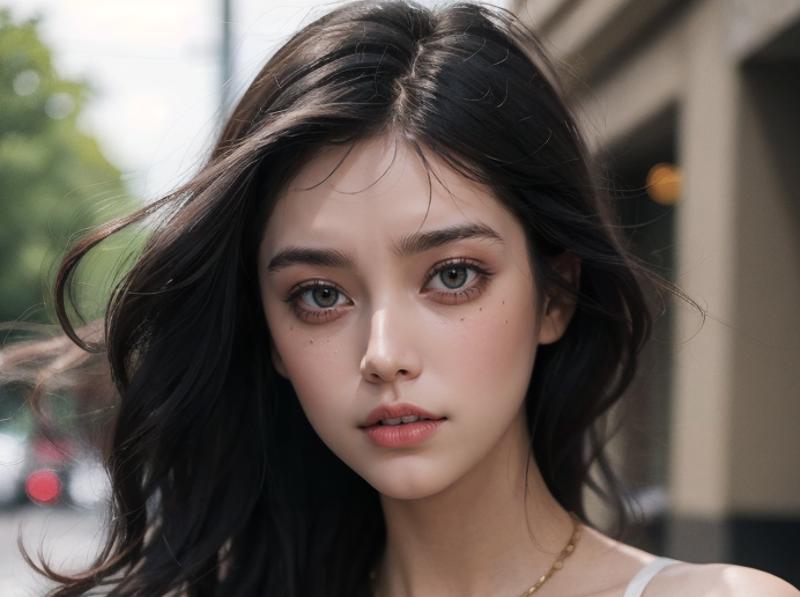
Another absolutely awful result. The lighting is better than in 4 but that may be just denoising.txt2img at 512x768 => img2img "Just resize" to 512x768 + ADetailer + SD upscale script x 2.0
This seems to be the sweet spot.
txt2img at 512x768 => img2img "Just resize (Latent Upscale)" to 512x768 + ADetailer + SD upscale script x 2.0
30 seconds quicker generation than just resize, the result is similar but there seems to be more artifacts on hands and worse details. In general comparable result.
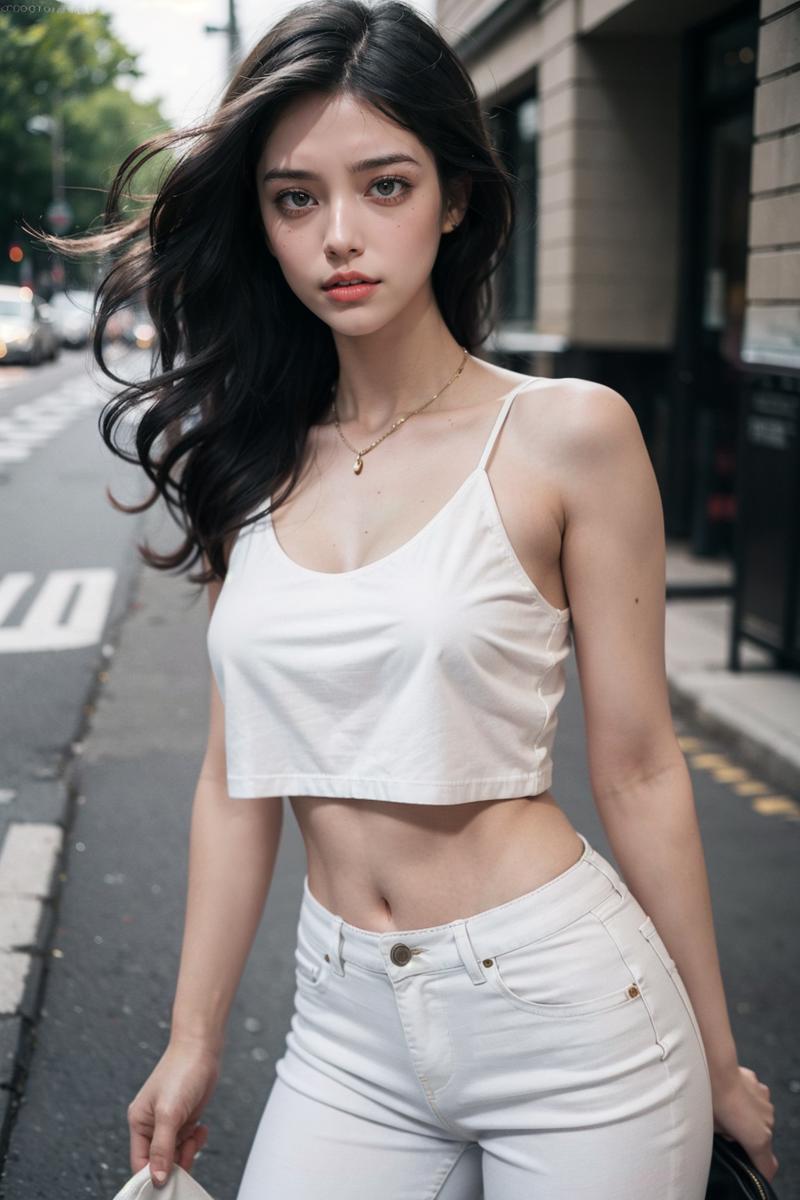
txt2img at 512x768 => img2img "Just resize" to 768x1152 + ADetailer + SD upscale script x 2.0

The result is bad. Another oversaturated, overexposed mess with unnatural features. A time completely wasted.txt2img at 512x768 => img2img "Just resize" to 768x1152 (Latent Upscale) + ADetailer + SD upscale script x 2.0

Similar as above.
Conclusion is rather simple either go with txt2image with ADetailer and Hi res fix. If you can't afford it, option 6 or 7 gives comparable results.
Long Version
Prerequisites
There's only one setting outside of the default UI that I want to use. I have found couple of suggestions to manipulate the setting of img2img upscaler buried in the depths of Automatic UI settings and bring it to front for easier manipulation:

Giving you this option in main section.

All other requirements are in "Test scenario" section.
Test scenario
Generate one image is 512x768 size with hires fix and ADetailer.
Take the seed and generate a standard 512x768 sample (without hi res fix and Adetailer)
Send the low-res sample to img2img for "post-processing" to test different setups
For test data we're using:
Checkpoint: MajicMix Realistic v6
Positive prompts:
best quality, masterpiece, (photorealistic:1.4), 1girl, fashion model posing for photo, beautiful, wavy medium-length hair, white skinny jeans, long legs, high heels, loose crop-top, editorial photo, street, depth of field, blurred background, soft lightingNegative prompts:
ng_deepnegative_v1_75t,badhandv4, (worst quality:2), (low quality:2), (normal quality:2), lowres,watermark, monochromeThe base settings for high res sample are below, but the TL;DR version is simply:
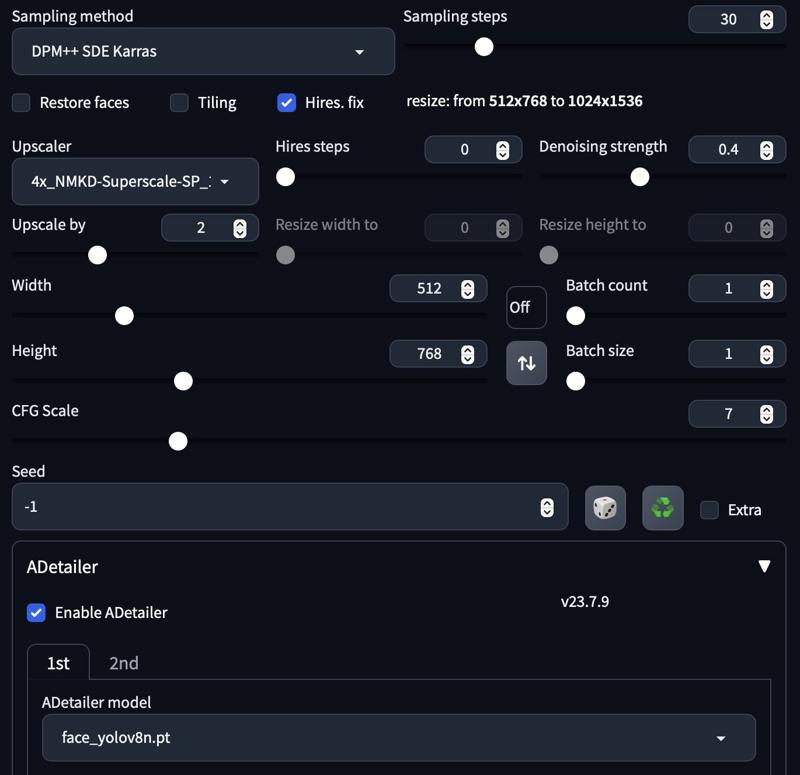
512x768 photo with ADetailer model set to: face_yolov8n.pt and hires fix with Hires fix set to 2.0 scale, 4x_NMKD-Superscale-SP_178000_G upsacerel and 0.4 denoising.
Steps: 30, Sampler: DPM++ SDE Karras, CFG scale: 7, Seed: 866033118, Size: 512x768, Model hash: e4a30e4607, Model: majicmixRealistic_v6, Denoising strength: 0.4, Clip skip: 2, ADetailer model: face_yolov8n.pt, ADetailer confidence: 0.3, ADetailer dilate/erode: 4, ADetailer mask blur: 4, ADetailer denoising strength: 0.4, ADetailer inpaint only masked: True, ADetailer inpaint padding: 32, ADetailer version: 23.7.9, Hires upscale: 2, Hires upscaler: 4x_NMKD-Superscale-SP_178000_GHere's the screenshot - what's not visible is set to default:
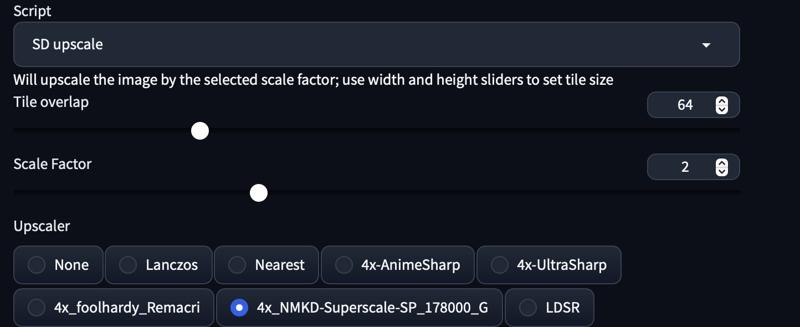
When mentioning SD script in img2img I mean:
Baseline results from txt2image
txt2img at 512x768 + Hires Fix x 2.0 + ADetailer
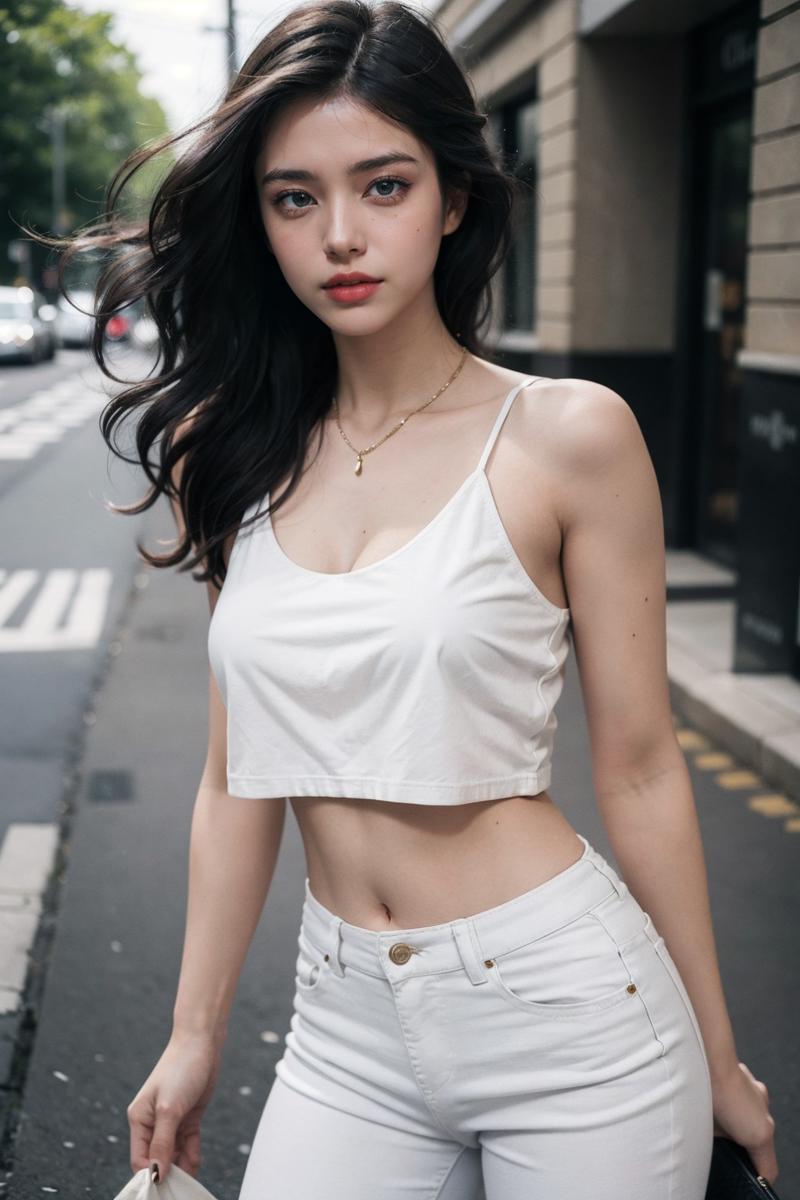
https://files.catbox.moe/e4z2ys.png
txt2img at 512x768 from generated seed (baseline for img2img)
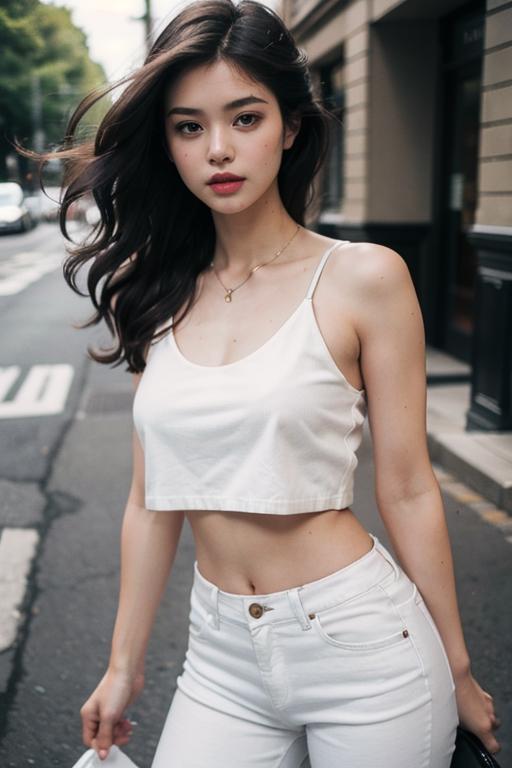
https://files.catbox.moe/sh1p4k.png
Img2Img processing of the "low res" sample
txt2img at 512x768 => img2img "Just resize" to 1024x1536
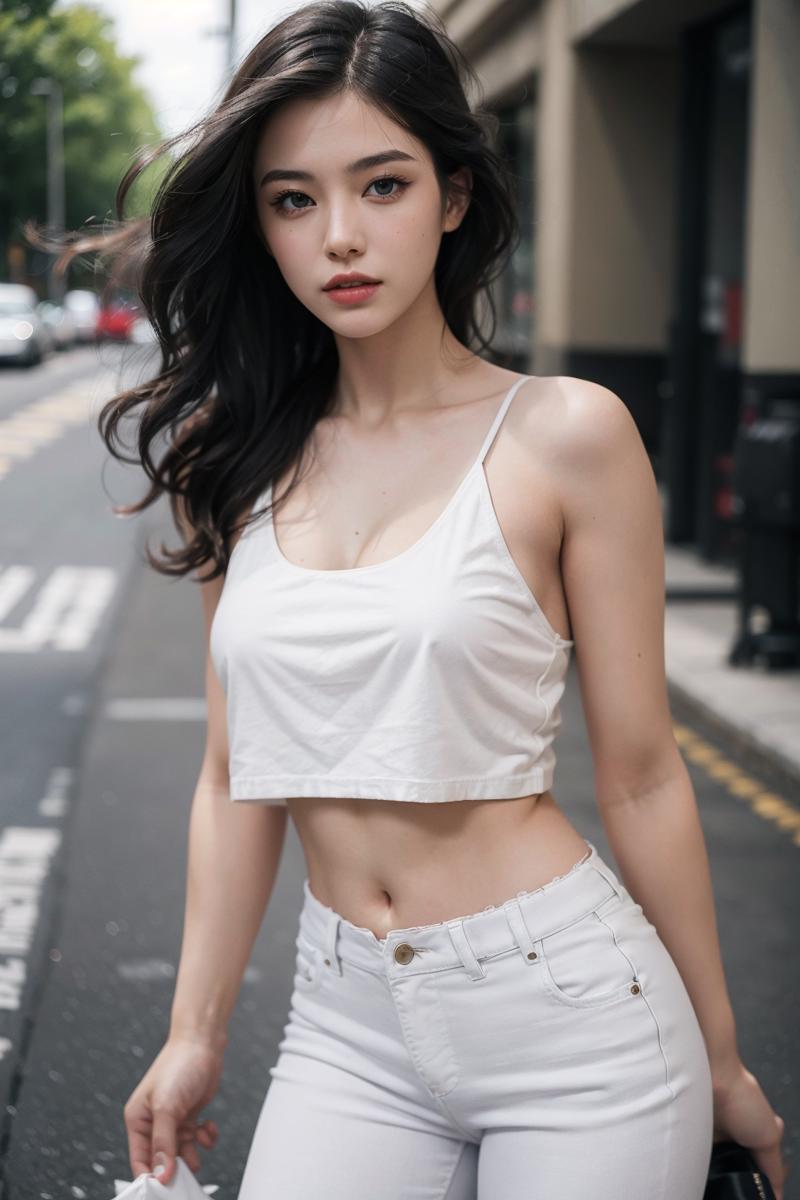
https://files.catbox.moe/ajs0ff.png
txt2img at 512x768 => img2img "Just resize (Latent upscale)" to 1024x1536
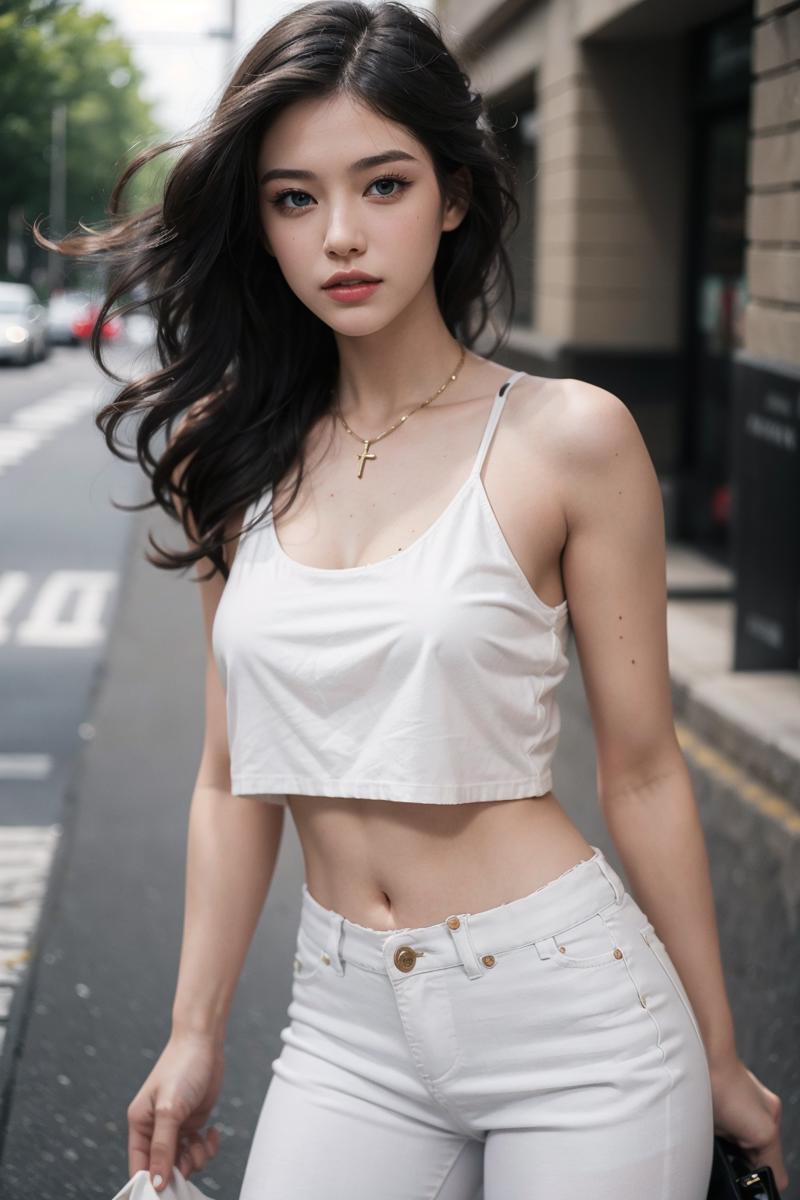
https://files.catbox.moe/kd4zlt.png
txt2img at 512x768 => img2img Just resize" to 1024x1536 + ADetailer
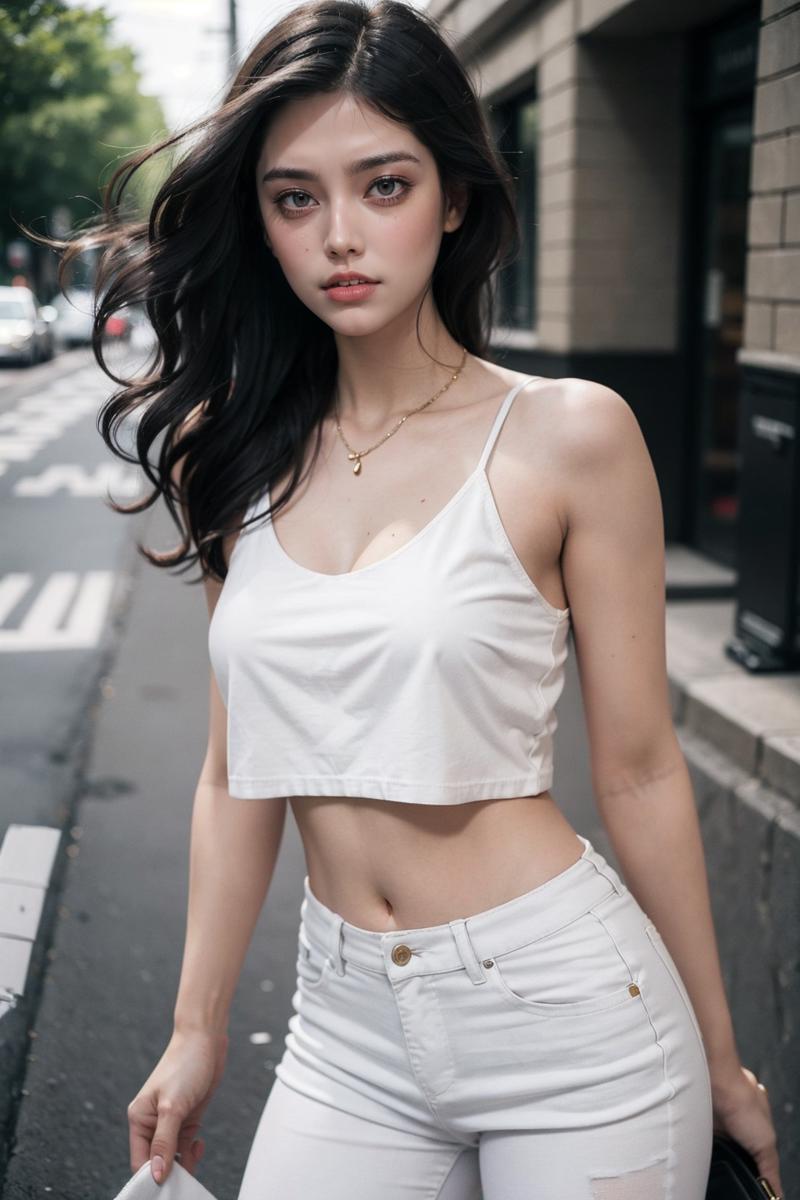
https://files.catbox.moe/tpku60.png
txt2img at 512x768 => img2img "Just resize" (Latent upscale) to 1024x1536 + ADetailer
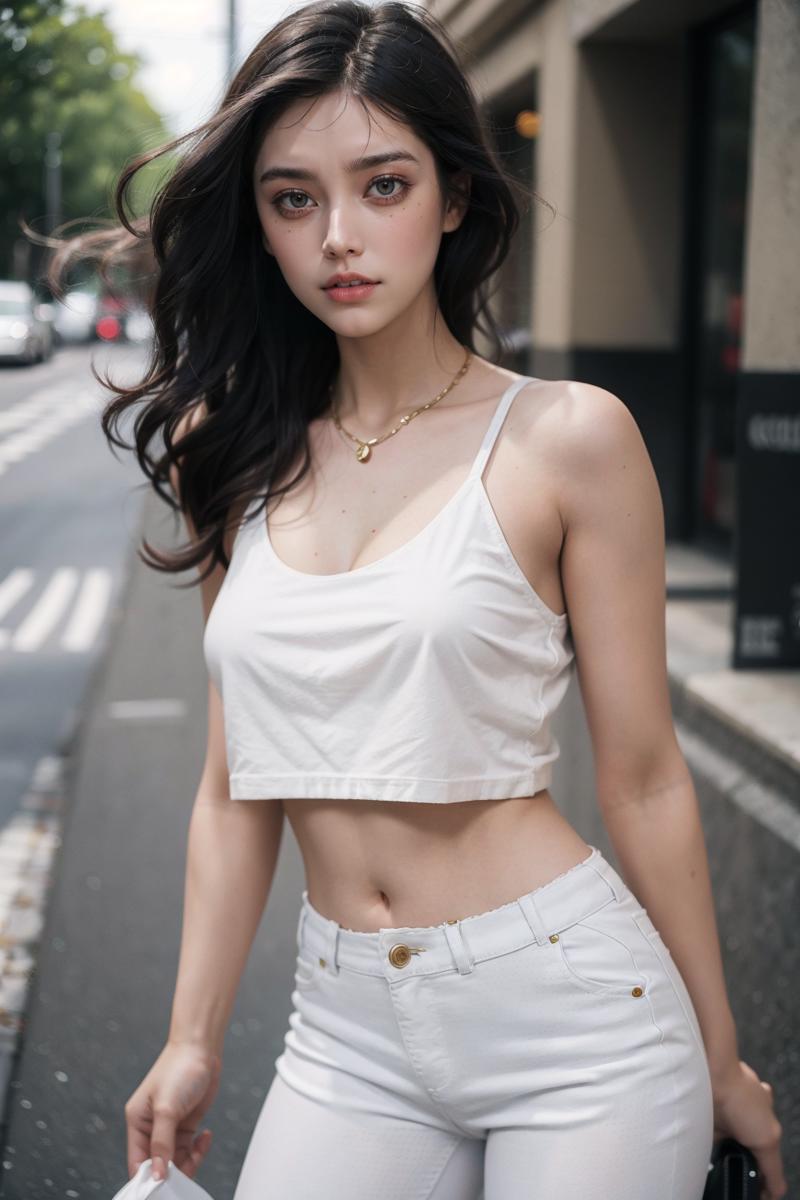
https://files.catbox.moe/gcaaf9.png
txt2img at 512x768 => img2img "Just resize" to 512x768 + ADetailer + SD upscale script x 2.0
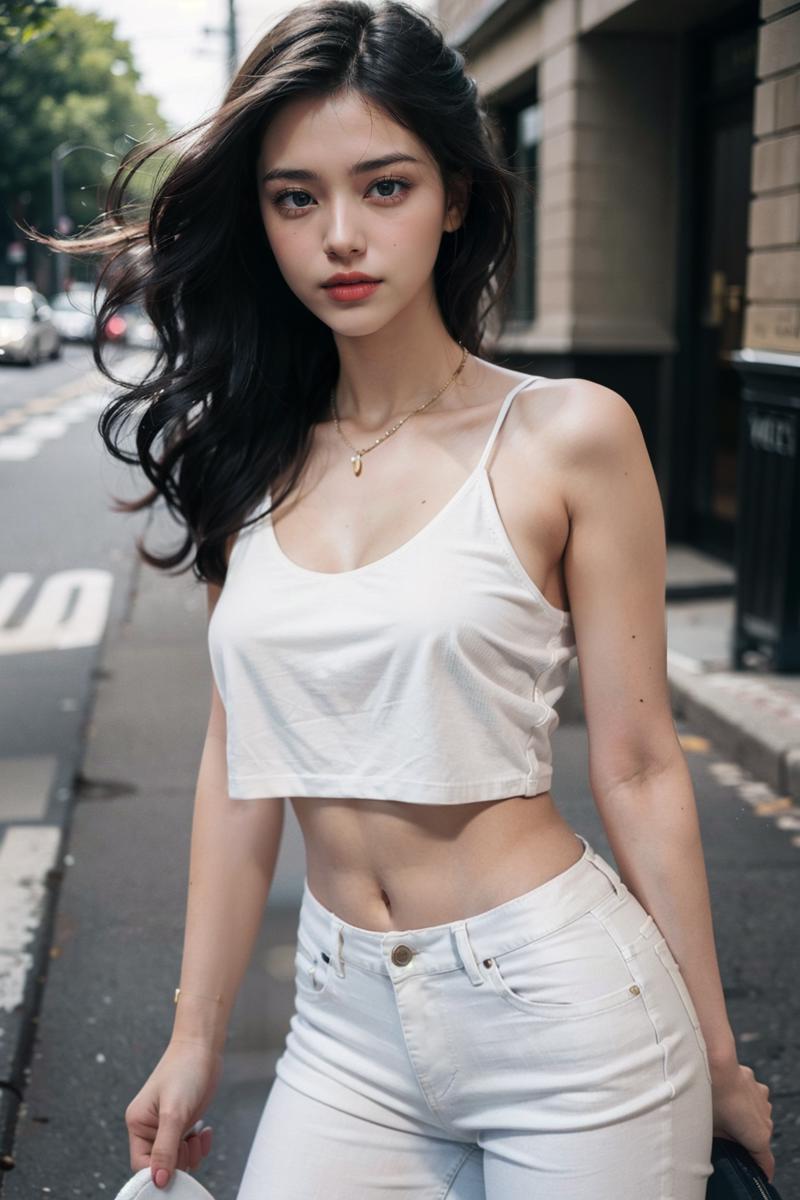
https://files.catbox.moe/gz7zs7.png
txt2img at 512x768 => img2img "Just resize (Latent Upscale)" to 512x768 + ADetailer + SD upscale script x 2.0
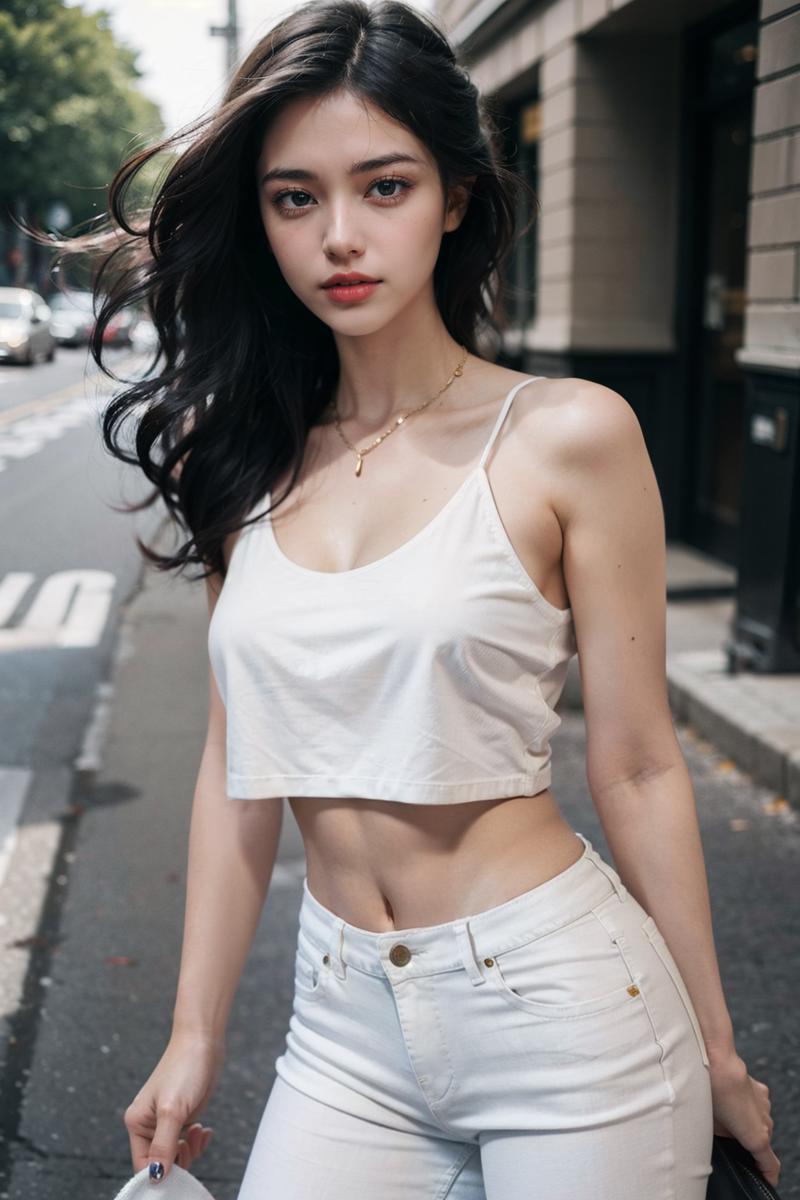
https://files.catbox.moe/qzbln6.png
txt2img at 512x768 => img2img "Just resize" to 768x1152 + ADetailer + SD upscale script x 2.0
https://files.catbox.moe/z79kh5.png
txt2img at 512x768 => img2img "Just resize" to 768x1152 (Latent Upscale) + ADetailer + SD upscale script x 2.0
