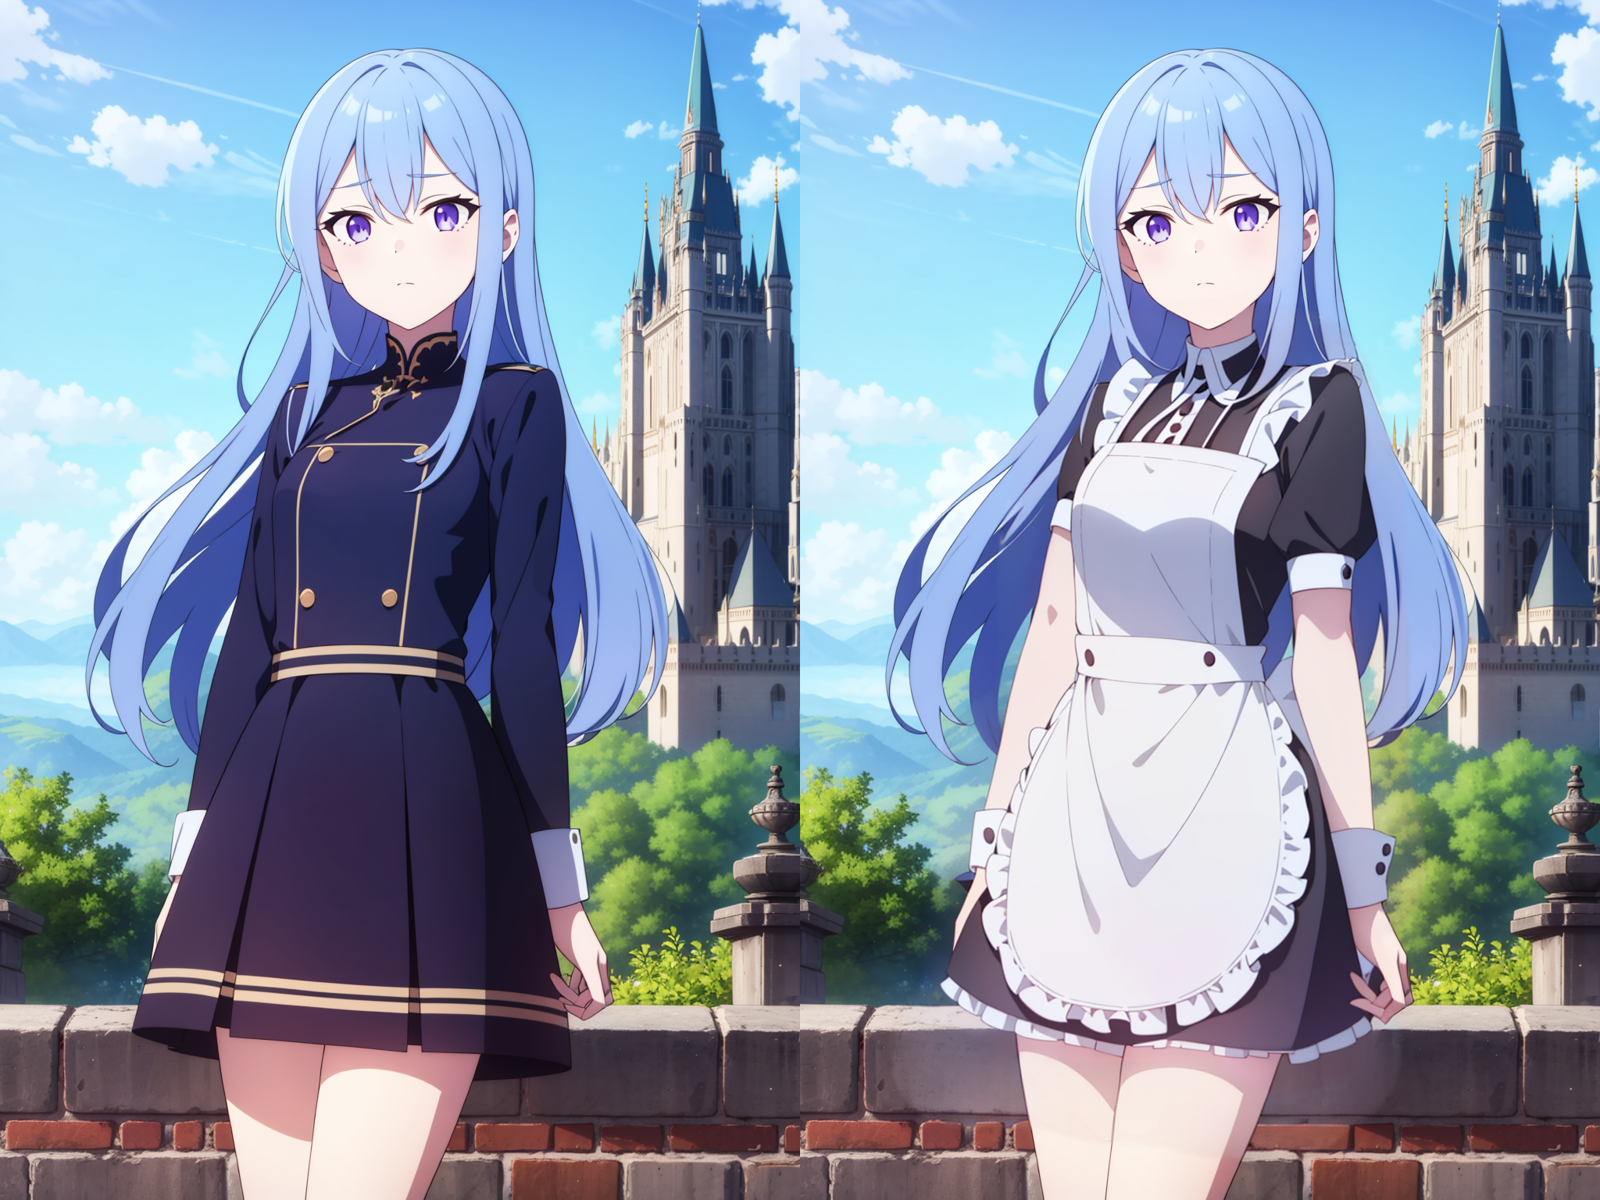
Hello, in this guide I will show you how to use Multi-ControlNet to change the outfit of an existing image without too many changes to the pose. This technique is not new since it was originally posted by tsound97. There was a mention by studiomasakaki that you could combine this with LoRas as well but I haven't seen any other discussion on this technique so I decided to make a guide about it. This does use map-bashing techniques so some manual editing is involved. It's not perfect since it will still make some subtle changes to images.
Pre-requisites:
Assumes you are using the A1111 webui since I'm not sure if other Stable Diffusion webui have updated to the newer ControlNet preprocessors
Have ControlNet enabled to use 4 Controlnets
About:
This mainly started off as ControlNet practice so I didn't put much effort into the generation process and used simple prompts. For this guide, I will be changing this character to different outfits using multi-controlnet. This image will be referred to as the base image. I am also using the same checkpoint that made the base image for the inpainting as well. Ideally, the checkpoint used for inpainting should match the overall artstyle for the best results.

I used a standing pose here so it would be easier to edit the ControlNets later.
Workflow
General Settings
This was all done in txt2img. This relies on ControlNet's generative fill-like feature so hi-res fix is required. My settings here were AnimeSharp4x with 0.5 denoise and 2x upscale.
Sampler: Euler, Steps 20. I didn't care much about the overall setting since this was for practice.
Note: There seems to be bug with ControlNet where the ControlNet will reuse the last image sent to the preprocessor so hit run preprocessor if you changed any images.
ControlNet Settings
ControlNet 1: Inpaint
Image Input: Base Image
Preprocessor: Inpainting Only + Lama
Mode: ControlNet is more Important
Weight: 1
This ControlNet is responsible for a majority of the work. Personally, I found Lama to produce the best results as I haven't had any better results with the other preprocessors. The mask size is very important here since if it's too big, the images from the other ControlNets will bleed over into the final result. I moved the mask over into the neck a bit since the neck was getting somewhat distorted without.

ControlNet 2:Reference
Image Input: Randomly generated Image of a Maid
Preprocessor: Reference Only
Mode: Balanced
Weight: 1
This ControlNet helps produce a result that's similar to the reference image. Ideally, the reference image should have a similar pose to the base image although that is not strictly necessary. If certain details are not showing up then using the other preprocessors can help or changing the ControlNet mode to ControlNet is more Important can help as well. Reducing weight can help reduce image bleed over. With the reference controlnet, there's a tendency that the generated outfit will have similar colors to the reference image although that's not always the case. The general limitation of the reference image is that I recommend that the position of key body components of the desired image and the reference image should be similar. In my case, if my reference image is a from_behind shot with a butt visible, it is unlikely that I will get a front view from the inpainting but a somewhat twisted image with the butt facing the viewer.
Maid Reference Image

ControlNet 3: InstructPix2Pix
Image Input: Base Image
Mode: Balanced
Weight: 1
This ControlNet model is specialized with changing objects with inpainting. InstructPix2Pix mostly helps with simplifying the prompt and with reducing image bleed over. You may not always need this ControlNet since it can retain too much detail from the image input.
ControlNet4: LineArt
Image Input: Edited result from Anime Denoise preprocessor
Preprocessor: None
Mode: ControlNet is more Important
Weight: 1
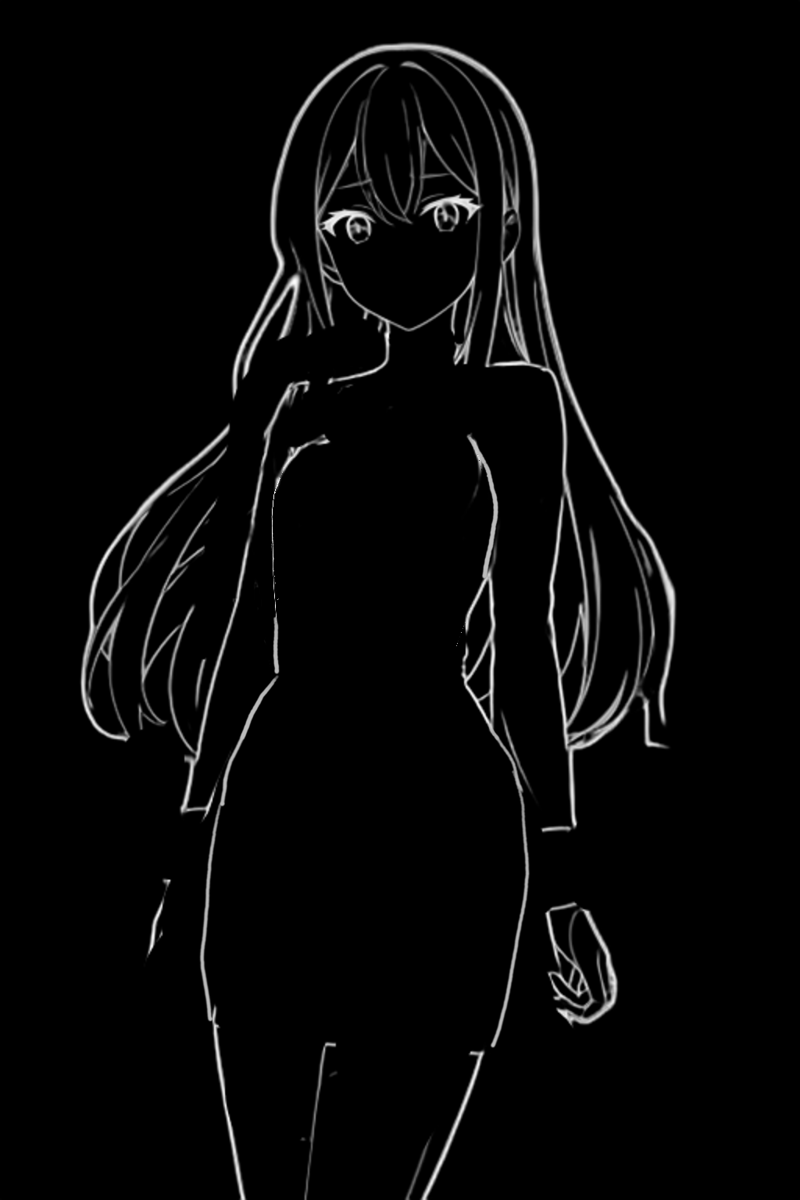
This step basically uses a boundary controlnet to help control the overall shape of the image. (Other boundary types such as softedge, and canny could probably work as well). The image input was specifically made by sending the base image to the Line_Art_Anime_denoise preprocessor and editing the result so that all extra details are removed, leaving only the basic character outline. (You can use anime-background remover in the extra tabs to speed up this process before using the preprocessor)
You will need to find a balance between which lines to keep as it differs for each outfit. It's somewhat lenient but you may need to add/remove details for some complex outfits.
The image used for this ControlNet. I had to trace over the chest line on the left side since the preprocessor didn't pick it up.
Positive:
1girl,wear maid outfit, maid apron, short sleeves, frills
Negative:
duplicated, disfugured, deformed, poorly drawn, low quality eyes, border, comic, lowres, bad anatomy, bad hands, text, error, missing fingers, extra digit, fewer digits, cropped, (worst quality, low quality:1.4),normal quality, jpeg artifacts, signature, watermark, username, blurry, artist name, pixels, censored, verybadimagenegative_v1.3, nsfw,EasyNegativeV2,skirt, Generated Result:

It's hard to notice but the neck is slightly slanted. However, it does do a good job of swapping the image while retaining the overall pose and proportions. Inpainting artifacts should be handled by general editing or by using img2img.
Other Outfits:
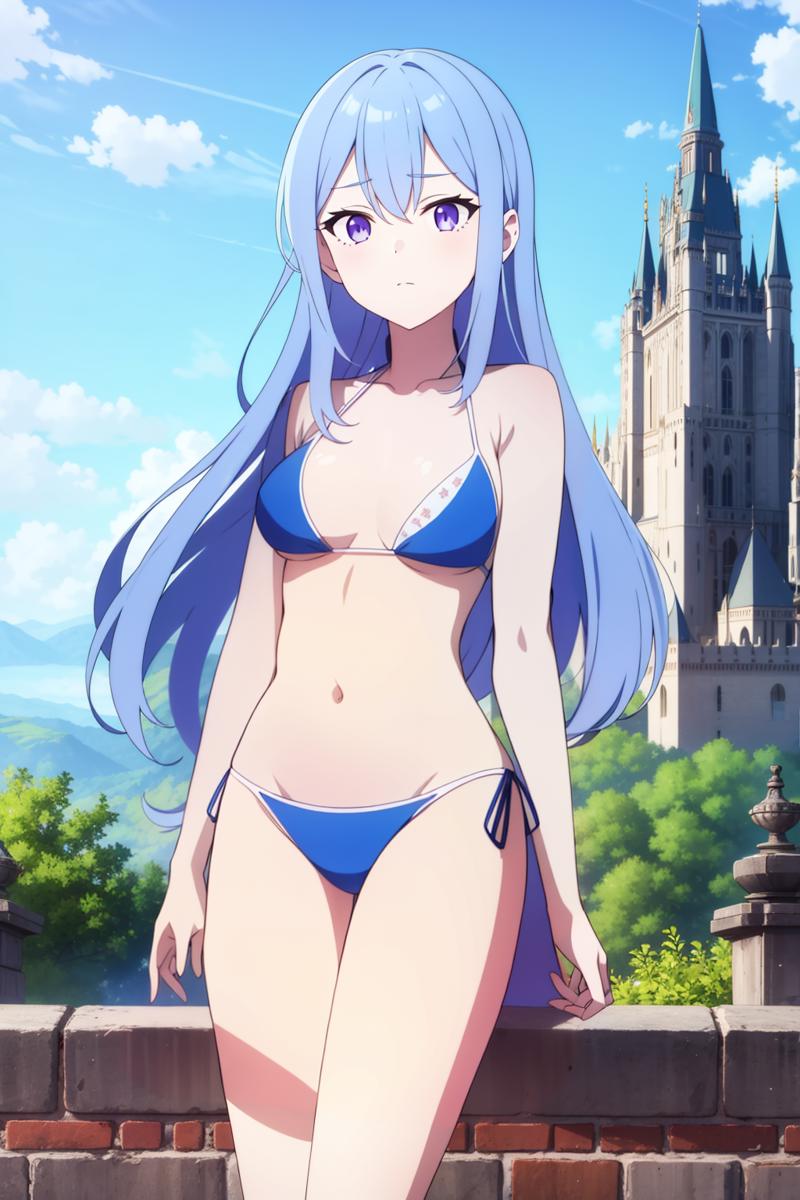
I did run this on other outfits. All settings are the same, this just adjusts the reference image. I recommend generating a swimsuit first or some outfit with very thin clothing since this can help later on with making a more accurate lineart outline.
Swimsuit
Positive:
change to bikiniNegative
duplicated, disfugured, deformed, poorly drawn, low quality eyes, border, comic, lowres, bad anatomy, bad hands, text, error, missing fingers, extra digit, fewer digits, cropped, (worst quality, low quality:1.4),normal quality, jpeg artifacts, signature, watermark, username, blurry, artist name, pixels, censored, verybadimagenegative_v1.3, nsfw,EasyNegativeV2,skirt, Reference Image:

Generated Result:
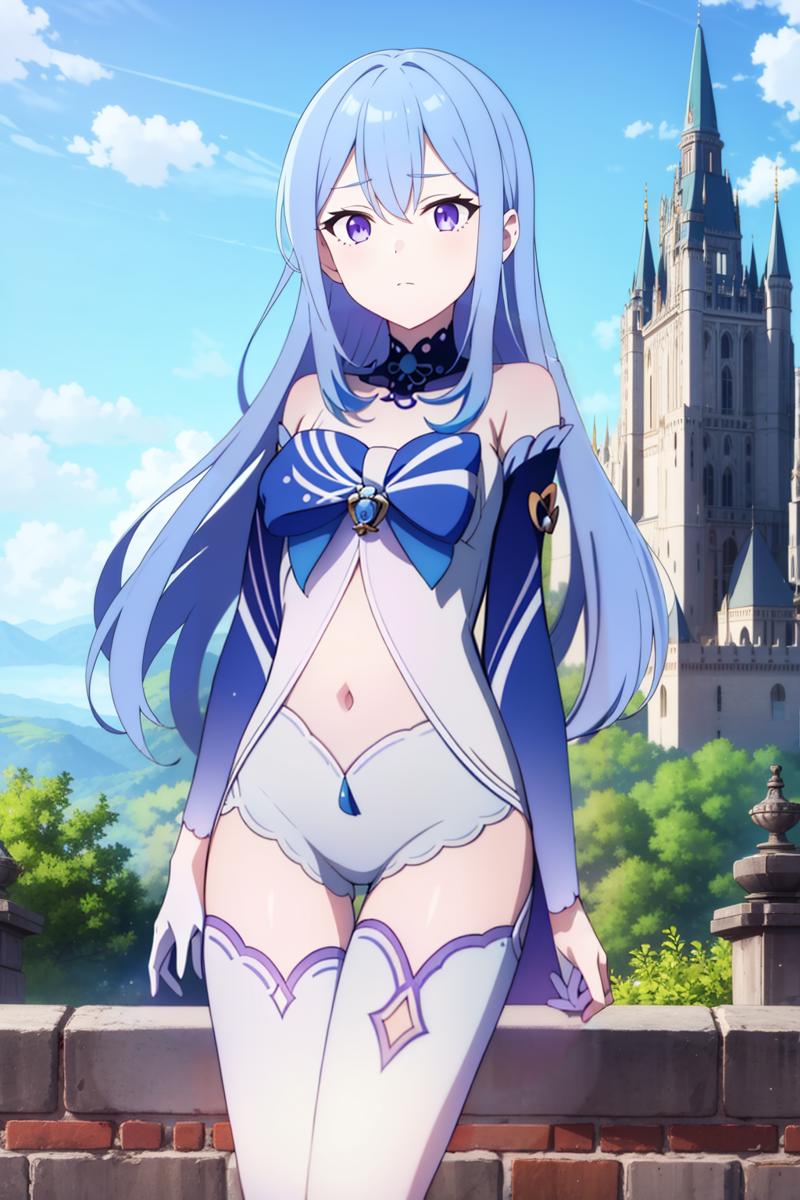
Bunny Girl:
Positive:
1girl,wear bunny_girl_outfit,leotard,pantyhose,sleeveless,bowtie, Negative
duplicated, disfugured, deformed, poorly drawn, low quality eyes, border, comic, lowres, bad anatomy, bad hands, text, error, missing fingers, extra digit, fewer digits, cropped, (worst quality, low quality:1.4),normal quality, jpeg artifacts, signature, watermark, username, blurry, artist name, pixels, censored, verybadimagenegative_v1.3, nsfw,EasyNegativeV2,skirt, Reference Image:

Generated Result:

Outfits with LoRAs
I tried two trials with LoRAs
Using a character LoRA
Using an outfit LoRA
The outfit LoRAs were easier to work while the character LoRA required an accurate outline. LoRAs are a bit more trickier to work with since there are some words that act like triggers. Prompt needs to be longer as a result, unfortunately.
Kokomi
Getting Kokomi's outfit to work was quite the struggle as the proportions were still messed up with the basic outline from the workflow guide. I managed to get to work by using the outlines from the swimsuit and then applying the same process. The important aspect here is that I had to place the pelvis instead of having it erased. I also had to use ControlNet to try the reference image in a somewhat similar pose. (I had issues with a sitting pose)

Positive:
wear sangonomiya kokomi (sparkling coralbone), no pupils, sangonomiya kokomi, 1girl, solo, bow-shaped hair, long hair, looking at viewer, gloves, bare shoulders, water, bangs, no shoes, white gloves, smile, purple eyes, wide sleeves, bow, blue hair, socks, gradient hair, full body, frilled sleeves, fish, thighs, legs, jellyfish, blunt bangs, frills, blush, closed mouth, blue eyes, long sleeves, detached sleeves, knees up, very long hair, feet, vision (genshin impact), hair ornament, water drop, colored tips, white socks, shorts, white thighhighs <lora:kokomi_1024_Adam8_dim64_kohyaLoRA_fp32_8e-2noise_token2_24-3-2023:.8>Negative:
duplicated, disfugured, deformed, poorly drawn, low quality eyes, border, comic, lowres, bad anatomy, bad hands, text, error, missing fingers, extra digit, fewer digits, cropped, (worst quality, low quality:1.4),normal quality, jpeg artifacts, signature, watermark, username, blurry, artist name, pixels, censored, verybadimagenegative_v1.3, nsfw,EasyNegativeV2,skirt, groinReference Image:

Generated Result:
Kisaki's China Dress Costume LoRA
Easiest to work with.
Positive:
wear china dress, <lora:KisakiChinaDress:0.9>, sleeveless, Negative:
duplicated, disfugured, deformed, poorly drawn, low quality eyes, border, comic, lowres, bad anatomy, bad hands, text, error, missing fingers, extra digit, fewer digits, cropped, (worst quality, low quality:1.4),normal quality, jpeg artifacts, signature, watermark, username, blurry, artist name, pixels, censored, verybadimagenegative_v1.3, nsfw,EasyNegativeV2,skirt, groin,jacketReference Image:

Generated Result:

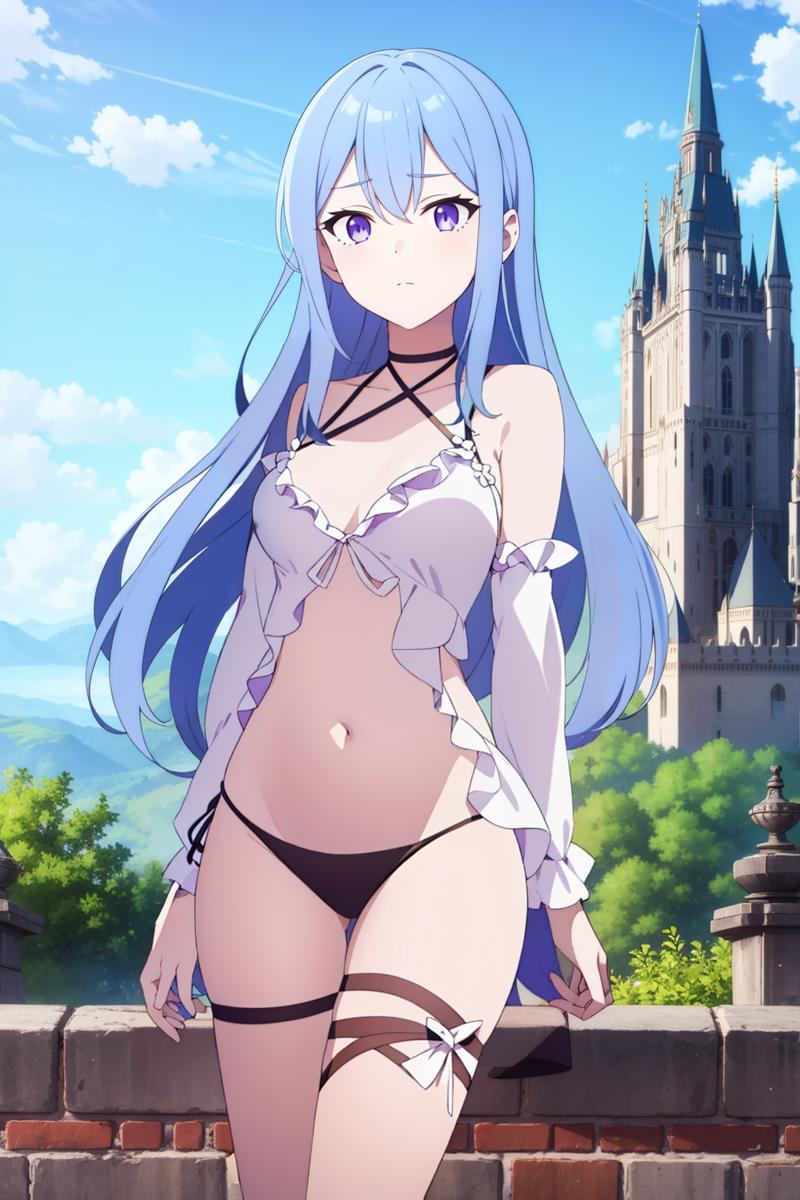
Surtr (colorful wonderland)
This one required more work from what I initially expected. First, the outfit has sleeves where the outlines do not match with result in the LineArt preprocessor so I had to edit the outline to exclude the arms.

There also some concept bleed from the LoRA so I had to specify blue hair to reduce the rate of red hair showing up. I also had to generate an image with a girl with blue hair as well. (LoRA here is just what I renamed; I didn't notice I made a typo)
Positive:
wear outfit-surtr, 1girl, solo, horns,blue hair,long hair, breasts looking at viewer, stomach, very long hair, ass visible through thighs, medium breasts, bangs, cowboy shot ,crossed legs, food,<lora:sutr:1.1>Negative:
duplicated, disfugured, deformed, poorly drawn, low quality eyes, border, comic, lowres, bad anatomy, bad hands, text, error, missing fingers, extra digit, fewer digits, cropped, (worst quality, low quality:1.4),normal quality, jpeg artifacts, signature, watermark, username, blurry, artist name, pixels, censored, verybadimagenegative_v1.3, nsfw,EasyNegativeV2,skirt, groin,seasideReference Image
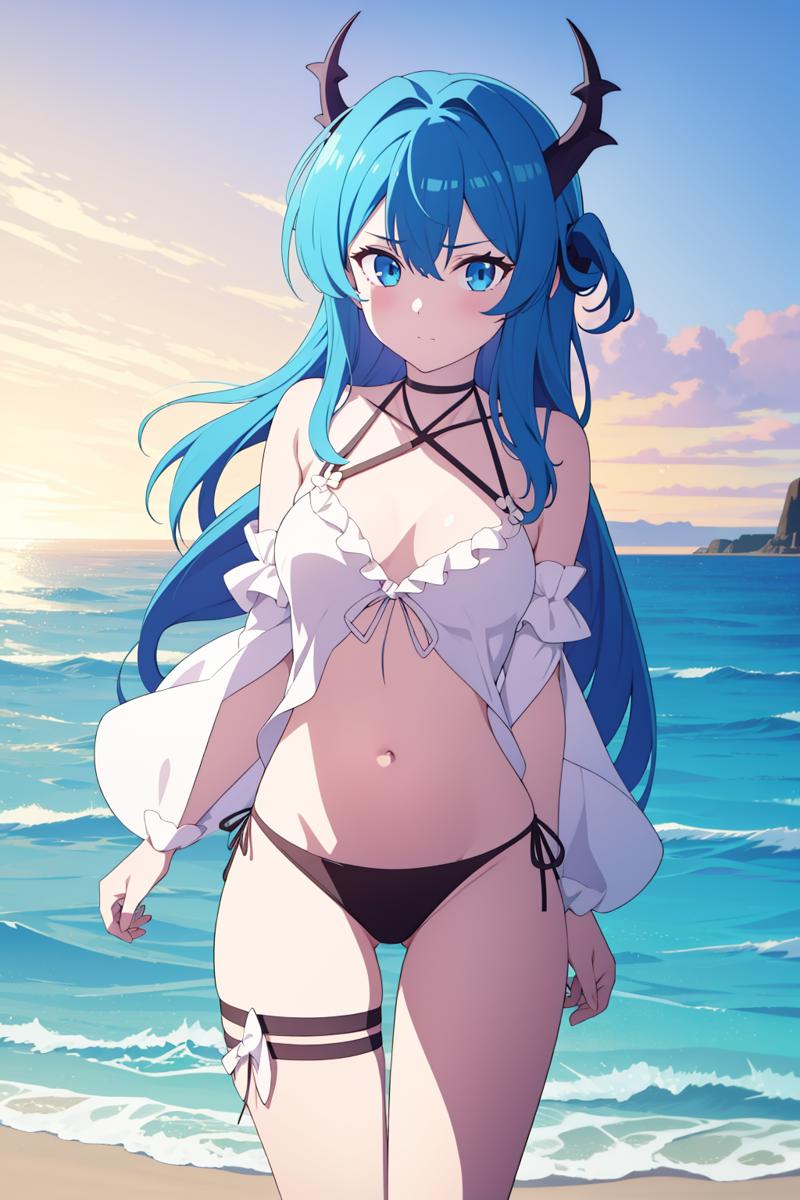
Initially, I set the weight of the reference ControlNet to 0.5 to reduce concept bleeding but I was also struggling with getting some the details properly so after running it once, I sent the generated image to reference ControlNet and swapped the settings to ControlNet is Important with reference_adain+attention, and set the weight back to 1.
Final Generated Result:
Where this doesn't work too well:
For base images, where the legs or any body parts are obscured via a large skirt,clothing, or object; this method will struggle. You can try using 3d posing tools such as magicposer which can help build an accurate outline but the main limitation will be mostly with your art skill in getting proportions aligned properly. Also, don't forget that with this method you always have the option of sending generated images to CN lineart to fix mistakes or add details until you get your final result.
LoRA Dataset Augmentation
This technique can be helpful with removing hats, accessories, or clothing to increase LoRA flexibility with custom outfits. The main limitation with this type of augmentation is that style should match or otherwise the LoRA will accidently learn the style contrast between the face and the body.
Conclusion:
It's not completely perfect but it does have good stability. For any weird artifacts, I just recommend using editing tricks, inpaint lama as a separate pass, and img2img over trying to get everything in a single generation. This was more of a fun test and learning experiment. Thanks for reading!
Thanks to tsound97 and studiomasakaki for sharing the initial workflows.
It is possible to edit the pose for images as well but it requires a different workflow which I could write if I have time(if I'm not too busy with Fontaine) . Also, hands can still be bad which will probably require a different controlnet pass.


