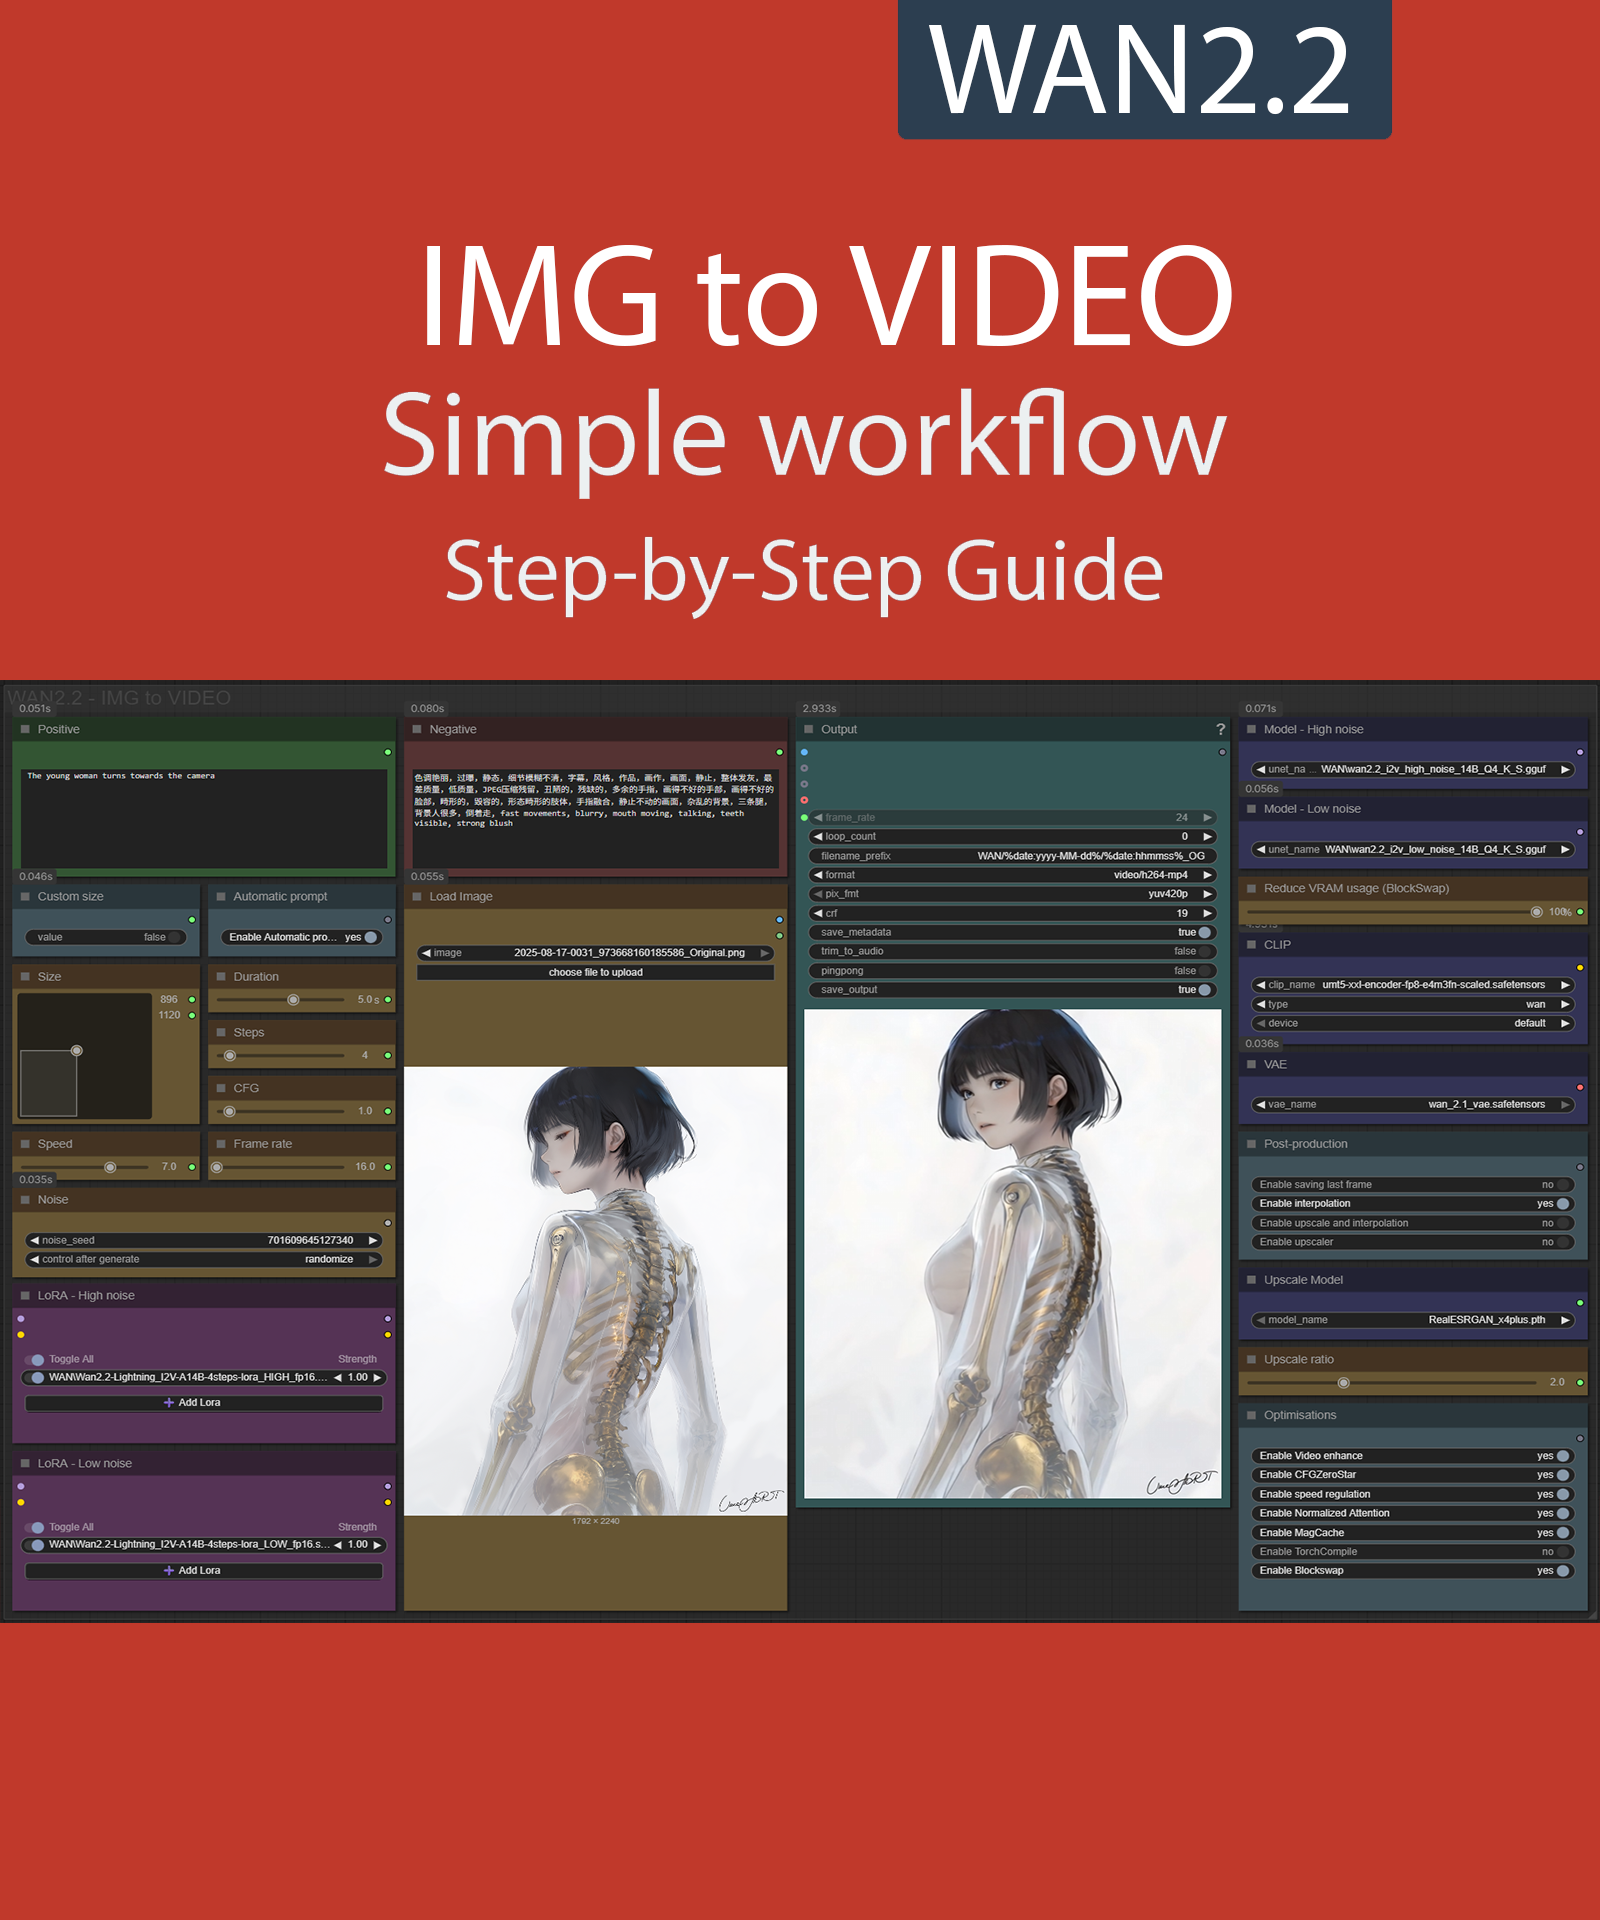
Step-by-Step Guide Series:
ComfyUI - WAN 2.2 IMG to VIDEO Workflow
This article accompanies this workflow: link
Foreword :
This guide is intended to be as simple as possible, and certain terms will be simplified.
Workflow description :
The aim of this workflow is to generate video from an existing image in a simple window.
Prerequisites :
If you are on windows, you can use my script to download and install all prerequisites : link
Files :
For base version
I2V Model : wan2.2_i2v_high_noise_14B_fp8_scaled.safetensors and wan2.2_i2v_low_noise_14B_fp8_scaled.safetensors
In models/diffusion_models
CLIP: umt5_xxl_fp8_e4m3fn_scaled.safetensors
in models/clip
For GGUF version
I2V Quant Model : wan2.2_i2v_high_noise_14B_QX.gguf and wan2.2_i2v_low_noise_14B_QX.gguf
In models/unet
Quant CLIP: umt5-xxl-encoder-QX.gguf
in models/clip
For speed version
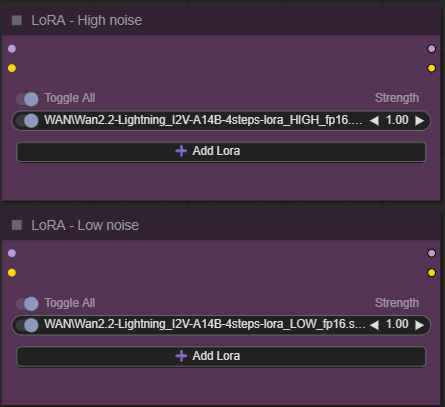
lightning LoRA : Wan2.2-Lightning_I2V-A14B-4steps-lora_HIGH_fp16.safetensors and Wan2.2-Lightning_I2V-A14B-4steps-lora_LOW_fp16.safetensors
For AIO version
I2V FAST AIO Model : wan2.2-i2v-rapid-aio.safetensors
In models/checkpoint
VAE: wan_2.1_vae.safetensors
in models/vae
ANY upscale model:
Realistic : RealESRGAN_x4plus.pth
Anime : RealESRGAN_x4plus_anime_6B.pth
in models/upscale_models
Custom Nodes :
Don't forget to close the workflow and open it again once the nodes have been installed.
Usage :
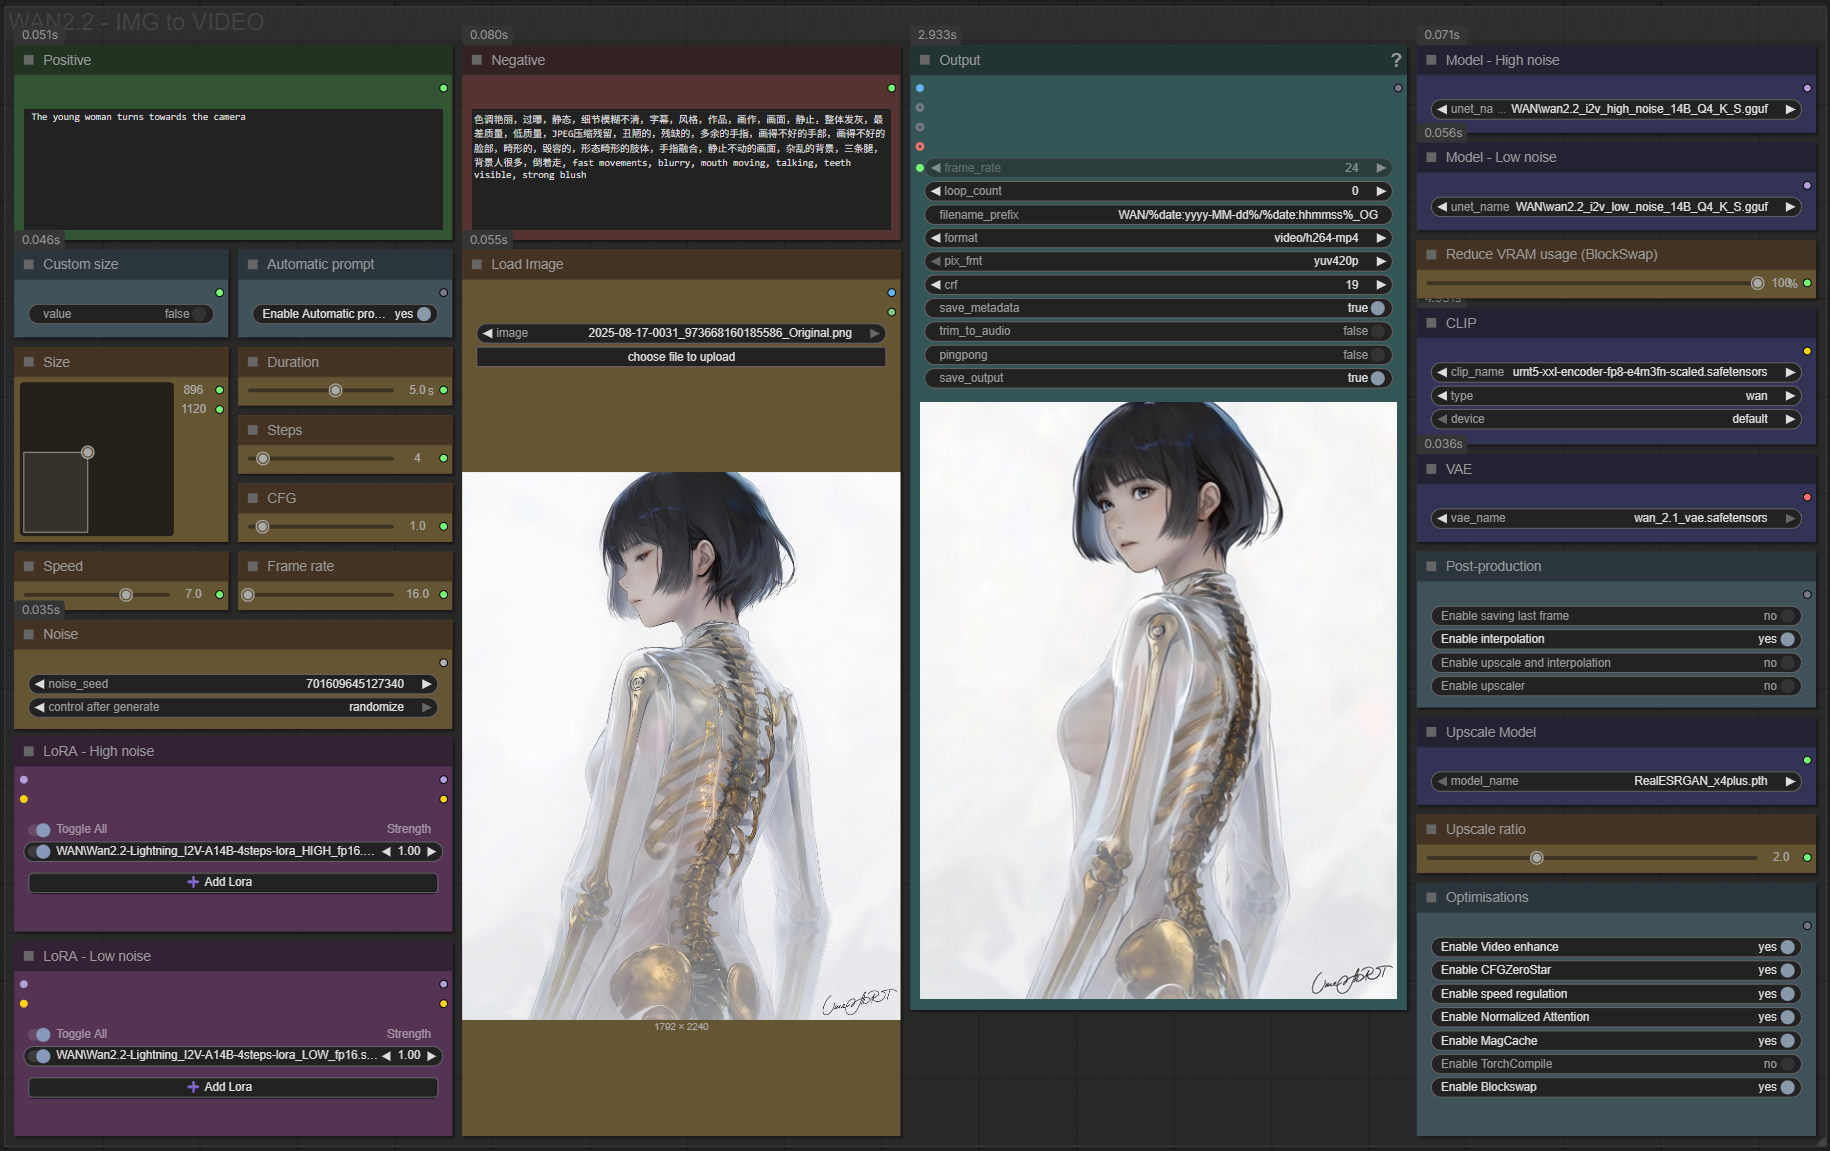
In this workflow everything is organized by color:
Green is what you want to create, also called prompt,
Red is what you don't want,
Yellow is all the parameters to adjust the video,
Pale-blue are feature activation nodes,
Blue are the model files used by the workflow,
Purple is for LoRA.
We will now see how to use each node:
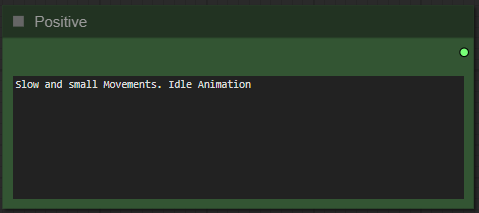
Write what you want in the “Positive” node :
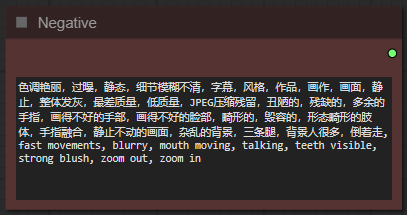
Write what you dont want in the "Negative" node :
Here you choose the size of your video. If you do not check your image will be automatically resized, if you check use the selector to choose the size of the video.
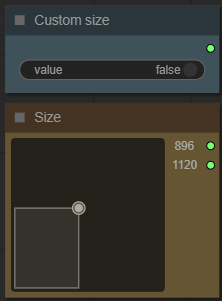
The larger it is, the better the quality, but the longer the generation time and the greater the VRAM required.
Choose if you want automatic prompt addition :

If enabled, the workflow will analyze your image and automatically add a prompt to your.
Choose a number of steps :

I recommend between 15 and 30. The higher the number, the better the quality, but the longer it takes to generate video.
Choose the duration of the video :

The longer the video, the more time and VRAM it requires.
Choose the guidance level :

I recommend to star at 6. The lower the number, the freer you leave the model. The higher the number, the more the image will resemble what you “strictly” asked for.
Choose video speed :

This allows you to slow down or speed up the overall animation. The default speed is 8.
Choose framerate :

Depending on the model chosen it is 16 or 24fps, for WAN2.2 14B use 16fps.
Define a seed or let comfy generate one:

Import your base image :
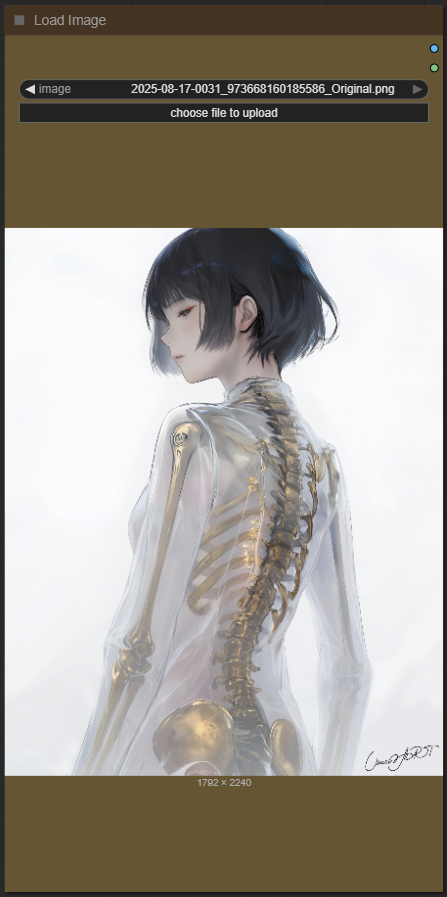
Don't forget that it will be reduced or enlarged to the format you've chosen. An image with too different a resolution can lead to poor results.
Add how many LoRA you want to use, and define it :
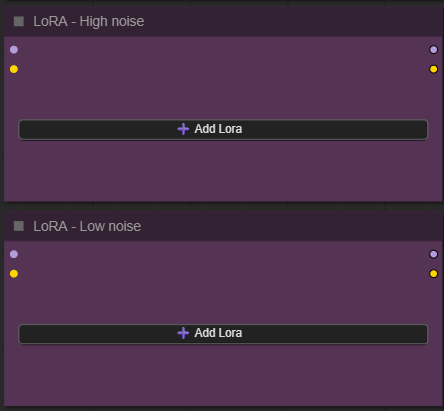
If you dont know what is LoRA just dont active any.
Now you're ready to create your video.
Just click on the “Queue” button to start:

After a few minutes (depending on the power of your GPU) the result will be in the node output:
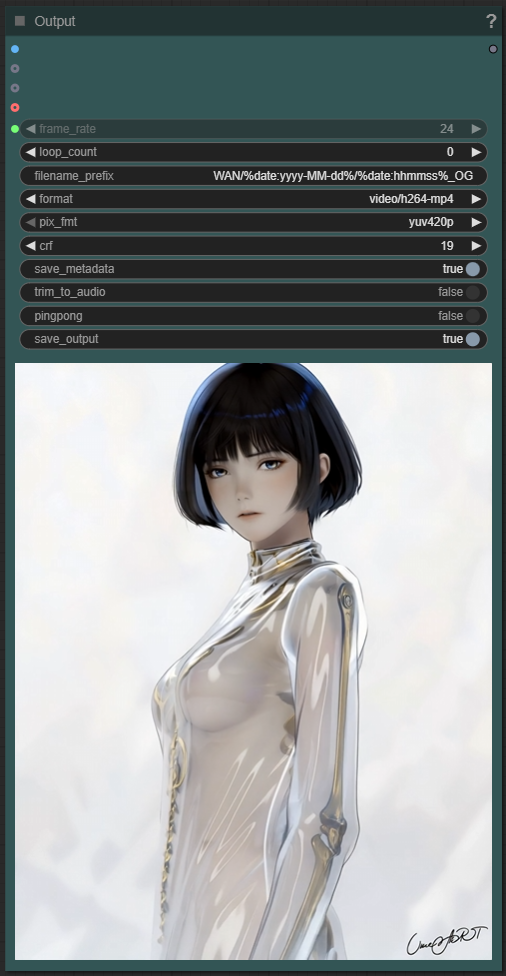
Additional option:
But there are still plenty of menus left? Yes indeed, here is the explanation of the additional options menu:
Select your model :
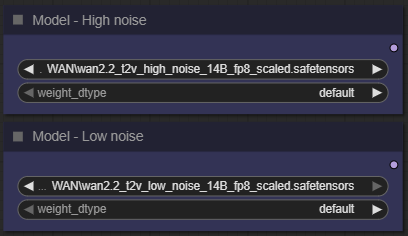
Depending on the power of your graphics card, you should choose the most suitable model. The idea is to NEVER overload yourself. To do this, you need to find out the amount of VRAM in your graphics card and choose a suitable model.
Choose how mutch of the model you want to swap from VRAM to RAM :

You must check BlockSwap below for this setting to be used.
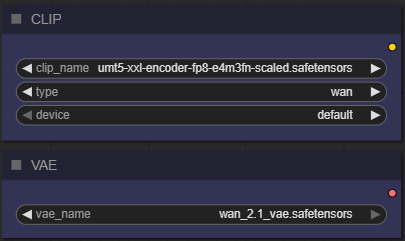
The CLIP and VAE are essential but you will never have to modify them except in special cases:
Select the actions to take after generating the video:
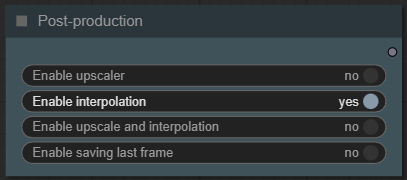
In this menu you can activate processing on your video once it is finished:
An upscaler to increase the resolution,
an interpolation to increase fluidity,
both preceding at the same time,
recording the last frame (useful for creating a sequence, for example)
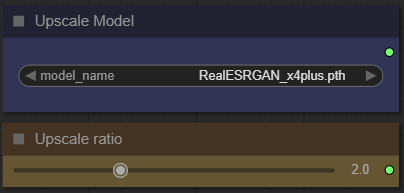
Here you can select your upscale model and then the resolution increase ratio.
Select the optimizations you want:
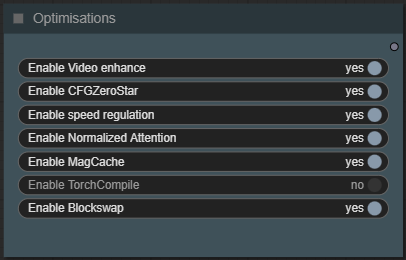
This last node allows you to activate different optimizations:
Video enhance: The temporal attention plays a crucial role in ensuring consistency among frames, further preserving the details. To better understand the effect of temporal attention, we visualize the temporal attention patterns across various blocks.
CFGZeroStar: Improves overall quality of low CFG generations by blending outputs to reduce artifacts.
- Helps reduce flickering and hallucinations.
NOTE: May reduce contrast/detail if overusedSpeed regulation: allows you to take into account the "speed" slider to modulate the overall speed of the video
Normalized Attention: Lets the model attend to multiple frames at once, rather than treating each frame independently.
- Improves consistency in moving objects (hair, limbs, etc.)
NOTE: Uses more VRAM; may slow down generationMagCache: Smart frame caching that skips rendering similar frames, saving compute and increasing temporal coherence.
- Speeds up generation significantly
NOTE: High threshold may cause “frozen” framesTorch Compile: Optimizes your model into a faster, more efficient version.
- Significantly Speeds up processing
- Reduces memory usage and improves performance
NOTE: 1st run will be slower due to compilation/optimizationBlockSwap: Allows you to move part of the model into RAM instead of VRAM. Very useful when your graphics card is running out of VRAM.
- May slow down generation
Specific setting for using LoRA acceleration:
4 steps:

CFG to 1.0:

Each LoRA specific to noise (high/low):
Some additional information:
Organization of recordings:
All generated files are stored in comfyui/output/WAN/YYYY-MM-DD.
Depending on the options chosen you will find:
"hhmmss_OG_XXXXX" the basic file,
"hhmmss_IN_XXXXX" the interpoled,
"hhmmss_UP_XXXXX" the upscaled,
"hhmmss_LF_XXXXX" the last frame.
This guide is now complete. If you have any questions or suggestions, don't hesitate to post a comment.


