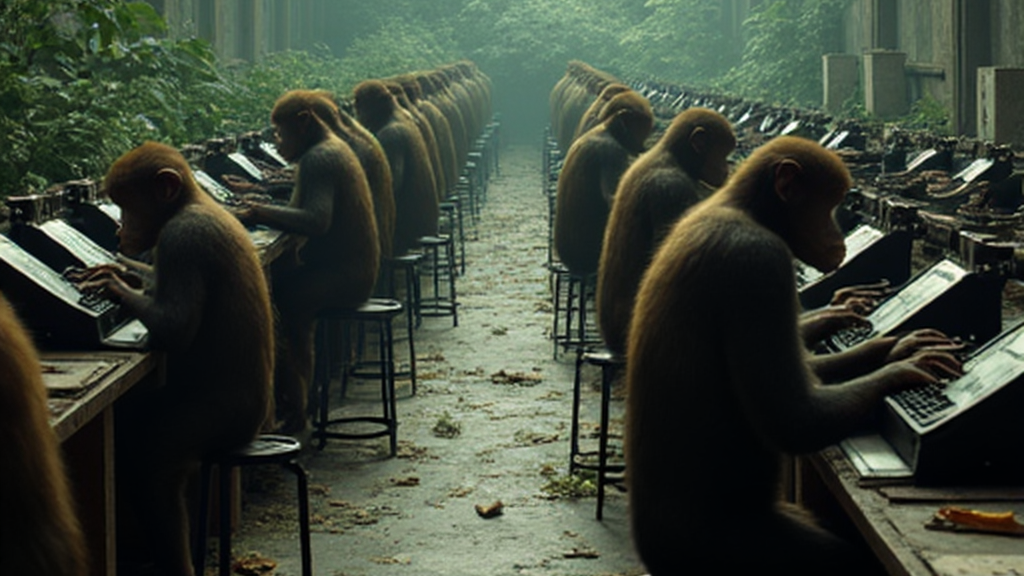
Wanna make some good looking 60 FPS videos on your gaming rig? No 5090? No problem! Sit down and buckle up because this journey is worth it.
This modular workflow has: Wan 2.2 I2V, Wan 2.2 FF2LF, Flux txt2img, Flux inpaint, Video upscaler, Video combiner, metadata extractor, custom file organization, multiple file type output, and more!
System specs: Ryzen 7 7700x, RTX3080 TI 12gb VRAM, 64gb DDR5.
Flux takes <1 minute for a batch of 4 HD images, Wan makes one 4 second video in ~3-7 minutes.
This uses GGUF models to reduce system requirements, without much (noticeable) quality loss. Upscaling adds another 15ish minutes but I don't usually upscale.
Without sage the Wan rates are like 2-3x longer, so it adds some crazy improvements.
Fair warning; this workflow has a lot of custom nodes and a few models.
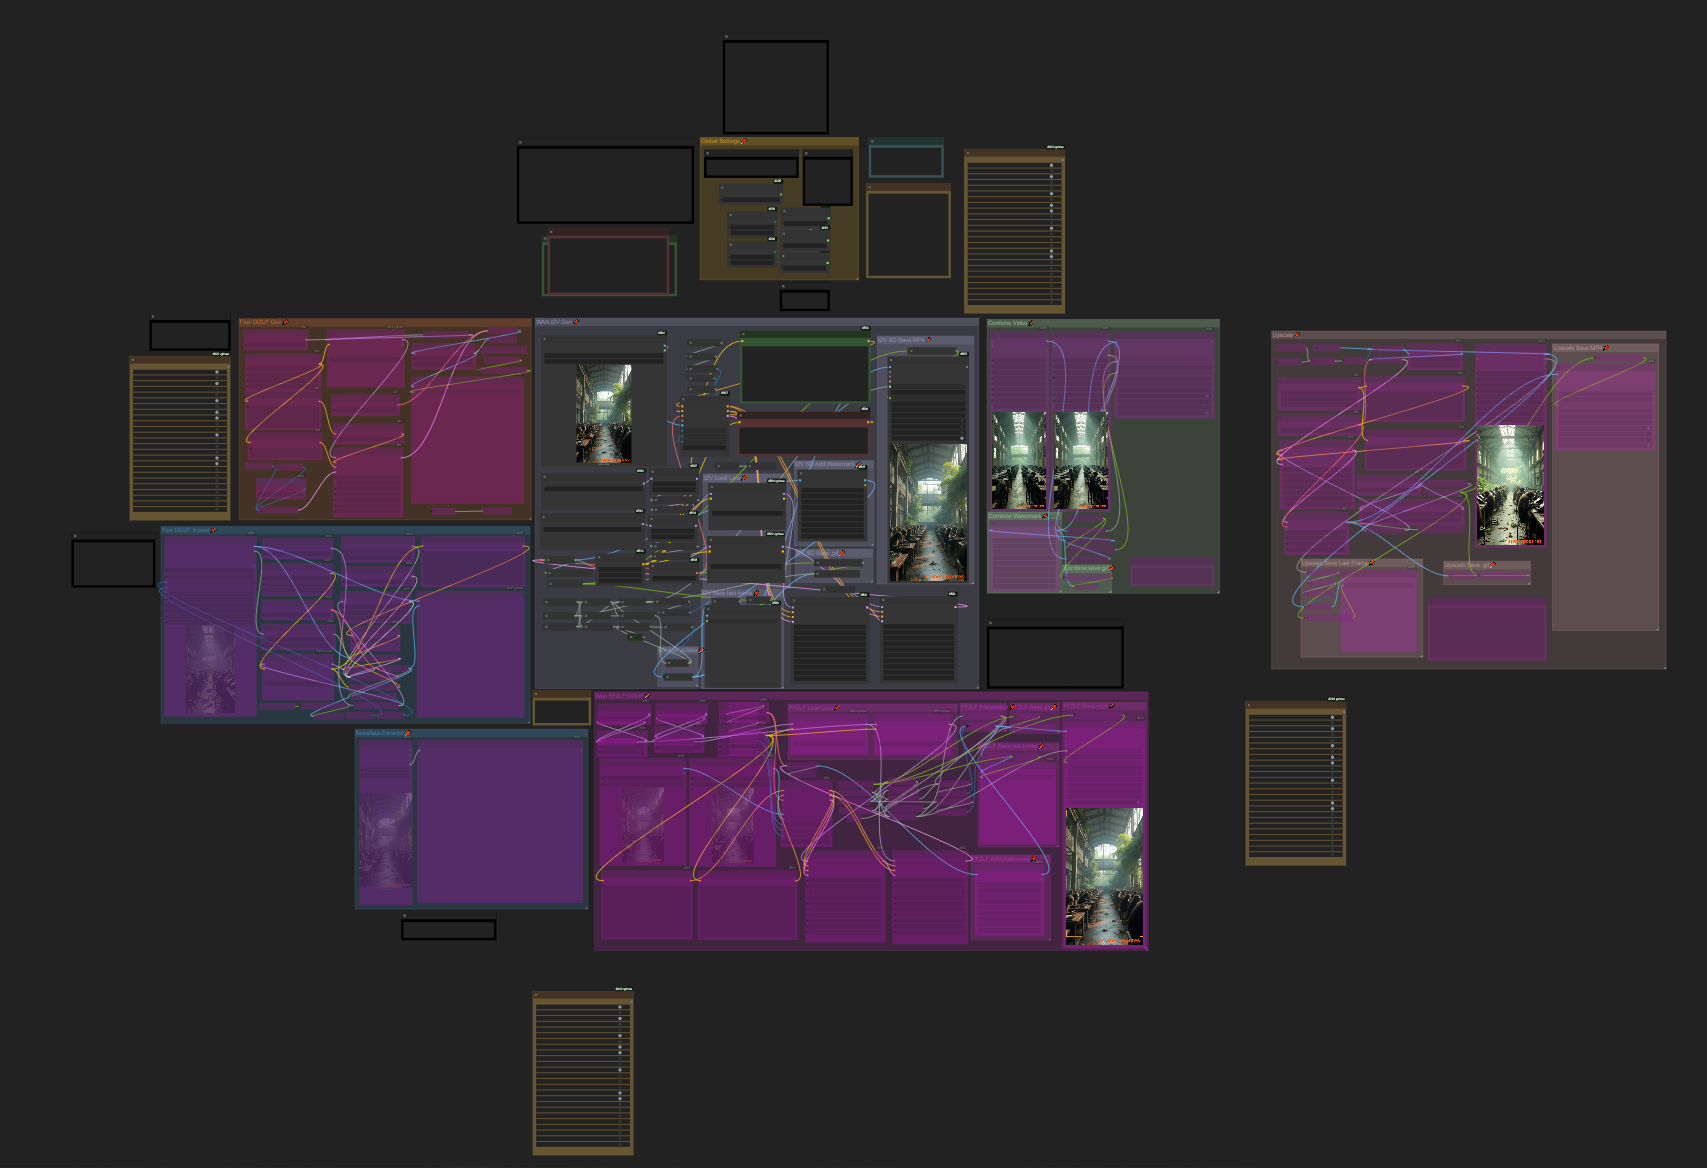
Here's how I got everything running:
Start by installing and setting up ComfyUI with sage attention. I used this video. Trust me it's worth the hassle.
Some comments in the video mention it's a pain to run ComfyUI with powershell and venv every time, so I asked chatGPT to write me a batch file so I can easily just click and run it and I recommend you do the same. At this point I would highly recommend making a backup of the entire ComfyUI directory once you verify it works. It'll save you having to reinstall sage if anything breaks.
Models
These are the models I use, but you can substitute higher quantized models for the Q4 ones.
Flux models:
Flux 1 dev Q4 GGUF
Flux clip:
clip_l
t5xxl fp8 e4m3fn
Flux vae:
ae
Wan models:
Wan 2.2 I2V A14B High/Low Noise Q4
Wan 2.1 I2V 14B lightxv2 cfg step distill lora rank64
Wan2.2 Lightning I2V A14B 4steps lora HIGH/LOW fp16
Wan clip:
umt5 xxl fp8 e4m3fn scaled
Wan vae:
Wan 2.1 vae
Before we get started:
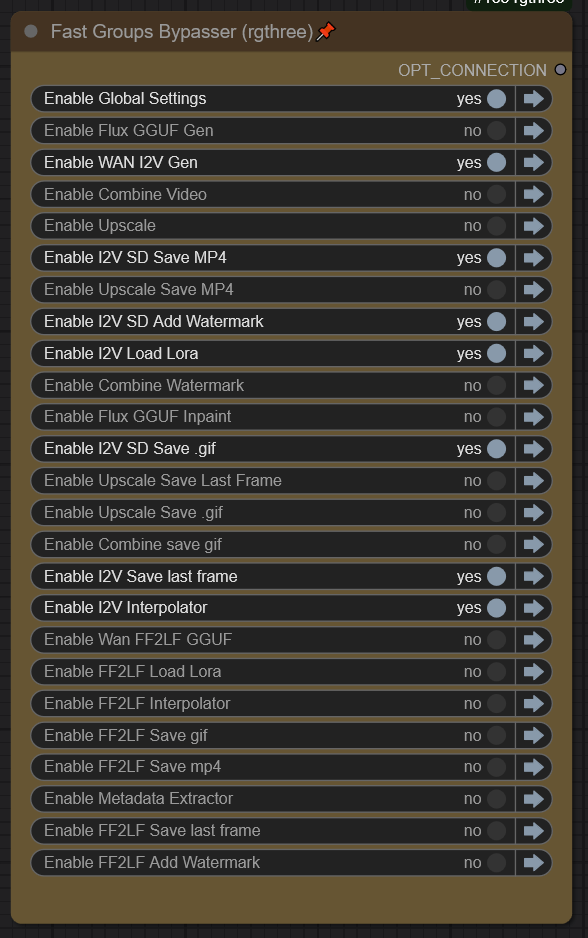
Use this bypass tool (remote) to enable/disable unused modules. You can also click the arrow and it will bring you to whatever module you selected.
Make sure you only enable the modules you need before you hit run or you might be waiting for nothing and get weird, bad results.
Global Settings
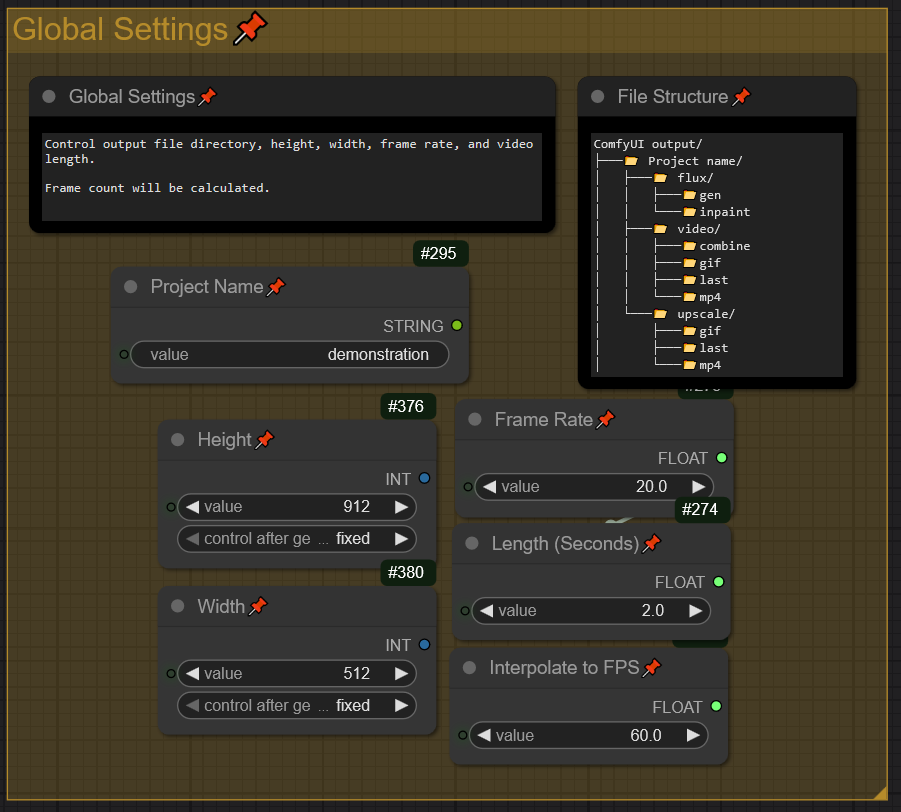
Change the project name, adjust dimensions, frame rate, length, and interpolation FPS. These settings are shared across all modules for convenience.
Flux
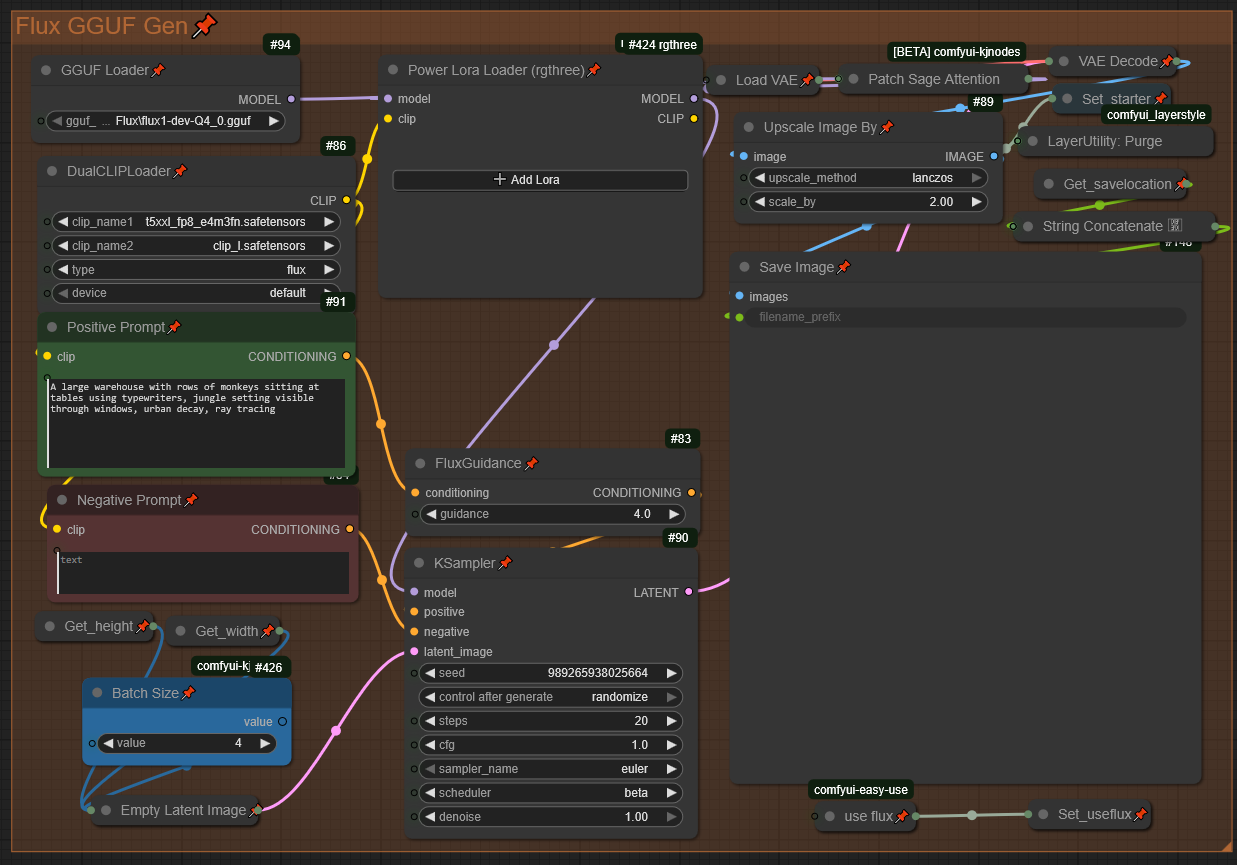
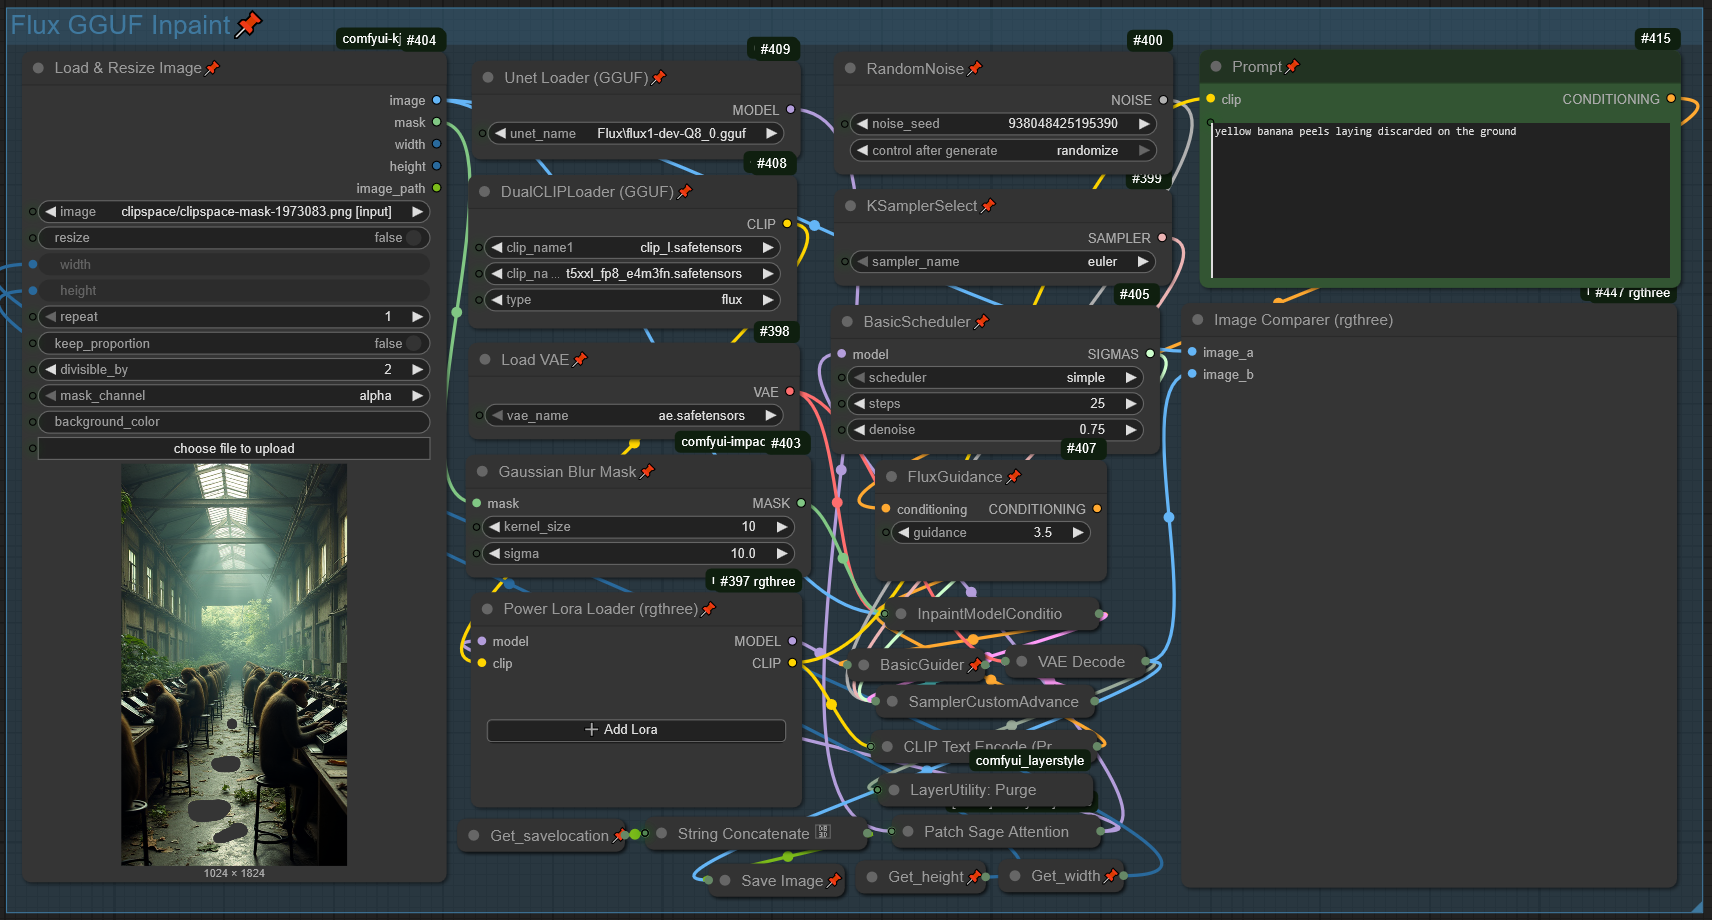
We'll start by generating the starting image with flux so navigate to the Flux GGUF Gen module and give it a prompt. You can tweak settings here and add loras if you want.
Then if you want to inpaint the image to tweak some details, navigate to the Flux GGUF inpaint module. Load your image, then right click and select "Open in MaskEditor", draw your mask, then click save. You can tweak settings here and add loras if you want. I'd recommend keeping the prompt short to increase speed, but ymmv.
Now that you have a good image that you're happy with, you can move on to video generation.
Wan
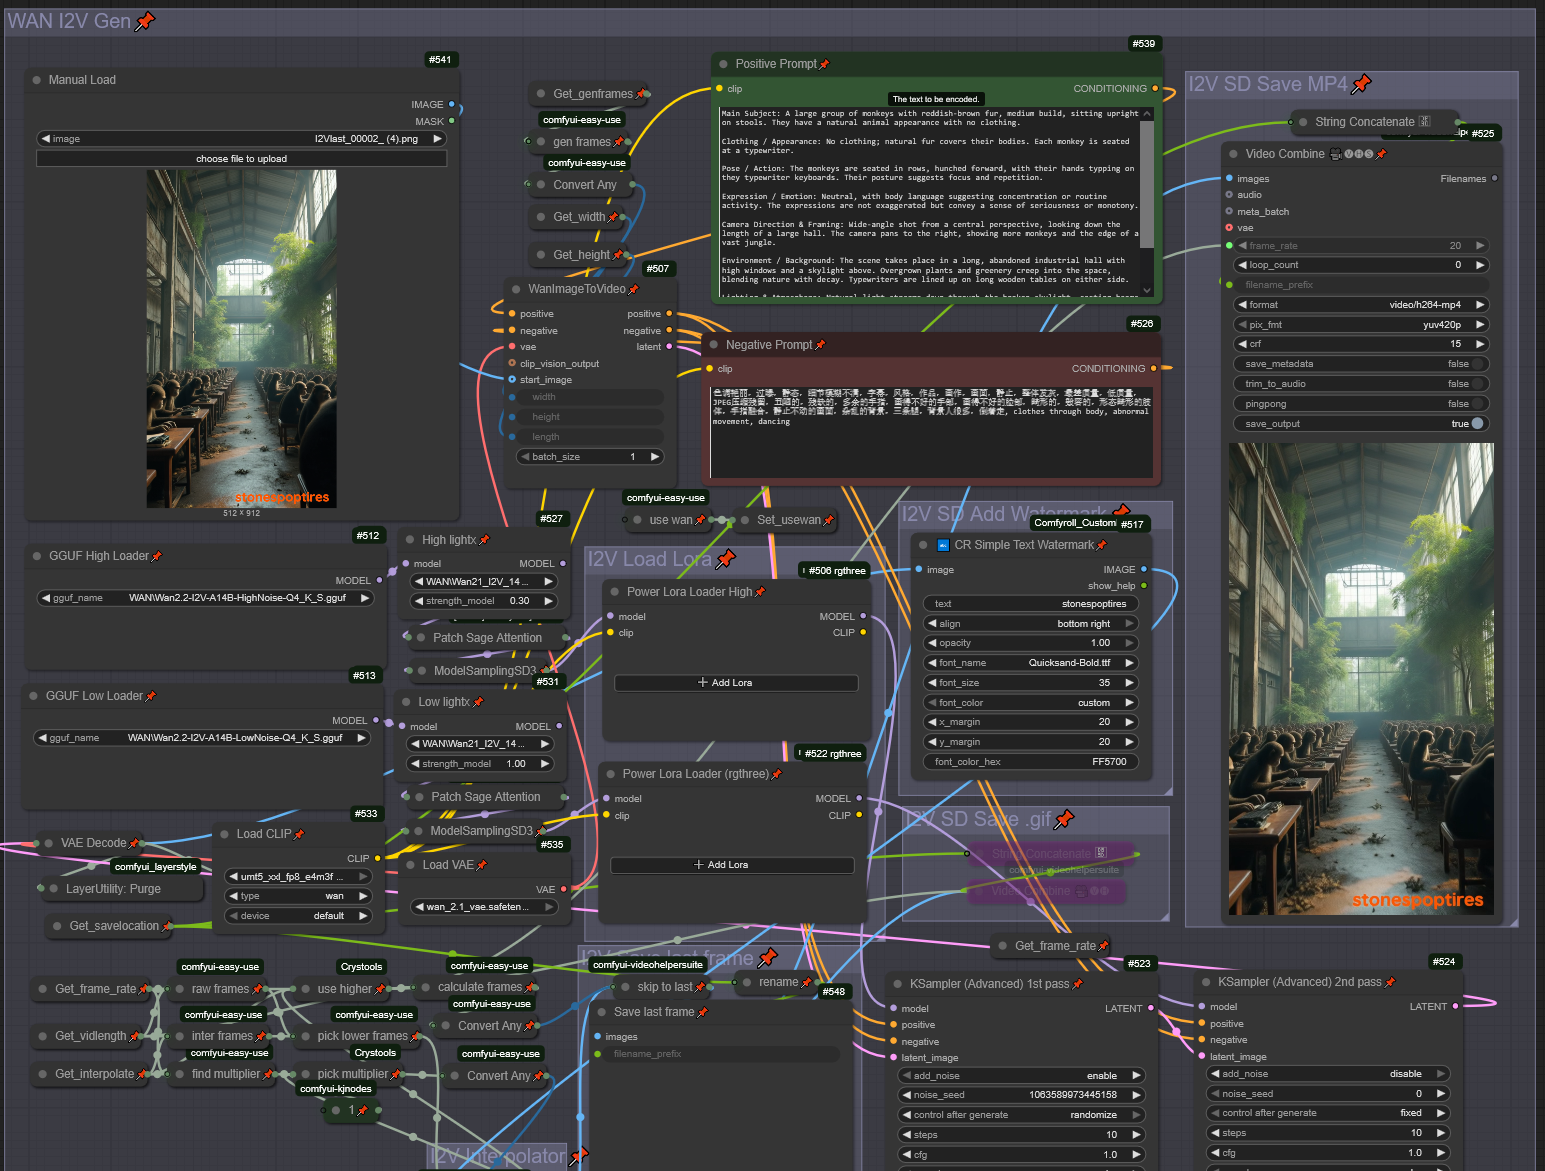
Upload the image you made with Flux and copy the chatGPT prompt template (it's behind the red readme node to the left of Global Settings) into chatGPT. Shout out to HearmemanAI for the theory/idea. He has a good post here that explains it more in depth.
I'm sure there is a more elegant way to do this with automation but this works well enough for me. ChatGPT also won't let you do anything that is 18+ or looks like it might be so just be aware of that.
Upload your image in the manual load node in the Wan I2V module. Then paste in your chatGPT response. I would highly recommend tweaking it before just sending it.
Here is an example prompt:
Main Subject: A large group of monkeys with reddish-brown fur, medium build, sitting upright on stools. They have a natural animal appearance with no clothing.

Clothing / Appearance: No clothing; natural fur covers their bodies. Each monkey is seated at a typewriter.

Pose / Action: The monkeys are seated in rows, hunched forward, with their hands typing on they typewriter keyboards. Their posture suggests focus and repetition.

Expression / Emotion: Neutral, with body language suggesting concentration or routine activity. The expressions are not exaggerated but convey a sense of seriousness or monotony.

Camera Direction & Framing: Wide-angle shot from a central perspective, looking down the length of a large hall. The rows of monkeys create a strong sense of symmetry and depth, with the vanishing point at the far end of the hall.

Environment / Background: The scene takes place in a long, abandoned industrial hall with high windows and a skylight above. Overgrown plants and greenery creep into the space, blending nature with decay. Typewriters are lined up on long wooden tables on either side.

Lighting & Atmosphere: Natural light streams down through the broken skylight, casting beams of sunlight that cut through a hazy atmosphere.

Style Enhancers: surrealism, dystopian imagery, cinematic composition, high detail, atmospheric lighting, strong perspective depth, photorealistic, rocksteady, ray tracing.
The style enhancers section is where I like to put typical tags and tags used to call loras. Wan is usually excellent at making the videos regardless.
For the negative prompt, I use this:
色调艳丽,过曝,静态,细节模糊不清,字幕,风格,作品,画作,画面,静止,整体发灰,最差质量,低质量,JPEG压缩残留,丑陋的,残缺的,多余的手指,画得不好的手部,画得不好的脸部,畸形的,毁容的,形态畸形的肢体,手指融合,静止不动的画面,杂乱的背景,三条腿,背景人很多,倒着走, clothes through body, abnormal movement, dancingor this:
low quality, lowres, bad hands, extra limbs, missing fingers, poorly drawn face, bad anatomy, blurred, jpeg artifacts, deformed, ugly, bad proportions, disfigured, watermark, text, logo, signature, unrealistic eyes, cross-eyed, lopsided, bad lighting, harsh shadows, flat shading, unshapely body, pixelated, duplicate limbs, bad perspective, morphed, distorted, glitch, malformed hands, distorted fingers, noisy background, overly saturated, unnatural colors, lens distortion, grainy, low detail,This video by goshnii AI has a good breakdown on the details of the I2V generator, and I think the upscaler too. They go into more depth than I will here.
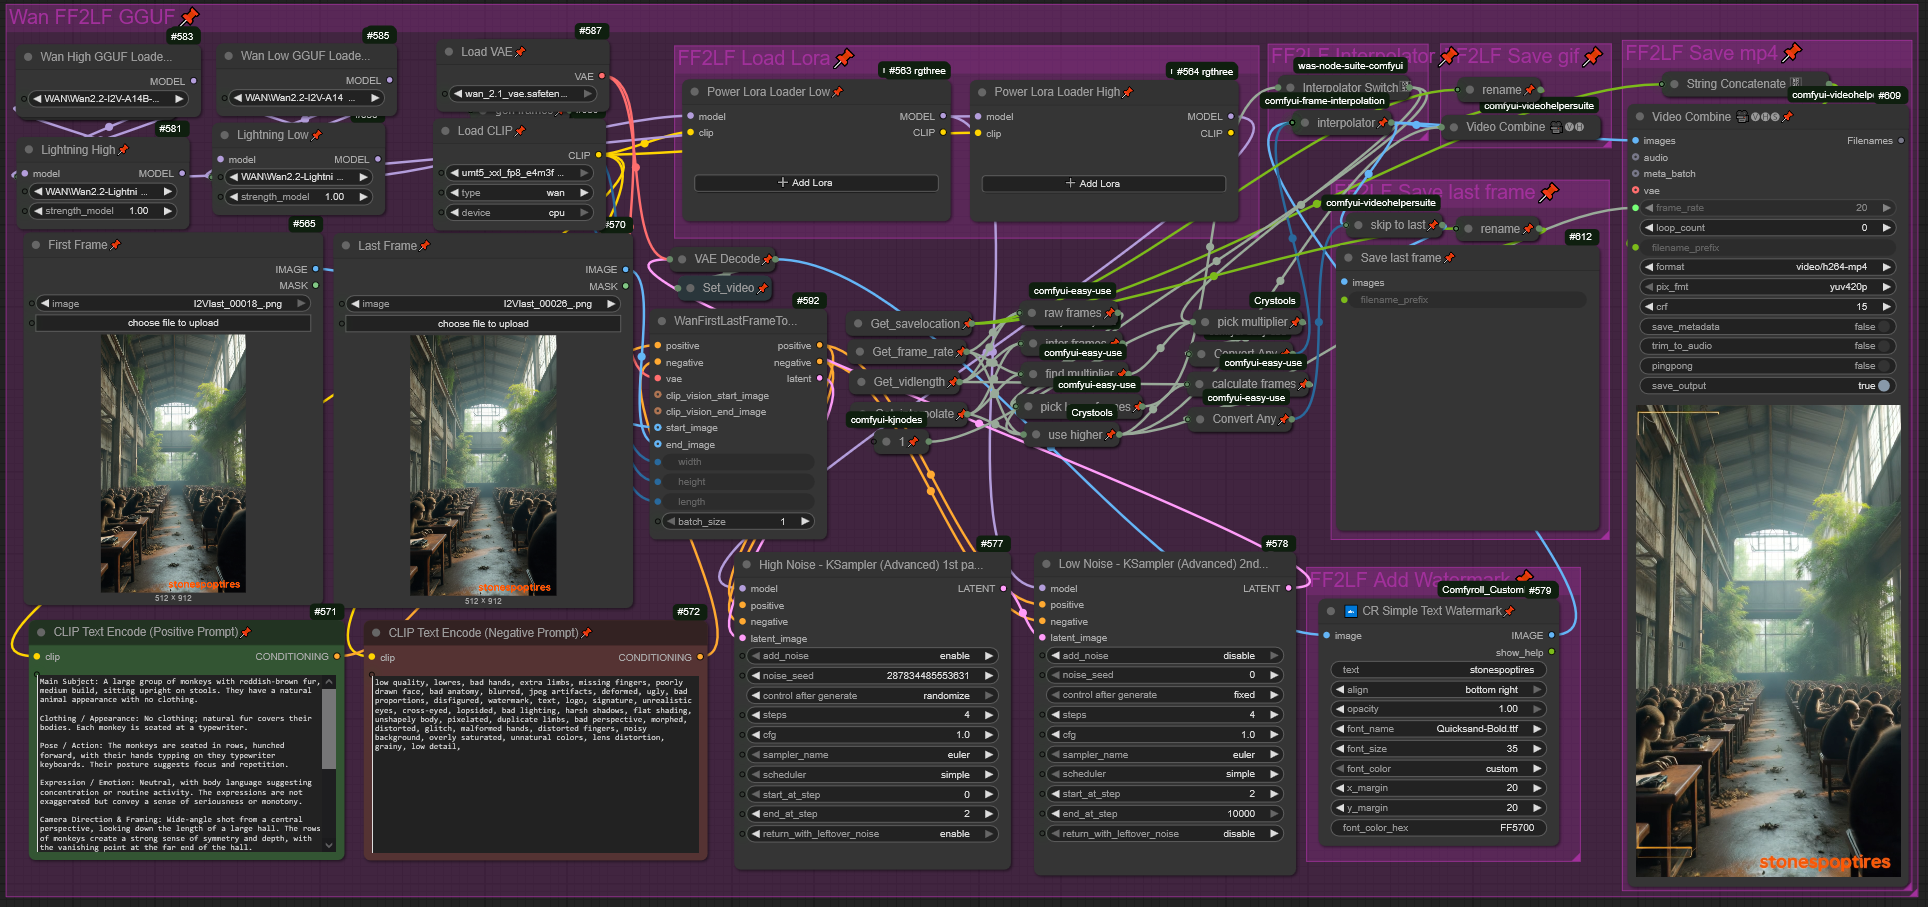
I use I2V to "drive the plot" and have the subhect carry out specific actions, and FF2LF to make "fluff" or extra footage. FF2LF is usually faster but you need a final frame. Making short videos with defined start and end frames means you can easily make modular, complex videos and not waste time fighting prompts and system requirements suggestions.
I use Wan 2.2 I2V A14B Q4 for both the I2V and FF2LF modules. You can try different models but that's just what I use.
I use Wan 2.1 I2V 14B lightxv2 lora for the I2V module and Wan 2.2 Lightning I2V 14B lora for the FF2LF module.
Feel free to play around with loras, and other settings in there.
After all that, click run and (patiently) watch the magic happen.
Misc
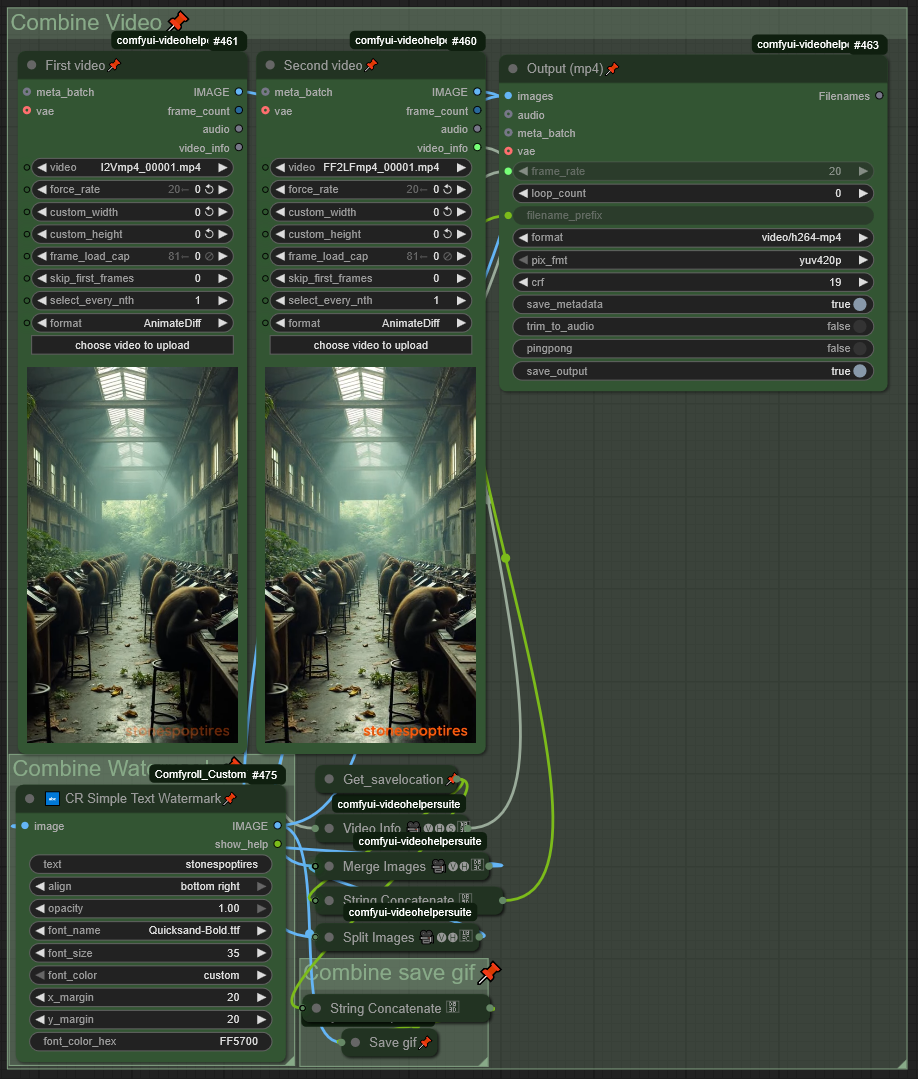
After I get video clips I like, I put them into the Combine Video module and combine them. Crazy, I know.
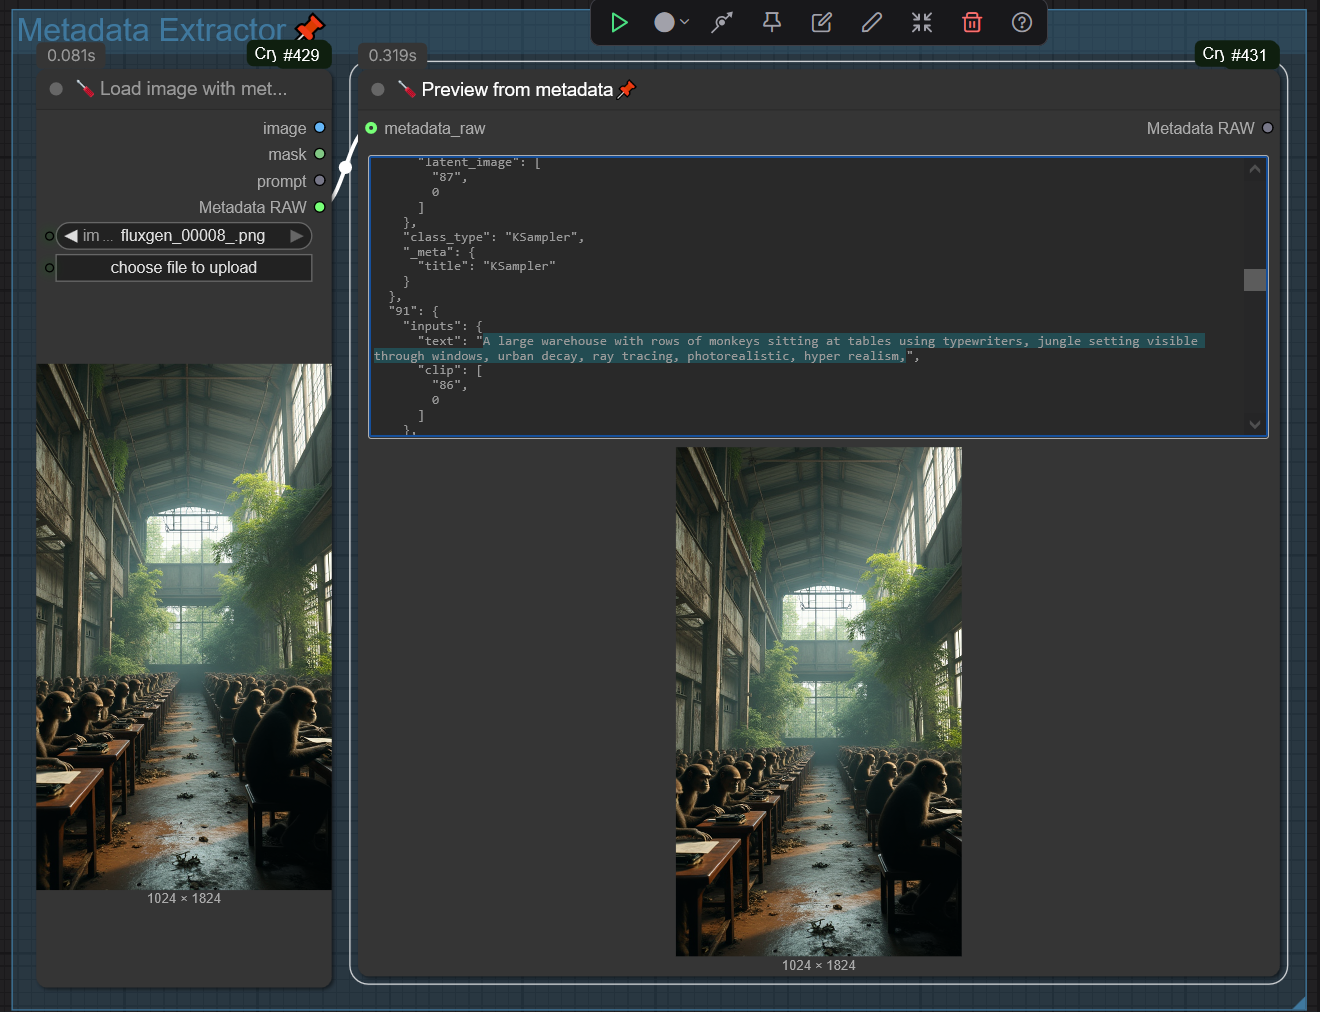
The Metadata Extractor is useful if I want to reuse a seed or prompt. However you'll probably need to CTRL + F to find them in the metadata.
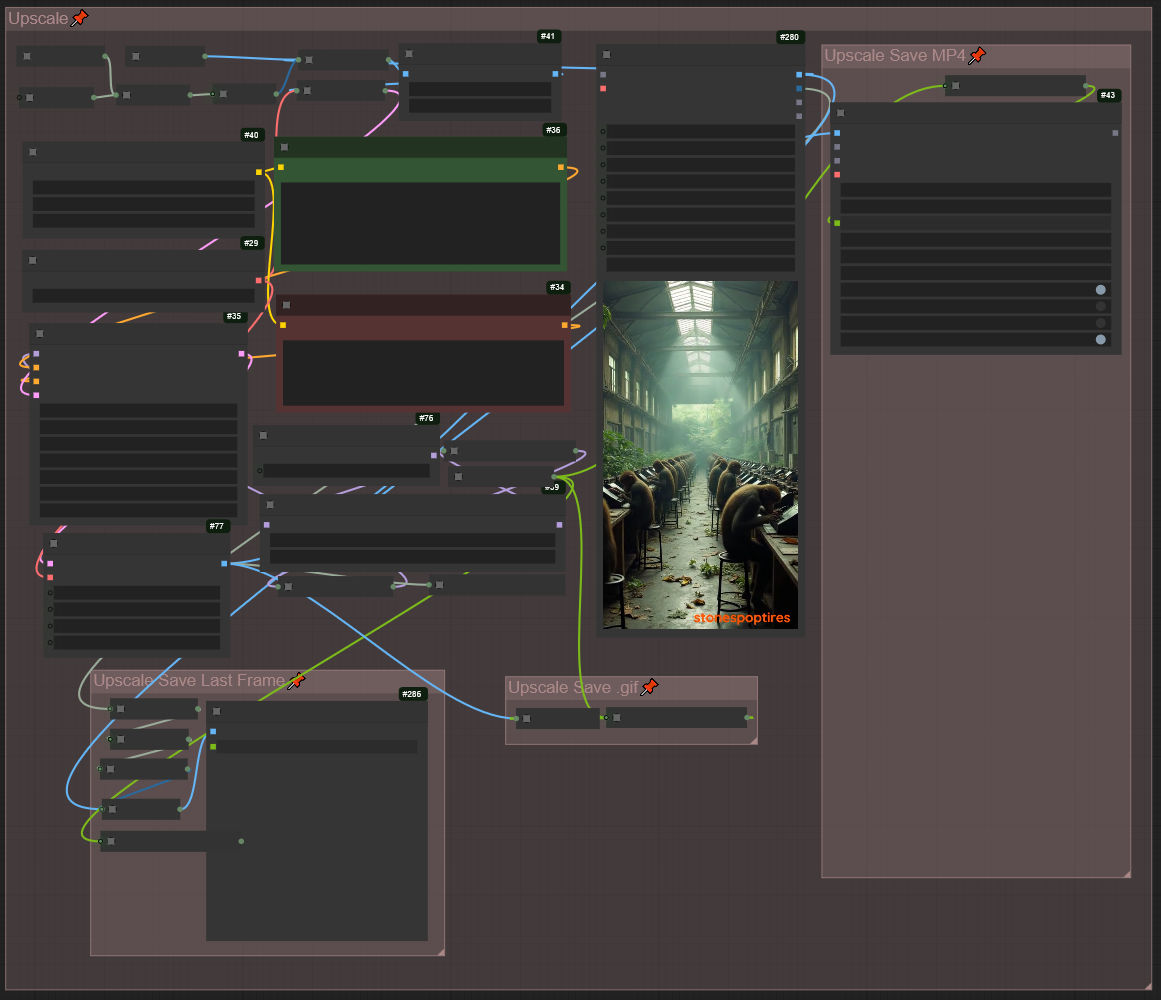
I rarely use the Upscale module but it's there if you want to use it. Be warned that it usually takes a while.
update(s):
v1.2
I added RIFE interpolation after a suggestion. It is incorporated into the Wan I2V and FF2LF modules.
Set the Interpolate FPS to a power of two (2x, 4x, etc) of the Frame Rate. Setting the Interpolate FPS lower than the Frame Rate will "skip" interpolation, but it can also be disabled with the bypasser remote.
I also added each module as a separate workflow if you only want one or need to troubleshoot broken connections or something.
v1.3
Removed Fixed issues with Flux > Wan > Upscale pipeline nodes.
If you get this error:
 Failed to validate prompt for output 548:

* Logic Comparison XOR 502:

- Required input is missing: boolean_a

Output will be ignored

Failed to validate prompt for output 525:

Output will be ignored

Failed to validate prompt for output 542:

Output will be ignored

Failed to validate prompt for output 520:

Output will be ignored

Prompt executed in 0.04 seconds

got prompt
Delete these nodes:
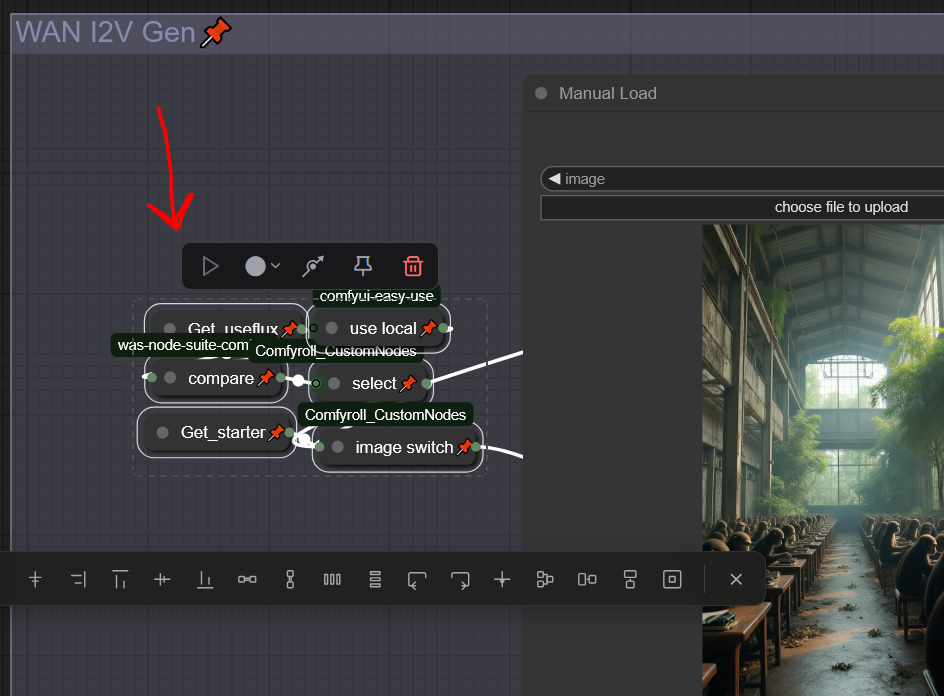
Changed Decode > Watermark > Interpolator order to reduce artifacts generated during interpolation
Let me know if you read all this! Post some videos and tag me, because I think this technology is absolutely mind blowing. And the best part: it can probably run on almost any decent gaming PC.

