Hey everyone!
I wanted to share a pretty cool workflow I put together for ComfyUI that lets you easily transform your photos between night time and day time—all using the Qwen Image Edit model! Perfect for anyone wanting to experiment with AI photo editing or just have fun with lighting effects.
What Does This Workflow Do?
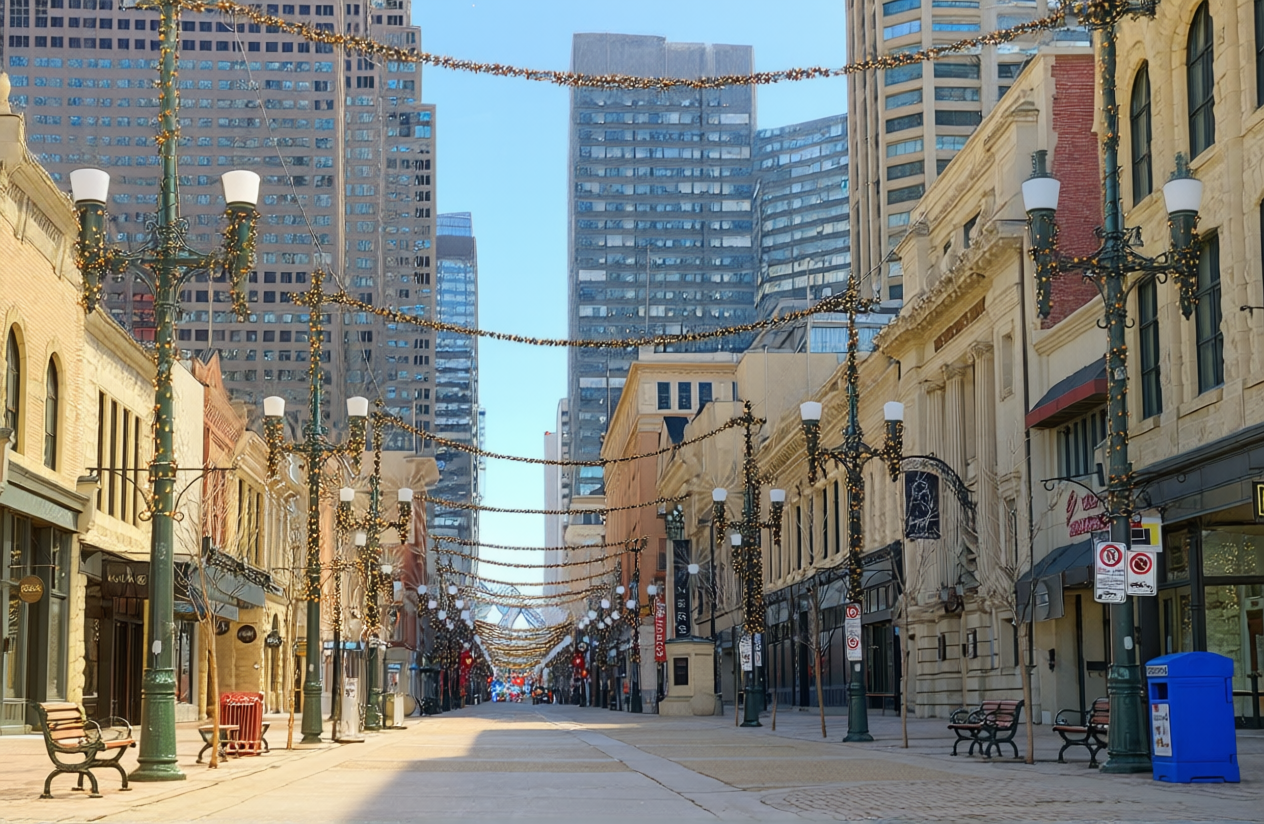
Turn your night pics into realistic sunny day photos
Convert daytime shots into moody nighttime scenes
It goes both ways, so you can create whatever vibe you’re after!
What You Need
ComfyUI installed (If you’re new, check out the ComfyUI Docs/Tutorials)
Qwen Image Edit Model files (Super easy to grab from HuggingFace—see model links below!)
Your own photo (JPG/PNG) to upload and edit
Model Files You’ll Need:
qwen_image_edit_fp8_e4m3fn.safetensors(Diffusion model)Qwen-Image-Lightning-4steps-V1.0.safetensors(LoRA, makes edits faster with fewer steps)qwen_2.5_vl_7b_fp8_scaled.safetensors(Text encoder for prompts)qwen_image_vae.safetensors(VAE for image encoding)
You’ll find all the links in the HuggingFace repositories:
Comfy-Org/Qwen-Image_ComfyUI
Comfy-Org/Qwen-Image-Edit_ComfyUI
How Does It Work?
Step 1: Load the Models
Make sure all the above model files are loaded in the correct folders in ComfyUI (diffusion_models, loras, vae, text_encoders).
Step 2: Upload Your Image
Use the “LoadImage” node to bring in your photo. Works for both day and night images.
Step 3: Pick Your Edit!
For night to day: Enter a prompt like “convert this night time photo to bright sunny daytime photo.”
For day to night: Use something like “convert this daytime photo into a calm nighttime scene.”
Step 4: Adjust Settings
You can tweak the KSampler node for best results. Here are some recommended settings:
Official model: 50 steps, CFG 4.0
FP8 model: 20 steps, CFG 2.5
FP8 model + LoRA: 4 steps, CFG 1.0 (super fast!)
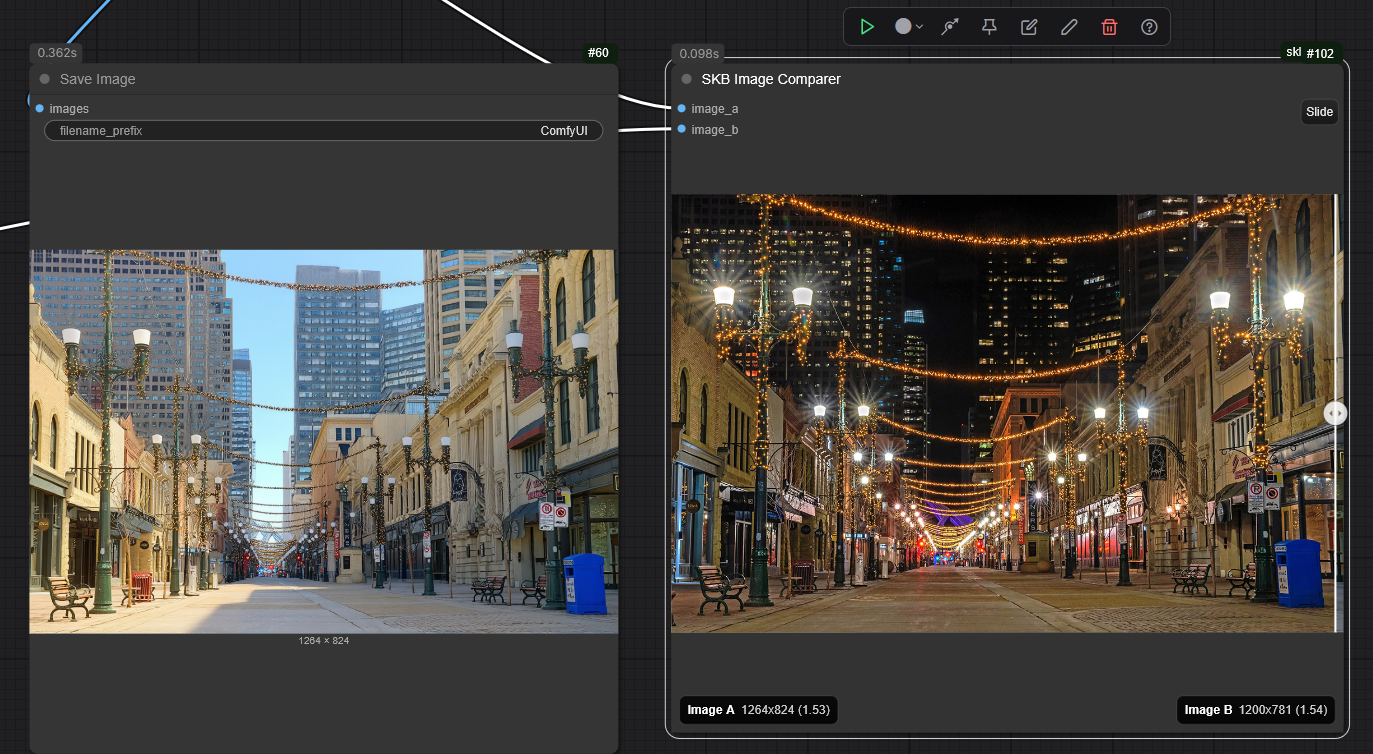
Step 5: Save Your New Creation
The workflow handles decoding and saving the image automatically. You can do fancy comparisons (slide bar split between before/after) if you want.
Pro Tips
Upscaling: The workflow has an auto-scale node to keep your images from being too big (helps avoid weird results).
You can compare your original and edited photo easily (image comparer node included).
If you want the best results, play with the prompt wording and CFG/step values to suit your style.
Example Prompts
"Turn this city nightshot into day."
"Make this sunny landscape look like a starry-night."
"Change my evening selfie to look like it’s noon."