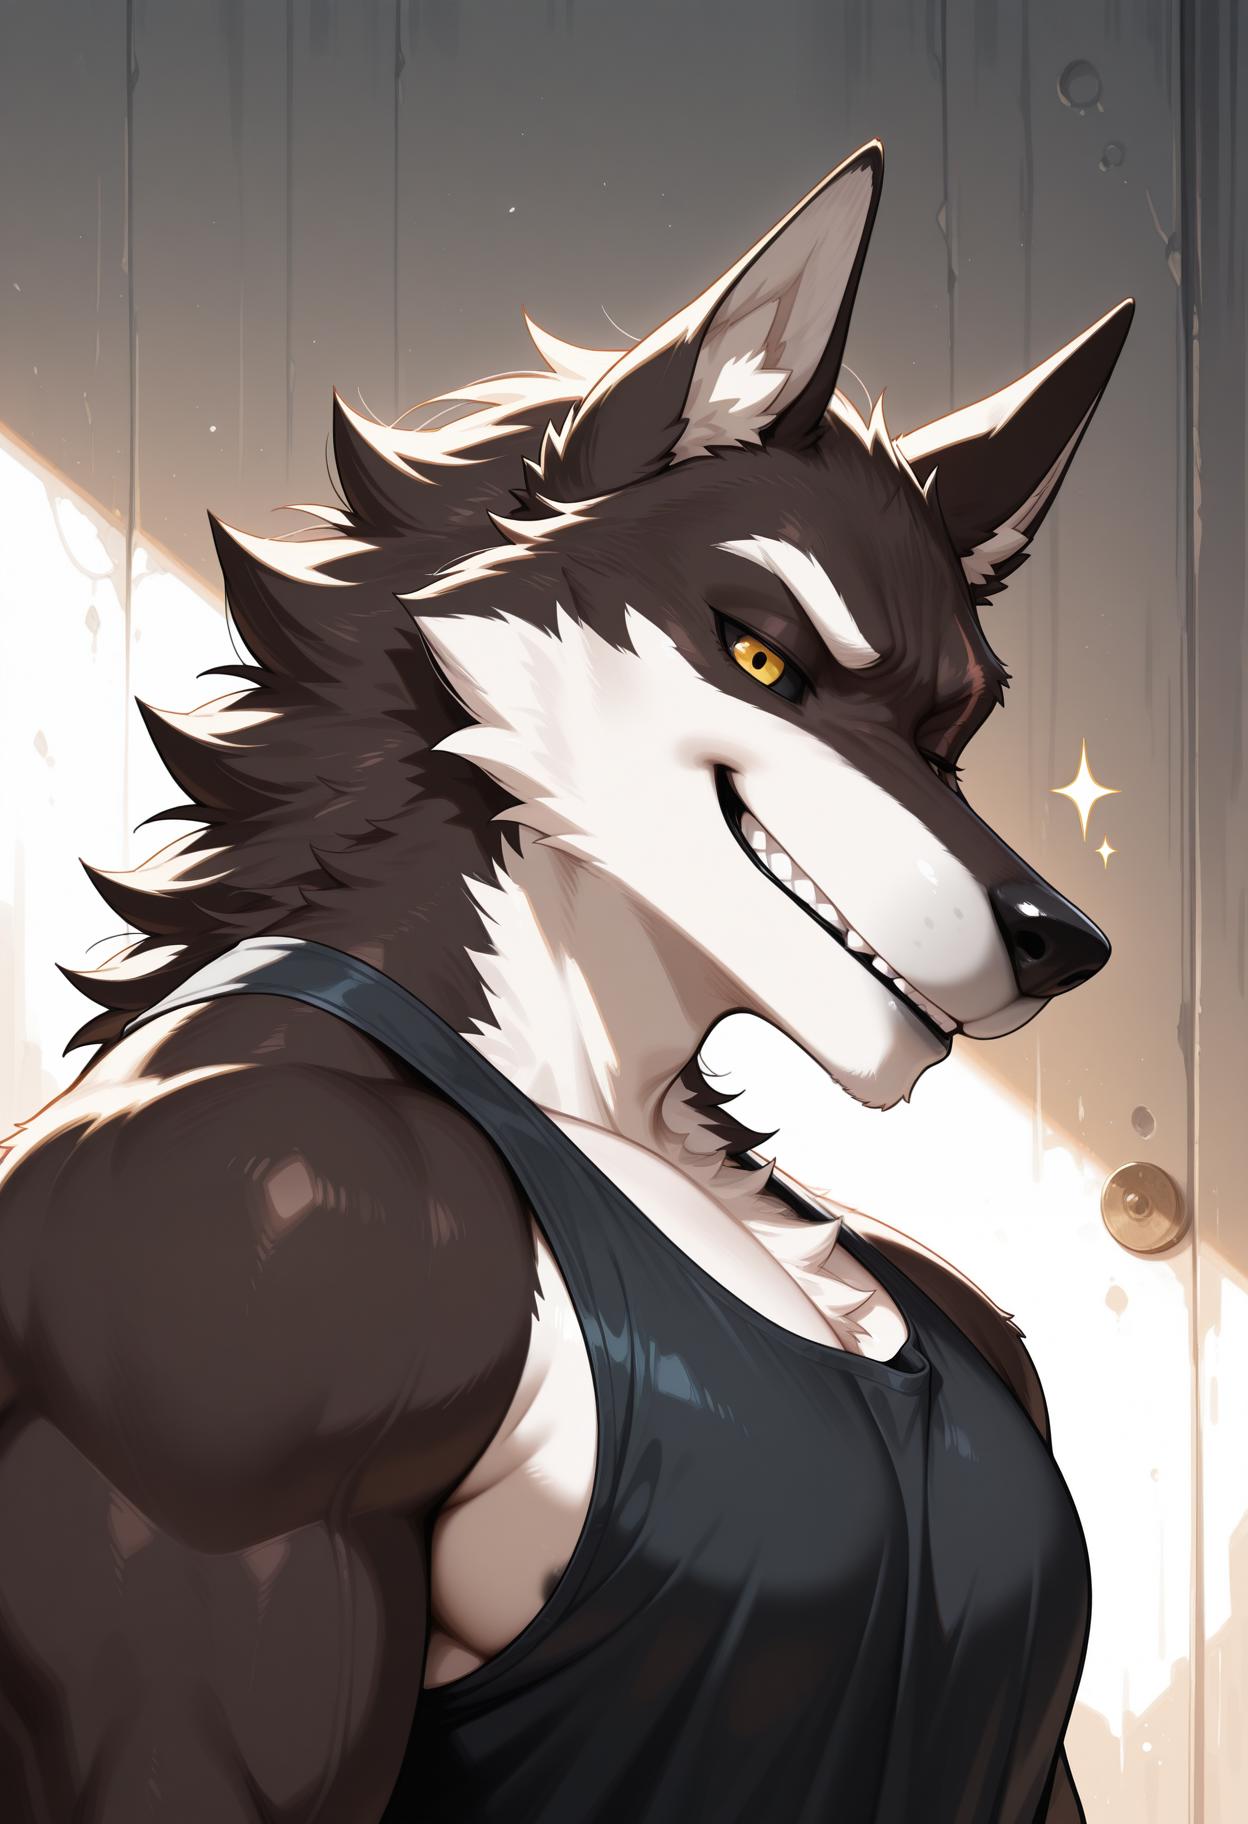
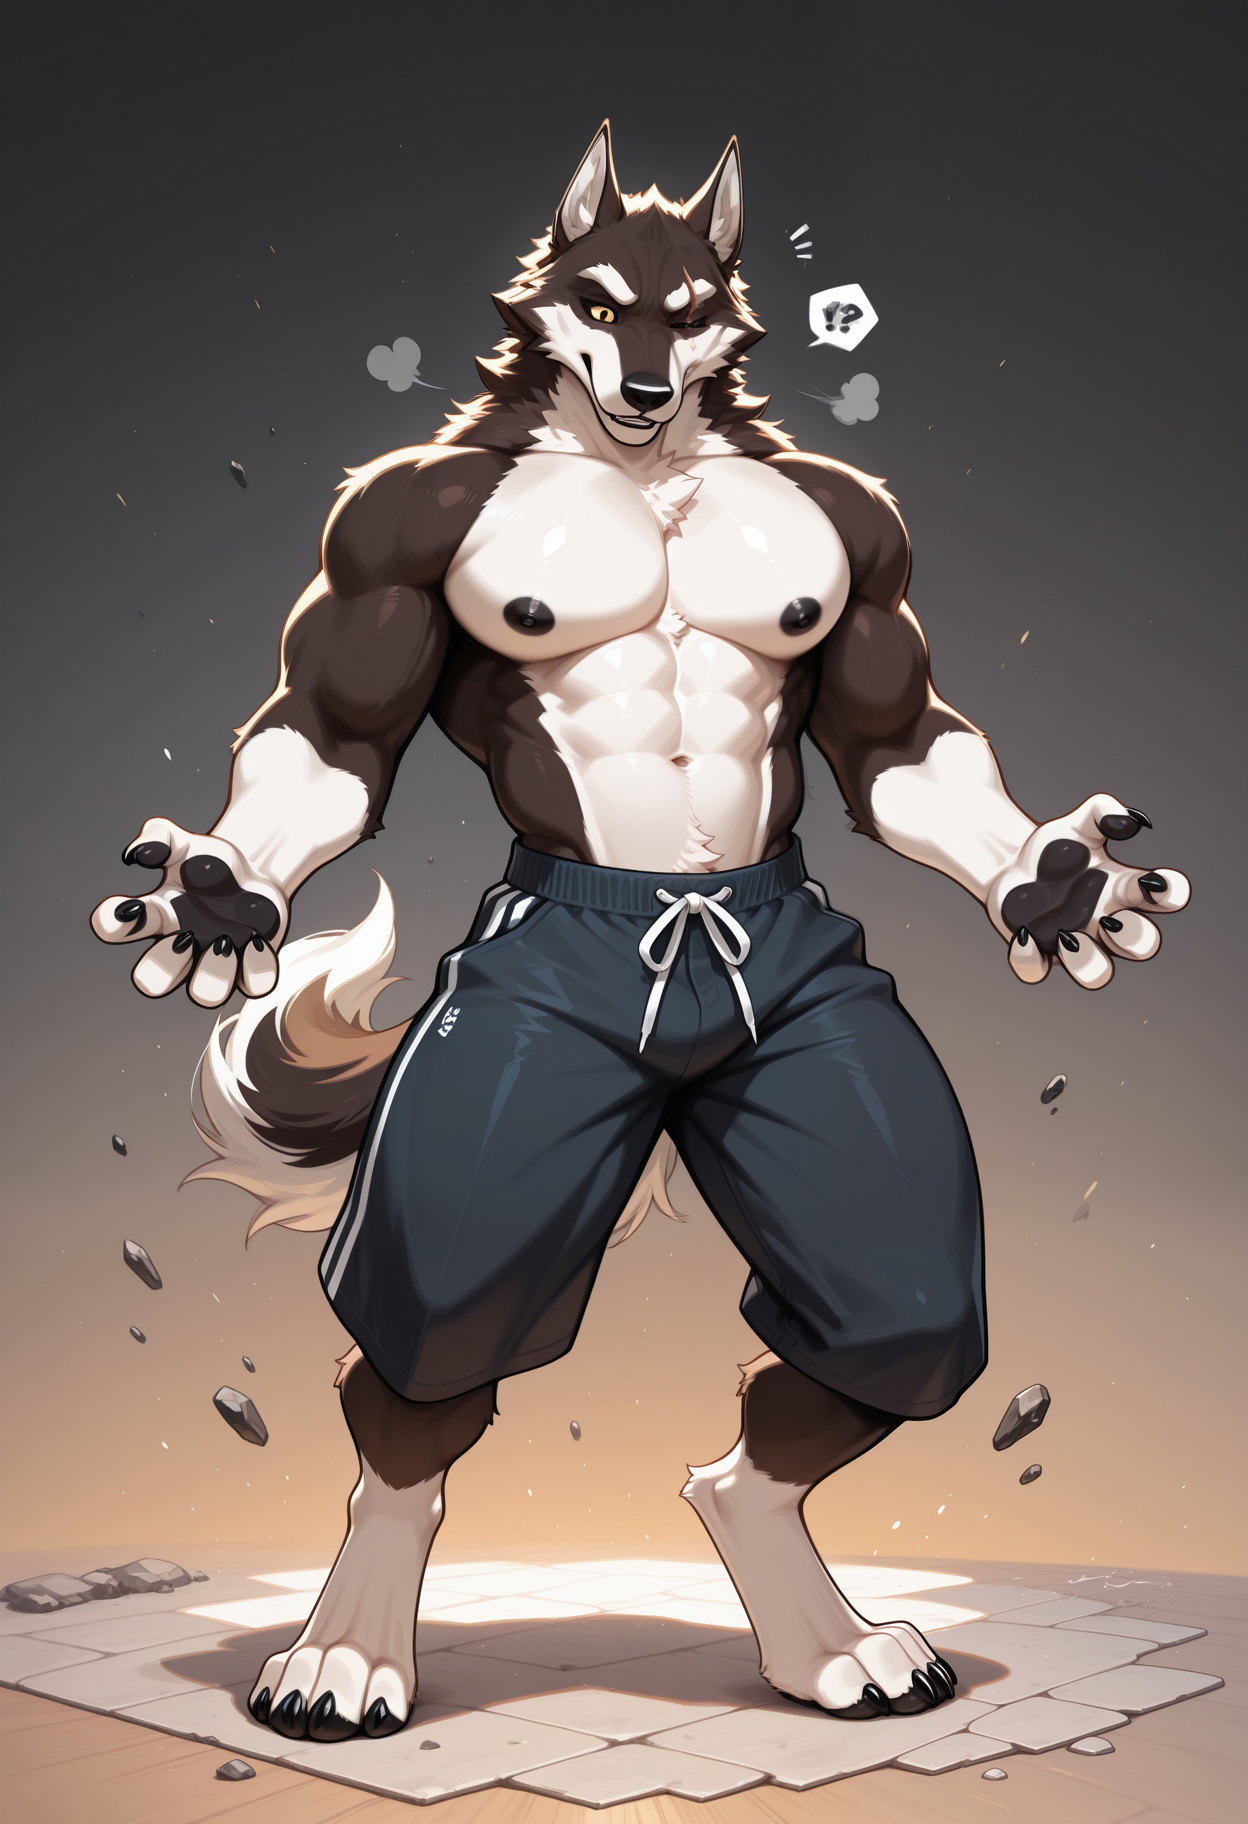
Hi guys! I was asked by a friend on how I created my fursona, Haxivus! So, I'll be creating this article, showing step by step what I did.
.1 Choosing your Checkpoint
It;s important you choose a checkpoint you're most familiar with, for me, it's WAINASFW as most of what you describe, 9/10, it'll work if it's a recognized word in Danbooru. If you aren't familiar with any, WAINSFW is pretty solid.
.2 Setting up your generator
To ensure you get good images for training, I set my image size to landscape, (it seems better images gen in this format, or landscape in general). I then set my CFG Scale down to 4, so there will be different poses, angles, actions, etc, that the AI will randomly include in each image, so they're aren't static or too similar.
NOTE: When creating a character lora, it's important to have as many versatile images as possible of the character, includinig angle, depth, positions, etc. So the AI understands the character.
You don't need to go overboard with the number of images you create BUT, enough that cover your character AND their unique look(Haxivus has a scar over his right eye that I had 9 face focus images of him). I'd honestly say full body pics would suffice, as again, this format size does a great job genning all of the details..
TLDR:
SETTING UP YOUR PROMPTER CFG: 4 Sampler: Euler a Steps: 25 Format Size: Landscape (1216 x 832)
This was the base prompt for Haxivus
anthro wolf,
black sclera, yellow eyes, scar over right eye, one eye, right eye closed, white eyebrows,
black nipples, black fur, white underbelly, white neck fur, chest fur, white hands, black claws, black thighs, white feet, black thighs, black pawpads, black inner thigh, black inner thighs,
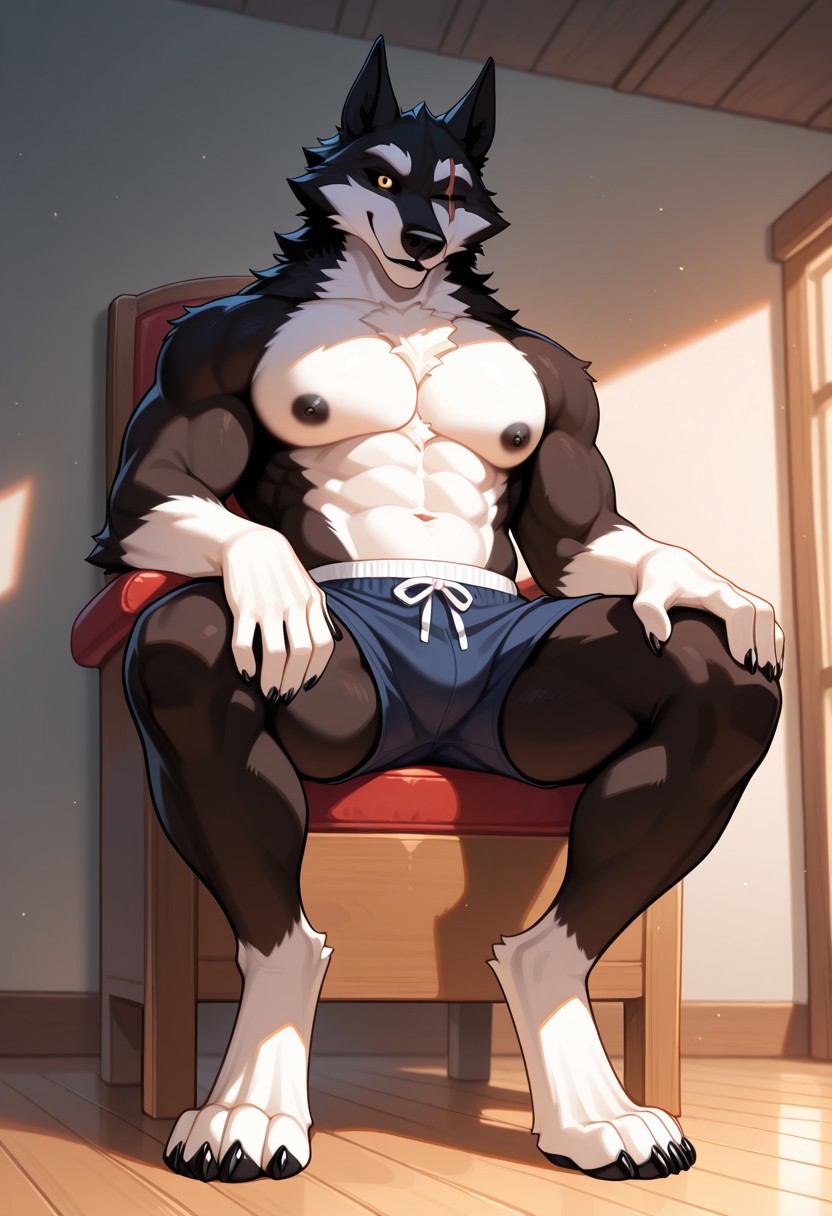
(I made a few portrait versions before I realized how better landscape form is, unfortunately they're not suitable)
NOTE: It is best to have your character naked, that way everything can be trained in your character lora and nothing will be guessed furthermore. You can include genitals, penis, testicles, vagina, etc. in negative prompt if you want to avoid having them in your images.
3 GENNING YOUR IMAGES
This step is honestly the easiest. Just include dynamic pose, male/female focus, full body, and an action you want your character to do. Make sure to gen ONE image at a time during this process, so you can see what the AI isn't including in your design, and go from there in adding or correcting your prompt. I know somethings are difficult like scars.... I'm not too sure HOW TO work with these besides making prompts like (scar above nipple, large scar across chest, etc.)
Moving forward, after getting your images setup, (20 is fine), You'll want to use the IMG2IMG High Res Fix, so they can be made more clear and precise. Setting the Denoise to 0.6 - 0.7 will do most of the time.
A way to keep track of the images I'm going to High-res is by favoriting them.
Once you have your images set, it's time to select, download all of your images and put all of your images in a folder to use them later.
..4 Tagging your images
Next, we'll be using what's called TAGGUI Which is a program that helps you autotag your character so it's readable and trainable. For training in Illustrious, the most popular auto tag models with the software are:
SmilingWolf/wd-eva02-large-tagger-v3
&
SmilingWolf/wd-vit-large-tagger-v3
You will need around 3GB for this software as all the auto-tag tools are downloaded onto your computer once you use these autotagger models.
BEFORE WE USE THESE HOWEVER, we're going to manually tag our images so we train exactly how we want out character to be prompted.

h4x1vus is my trigger word. You can make your own, as long as it isnt a word used in danbooru as it may crrupt training.
wolf describes his species, anthro wolf would work as well
Something I didn't tag was his fur(multicolored fur, and/or black fur would have worked).
Colored sclera, is the blackness in his eyes(if you didn't know what sclera meant),
Yellow eyes..
I didn't tag his scar as, with training a character lora, you can BAKE things onto the character so it's ingrained onto them with no need to specifically prompt. This semi-works for now, but, once I have a surefire way, I'll be sure to update my character and this article.
After my manual tagging of the character, I used the autotag models above:
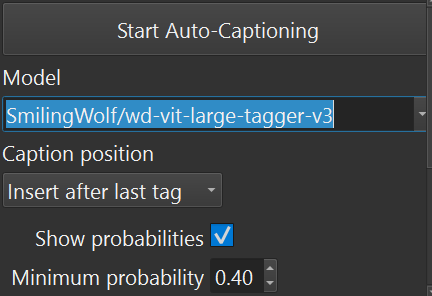
You'll find this in TAGGUI, you really just need to paste those links in the box and click start. Once done, you can press CTRL + D to delete any duplicated tags, than, go through all the tags and delete any tags that are also duplicates, or go against your image.
Training your Character
After your done with TAGGUI, your folder holding your character pics should look like this
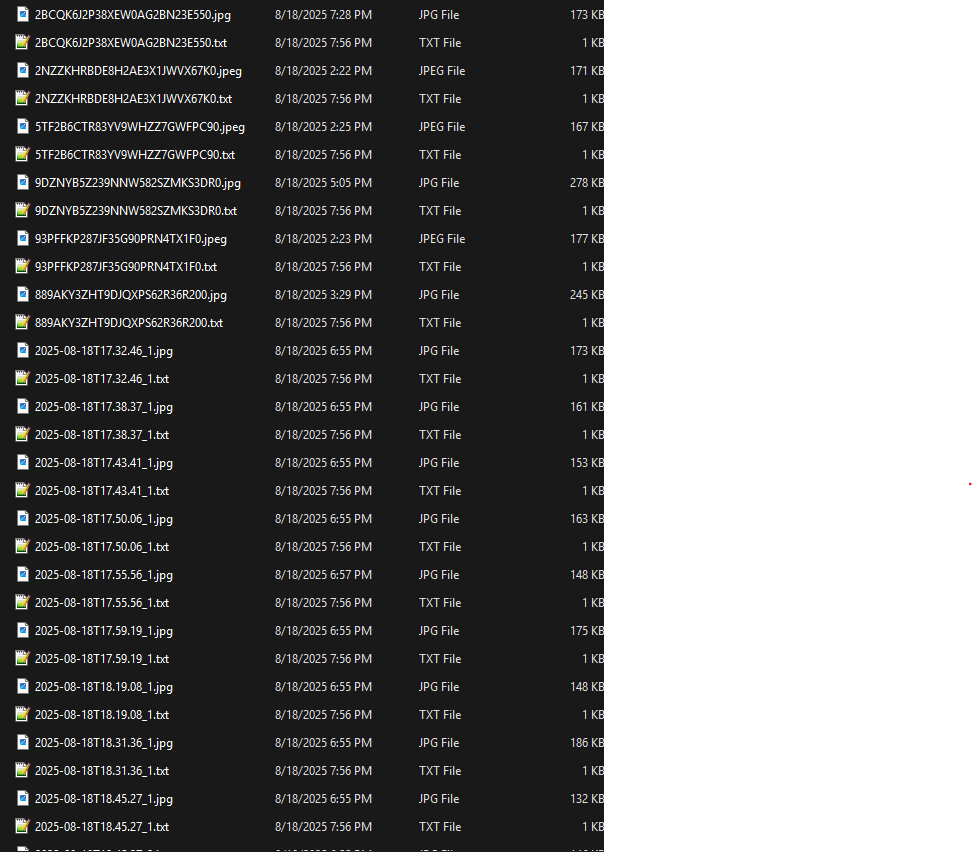
You'll need to select all and place in a ZIP so you can drop them all when you start training.
Once you start training, be sure to set the checkpoint you're training under is Illustrious or whichever checkpoint you're interested in using.
Include your prompts, etc.
For the Training Parameters:
Epochs = 20 (to go through and choose the best version)
Num Repeats = However many that will make Steps >= 1180
Enable Shuffle Tag(this will scramble the order of your tags for each image
Keep tokens = 2(this will prevent your two tags in each image from being scrambled(It should be Trigger word + species for each image)
Network Dim = 8 to lower size of file
Network Alpha = 4 to lower size of file
SUBMIT
And there you go, after an hour or two, your lora should be ready and see your results!
HOPE THIS HELPS!
If you have any comments, questions or critics, please feel free to DM or reply in the comments below :)

