[Edit March 2024] Please note - this article was written in August 2023 and based on the comments it seems like your mileage may vary depending upon your set up. Also to clarify - I am NOT the owner/ author of the repositories. This is merely a step by step of what worked for me at that time. My interest in sliders is relatively low now - so I may or may not update this article.
Like many of you, I've wondered how the various adjusters that have been posted on this site were created. The videos I have seen so far are all in Japanese, and so when I saw this thread on Reddit, I had to try the steps!
Based on the linked LoRA think this is the user's profile on Civitai: https://civitai.com/user/oosayam/models
Many thanks to them!
The training runs pretty quickly and effectively on my modestly specced machine (Ryzen 5 based with a 3060 non TI GPU, running Linux Mint) where the sliders I've posted took about an hour for 500 steps.
The two sliders I've posted are here:
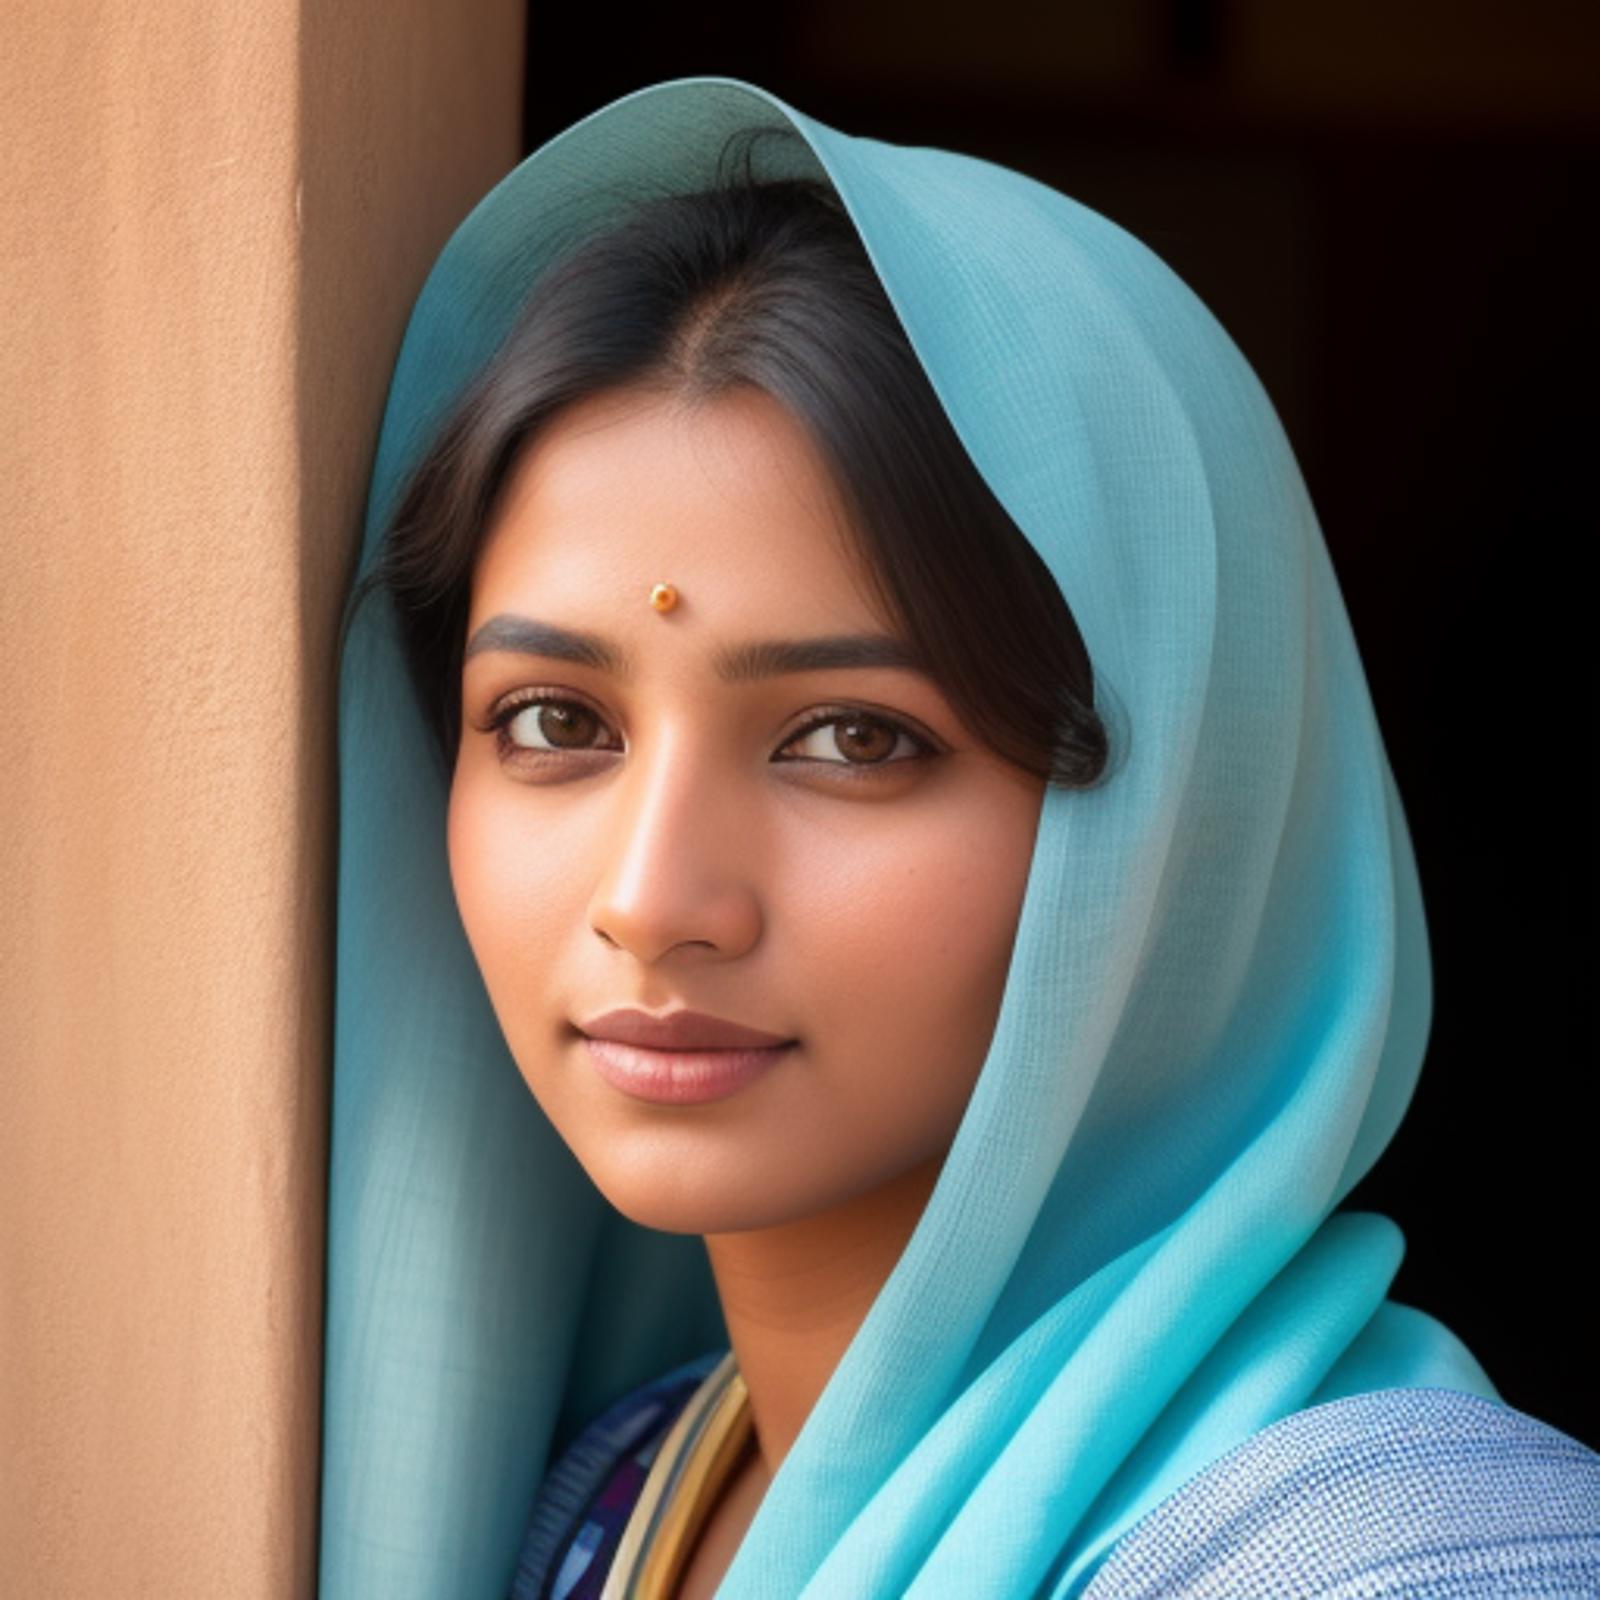
Indian look ("Desiness"): https://civitai.com/models/132049/desiness-slider-get-that-indian-look-leco-lora-experimental
Indian skin tones: https://civitai.com/models/132427/desi-skin-tone-slider-leco-lora-sd-15-experimental
Note: Since I'm on Linux, the steps below are for that OS type. Steps for Windows should be similar.
Note: The steps included below worked on SD1.5 based models. I have not tried SDXL yet.
Steps:
What was I trying to achieve with the LoRA:
Change skin tones, starting with a baseline of Indian skin tones (brown)
Positive weight (0.25, 0.5, etc) should make the person fairer
Negative weights (-0.5, -0.25, etc.) should make the person darker
Setting up the repo:
Clone this repository: https://github.com/p1atdev/LECO
git clone https://github.com/p1atdev/LECO
cd LECO
Setup a virtual environment: python3 -m venv venv
Activate the virtual environment: source ./venv/bin/activate
You should now see (venv) at the beginning of your prompt line
Install torch: pip install torch torchvision --index-url https://download.pytorch.org/whl/cu118
Install xformers: pip install xformers
Install other requirements: pip install -r requirements.txt
Give it a few minutes while it downloads and installs all the dependencies
Now you're ready to train!
Setting up the training files:
There are two training files that need to be setup in order to carry out the training. The great news is you should find the 'base' files in the 'examples' folder:
Make a backup of these two files as they come out of the box:
examples > config.yaml
examples > prompts.yaml
Incase you modify them, don't worry - have included them in the attachments. :)
Modify the following settings in the configuration file (config.yaml) by opening it in the text editor.
Be careful about spacing. yaml files are very finicky about any extra spaces entered!
prompts_file: Recommend keeping as is, but if you want, you can give the full path of wherever your prompt yaml file is (see point 3 below)
Under pretrained_model:
name_or_path: <put your custom model here, of you want>. I used Realistic Vision 3.0
v2: false #Unless you're using a SD2.0 model
v_pred: false #Unless you're using a SD2.0 model
Under network:
rank: 16 #You can try higher, but these worked for me
alpha: 4 #You can try higher, but these worked for me
Under save:
name: <whatever you want to call your LoRA> In my case I put "Desi_Fair_Dark"
per_steps: 100 # I like saving every 100 steps or so, but you can decide higher/ lower, based on total number of steps you'll be training for (under "train"). The default is 500, so my model will have 5 versions (500/100)
I did not change the name of the file or its location since I want to run the basic command from the repo, but you can change the name and path if you know what you're doing.
Modify the following settings in the prompts file (prompts.yaml) by opening it in the text editor
target: <base prompt for whatever you want to change, modify>. In my case, the base line I wanted to set was to use a 'normal' Indian skin tone. So my prompt was "beautiful indian woman"
positive: <concept you want to enhance/ erase>. For sake of ease I am going to talk about what is 'added' when the prompt weight moves from 0 to 1. So my 'positive' prompt was: "beautiful indian woman, fair skin" since I want to have a positive weight represent more 'fairness'
action: "enhance" #Since I want to 'add' to the model. If I wanted it to forget the concept, then I'd put 'erase'
Now because I wanted to add a second dimension (dark skin - going from 0 to -1), I added a whole second block, with the following settings:
target: "beautiful indian woman" # Same starting point
positive: "beautiful indian woman, dark skin" # Since I want the weight represent more 'darkness'
action: "enhance" # Since I want to 'add' darkness to the model, just in the reverse direction.
guidance_scale: -1.0 # Notice the negative sign
Training:
Activate your virtual environment, unless it's already active: source ./venv/bin/activate
Use the following command to begin the training: python ./train_lora.py --config_file "./examples/config.yaml"
If you renamed your yaml files, or placed them elsewhere, you'll need to modify your command.
Note the progress in the terminal window
Your final output will be .safetensors file that is placed in the 'output' folder
Usage:
Copy the LoRA and paste it into your models>LoRA folder
Create a prompt that includes your original baseline phrase and tag the LoRA along with your weight as desired. There's no trigger word needed.
Attachments:
Zip: Yamls for my training of the skin tone LoRA
Template Yamls
Examples:
Prompt: highres headshot photo of a beautiful indian woman, looking at the viewer, wearing a blue sleeveless turtleneck, brightly lit scene, outdoors, daytime <lora:Desi_Fair_Dark_last:-1

>
Prompt: highres headshot photo of a beautiful indian woman, looking at the viewer, wearing a blue sleeveless turtleneck, brightly lit scene, outdoors, daytime <lora:Desi_Fair_Dark_last:-2>
Notice how I used -2 and got an even darker skin tone!


