Hey everyone,
A while back, I posted an article about training your own LoRA with a one-click template. The response was incredible, but you asked for more: a truly in-depth, step-by-step guide with every detail explained.
You asked, and I'm delivering.
Welcome to the definitive guide to creating consistent AI characters. We will walk through the entire process, from preparing your images to downloading your finished, professional-grade LoRA using a powerful, easy-to-use cloud environment.
The Tool: A Free, One-Click Training Lab
To make this process as easy as possible, we'll be using my free one-click RunPod template. It launches a fully configured FluxGym training environment with a simple web interface. No coding, no setup, just results.
🔥 Get $10 Free Credit! 🔥
First, if you're new to RunPod, use my referral link to sign up. You'll get $10 in free credits, which is more than enough to train your first LoRA for free!
Referral Link: MIDNIGHTKIDNAPER
Part 1: Launching The Genesis Chamber
First, let's get your personal training lab online.
Launch the Template: Use the link below to deploy my pre-configured LoRA training template directly to RunPod.
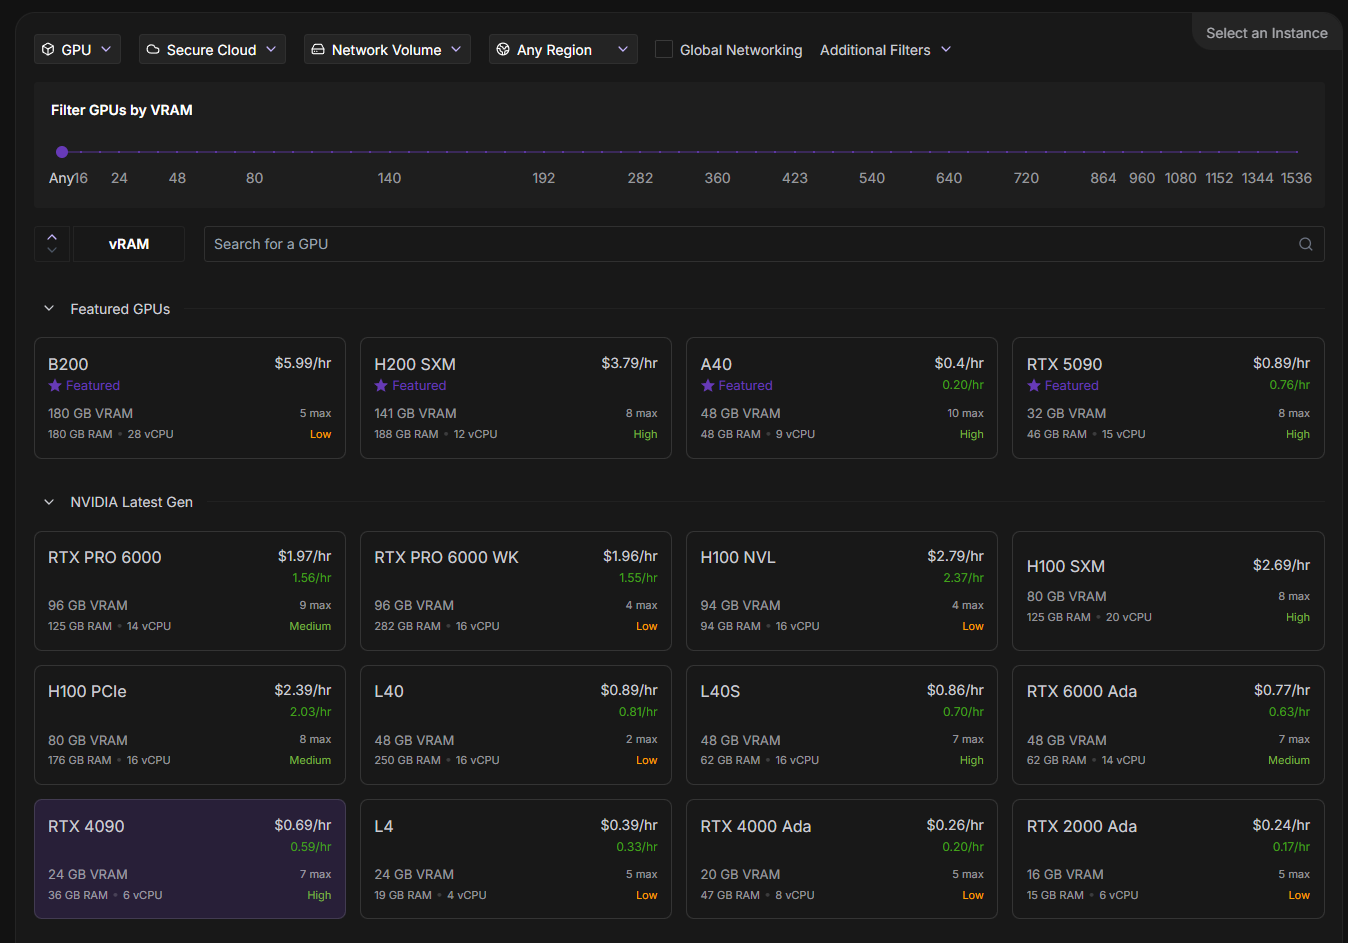
Choose Your Power: On the deployment page, select a GPU. I recommend the RTX 4090 for the fastest training times.
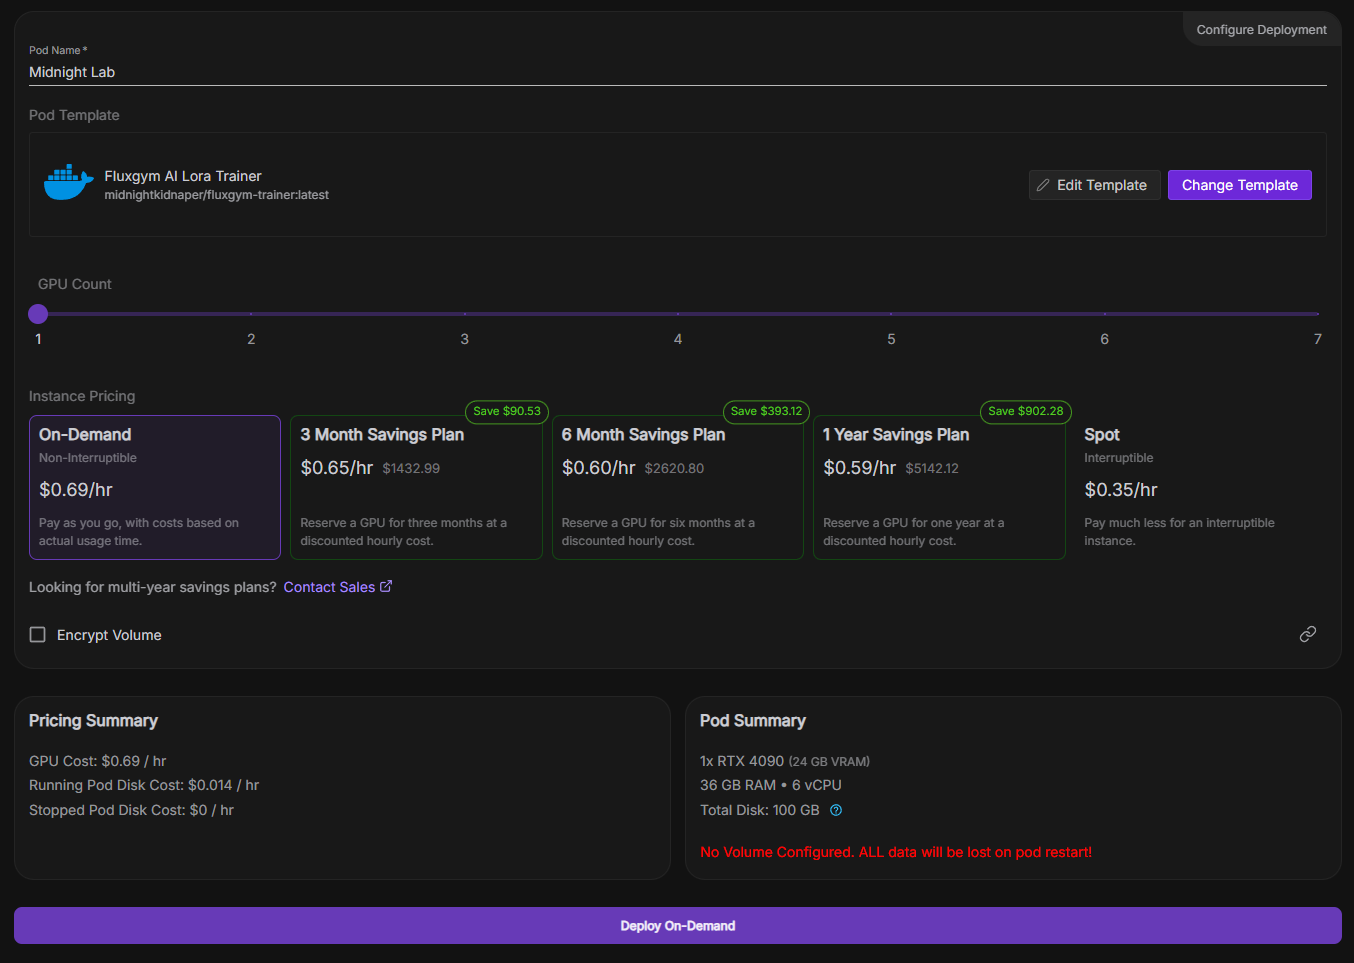
Deploy: My template is pre-configured with everything needed. Simply click "Deploy On-Demand".
Monitor the Logs: The pod will now build. In the "Logs" tab, wait for the models to download. When you see the message "Models downloaded successfully," you're ready to connect. This can take 10-15 minutes.

Part 2: The Training Protocol
This is where you bring your character to life.
Connect to FluxGym: On your pod dashboard, click the "Connect" tab and connect to the HTTP Service on Port 7860. A new tab with the FluxGym UI will open.

Curate Your Dataset: Before uploading, make sure your dataset is perfect.
Use 20-30 high-quality images.
Ensure they are at least 1024x1024 resolution.
Show a variety of angles, expressions, and lighting.
Avoid images with text, logos, or other distracting elements.
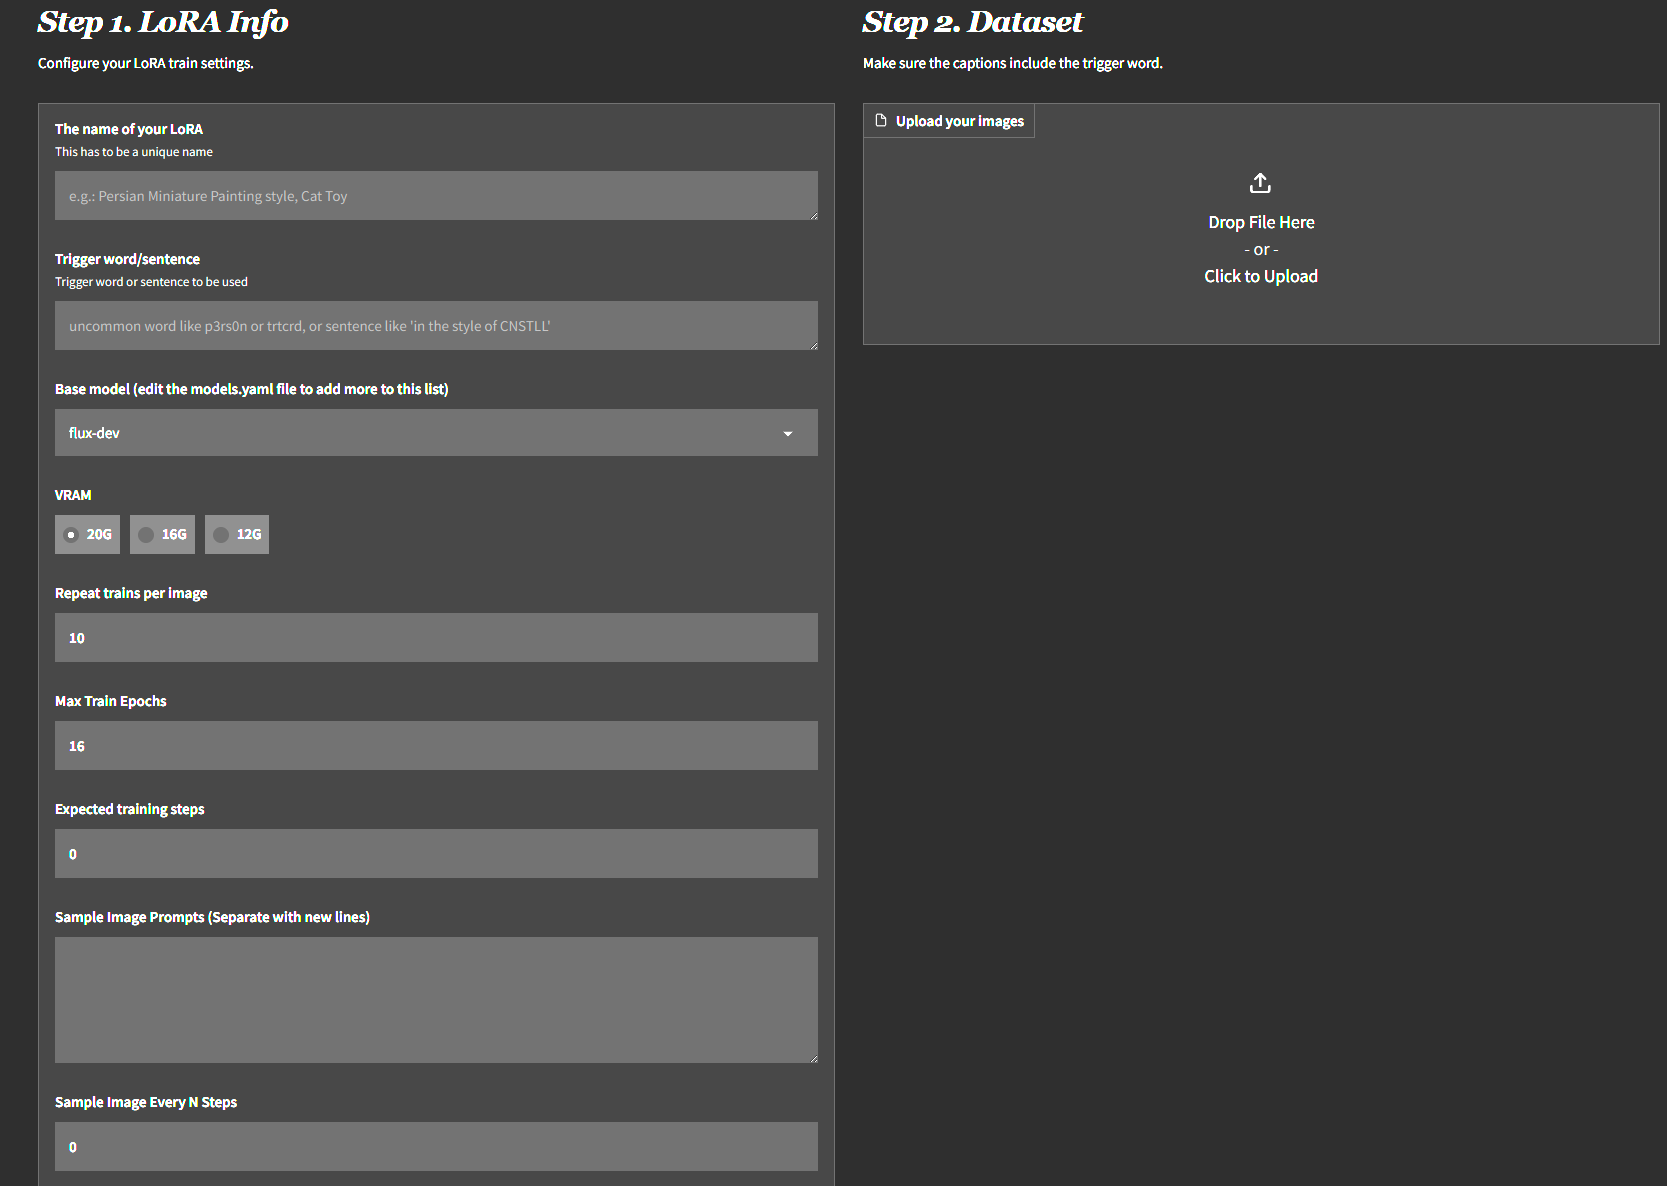
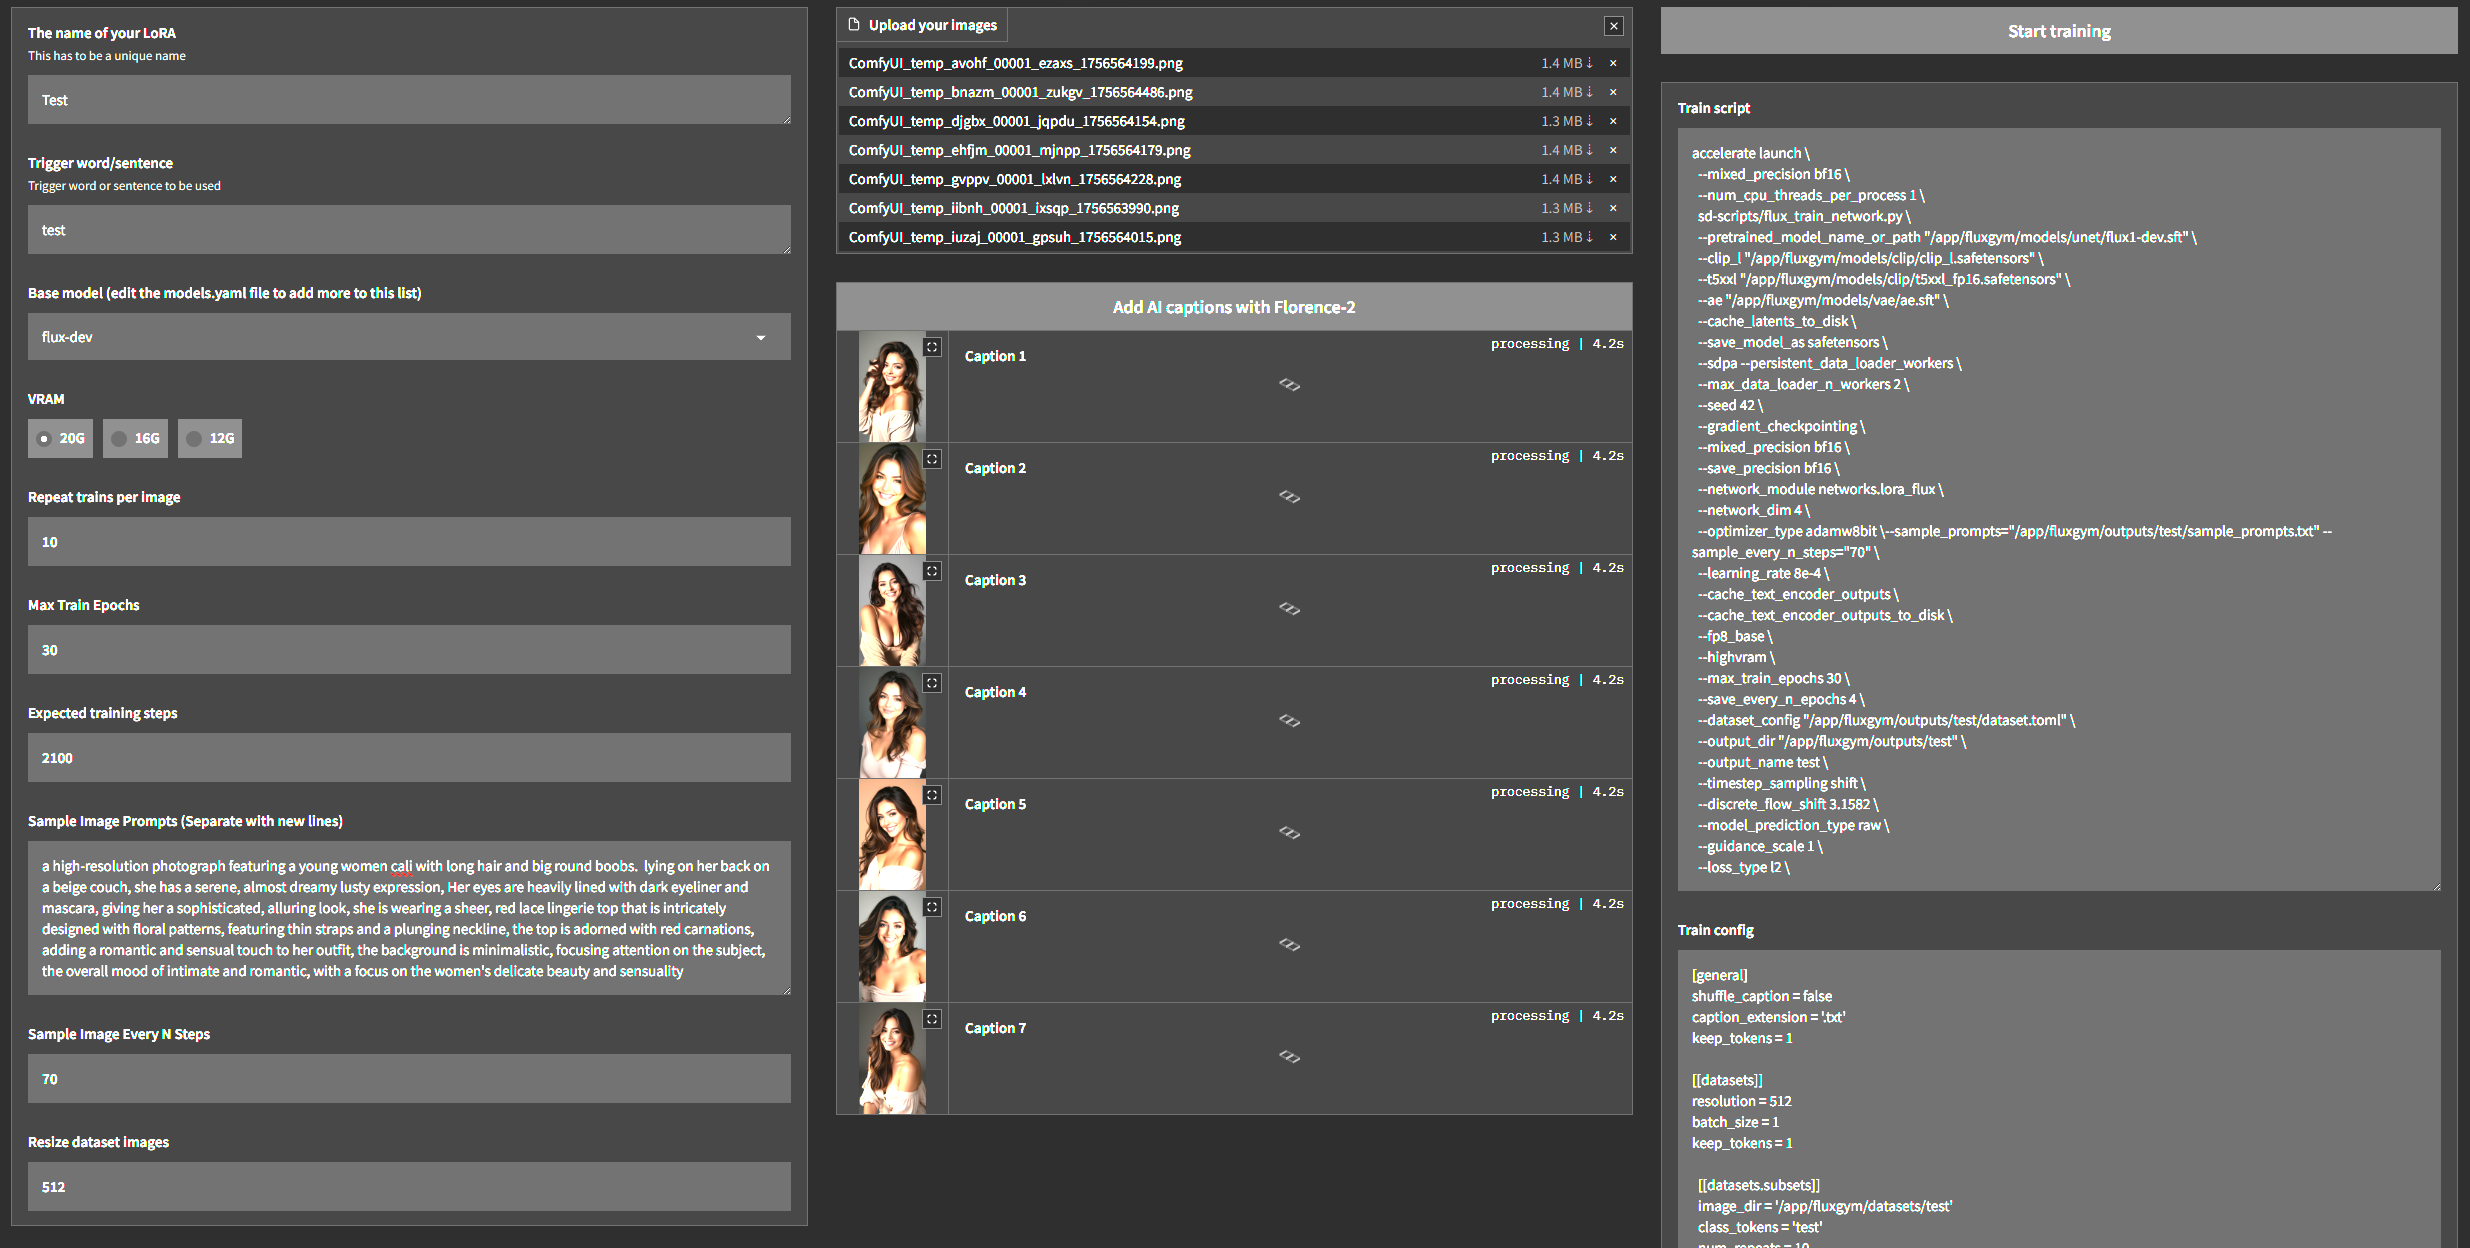
Upload & Caption: Drag and drop your curated images into the upload box. Then, click the powerful "Add AI captions with Florence-2" button. The AI will automatically write detailed descriptions for each image—a crucial step for a high-quality LoRA.
Configure Your Settings:
Name your LoRA and give it a unique trigger word.
Set the Base model to flux-dev.
Set VRAM to match your GPU.
Set Repeats to 10 and Max Train Epochs to 30. The goal is to train for a total of 1500-2100 steps for the best results.
Sample Image Setup: Add a few sample prompts to see your LoRA's progress. For Sample Image Every N Steps, a great trick is to divide your total steps by your epochs. (e.g., 2100 steps / 30 epochs = 70). Set this value to 70 to see a new sample after every epoch.
Start Training! Click the big "Start training" button. This will take 1-2 hours, so be patient.
Part 3: Downloading Your LoRA
Once training is complete, you have two easy ways to get your file:
Method A (The Cloud): Use the "Publish" tab to upload your LoRA directly to Hugging Face. CHECK THE VIDEO...
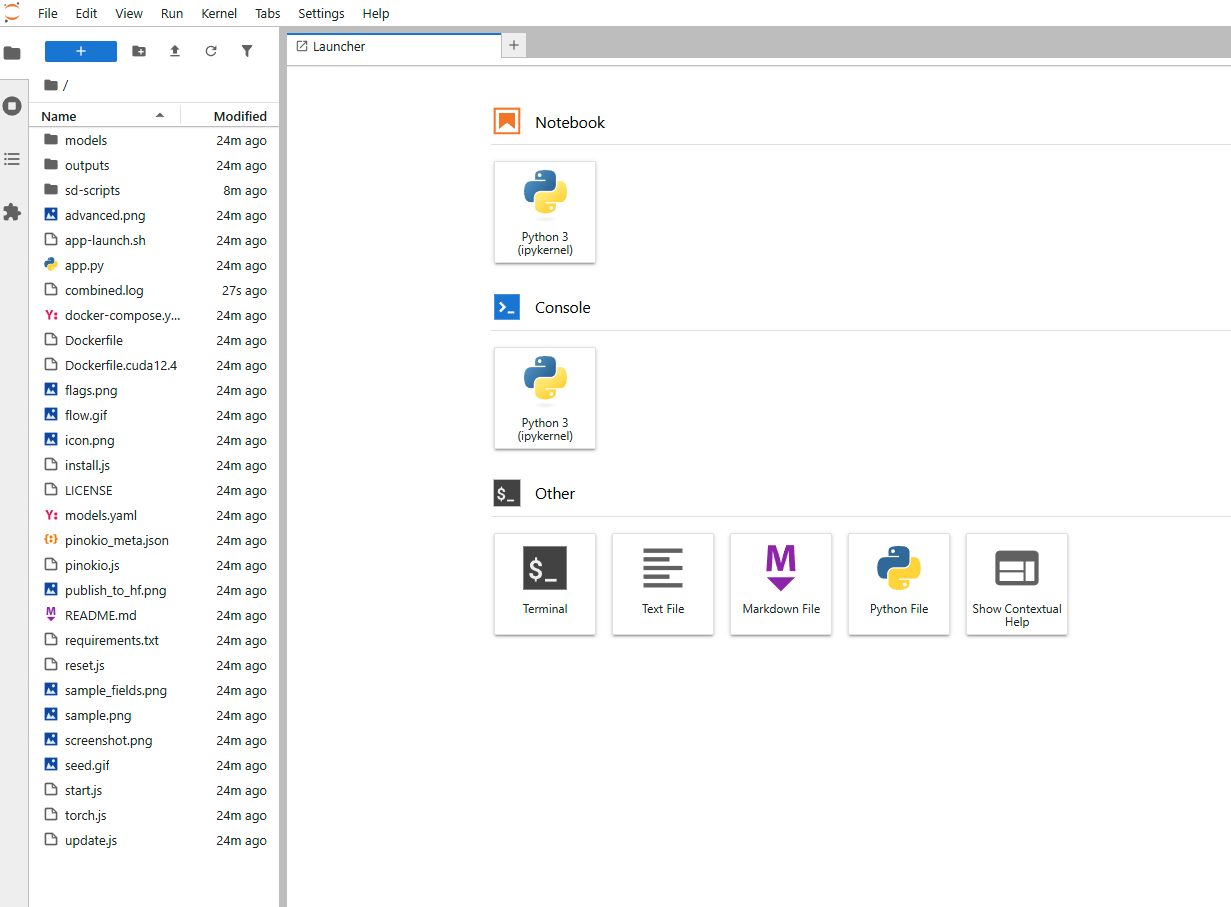
Method B (Direct Download): Connect to your pod's Jupyter Lab (Port 8888). Navigate to the outputs folder. You will see your .safetensors file there. Right-click and choose "Download".
You Have Your LoRA. Now What?
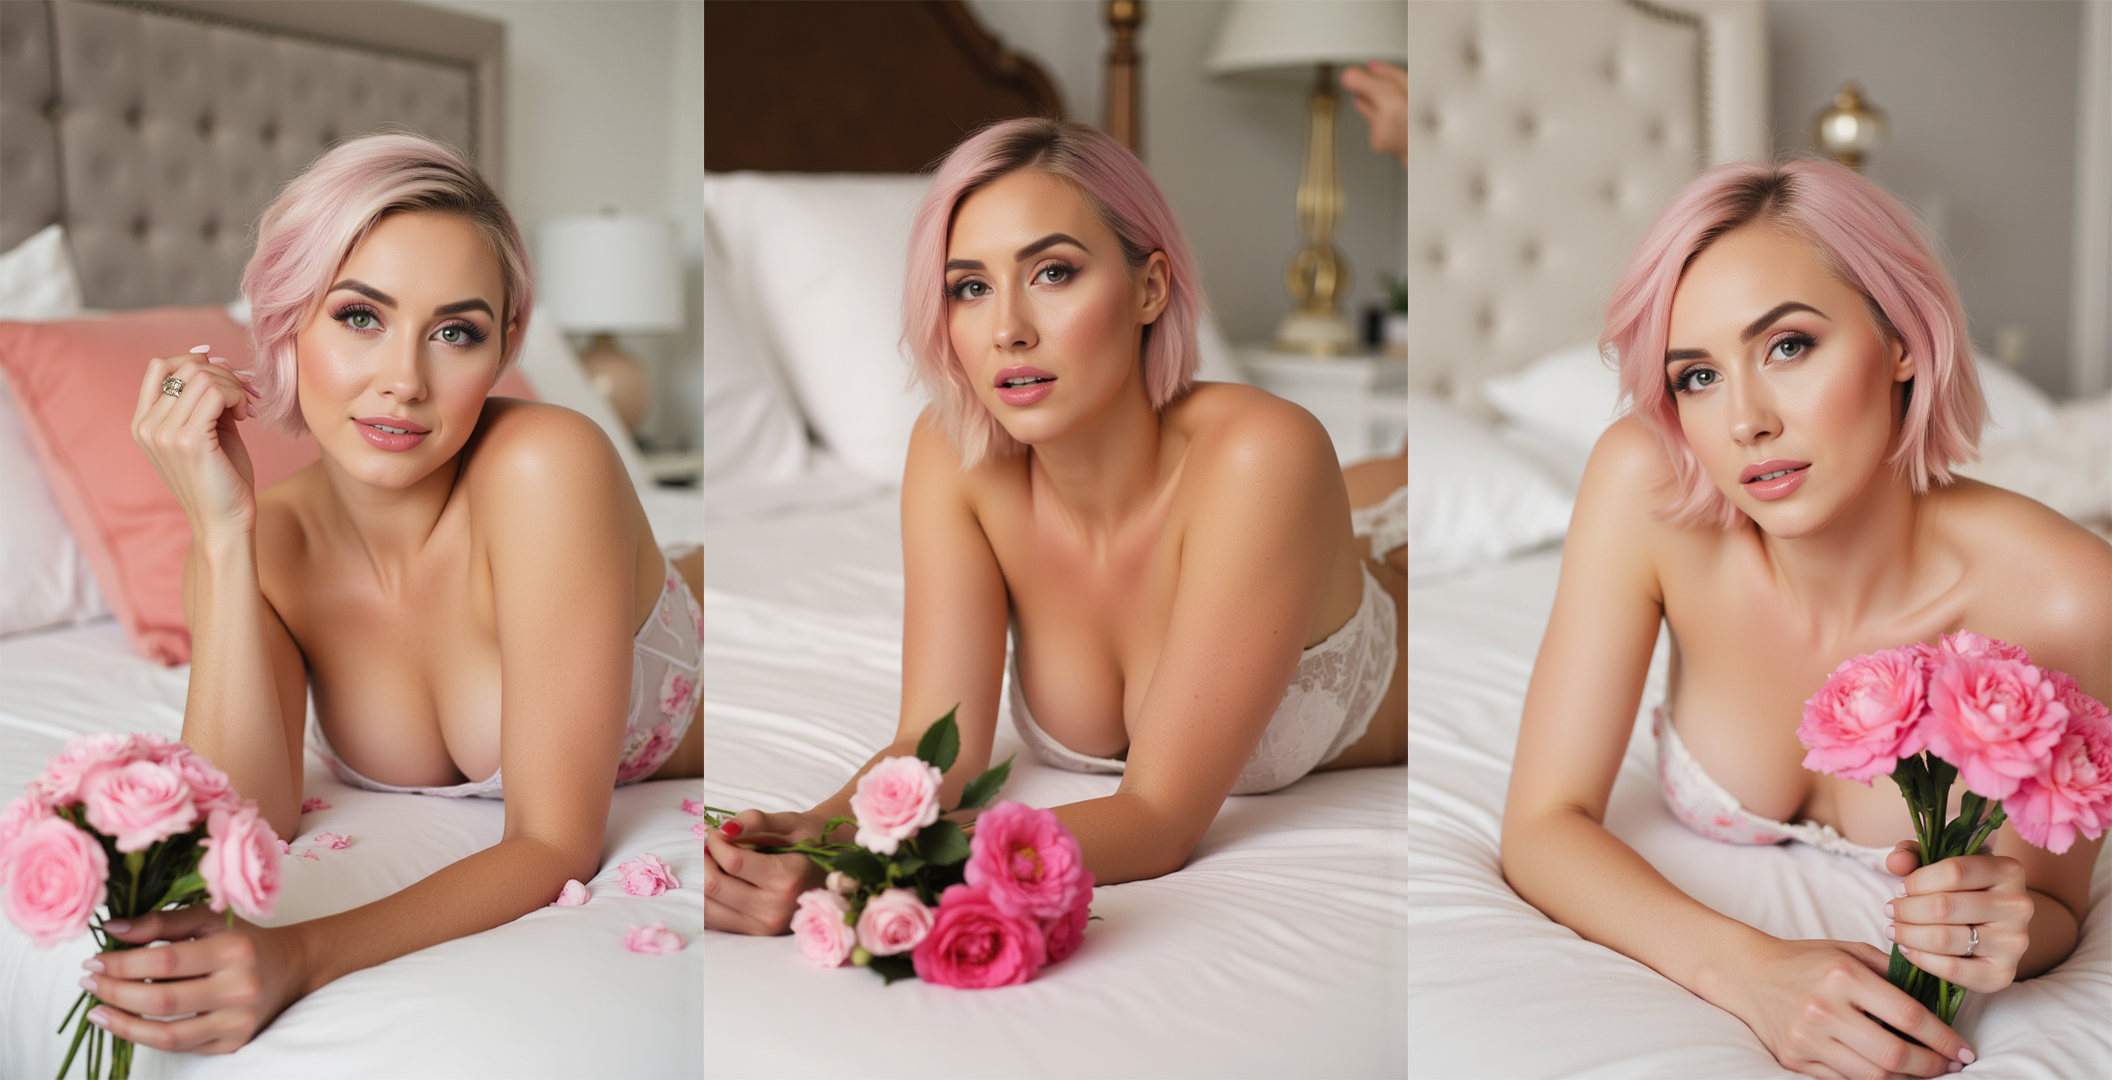
Congratulations! You now hold the key to perfect character consistency.
This LoRA training guide is the first part. You’ve created the actor; now you need the film studio. The LoRA you just built is designed to be used with my professional-grade workflows.
These advanced systems for creating entire photoshoots and cinematic videos are available exclusively at my new home: The Midnight Lab on Gumroad. It's the ultimate resource for artists who are ready to move beyond basic generation and into professional production.
If you found this guide valuable, come and see the tools I'm building to take your new LoRA to the next level.
>> Explore The Midnight Lab on Gumroad <<
(THE MIDNIGHT LAB)
