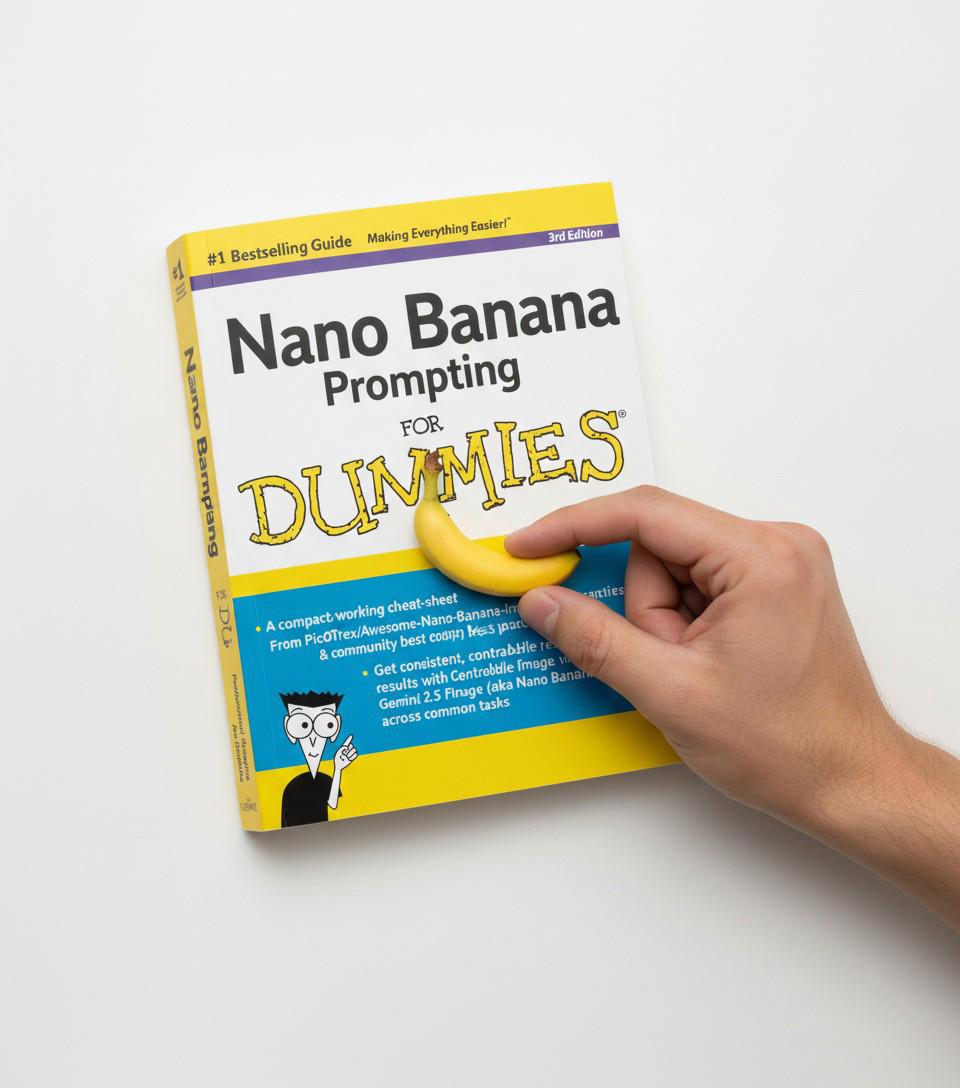
A compact, working cheat‑sheet compiled from PicoTrex/Awesome‑Nano‑Banana‑images and community best practices. Use it to get consistent, controllable results with Gemini 2.5 Flash Image (aka Nano Banana) across common tasks. Generated with help from ChatGPT-5, example images generated on Civit with Nano Banana, some prompts are ChatGPT derived from this guide.
If you've seen some of my Nano Banana posts, you've seen they are much more detailed than anything here, that's because I actually use a smarter LLM to help generate the prompt that I end up feeding to Nano Banana. I will compile a separate guide on that process, as I hope to also have a site to easily generate the prompts and/or even do the generation for you with your own provided keys.
If any example doesn't show an input image, but it seems like it should, it is most likely the CivBot image as I used it for almost all examples where appropriate.
0) Golden rules
Describe scenes in sentences, not keyword soup. Favor cohesive paragraphs that specify subject, composition, context, lighting, and style.
Anchor with images. Upload 1–3 references (subject, style, layout) and say what each controls.
Be explicit about camera & framing. Shot size, lens, angle, aspect ratio.
Constrain what must not change (identity, pose, layout) vs what should change (style, background, outfit).
Iterate with deltas. Repeat the last prompt and tweak only the parts you want changed (lighting, crop, palette, etc.).
Prompt anatomy:
[task] + [subject] + [composition] + [environment] + [lighting] + [camera] + [style] + [output format] + [hard constraints]
1) Core prompt templates by mode
A) Text→Image (no refs)
Create a [subject] in [setting]. Composition: [framing/shot size/placement]. Lighting: [quality, direction, time]. Camera: [lens mm], [angle]. Style: [photoreal / painterly / anime / toy / diagram]. Color mood: [palette]. Output: [background], [no text unless specified].Create a tiny banana stand-up comedian in a dollhouse comedy club with a cupcake-wrapper stage and a toothpick mic. Composition: medium full shot, centered on the banana with slight Dutch tilt and leading lines from the mini footlights. Lighting: warm spotlight key from above, gentle fill from footlights, cool neon rim from stage left, night. Camera: 50 mm, eye-level at banana height. Style: toy. Color mood: banana yellow, teal and magenta neon on deep navy. Output: 1clean diorama background with shallow depth of field, no text unless specified.
B) Image Edit (single ref)
Use the uploaded image. Keep [identity/pose/layout] unchanged. Change: [what to alter]. Match lighting and shadows to the original. Fill edges and maintain texture fidelity. Output [aspect], [background rule].
Use the uploaded image (Image A). Keep identity/pose/layout unchanged (the blue hex logo with the centered “C,” straight-on, centered on the dark backdrop). Change: turn the scene into a nano-banana diorama—add a ring of tiny banana “engineers” clambering along the hex rim and inside bevels, wearing miniature hard hats and clipped to safety lines; one slips comically on a micro peel at the lower right lip while another welds with a sparkler-like torch. Subtly replace the inner hex’s gradient finish with a faint glossy banana-peel sheen and micro pores while preserving the original color balance of the logo; add a couple of pea-sized banana-rocket pods on the outer facets emitting soft vapor to sell the tiny scale. Match lighting and shadows to the original cool studio glow so each banana casts a believable contact shadow on the logo planes; keep all logo edges perfectly crisp and unwarped. Camera: orthographic, straight-on, medium product shot at \~50 mm equivalent, centered composition with generous negative space. Style: photoreal micro-prop compositing with playful, clean humor; no text or captions. Fill edges and maintain texture fidelity. Output: keep the original dark background.
C) Multi‑image fusion (2–3 refs)
Use Image A for [identity/pose], Image B for [style/material], {Image C for [background/layout]}. Combine them into a single coherent scene. Harmonize color temperature and light direction. Keep A’s facial features.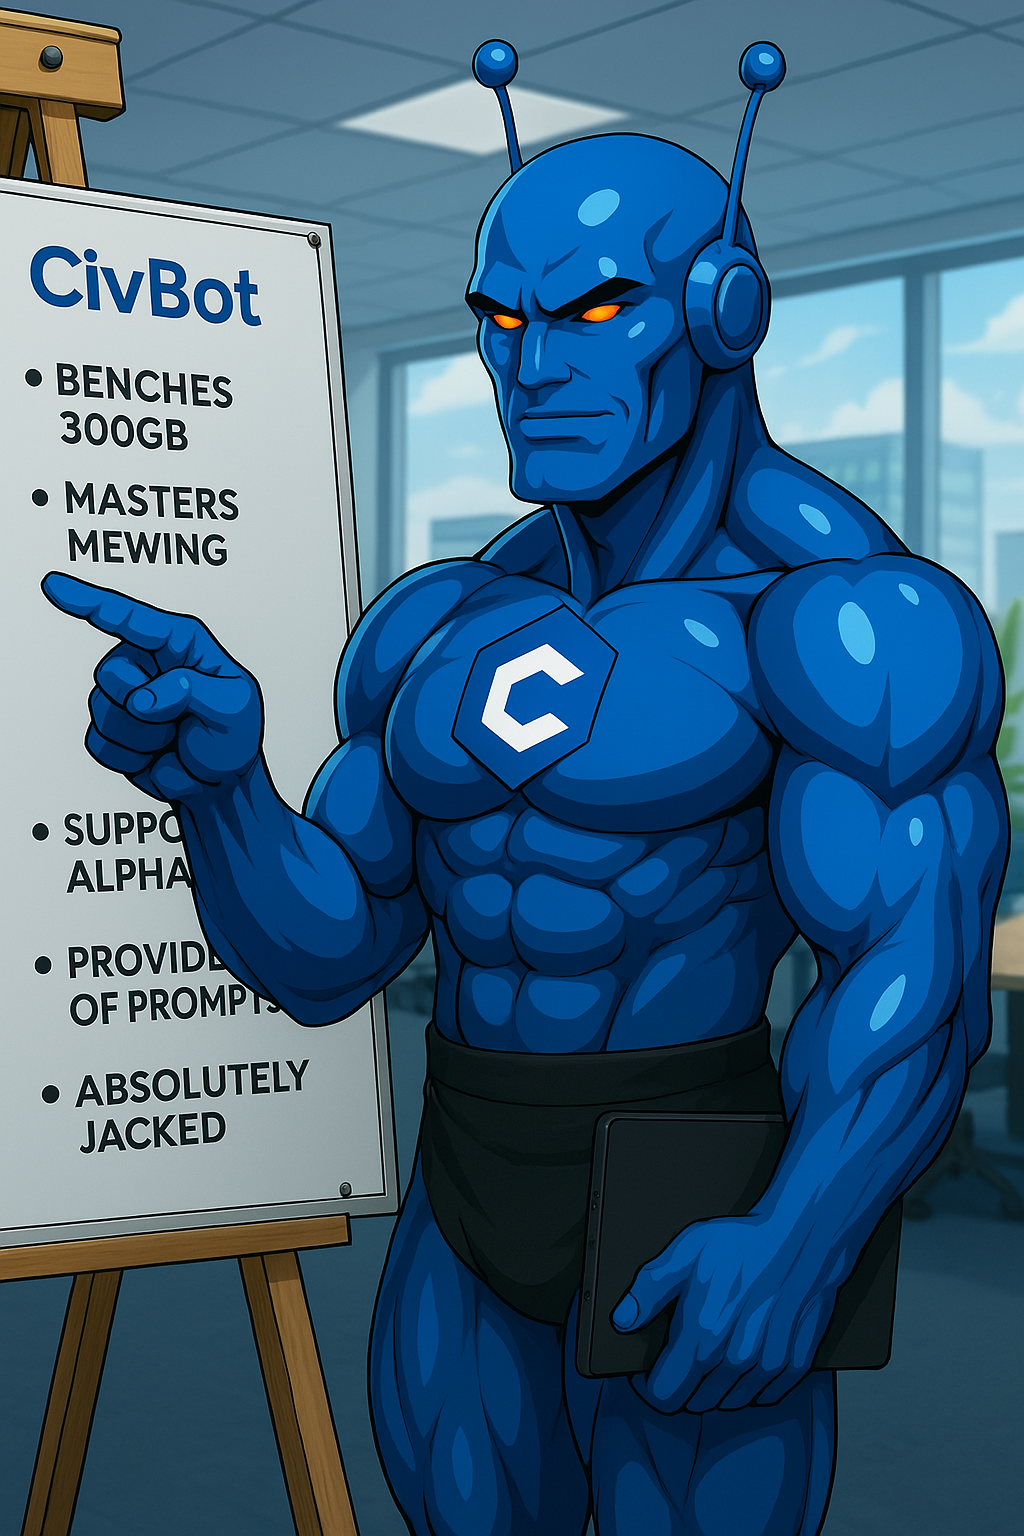
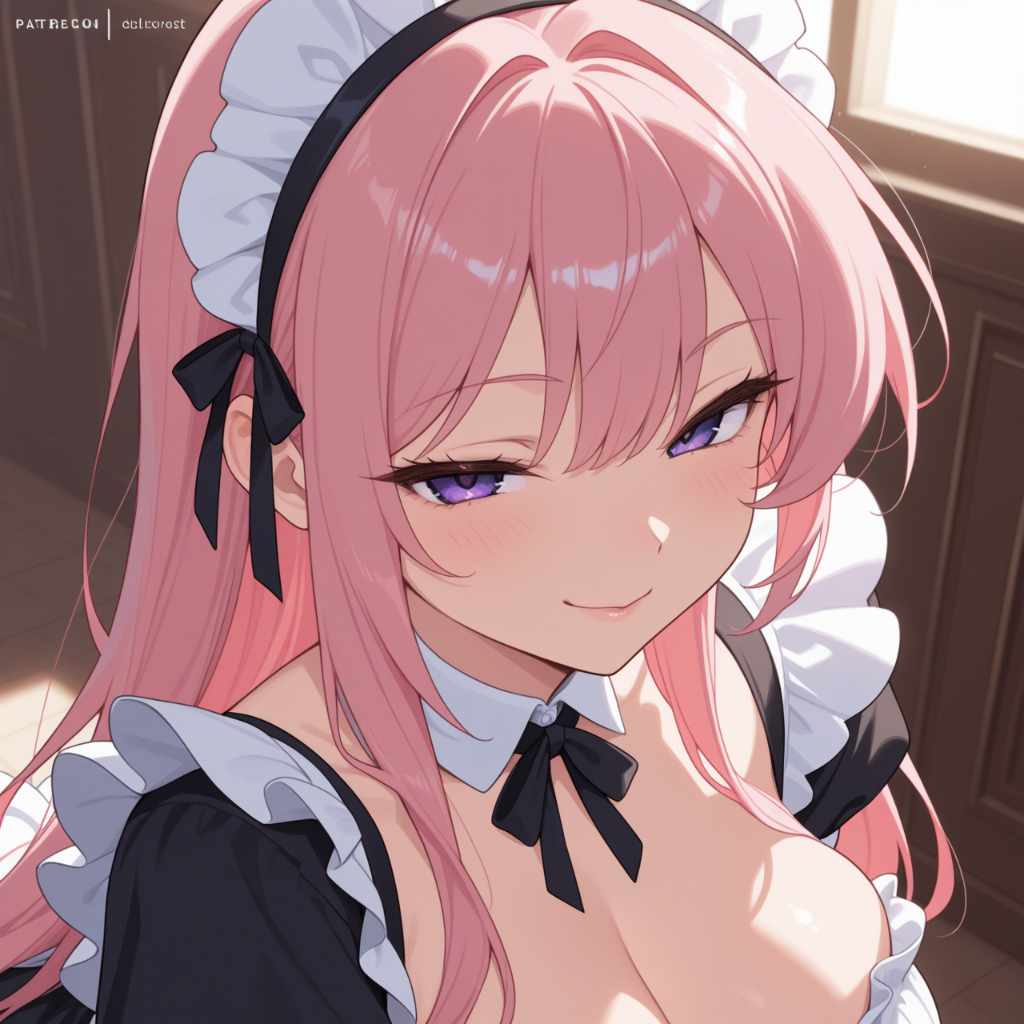
Edit the blue robot keeping his likeness including blue skin, physique and the "C" logo on his chest, give him pink hair like the woman in the second image and a maid outfit. Make sure the maid outfit is properly fitted to the robots body. Do not add the woman from the second image, or change the robots skin color, or change his face.
Note: This one unfortunately was annoying to get, I had to alter the prompt quite a bit because the model just wanted to put CivChan into the scene or even just have her do the same pose. So that is something to consider, that some things will require experimentation.
D) Pose/Sketch control
Follow the uploaded sketch for body pose and bounding boxes. Replace with [character/subject] while preserving limb angles and silhouette width. Keep proportions and hand anatomy clean.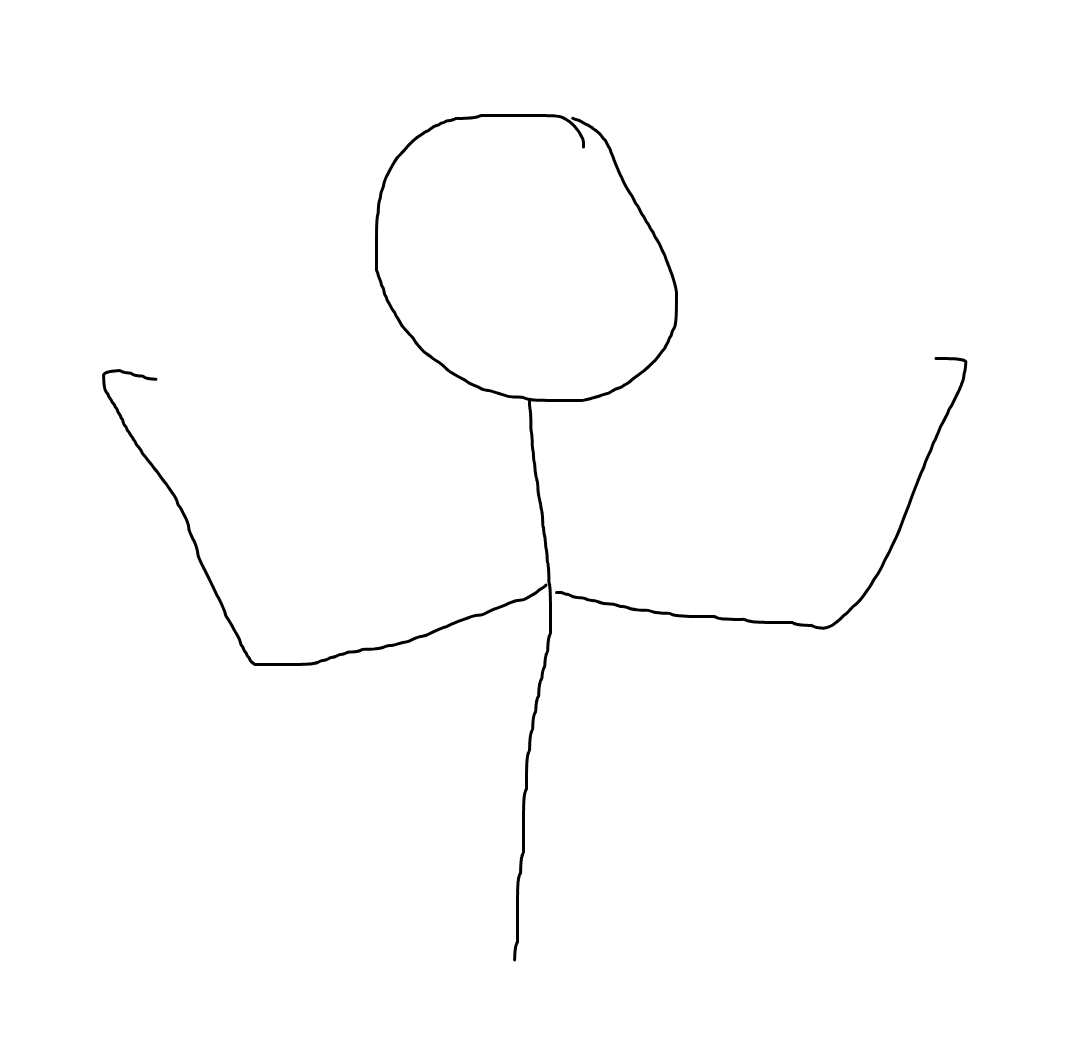
Follow the uploaded sketch for body pose and bounding boxes. Replace with the blue robot while preserving limb angles and silhouette width. Keep proportions and hand anatomy clean.
2) Common tasks → distilled patterns & ready prompts
Each block gives: When to use → Levers → Minimal template → Add‑ons
2.1 Toys, figurines & miniature illusions
Use when: turning people/illustrations into boxed figures, Funko‑like toys, Lego/Gundam minis.
Levers: box/stand/label details, glossy vs matte plastic, scale cues, studio sweep background.
Turn this photo into a boxed action figure. Add a branded window‑box behind it showing the character art and a plastic round base in front with the figure on top. Studio tabletop, seamless backdrop, soft top‑down key light, subtle rim. Figure is plastic material with micro‑scratches, clean label text.Add‑ons: variant colorways; accessories laid out as exploded pack‑ins; barcode and age rating.

2.2 Product & packaging visualization
Use when: mock product shots, labels, packaging, keycaps, merch, jewelry.
Levers: dielines, matte/gloss, print finishes, hero angle, depth‑of‑field.
Design a [package type] for [product]. Front hero on a white sweep, 35° three‑quarter angle. Clear readable typography, legal copy on side, foil‑stamped logo. Add a secondary lifestyle inset on the right.
Add‑ons: flat lay variants; exploded view; “nutrition‑label” or spec callouts overlay.
Design a box for board game. Front hero on a white sweep, 35° three‑quarter angle. Clear readable typography, legal copy on side, foil‑stamped logo. Add a secondary lifestyle inset on the right.
2.3 Portrait edits & styling
Use when: OOTD, outfit swap, hair/makeup tests, headshots, ID photos.
Levers: keep identity; wardrobe fabric & cut; salon lighting; retouching intensity.
Use the uploaded portrait. Keep identity and expression. Replace outfit with a [style] look. Salon softbox lighting, skin texture intact, flyaways controlled, neutral background.Add‑ons: multiple hairstyle options grid; colorway matrix; before→after split.
Use the uploaded portrait. Keep identity and expression. Replace outfit with a business casual look. Salon softbox lighting, skin texture intact, flyaways controlled, neutral background.
2.4 Illustration ↔ photo crossovers & comics
Use when: manga layouts, storyboards, panels, sticker sheets.
Levers: panel grid, gutters, speech bubble placement, inking weight.
Create a 4‑panel comic explaining [topic]. Panel layout: 2×2 grid with equal gutters. Consistent character model sheet across panels; simple speech bubbles; high‑contrast inking; export with transparent margins.
Add‑ons: panel variants (Dutch angle, close‑up); tone/halftone screens.
Create a 4‑panel comic explaining buzz economics at civitai, buzz is the currency for generating images and tipping creators. Panel layout: 2×2 grid with equal gutters. Consistent character model sheet across panels; simple speech bubbles; high‑contrast inking; export with transparent margins.

2.5 Maps, isometric, floorplans & architecture
Use when: convert maps to isometric buildings, floorplan→3D, Minecraft style.
Levers: orthographic vs isometric, scale legend, material swatches.
From the uploaded map, generate an isometric city block. Extrude building footprints to 12–25 m, add road markings and trees matching block spacing. Orthographic camera, 30° tilt, clean labels.
Add‑ons: day/night pair; holographic HUD overlays; printable A4/A6 exports.
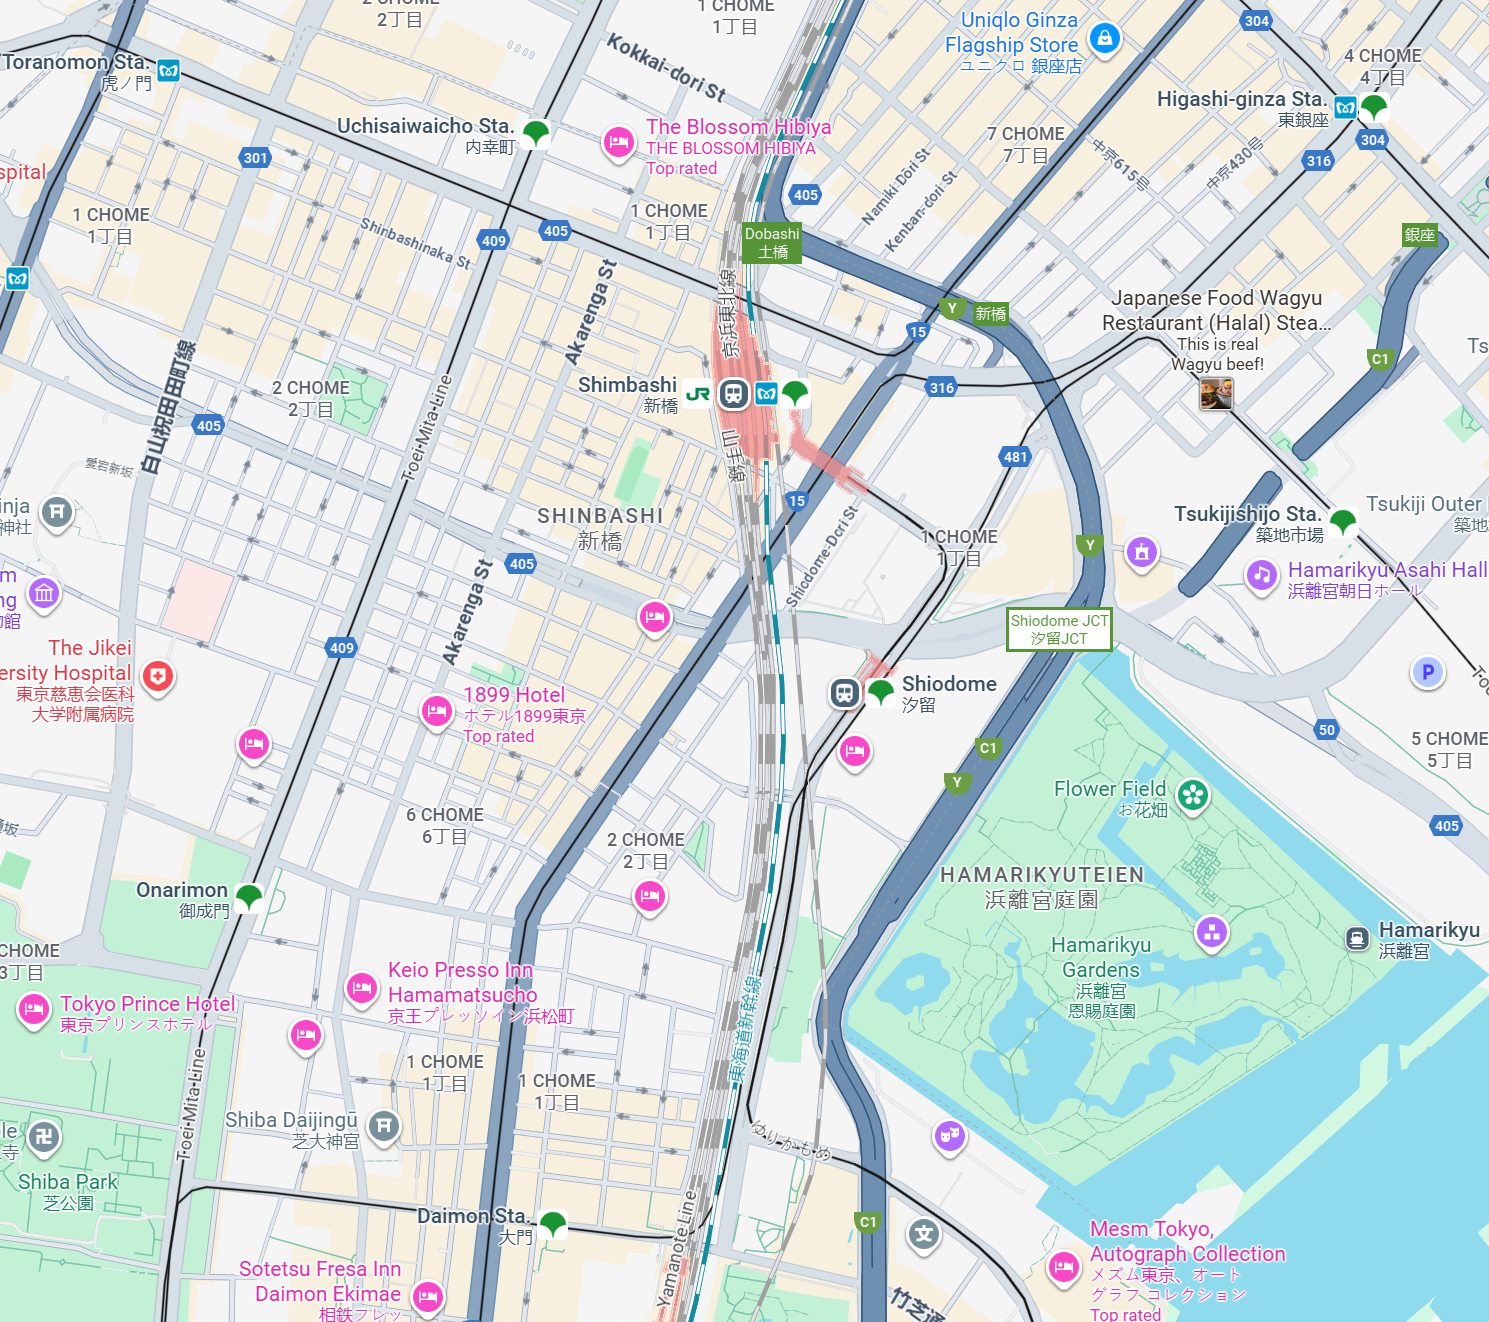

Note: This one was a bit weird, not really inspired but just shows you can do some interesting things but either have to prompt more specifically to what you want or give it better input images.
2.6 Precise edits: outpainting, watermarks, overlays
Use when: extend canvas, add watermark, add calorie labels, teardown callouts.
Levers: edge continuity, font spec, arrow/callout style.
Extend the uploaded image to [new aspect]. Match perspective lines, continue textures and reflections. Add a subtle watermark bottom‑right in 70% opacity. Keep all new edges seamless.
Add‑ons: red‑pen critique layer; exploded hardware labels.
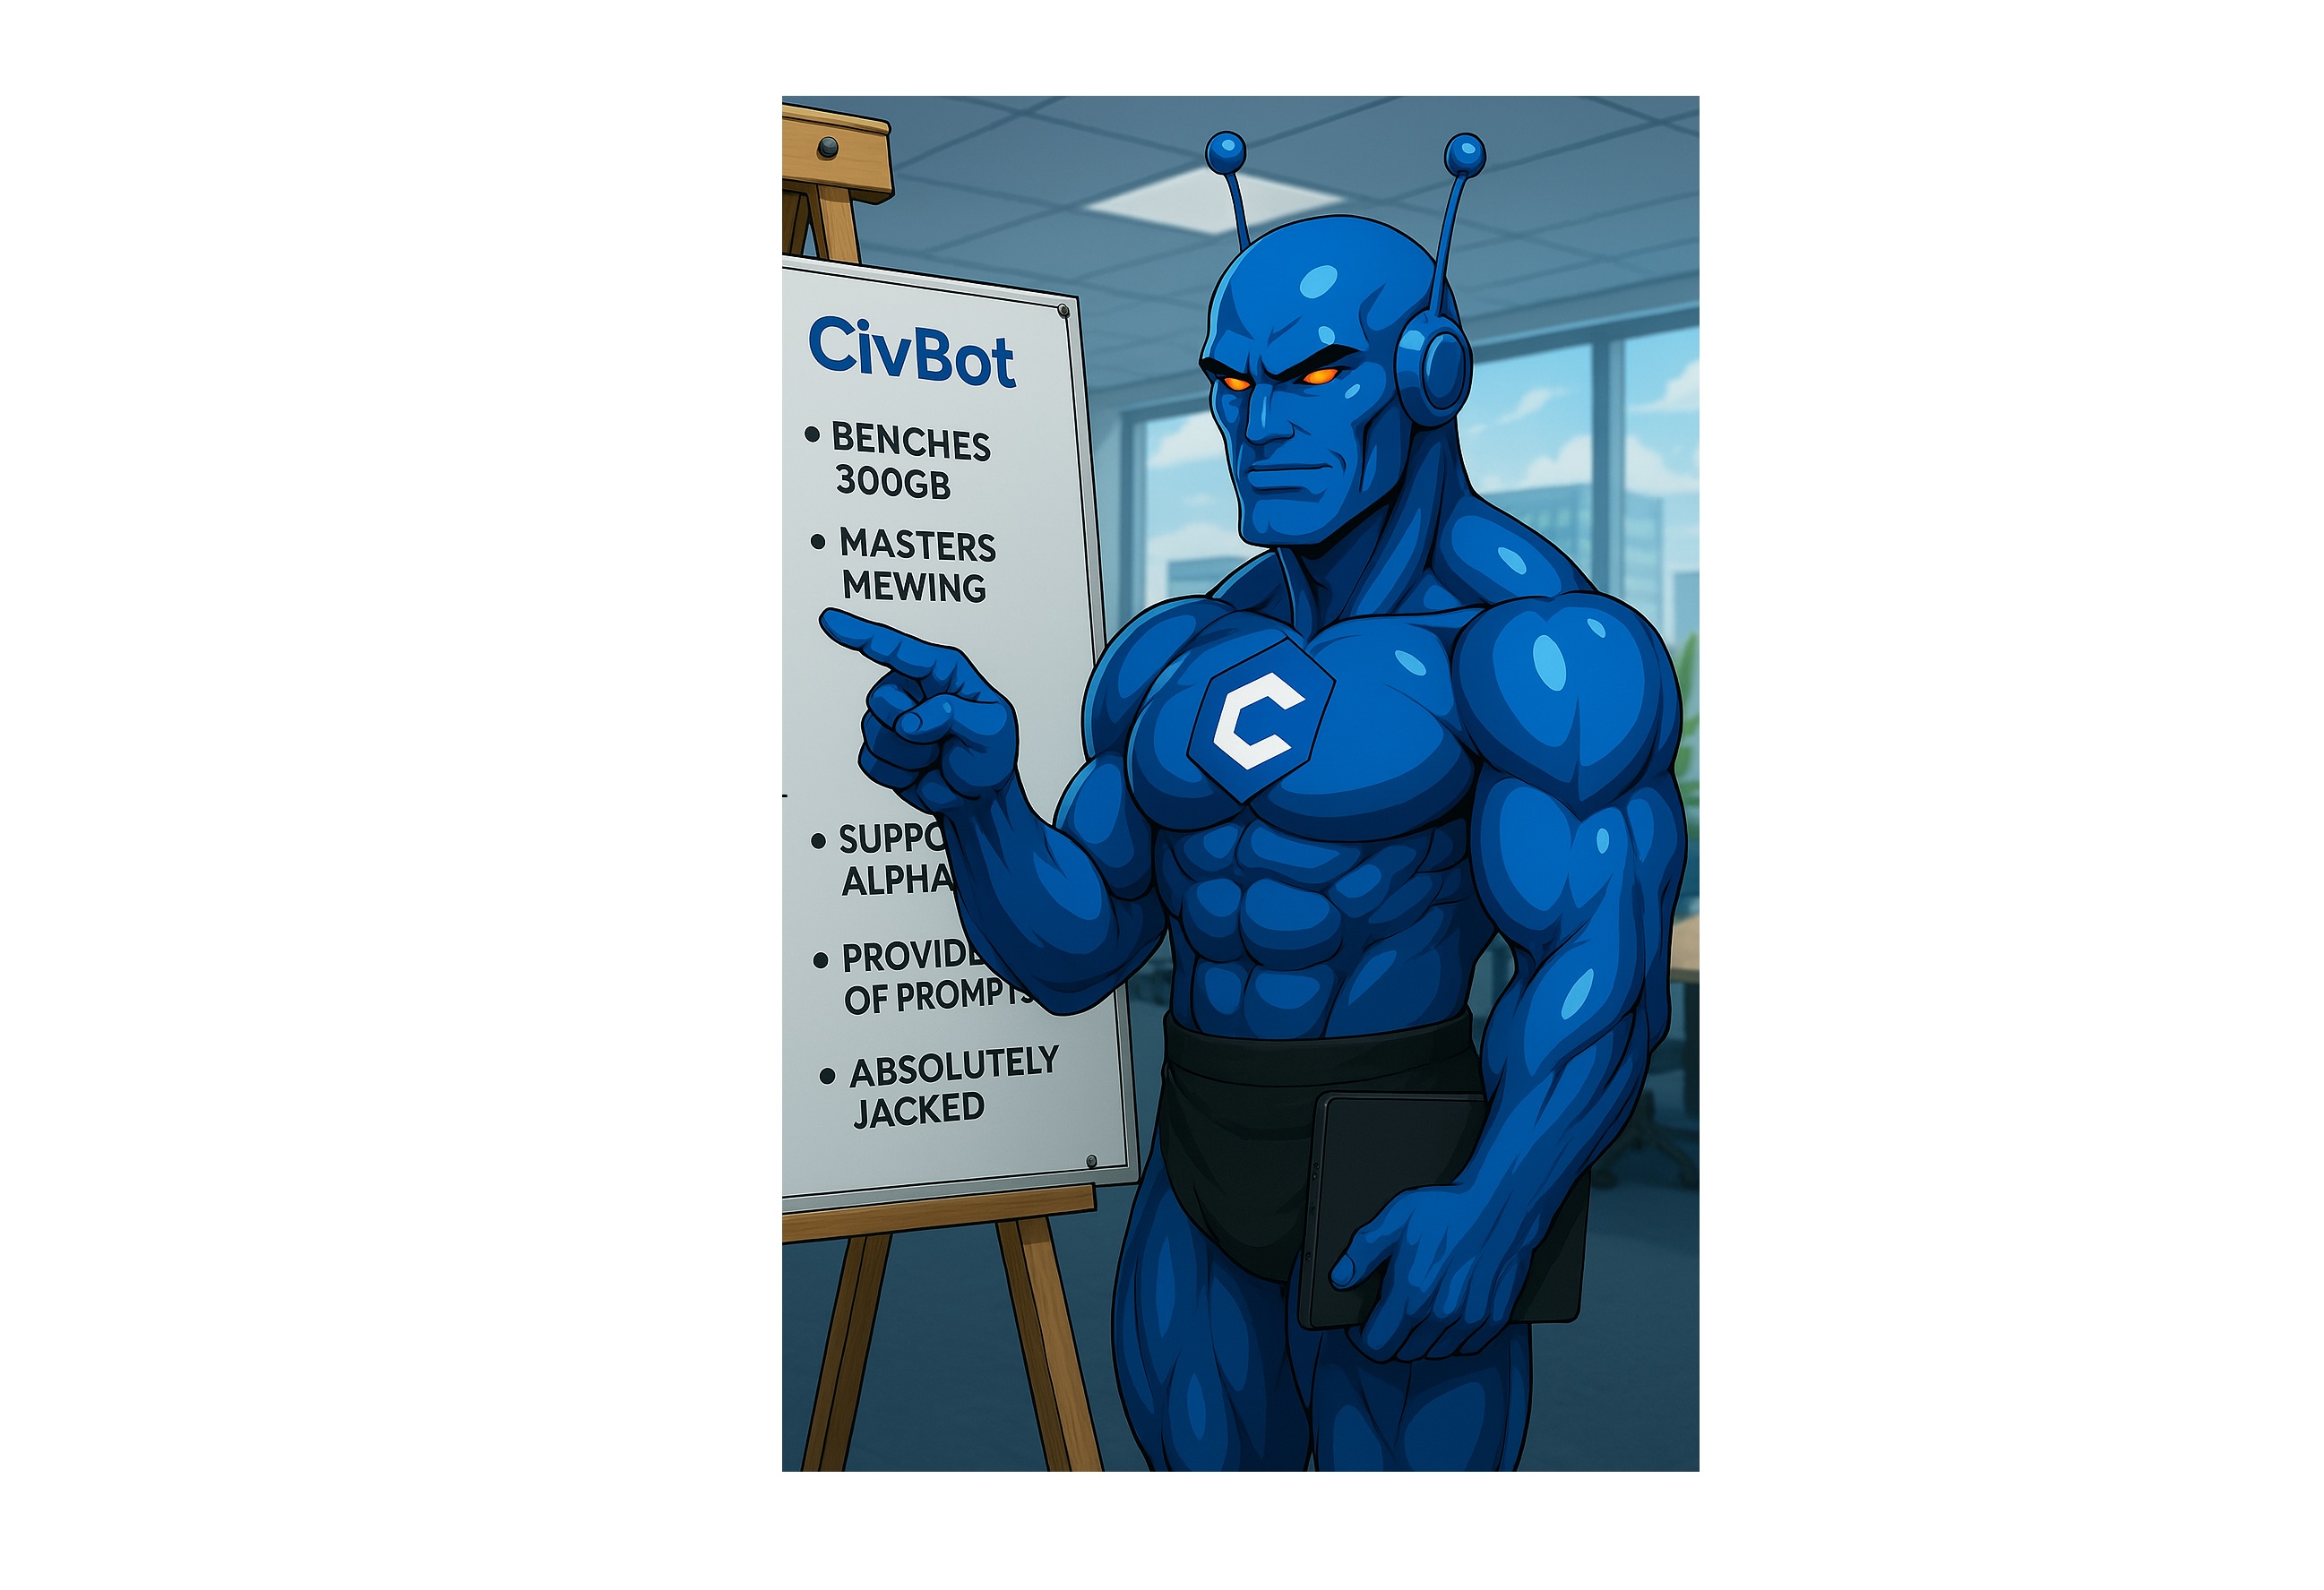

Note: Output aspect ratio really depends on the input image(s). The best way to outpaint is to extend the canvas like in this example.
Replace the green area with a nano banana superhero logo, keeping consistent with the style of the blue robot.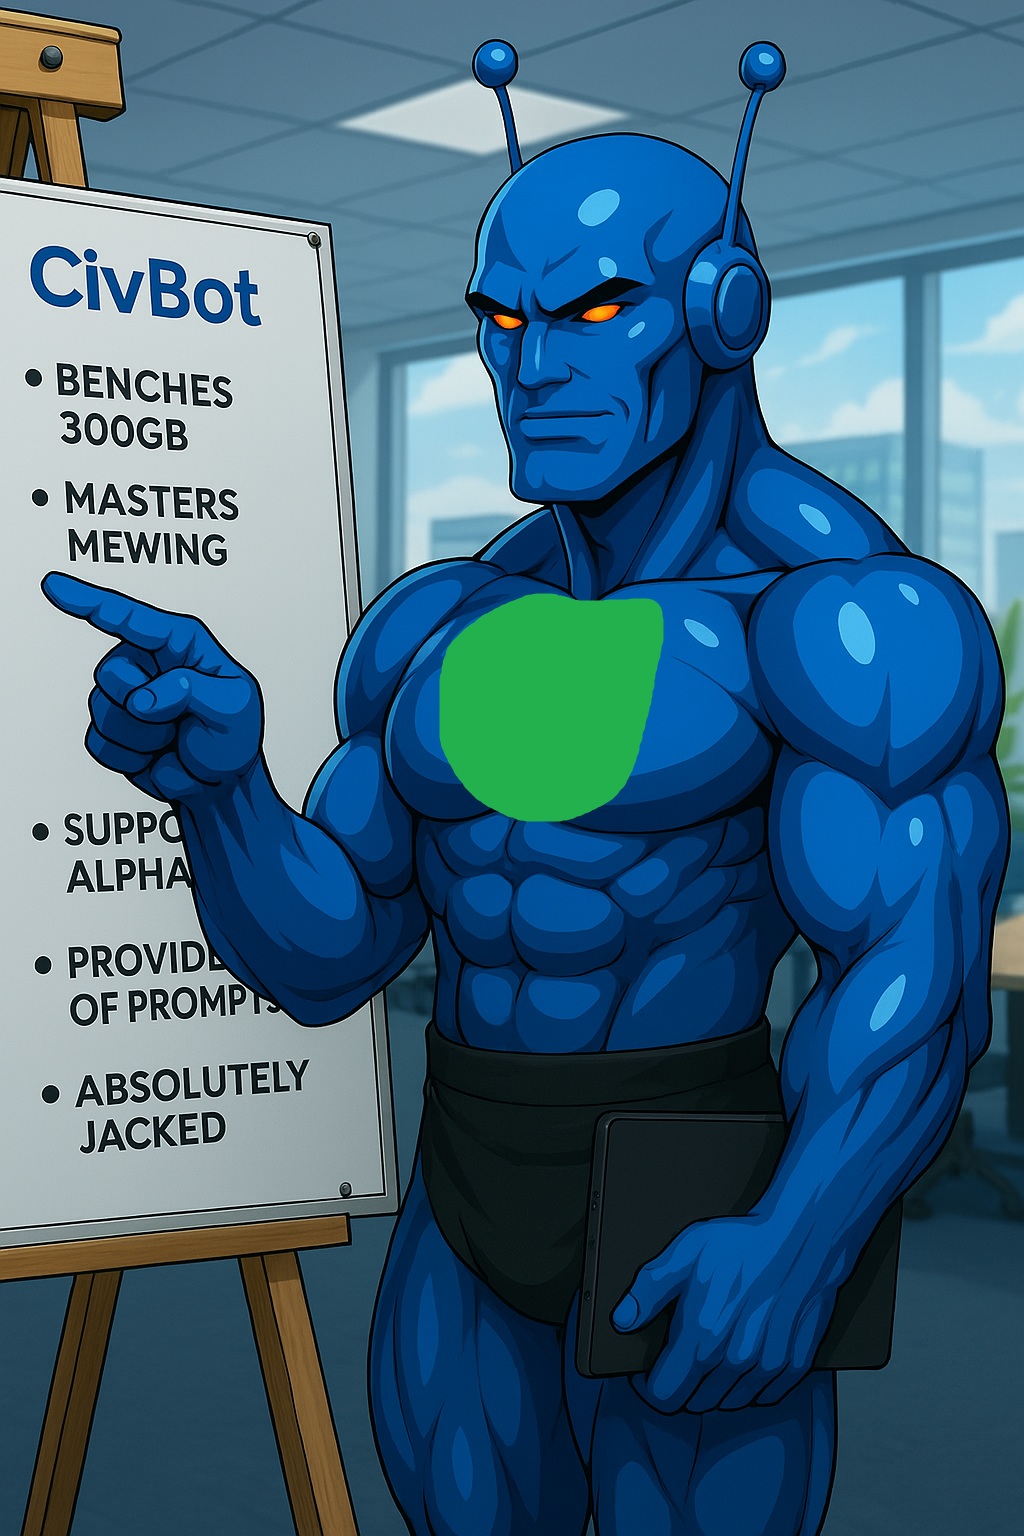

Note: For inpainting, if you want to do something complex that will be hard to describe, use a solid color (or many colors) to paint over what you want to replace, then you can use those colors as part of the prompt to guide the model to do what you want.
2.7 Style transfers & material filters
Use when: print‑style conversions, lighting control, face‑shape tweaks.
Levers: named print process (risograph/duotone), light direction, LUT mood.
Re‑render the scene in [print/style], keeping composition fixed. Global light from camera‑left, soft shadows, maintain skin tone accuracy. Add paper grain and slight ink spread.Add‑ons: side‑by‑side grid, slider mockup.
Re‑render the scene in risograph print style, keeping composition fixed. Global light from camera‑left, soft shadows, maintain skin tone accuracy. Add paper grain and slight ink spread.
2.8 Knowledge‑aware graphics & reasoning
Use when: math/diagram steps, infographics, recipe from ingredients.
Levers: step frames, icons, color coding, data→visual mapping.
Design a one‑page infographic explaining [concept]. Use a 3‑section layout: intro, steps, summary. Icons with captions; consistent legend; minimal palette.
Add‑ons: worked example; formula callouts.
Design a one‑page infographic explaining diffusion image generation. Use a 3‑section layout: intro, steps, summary. Icons with captions; consistent legend; minimal palette.
2.9 Era, cosplay & identity‑consistent variations
Use when: “decades of me,” anime→coser realism, expression control.
Levers: decade‑accurate wardrobe/hair, film grain, makeup period.
Using my portrait, create three era looks: 1920s, 1980s, 2000s. Keep facial identity, adjust hair/makeup/wardrobe to each decade, and emulate matching film stock.Add‑ons: contact sheet montage; pose and expression grid.
Using this portrait, create two era looks: 1920s, 1980s. Keep facial identity, adjust hair/makeup/wardrobe to each decade, and emulate matching film stock.

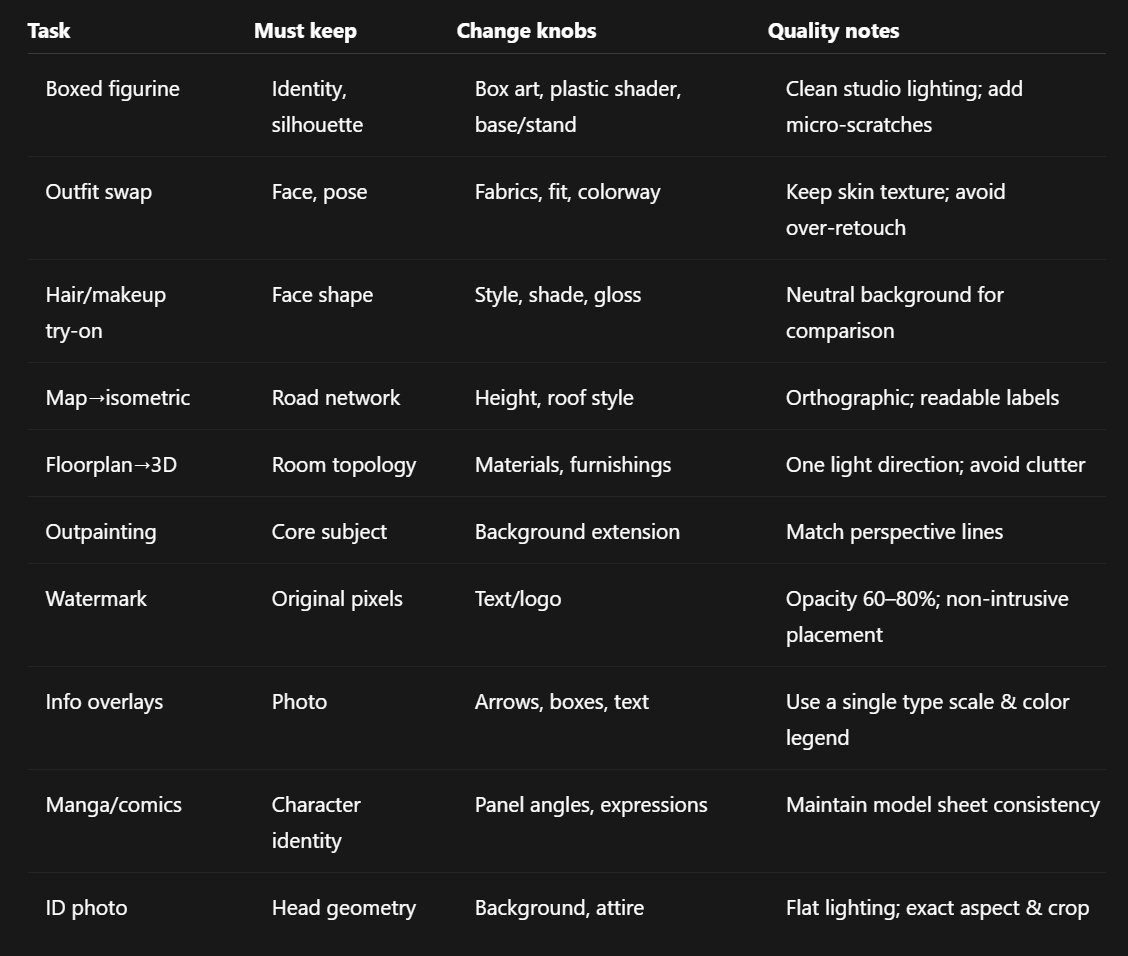
3) Task→lever matrix (quick reference)
4) Prompt building blocks (copy‑ready)
Camera & shot: close‑up / medium / full; low‑angle / eye‑level / overhead; 24mm wide / 50mm normal / 85mm portrait; tripod, shallow DOF (f/2.8) vs deep focus (f/11).
Lighting: softbox left; window light 10am; hard noon sun; golden hour rim; moody split light; bounce fill.
Materials: glossy ABS plastic; brushed aluminum; marble; velvet; paper grain; frosted glass.
Color & tone: complementary teal‑orange; muted pastels; high‑key; low‑key; duotone (Pantone X + Y).
Background rules: clean studio sweep; seamless white; gradient vignette; environmental plate.
Output: grid of N variants.
Reusable constraint lines:
Keep facial identity and pose unchanged.
Harmonize light direction across all elements.
Avoid unreadable micro‑text; use large, legible labels only when requested.
5) Example mini‑prompts (fast copy)
Action figure box:
“Turn this photo into a boxed action figure on a plastic base; branded window‑box behind; studio sweep; soft top‑down key; subtle rim; clean printed label.”
Isometric from map:
“From the uploaded map, build an isometric city block with extruded footprints and labeled streets; orthographic 30° tilt; consistent sun from top‑left.”
Outfit grid:
“Same portrait, 4‑up grid of outfits (casual, formal, streetwear, retro). Keep identity; consistent salon lighting; neutral backdrop.”
Storyboard:
“Create a 6‑frame storyboard for [scene]; include shot notes (WS/MS/CU), arrows for action, and time‑of‑day lighting cues.”
Infographic one‑pager:
“One‑page explainer of [topic] with three sections, icons, step numbers, and a legend.”
6) Troubleshooting
Plastic looks fake: add micro‑scratches, fingerprints, tiny mold lines; mix glossy + matte.
Identity drift on edits: restate “keep identity”; include the original as Image A; reduce the number of changes per iteration.
Text turns to gibberish: treat text as a design element—ask for big, legible labels; avoid long paragraphs inside the image.
Mismatched lighting in composites: explicitly set one light direction & color temperature; ask the model to “relight B to match A.”
Hand anatomy issues: request “clean finger articulation and natural knuckle creases”; keep hands relaxed if possible.
7) Credits & attributions
This cheat‑sheet distills public examples and categories shared by the Nano‑Banana community; see the original repository’s case list for full inspiration and sources.

