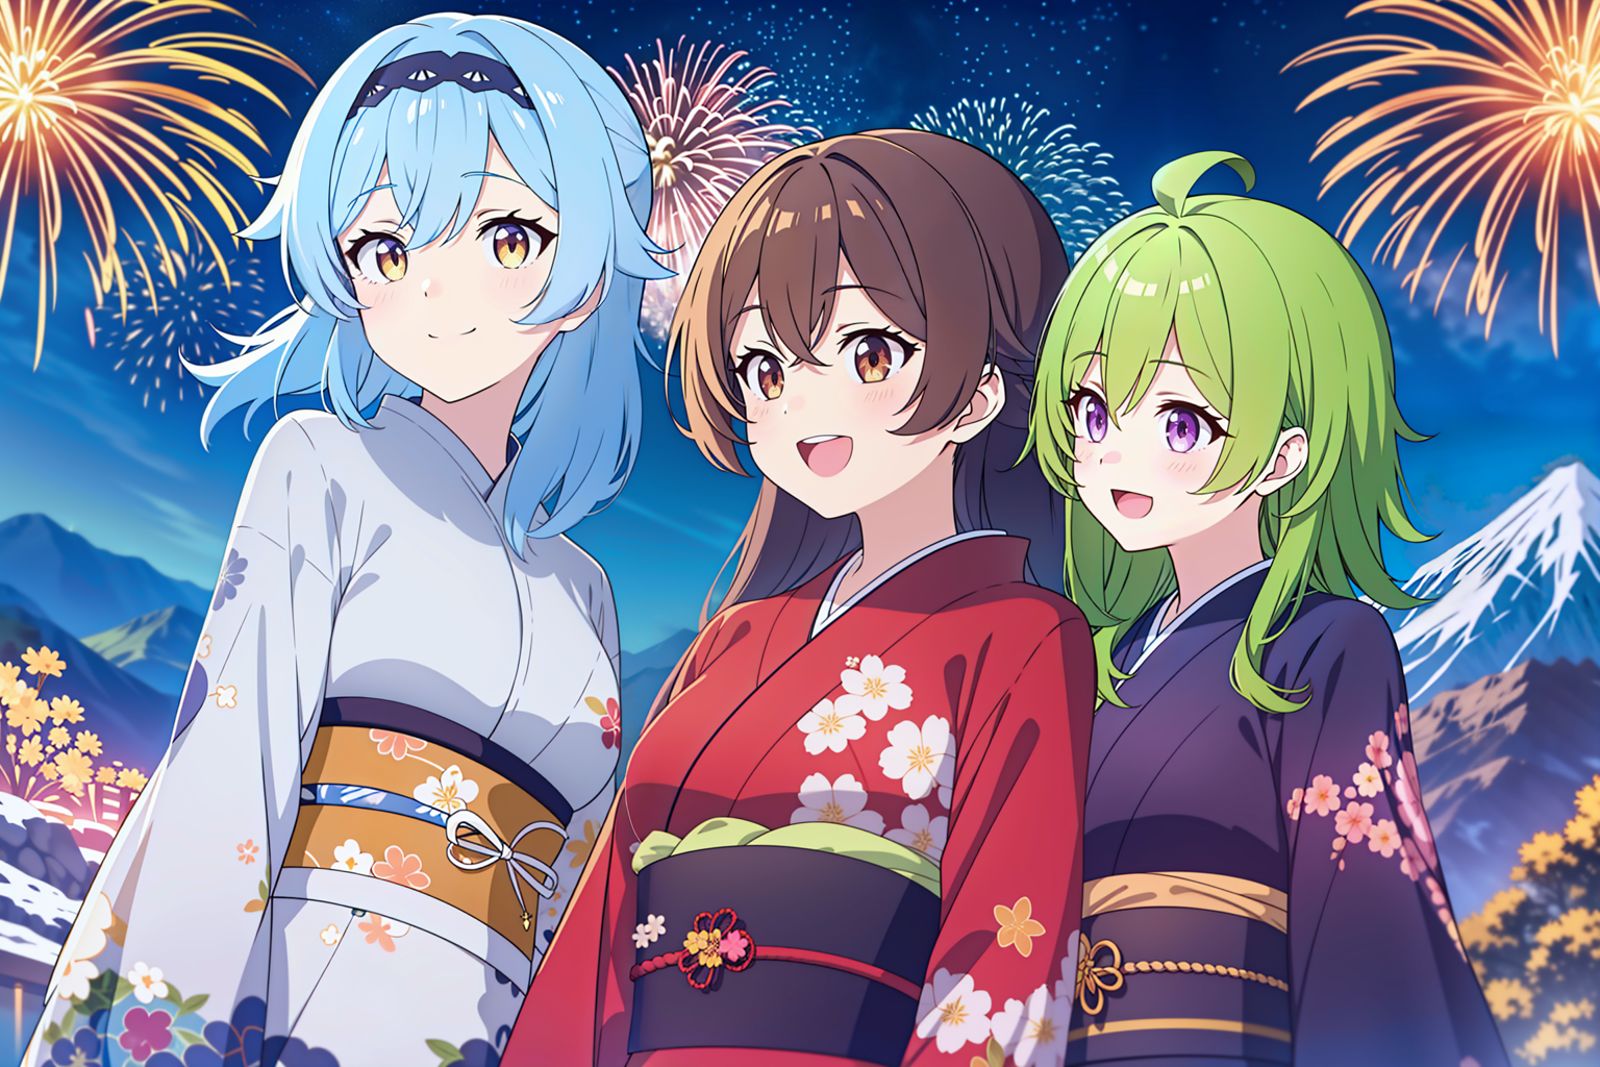
I haven't posted a full workflow here in while so I writing an article on my current workflow process for AI generation with multiple characters. Originally, I thought this was fairly intermediate level topic but after detailing of all techniques and tricks that I used, it turns out that my workflow is fairly complex and this is probably an advanced workflow that won't be easily understood by beginners. I will try to keep it as simple as possible but I won't go into great detail about each individual trick or about how much depth was used in certain trick. In a good number of cases, I only touched the surface level of each tool and/or technique.
This isn't the full workflow and mostly summarizes the important details to the best of my memory. If you prefer to not read and look at the inpainting changes, you can look at my reddit post that shows a few of the changes.
I am assuming that you know how to use the basics of each extension as I won't be explaining how to use them individually.
Extensions Used:
LoRA Block Weight
Regional Prompter
MultiDiffusion Upscaler
ControlNet
ControlNet Openpose Editor
Techniques Used:
Img2img
Crude Redrawing
Photobashing
Inpainting
Crude Redrawing
Only Masked Quality Enhancement
ControlNet
Openpose editing
ControlNet Generative-like Fill
Image Blending
Upscaling for quality
Step 1 Brainstorming
If you're like me and you're very bad at brainstorming or visualizing ideas, you can always use Stable Diffusion to generate random images and then use ControlNet to borrow the pose from the image. Brainstorming with multiple subjects is a tad tricky which is something that I will explain later but first, just start off with something basic such as:
3girl,outdoors,nightime,yukata,kimono
I don't recommend using regional prompter at this point since it has a tendency to isolate each subject which can get in the way if you want your characters to interact with each other.
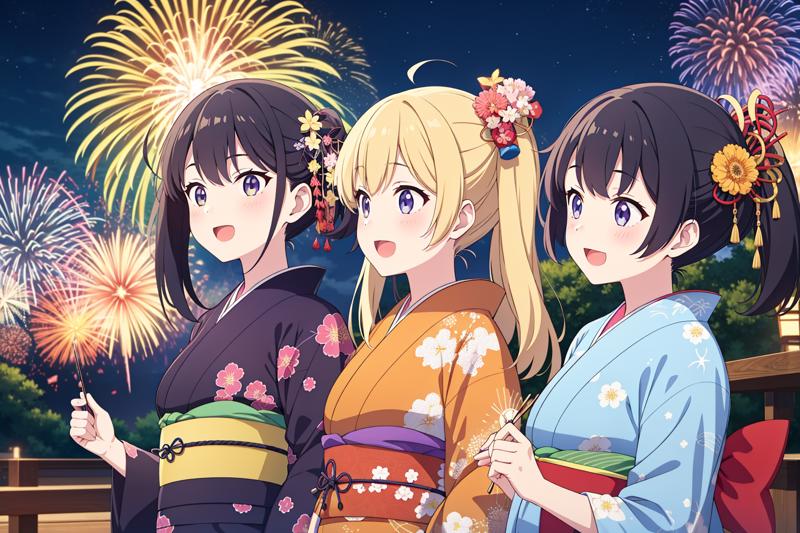
While this is only a single example, there is a problem with multi-subject generation where most models will typically generate characters of the same height. Simply scaling the openpose bones won't help since that tends to make the character gigantic instead. To get around this problem, you can use the openpose controlnet editor to hide away the bones except for the eyes and nose and then adjust the position of the eyes for each character.
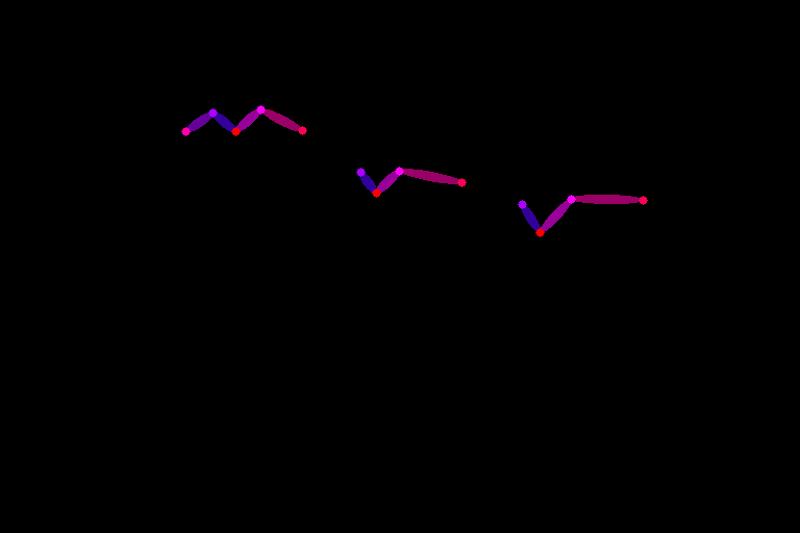
This also has the interesting side-effect of interpreting the taller character as older instead and the shortest character as younger. However, since I am inpainting using LoRAs, only the overall pose and character heights matter the most for me.
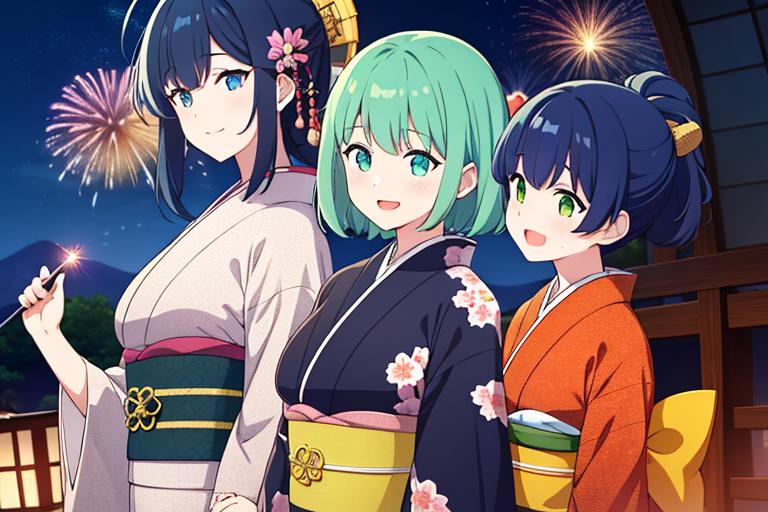
At this point, I can just iterate on image and play with the openpose weights. I adjusted my weight to around 0.5~ 0.6 so openpose still retains the overall pose but would try to be creative with the eye position.
Iteration 1:
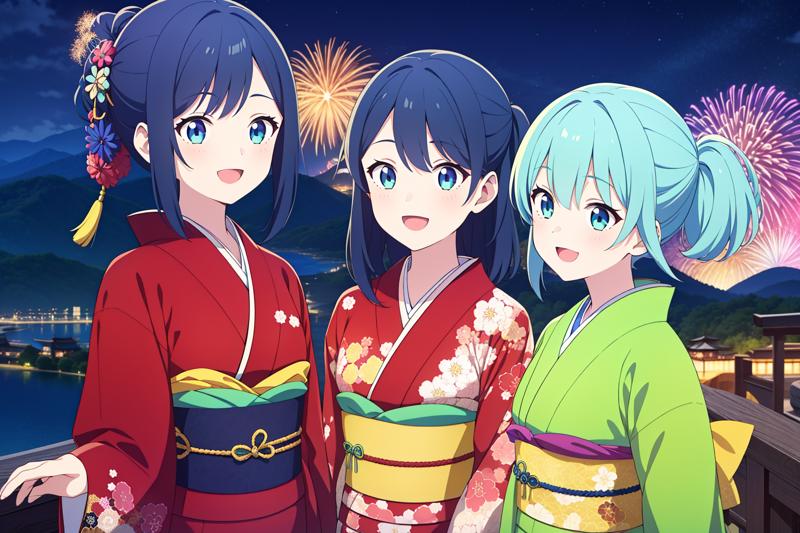
Iteration 2:
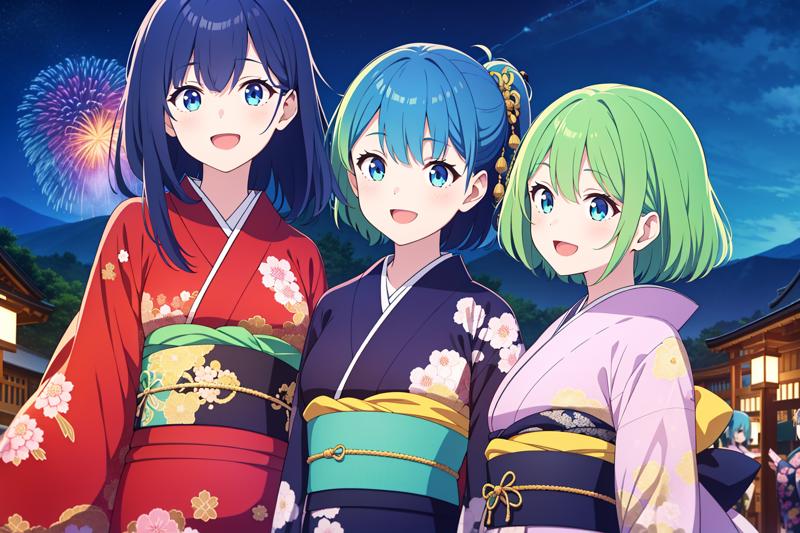
Iteration 3: (What I ended up using for the openpose reference)
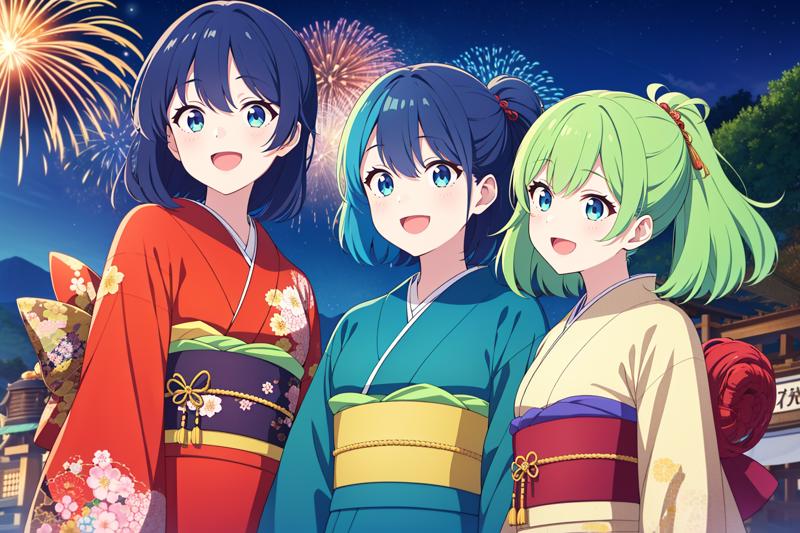
Step 2: Inpainting
During my inpainting process, I like to inpaint each character individually one at a time. Personally, I don't like using extensions such as oneshot+latent couple since while these can produce images with multiple LoRAs at once, there is tendency that the LoRAs could end up merging and end up messing with character details. I prefer the individual approach since it lets me keep each character in isolation.
Overall Settings:
Batch Count: 4 for iteration
ControlNet 1: Inpainting Only + Lama; ControlNet is more important
ControlNet 2: Openpose; Balanced
You may need to edit the bones in the openpose editor since some bones might be placed incorrectly or could be missing. (I had to place the elbows below the image so that it wouldn't add hands)
Prompt:
The prompt is actually more important in multiple subject workflows compared to single subject. Whenever edits are made, 3girls should always be in the prompt and you should avoid keywords such as 1girl and solo. The ControlNet inpainting is somewhat context-aware so adding single-subject keywords tends to cause the inpainting to erase the subject instead of running a replacement.
I'm generally not very diligent with prompt engineering so my prompts look rather basic:
3girls,yukata,outdoors,kimono,japanese_clothes ....
[trigger word for the LoRA] +hair color + eye+color+hair_length
LoRA at weight 0.6 ~0.8 with OUTD block weight extension occasionally used.
Prompt needs to be adjusted for adding each character. Don't use multiple character LoRAs at once. Adding Eula in particular was a struggle since the hair color was incorrect. Using the block weight extension helped with getting color correct which was more important than fiddling around with the prompts.
Adding Eula:
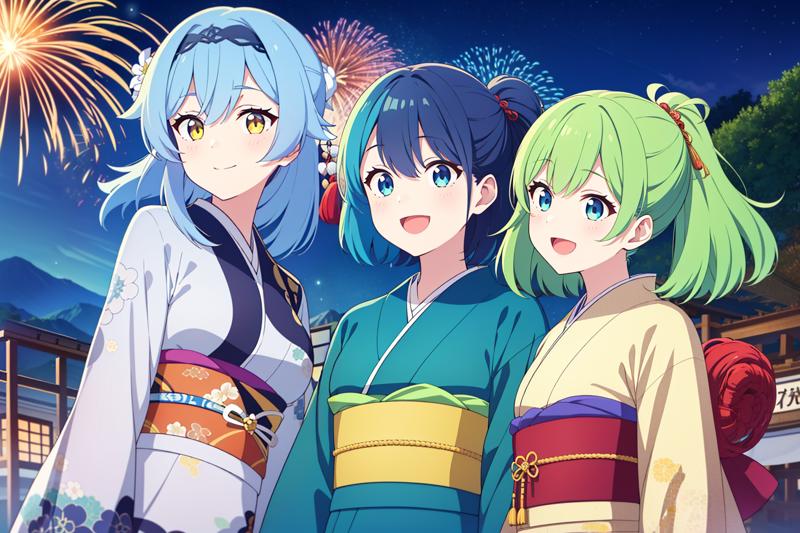
Adding Amber:
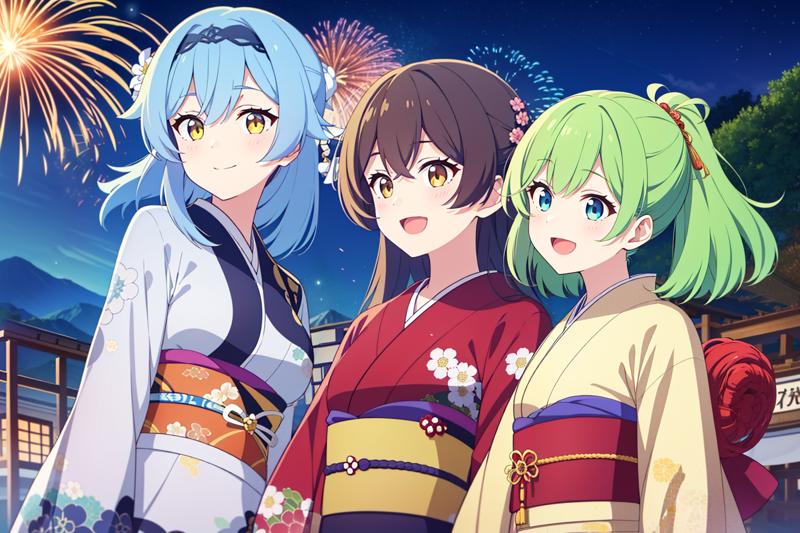
Adding Collei:
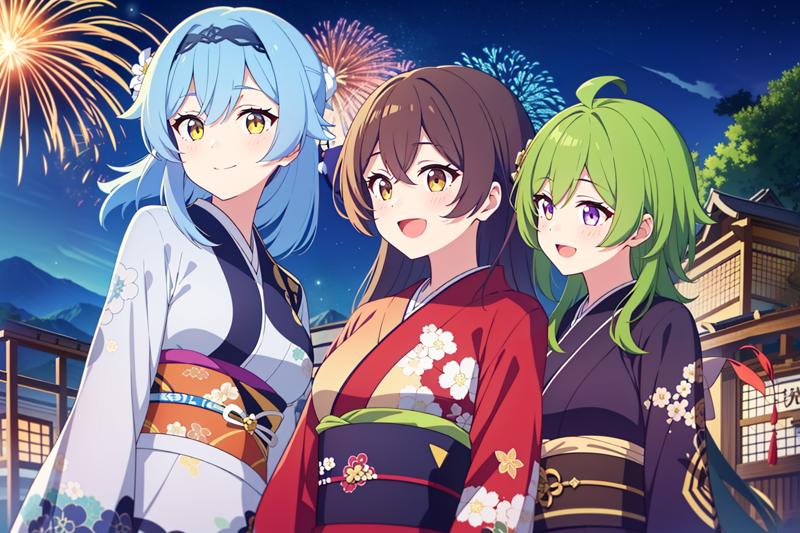
Using generative-like inpainting to edit the background Step 1:
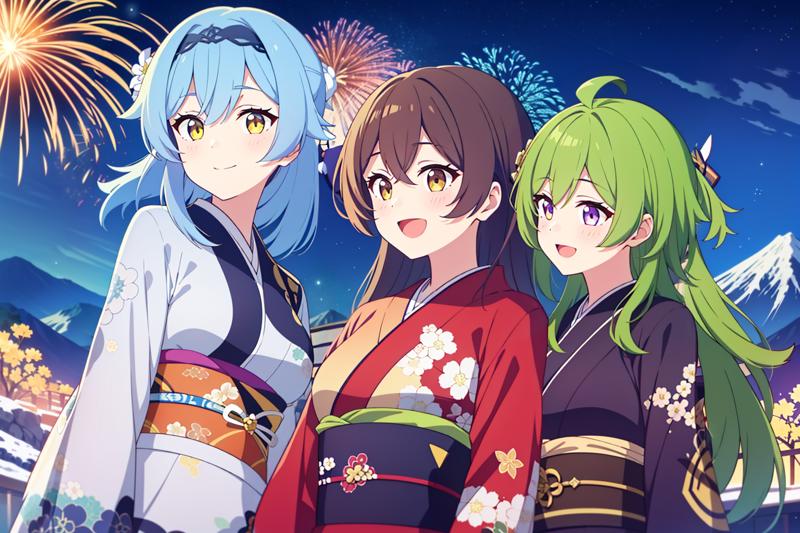
Step 2:
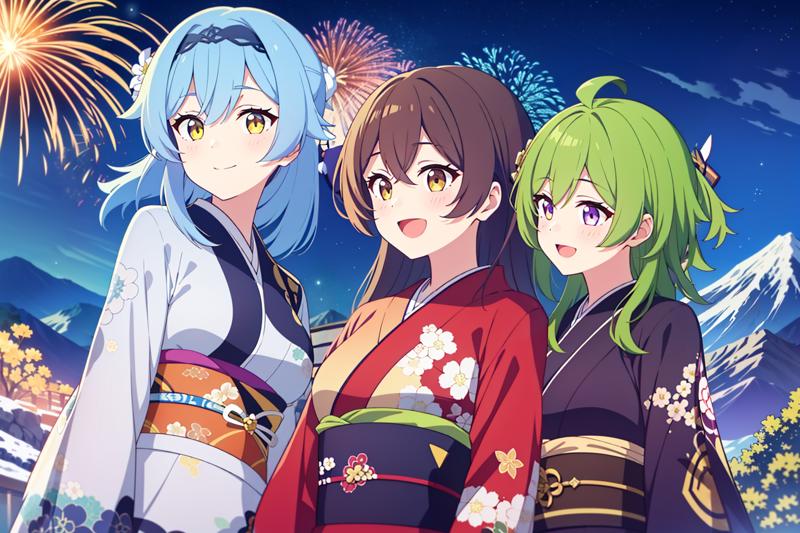
Crude sketching/recoloring adjustment step(Firework on the right side was photobashed or copy and pasted from the left side)
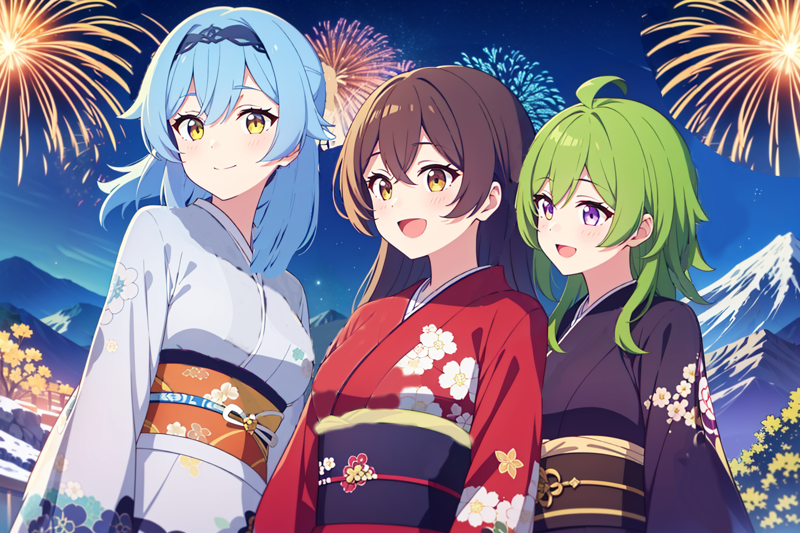
Afterwards, I run an img2img pass to enhance the the recoloring. I'm not entirely sure why but img2img does a better job than inpainting at larger fixes. During this step, it is important to use regional prompter to accurately describe the overall image. One of the problems with img2img for multi-subjects is that Stable Diffusion will try to force color changes in prompt which can introduce a ton of unwanted micro-artifacts into the image. Using regional prompter can help alleviate this problem. You also want to remove LoRAs from the prompt at this point of time.
Example:
3girls, fireworks,mountain,outdoors, blue_hair,yellow_eyes,white_kimino,yukata,smile,closed_mouth,medium_hair,medium_breasts ,smile,obi,floral_print
ADDCOL brown_hair,brown_eyes,open_mouth,smile,:D,red kimono, brown_eyes,long_hair,obi,floral_print
ADDCOL green_hair,purple_eyes,:D,smile,purple_kimono,japanese clothes, obi,mountain,forest,floral_print
Denoising Strength: 0.4. Fairly low denoising strength to fix the recoloring but keep overall character details.
This can add unneeded details so the best solution is to manually blend parts together.
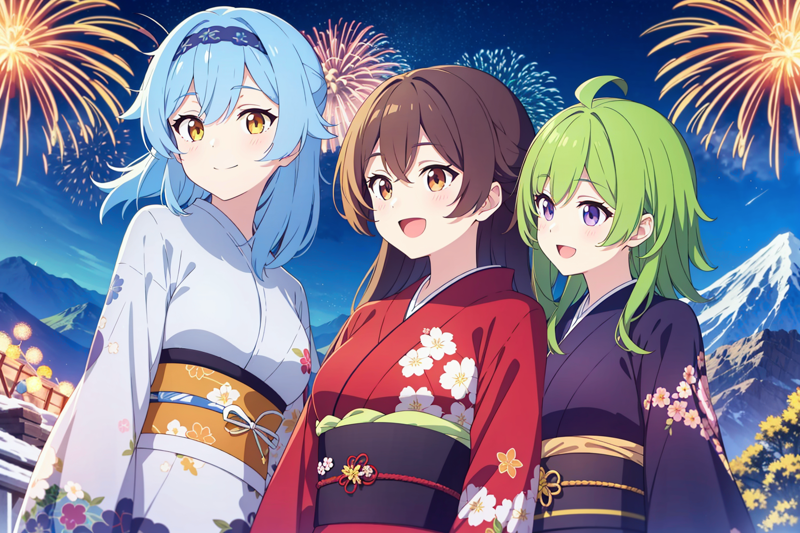
I used Krita and the eraser tool to blend the images together. There's probably a better way to do this but I found that this was easier for me. I didn't save an image from this step in particular so I don't have the exact image from before the blend.
My next step is to use only-masked inpainting to selectively increase the detail of certain parts of the image. (Eyes and String; LoRAs are added back to the prompt again) I used varying denoising strengths at around 0.3 ~ 0.5. Resolution was set to 768x768. Afterwards, I applied some crude sketches to minor areas that I forgot to fix such as the gaps in Collei's hair.
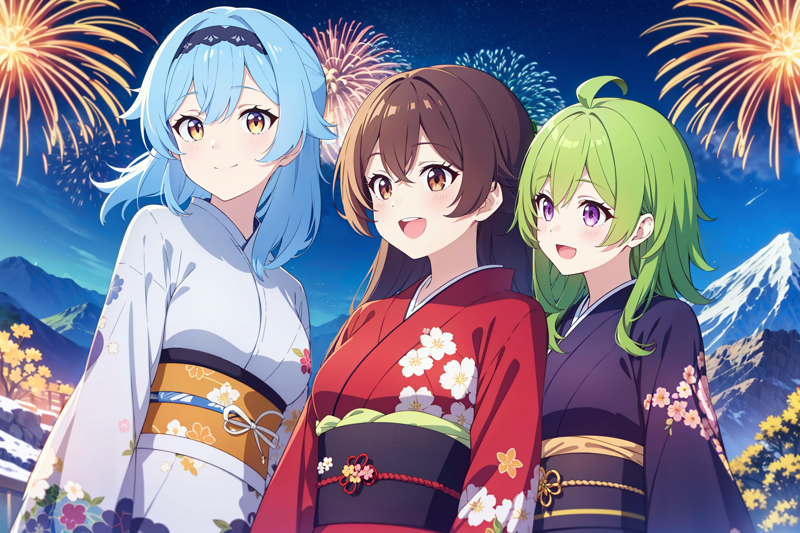
My next step is to increase MultiDiffusion to upscale the image to add more detail to overall image and fix and leftover sketches. I used the recommended settings for MultiDiffusion+ Tiled CN from the MultiDiffusion Github page. Afterwards, I set Regional Prompter to what was described in the img2img step and then ran the upscale.
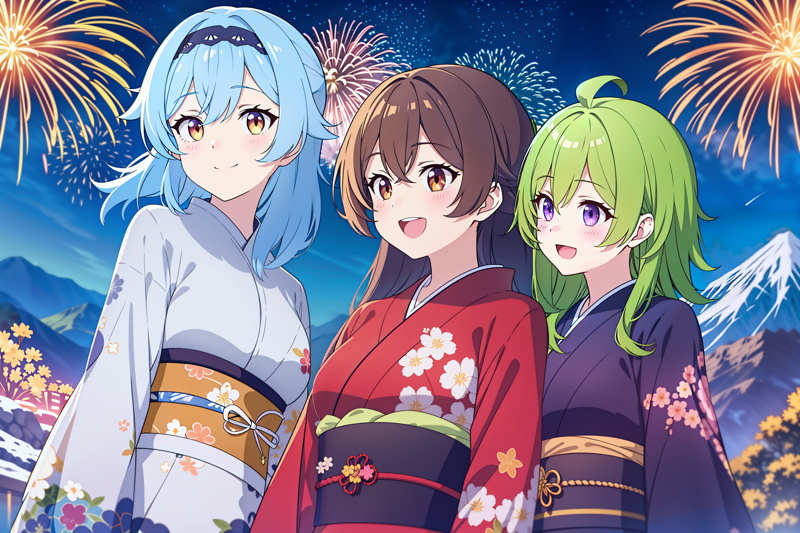
Afterwards, I downscaled the image back to the original size and blended the eyes back into the upscaled image. I felt that the blush effect from the upscale was too strong so I blended the original coloring back into the image.
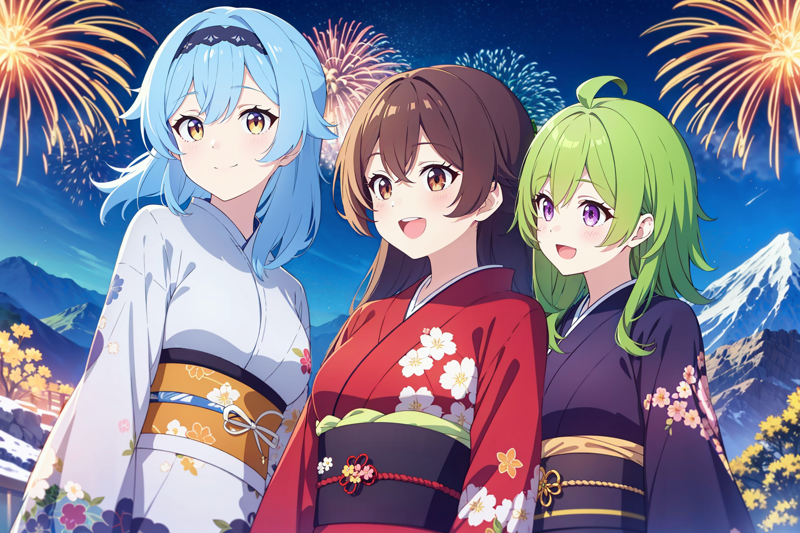
I only noticed that I had a mistake for Eula's ear at the end so I ran an img2img and blended the corrected portions together.
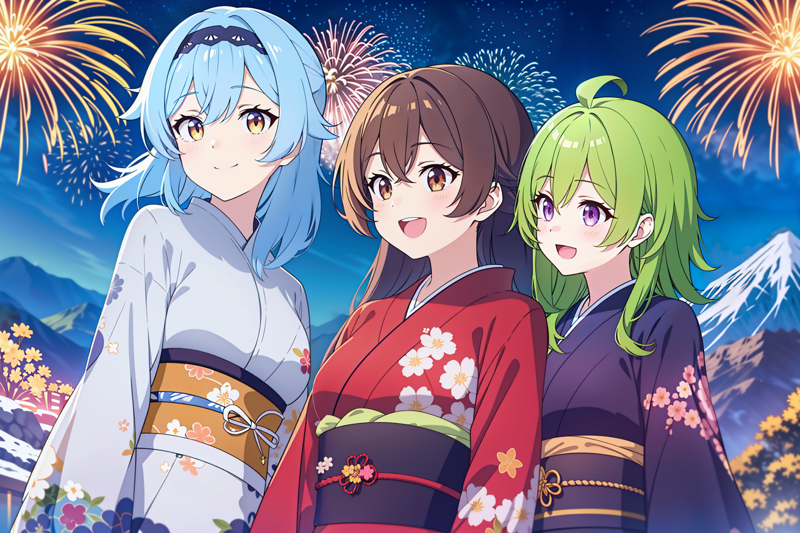
End Result:
Thanks for reading!

