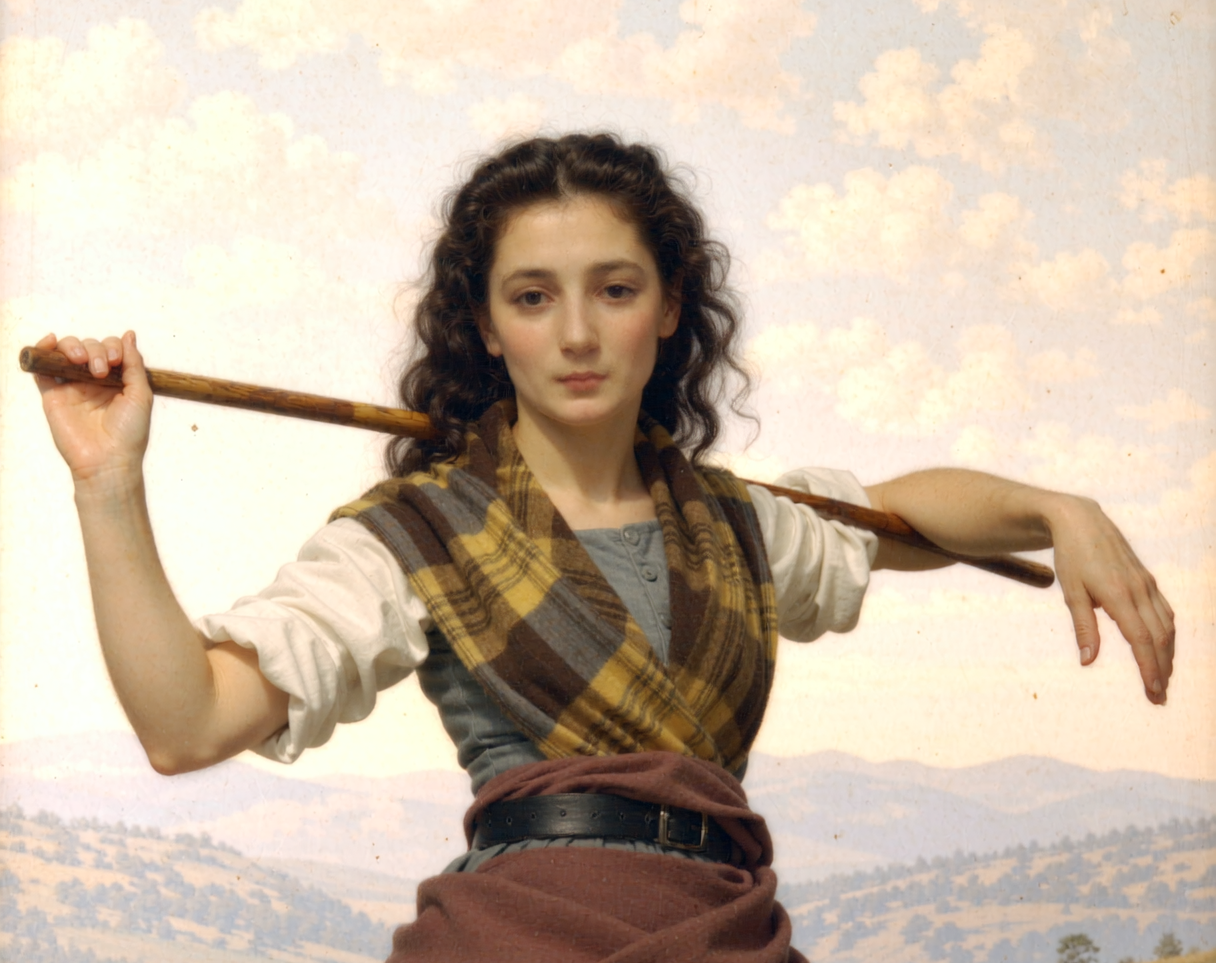
Focal masking is a technique that can improve the appearance of the image. You can preserve desirable detail in the original image while changing the rest of it while making the transition more seamless.
Here's an example image that will be used:
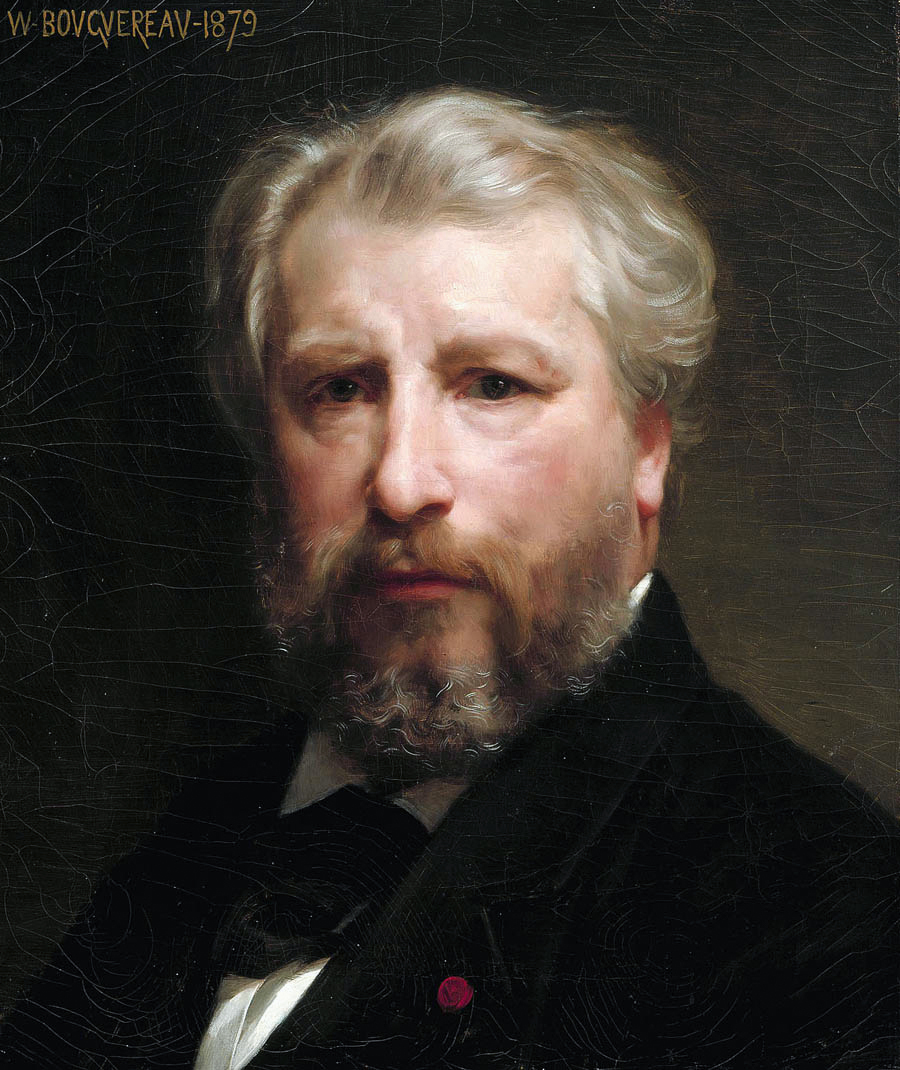
The original image is a painting. The next image will be an attempt to transform it into more a photo. An image-to-image workflow is used with a 0.3 denoise level. Wan 2.2 is used in this example.
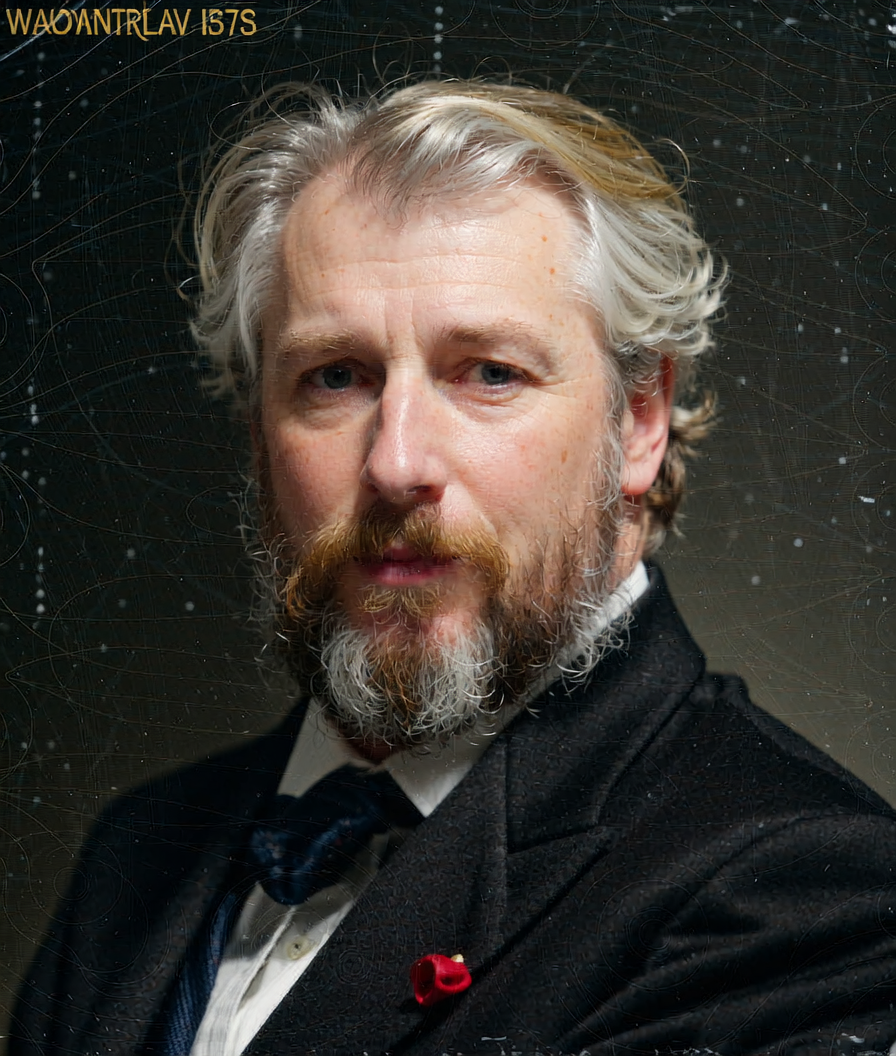
Although the transformation is quite successful, it changed many details from the original painting. The reason for that is because there's no mask applied to image to indicate what area needs to be preserved. The face will be used as example for the mask.
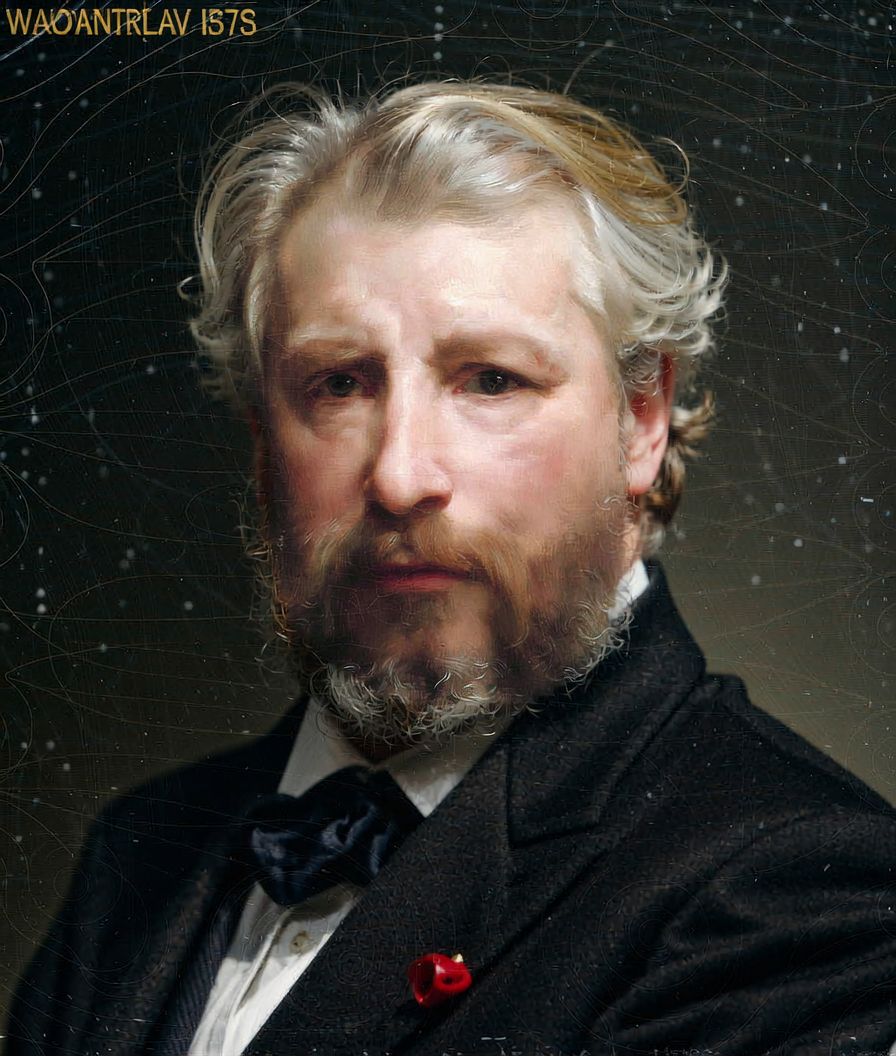
Here is an image with a mask applied to it. The face is exactly the same as the original and the rest of the image has changed but the transition is not smooth though. That's because the mask was applied indiscriminately across the entire area in a uniform manner. As result the image looks more like mixed media rather than either a photo or painting.
The next image will have the focal masking technique applied:
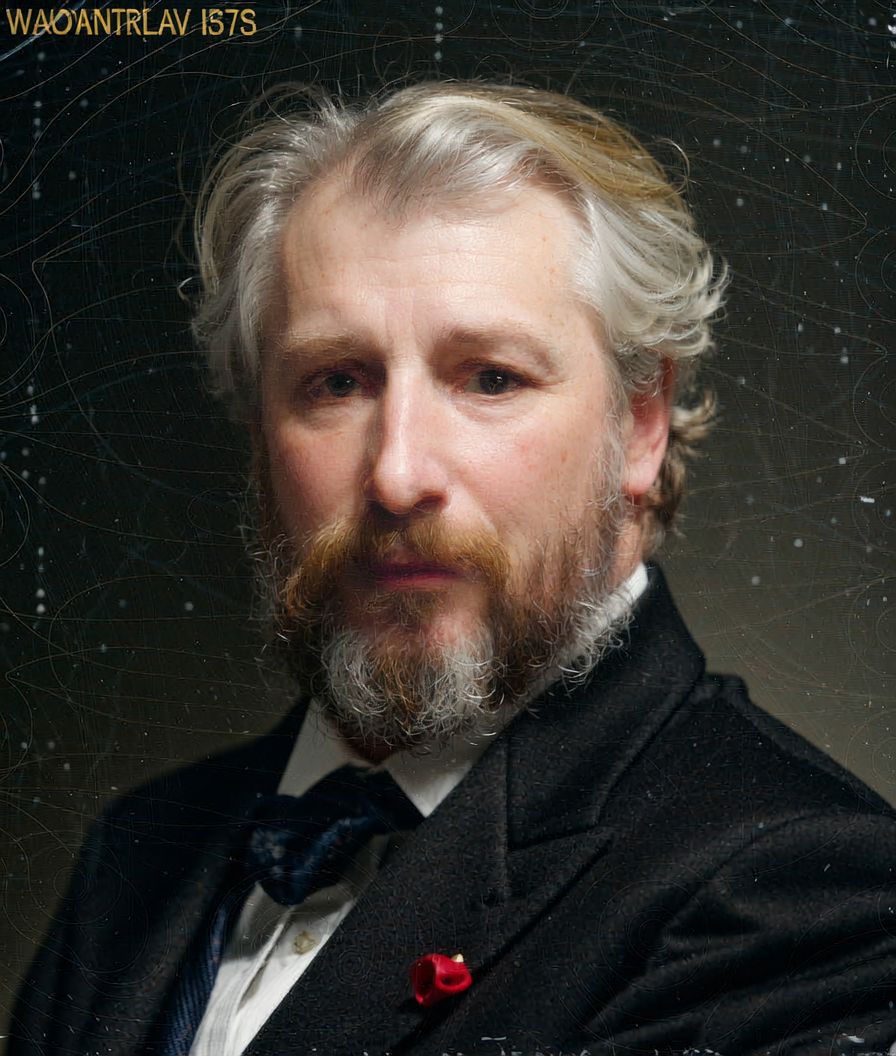
The main facial features are preserved better while the rest of the image have photographic features. A main difference of the mask application with the other one is that this is more targeted. Reductions in the strength of brush opacity and hardness can help greatly in the transition as shown below.
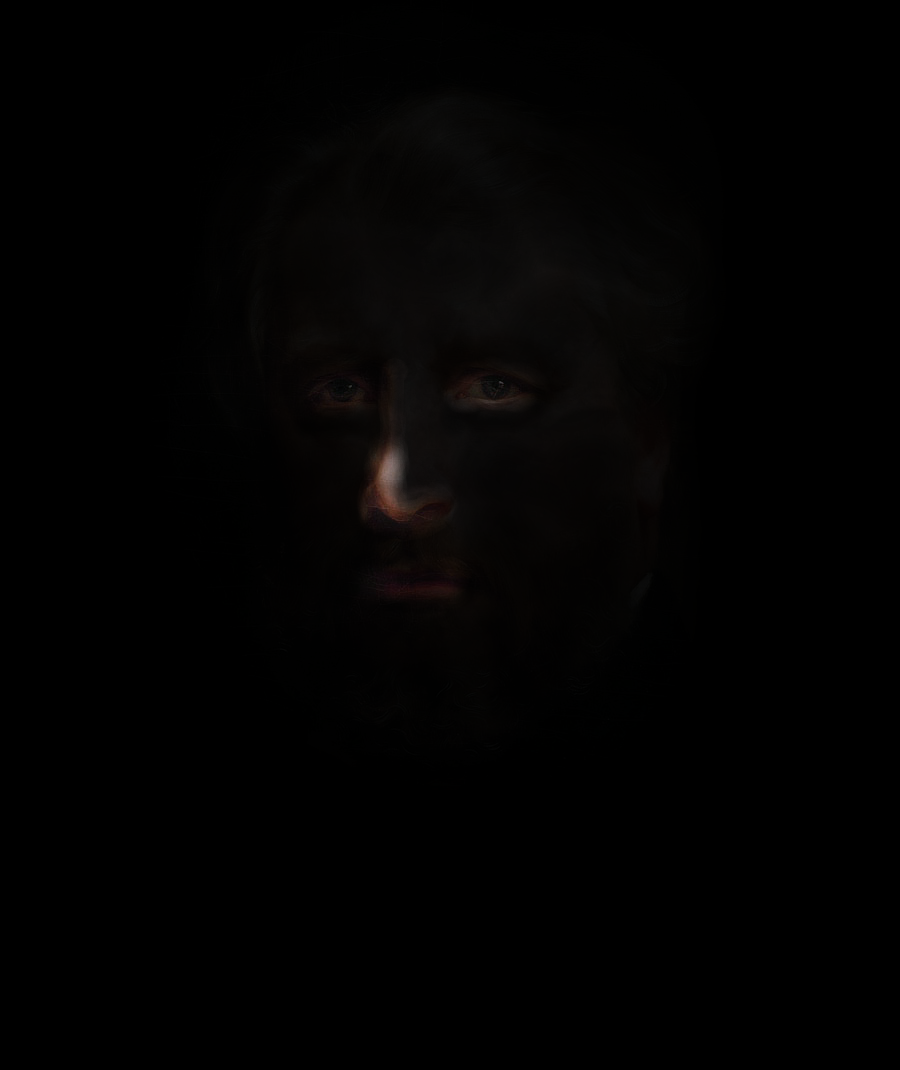
The majority of the image is covered in the mask while the desired details are uncovered. The nose shape in this case has changed the most in the generation. It's desirable trait to keep that's why it's least covered. The eyes and mouth were more stable. That's why those features are darker. Then the rest of the face is lot more opaque. If the mask wasn't more judiciously, the following can happen.
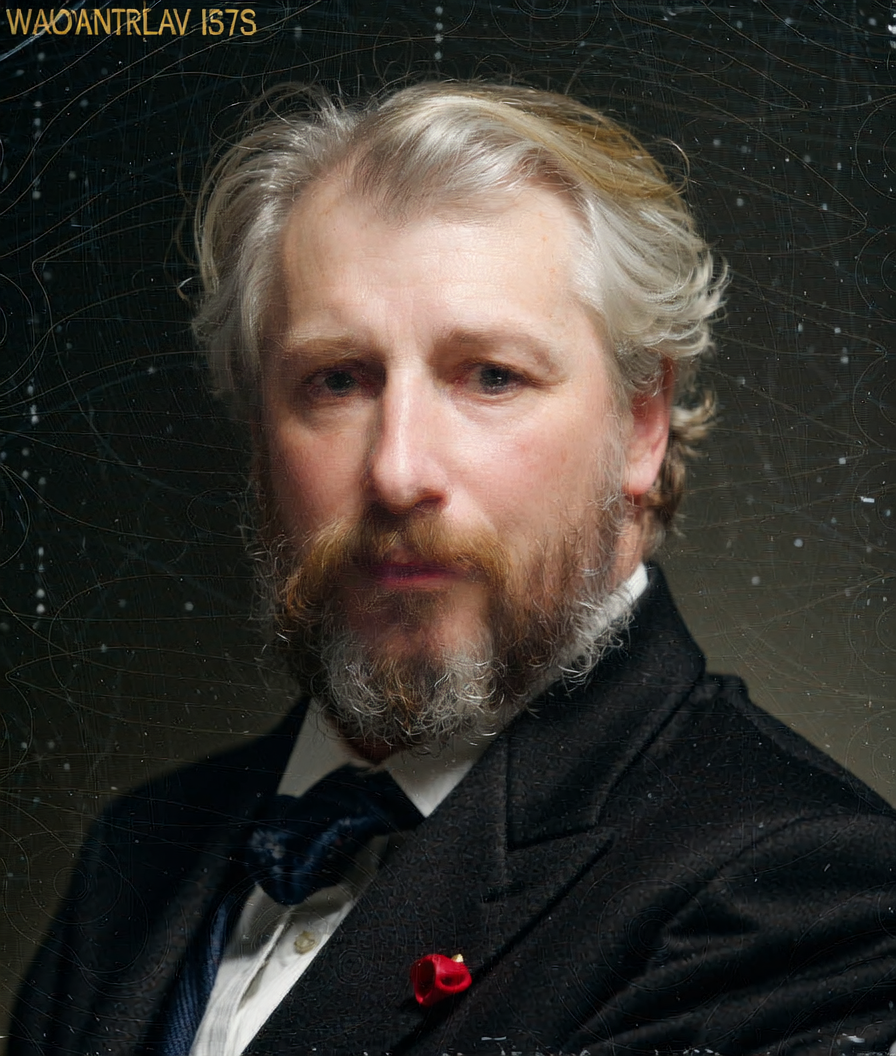
The targeted areas have about the same amount of opacity applied to them, but the image appears more wonky.
This technique is not an exact science as there's simply too many variables to deal with. Medium, seed, denoise level, image dimension can play a large role in implementing this technique. It's simply trial and error. It can be an art on its own and may not satisfy those who are inpatient, so here are some tips to improve the handling of this technique:
Use similar images of medium or style with checkpoint models that can produce it.
Keep the opacity low (preferably at around 25% or one-fourth of the slider)
Hardness should be at none
If adding a decal or logo, you may have to do some basic editing outside of the workflow.
If you're satisfied with a generation but keep working on it more, set the seed control to fixed
In comparison to the older software that I've used, the MaskEditor plugin in ComfyUI is game changer. It allows you to finesse the control of the mask more greatly than in ForgeUI or Automatic1111. I had only discovered this about a few weeks ago at the time of writing this, so improvements may come. I hope that focal mask technique would help you out.

