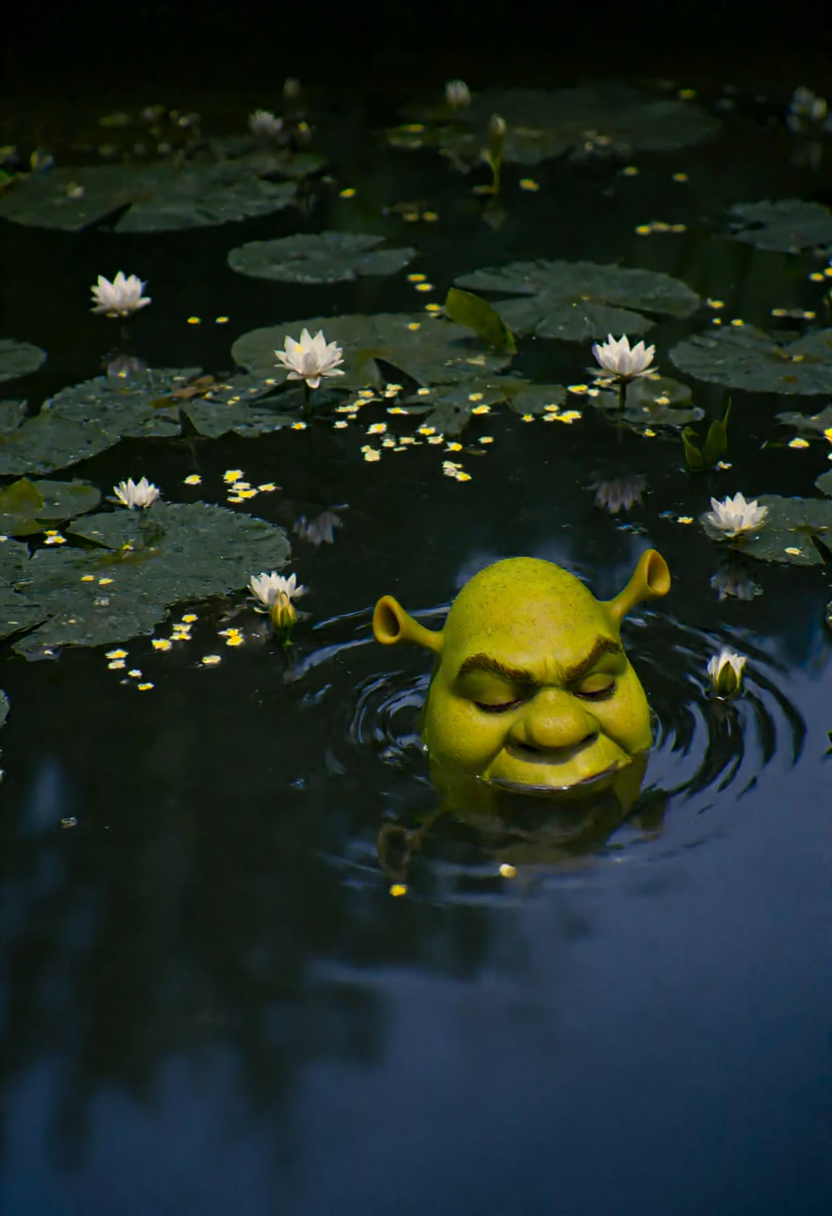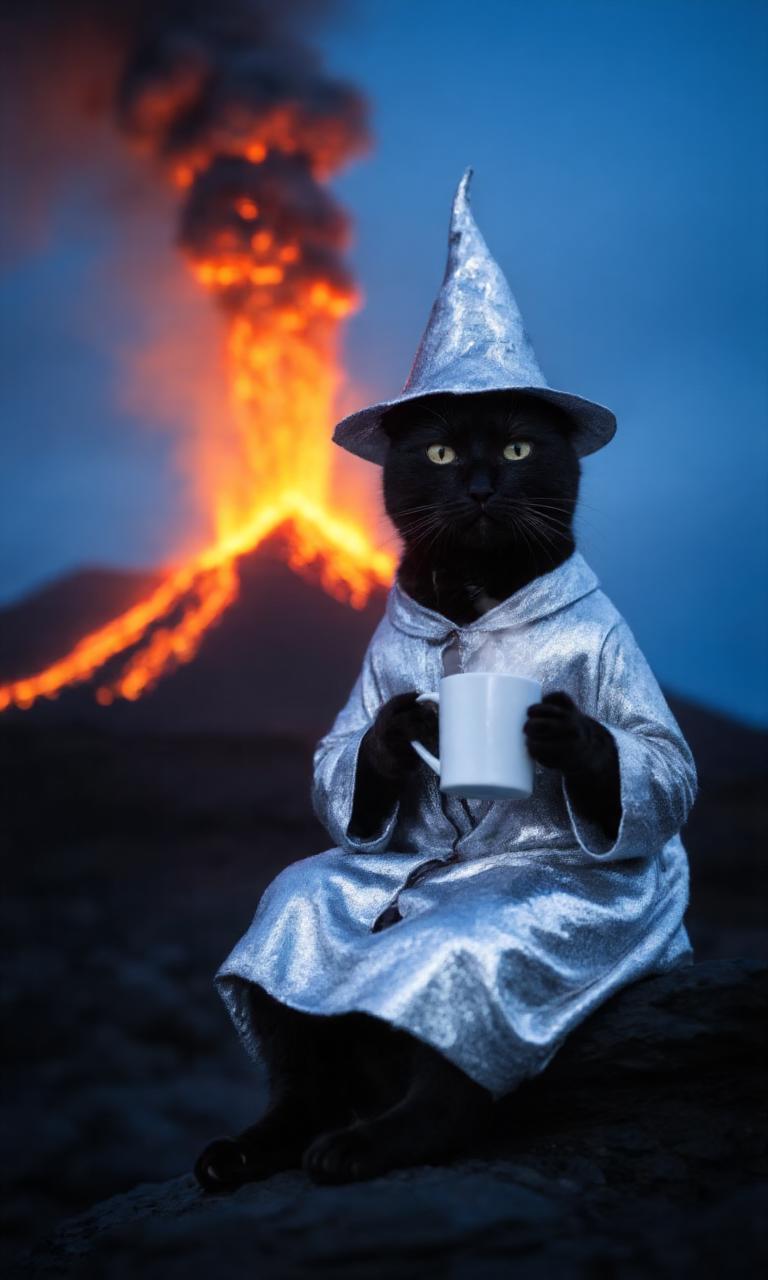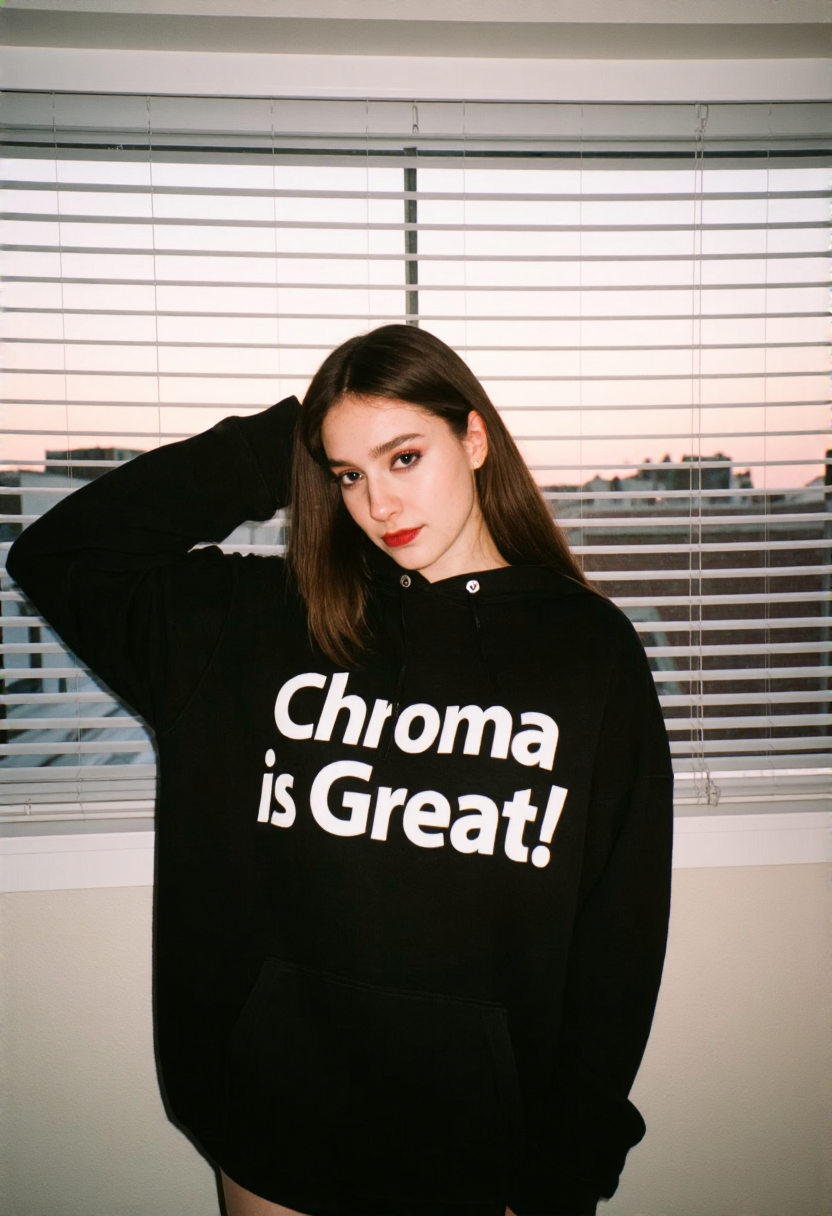
📘 Chroma Guide v0.6
1. Introduction
Hello everyone!
This is my manual for getting the best out of Chroma.
After spending time experimenting with the full release, I wanted to share the tips and workflows that actually work.
⚠️ Disclaimer: I’m a community enthusiast, not a dev. These settings are based on my personal research. I strongly encourage everyone to point out mistakes or suggest improvements in the comments!
2. What is Chroma?
Chroma is a standalone 8.9B parameter model based on Flux.1-Schnell.
💡 Key Advantages:
Fully uncensored: No NSFW/gore restrictions.
License: Apache 2.0 (Free for commercial use, images are 100% yours).
Adherence: Strong prompt adherence (no more SDXL randomness!).
*Versatility: Great results in both realism and stylized prompts — often without needing LoRAs.
Visuals: Better skin texture, contrast, and lighting than the base Flux model.
⚙️ Versions:
Chroma 1-HD Flash: Optimized for speed.
Chroma 1-Radiance: WIP pixel-space model (avoids VAE artifacts).
👉 Think of Chroma as Flux without censorship, with much more freedom in both realism and artistic prompts.

3. Requirements & Performance
I generate images locally using my good ol’ RTX 3060 (God bless her 🙏). Chroma is heavy, but with the right file format (quantization), it runs on most modern GPUs.
🖥️ VRAM Guide (Which version to download?)
| Your VRAM | Recommended Format | Notes |
| 24GB+ | FP16 / FP8 | Full quality. |
| 12GB - 16GB | FP8 or GGUF Q8_0 | Standard for high quality. |
| 8GB - 10GB | GGUF Q5_K_M or Q4_K_S | Requires GGUF support. Minimal quality loss. |
| < 8GB | GGUF Q4_K_S | Highly compressed, but usable. |
⚙️ Software Setup (ComfyUI / Forge)
* Model: Chroma 1-HD (Load the .safetensors or .gguf appropriate for your GPU).
* VAE: Standard Flux VAE (Must be loaded, otherwise images look grey/static).
* Text Encoder: I recommend Flan-T5-XXL (fp8 version saves RAM). GNER also works.
* Workflow: I recommend starting with workflows by Tenofas.
3.1 Base Settings
⚠️ Note: These settings work for my workflow. Adjust them if needed
🔧 Steps & CFG
CFG (Guidance): 3.0 – 4.0
Higher values make the model follow the prompt strictly but can "burn" the image.
Steps: 25 – 35
20: Risk of pixelation
50: Rarely necessary
🪛 Sampler / Scheduler Combos
Tip: If using a LoRA, always start with the author's recommendation.
Here are my tested favorites:
🚀 Deis_2M – Beta57 (or DPM++ SDE 2S – Beta)
My new go-to. Improved anatomy and clarity.Res_2S_RKMK2E – Beta57
More accurate limbs/fingers, but much slower.🌀 Res-Multistep – Beta
My old favorite. Sharp details in realism.🎨 Euler – Normal / Beta
The "safe" choice. Versatile for any style.📸 DPM++ 2M – sgm_uniform
Great balance of speed/quality (Recommended for TijuanaSlumlord’s LoRAs).
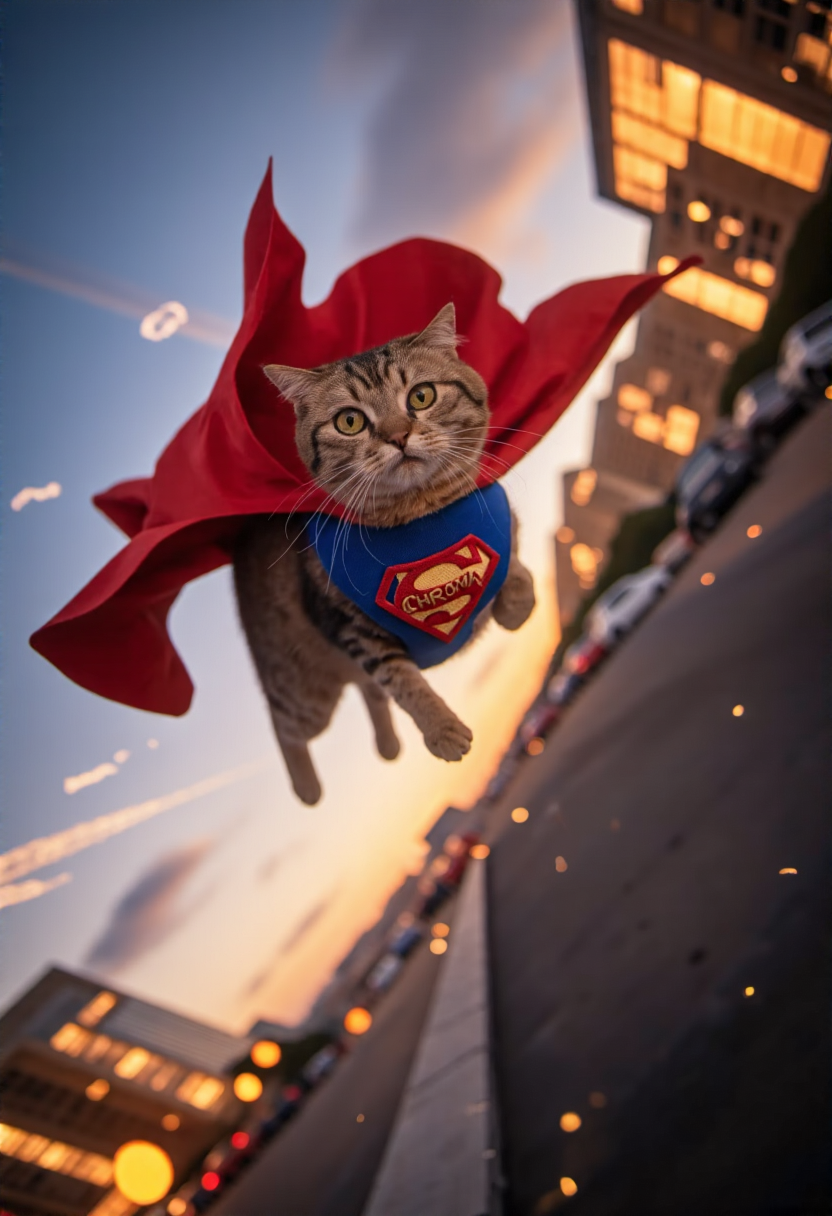
4. Prompting Tips
Chroma is sensitive to prompting. It understands plain English (natural language), you can also rely on the official Black Forest Labs or CivitAI Flux guides as a starting point.
It supports negative prompts, but use them sparingly (only if you see unwanted text or style bleed).
🎨 The "Aesthetic" Tag
If you're unfamiliar with the aesthetic tag, check out my other guide for a full breakdown. In short: using this tag can significantly improve output quality, but it works best on stylized images.
Using the aesthetic tag with a number (e.g., aesthetic 7, aesthetic 9) allows you to define the image style without using LoRAs.
aesthetic 6: Gives an amateur result with pale / flat colors.
aesthetic 10: Delivers a professional artist style with high contrast and vibrant colors.
💡 Tip: Use this tag primarily to fix quality issues. If your generation already looks good, adding this tag might be unnecessary.
✒️ Power in Simplicity
A concise, structured prompt beats a verbose one.
❌ Bad Prompt:
“A cat sitting on a vintage chair, against blue wallpaper with golden flowers that emphasize the aristocratic atmosphere of the room, giving the whole image a noble and majestic vibe...”
(The phrase “aristocratic atmosphere” confuses the model).
✅ Good Prompt:
“Painting of a cat, sitting on a vintage chair. Behind him, blue wallpaper with golden details. Soft cinematic lighting.”
(Short, direct, effective).
4.1 Realism Prompts
To achieve realism, stop using SD1.5 keywords like hyper-realistic, 8k, UHD. These tokens often hurt Flux-based models.
Instead, define the medium and context:
1. Source: "Posted on Reddit", "Instagram photo", "Dashboard cam".
2. Lighting: "Hard flash", "Natural morning light".
3. Style: "Candid amateur photograph", "Retro snapshot".
Realism Example:
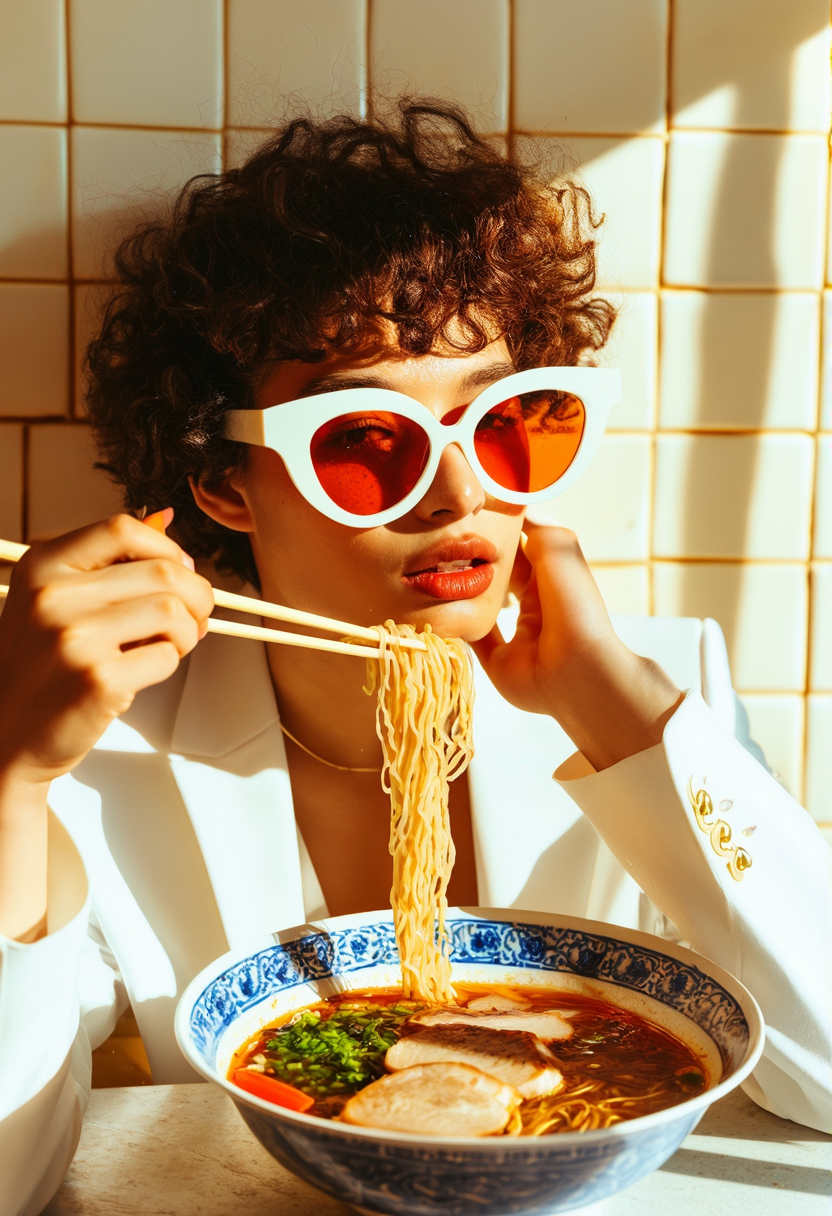
A stylish young person with short curly hair is enjoying a bowl of ramen noodles. They wear oversized white sunglasses with orange-tinted lenses and a white blazer, exuding a retro yet modern aesthetic. They are holding chopsticks, lifting steaming noodles toward their mouth, while resting their head lazily on one hand. The ramen bowl is ornate with a blue pattern, filled with rich red broth, noodles, vegetables, and pieces of meat. The setting has a sunlit, cinematic vibe with soft golden light casting strong shadows against a tiled wall in the background. The mood is vibrant, fashionable, and slightly playful, like a scene from a trendy editorial photoshoot.
Amateur/Social Media Example:
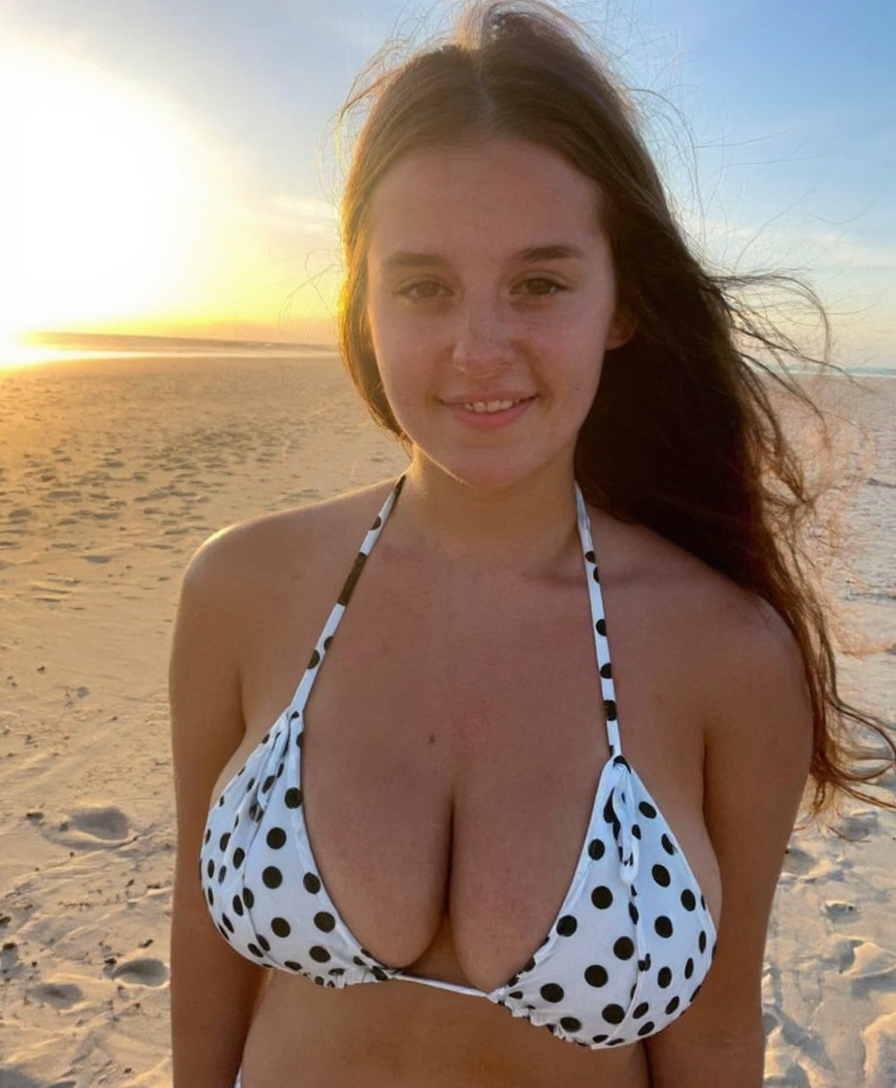
This is a candid amateur 2010s-era photograph, posted on social media sites such as Reddit, Instagram, Twitter, Snapchat or OnlyFans. The subject is a normal person with natural skin, captued in real life. This is a close-up headshot photograph of a young woman with long hair and a large bust wearing a polka dot string bikini, standing on a windswept beach and illuminated by golden rays of sunshine at dawn.
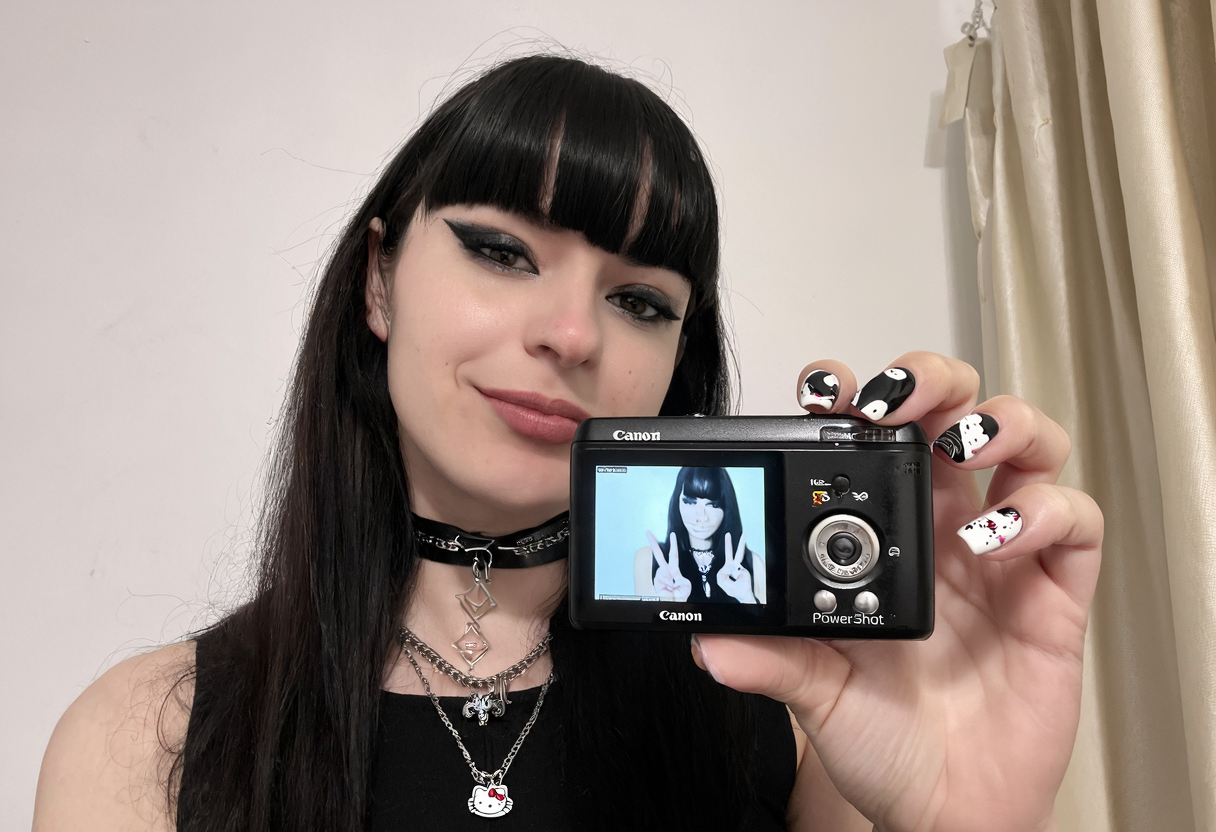
digital_media_(artwork), absurd_res, surreal, retro_snapshot.A candid self-portrait of a gothic-inspired young woman holding a vintage Canon PowerShot digital camera, the display screen showing her mirrored pose with a peace sign.She has long dark hair with bangs, subtle eyeliner, and a confident smirk. Her nails are long with black-and-white Hello Kitty themed nail art, the same stickers decorating the old camera.She wears a black choker and layered jewelry, adding to the gothic aesthetic.Background is minimal — a plain white wall and beige curtains, softly illuminated by flat artificial lighting.The image carries the nostalgic feeling of early 2000s bedroom snapshots, lo-fi casual realism, indie internet culture vibe.
🖼️4.2 Stylized Prompts
For drawings and art, guide Chroma by clearly describing the Art Direction.
1. Genre: Concept art, comic panel, surrealism.
2. Medium: Oil painting, watercolor, pixel art.
3. Texture: "Rough brush strokes", "bold ink lines".
Stylized Example:
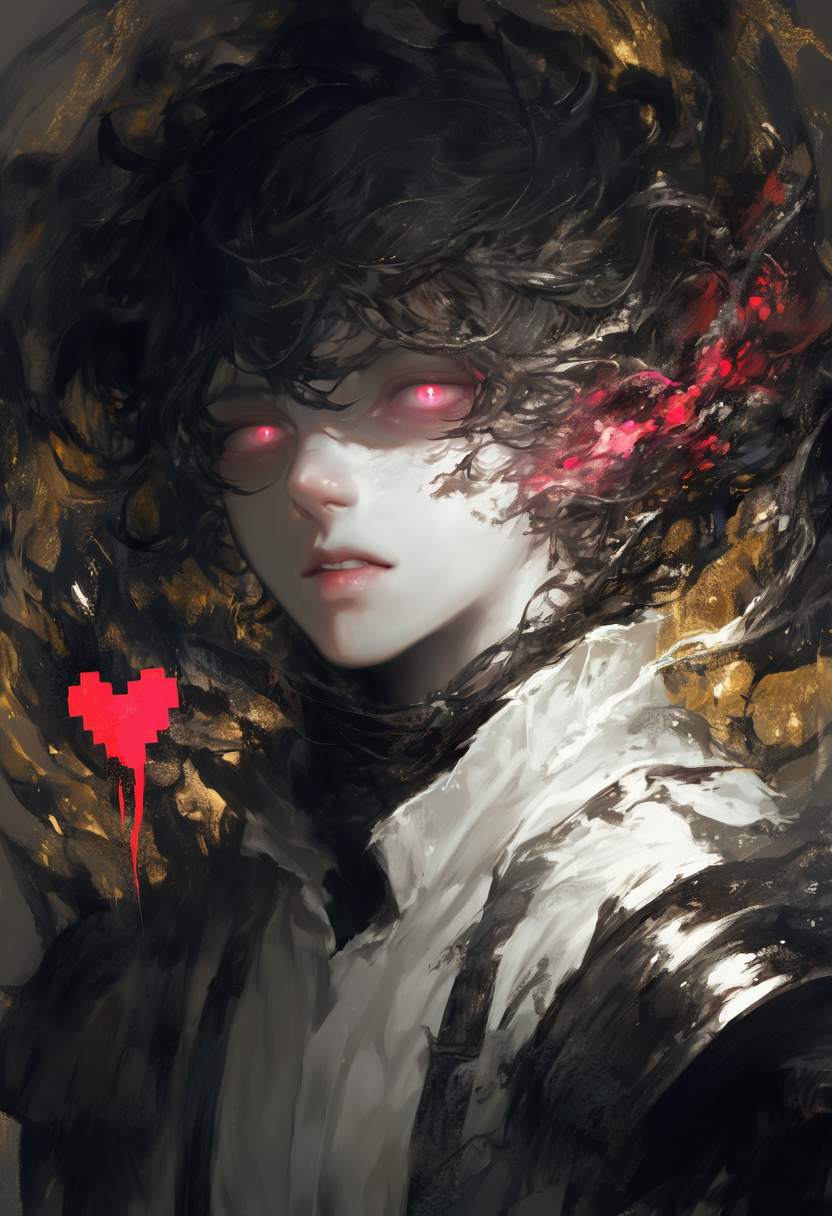
aesthetic 11, painterly, digital_media_(artwork), absurd_res, dark_fantasy. A close-up portrait of a young androgynous figure with messy dark hair, pale skin, and piercing eyes glowing faintly in hues of pink and crimson. The face is tilted slightly forward, lips parted as if about to speak, giving a subtle air of tension and mystery. Their attire is a tattered white dress shirt under fragments of dark armor, blending modern and medieval motifs. Loose painterly brushstrokes dominate the piece, layered textures evoking a tactile oil-on-canvas feel. A pixelated red heart hovers faintly near the shoulder, contrasting playfully with the otherwise grim palette. The background dissolves into swirling, abstract shadows and golden flecks, as if the void itself is bleeding light. The overall tone balances raw beauty and haunting surrealism, charged with intensity and quiet menace.
5. Using LoRAs with Chroma
Chroma is a great neutral base, but LoRAs help lock in a specific look.
💡 Tip: Some Flux LoRAs work on Chroma
Recommended LoRAs
📸 Realism:
Chroma – Professional Photos: Fixes deformed faces and polish.
Absolute CINEMA: Adds movie-grade atmosphere.
Chroma Realistic Slide: Adds a specific analog film look.
🎨 Artistic:
Shrekman17's Collection: A huge library of style LoRAs converted for Chroma.
Random Illustration/Anime Mashup: Boosts color richness and brush texture.
6. Learning Tips
The best way to learn is to copy!
1. Go to the Featured Images, Chroma Page or find some image on the internet section on CivitAI.
2. Check the metadata (Steps, CFG, Sampler).
3. Remix the prompt: Change the subject but keep the style words.
4. Use LLMs: Paste this guide into ChatGPT and ask it to "Write a Chroma prompt for [your idea]."
Thank You! ❤️
Thank you for reading Chroma Guide v0.6!
Let’s make this guide better together. If you have specific workflows or settings that work for you, share them below!
📌 Sources: Chroma CivitAI page, Official Discord, Reddit discussions.
