

Step-by-Step Guide Series:
SDXL - LoRA TESTER Workflow
This article accompanies this workflow: link
This guide is intended to be as simple as possible, and certain terms will be simplified.
Workflow description :
This workflow allows you to easily test different combinations of lora with different parameters.
Prerequisites :
📂Files :
An SDXL model : like this one
in ComfyUI/models/checkpoints/As many LoRAs as you like (optional) : like this one
in ComfyUI/models/loras/
📦Custom Nodes :
Don't forget to close the workflow and open it again once the nodes have been installed.
Usage :
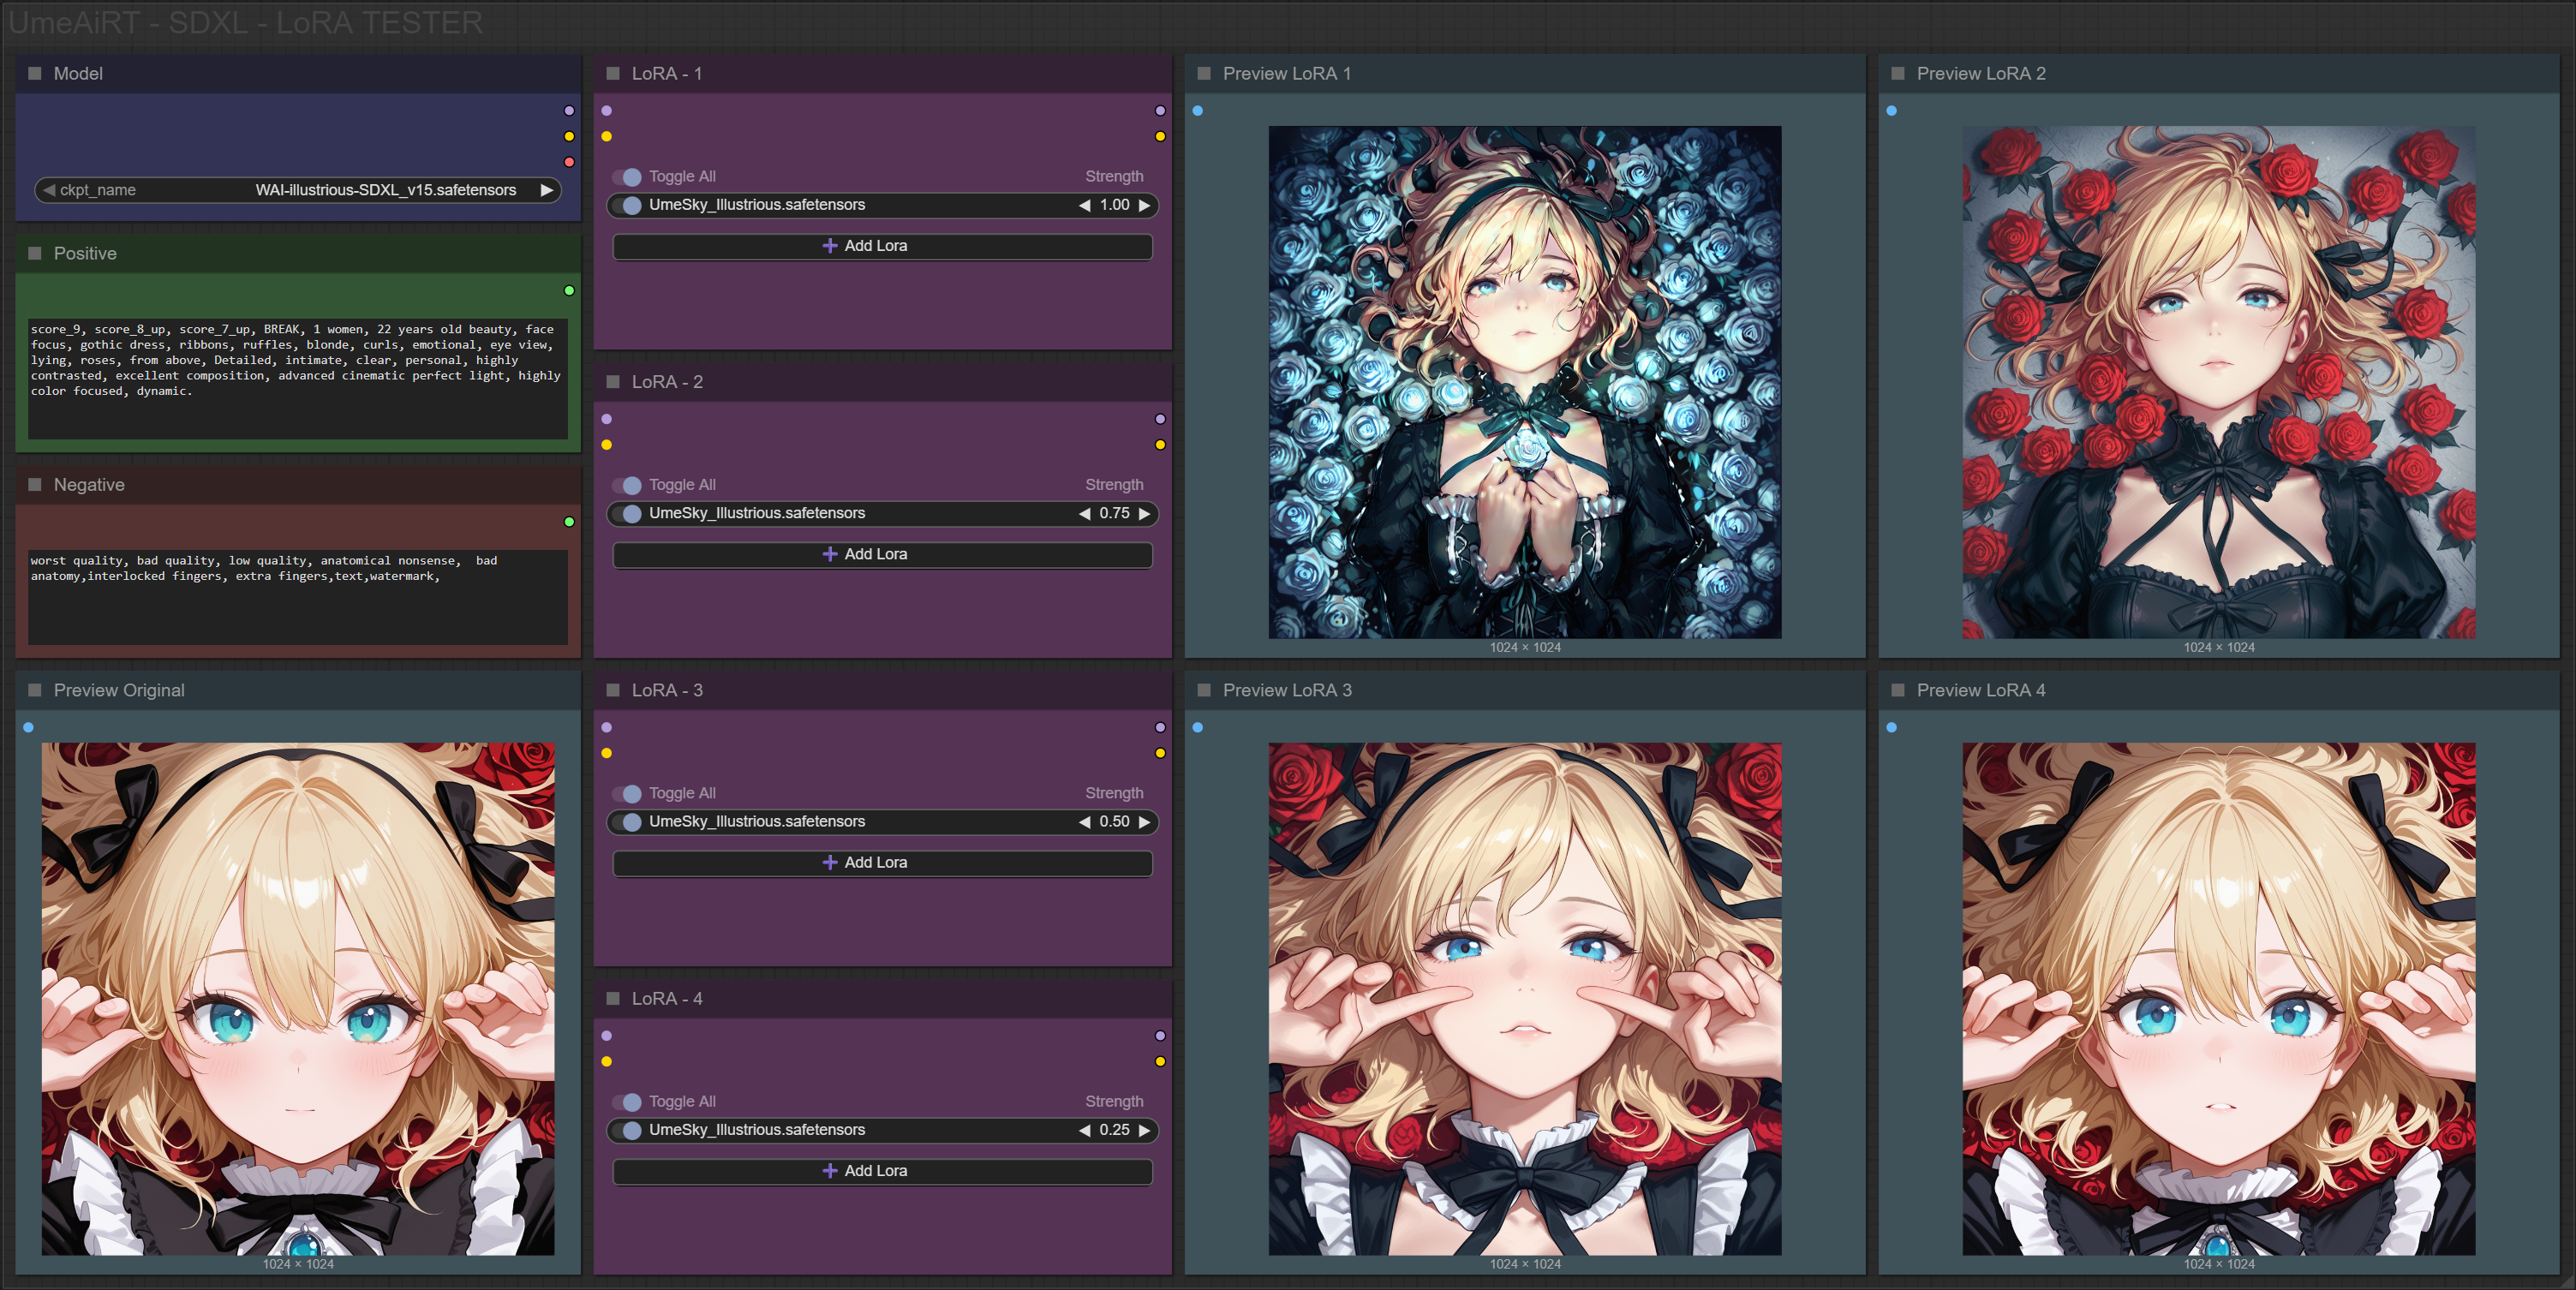
In this new version of the workflow everything is organized by color:
Green is what you want to create, also called prompt,
Red is what you dont want,
Blue are the model files used by the workflow,
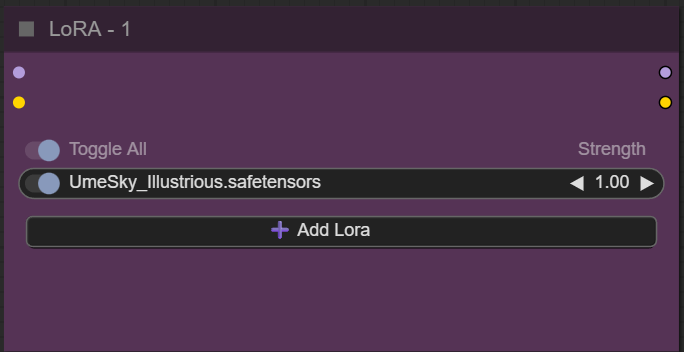
Purple is for LoRA.
We will now see how to use each node:
Choose your model:
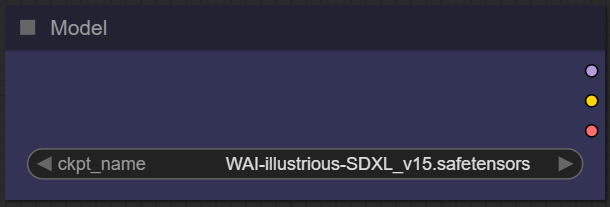
There are many models available on Civitai. Choose the one that best suits what you want to generate.
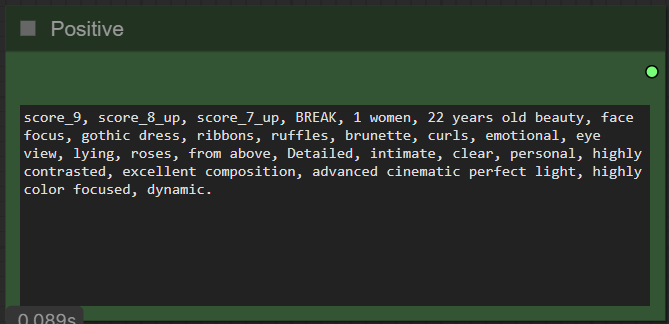
Write what you want in the “Positive” node :
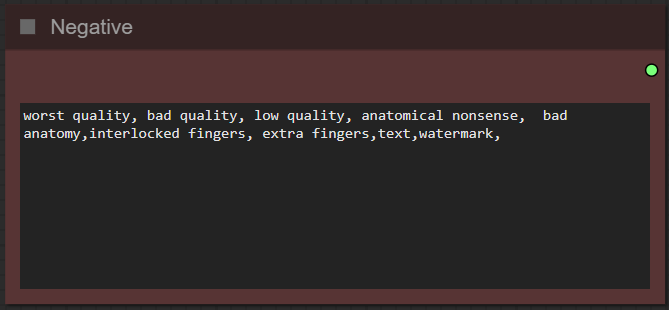
Write what you dont want in the “Negative” node :
In each of the 4 LoRA modules, choose the model and the weight desired for each:
Now you're ready to create your image.
Just click on the “Queue” button to start:

You will then have 5 images: One without any LoRA, then one per LoRA module.
Some additional information:
Organization of recordings:
All generated files are stored in comfyui/output/SDXL/YYYY-MM-DD.
Depending on the options chosen you will find:
"YYYY-MM-DD-HH-MM_XXXXXXXXXX_Original" the basic file,
"YYYY-MM-DD-HH-MM_XXXXXXXXXX_LoRA1",
"YYYY-MM-DD-HH-MM_XXXXXXXXXX_LoRA2",
"YYYY-MM-DD-HH-MM_XXXXXXXXXX_LoRA3",
"YYYY-MM-DD-HH-MM_XXXXXXXXXX_LoRA4",
This guide is now complete. If you have any questions or suggestions, don't hesitate to post a comment.
