
Hey! 🚀
Here’s my new killer workflow that’s been giving me insane results – super chill & easy to follow. Let’s go!
⚡ NVIDIA DRIVER ALERT
If you’ve got an NVIDIA GPU, install the Studio Driver 551.23 (not the latest Game Ready one). The newest gaming driver gave me tons of AI bugs – Automatic1111 wouldn’t even generate images sometimes.
👉 Download here: https://www.nvidia.com/en-us/drivers/details/218500/
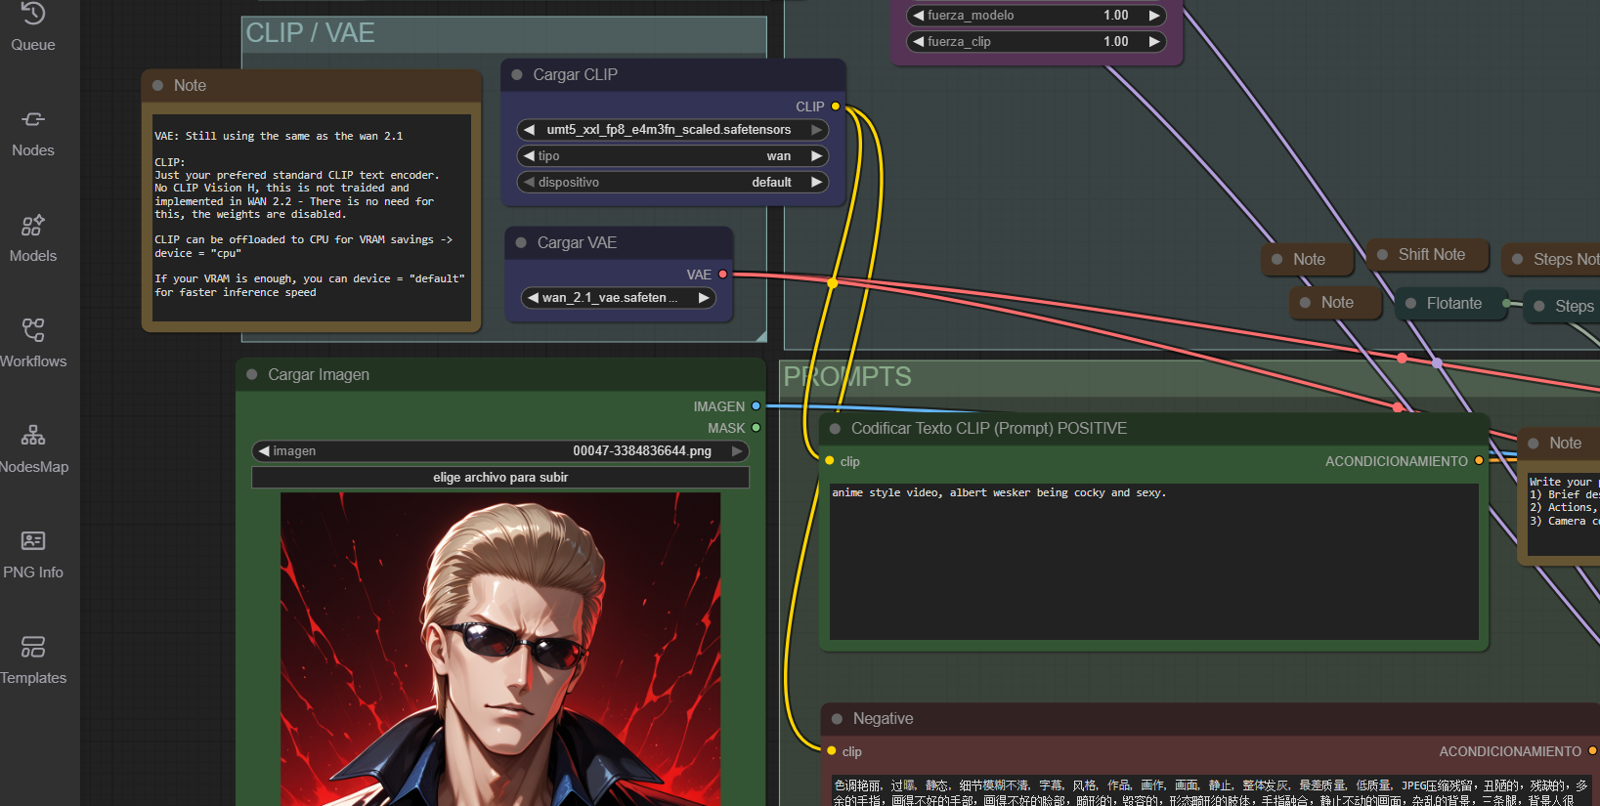
🎨 MODELS (High & Low)
Grab them from CivitAI: 🔗 https://civitai.com/models/1981116/dasiwa-wan-22-i2v-14b-lightspeed
Put them in ComfyUI’s checkpoints folder:
dasiwa_wan_22_i2v_14b_lightspeed_high.safetensors → models/checkpoints/
dasiwa_wan_22_i2v_14b_lightspeed_low.safetensors → models/checkpoints/
🧠 VAE
wan_2.1_vae.safetensors → models/vae/ 👉 https://huggingface.co/Comfy-Org/Wan_2.1_ComfyUI_repackaged/blob/main/split_files/vae/wan_2.1_vae.safetensors
🧩 CLIP
umt5_xxl_fp8_e4m3fn_scaled.safetensors → models/clip/ 👉 https://huggingface.co/chatpig/encoder/blob/main/umt5_xxl_fp8_e4m3fn_scaled.safetensors
⚙️ REQUIREMENTS
FFmpeg installed & in your system PATH Test it: open CMD/PowerShell → type:
bash
ffmpeg -versionIf it works → you’re golden. If not → follow the steps below.
🚀 STEP 1: Download FFmpeg
Go to the official static builds: 🔗 https://www.gyan.dev/ffmpeg/builds/
Click "ffmpeg-git full build" (recommended) or grab the latest .zip.
Example: ffmpeg-git-full.7z or ffmpeg-git-full.zip
Download it to your Downloads folder.
📦 STEP 2: Extract the Files
Use 7-Zip (recommended) or Windows built-in extractor.
No 7-Zip? → Get it here: https://www.7-zip.org/
Right-click the downloaded file → Extract to "ffmpeg-git-..."
You’ll get a folder like: ffmpeg-git-2025xxxx-full_build
Rename it to just ffmpeg → move it to:
text
C:\ffmpegFinal path: C:\ffmpeg\bin\ffmpeg.exe
🛠️ SCRIPT: Setup-FFmpeg-NoAdmin.ps1 (included in attachments)
Prerequisites:
You already extracted the FFmpeg folder (e.g., ffmpeg-git-2025...-full_build)
It has a bin subfolder with ffmpeg.exe, ffprobe.exe, etc.
You’ll move it to C:\ffmpeg (or change the path)
HOW TO USE (step-by-step)
Open the script in Notepad.
Edit this line:
powershell
$sourceFolder = "C:\path\to\your\ffmpeg-git-xxxxxx-full_build"→ Example:
powershell
$sourceFolder = "C:\Users\YourName\Downloads\ffmpeg-git-20250401-full_build"Save the edited script.
Run it:
Right-click → "Run with PowerShell"
OR open PowerShell (no admin) and run:
powershell
.\Setup-FFmpeg-NoAdmin.ps1
Result
FFmpeg at: C:\Users\YourName\ffmpeg\bin\ffmpeg.exe
Available just for you (no admin needed)
Works in CMD, PowerShell, VS Code, etc.
Doesn’t affect other users
Test it
Open a new terminal and type:
bash
ffmpeg -version→ Should work instantly! 🎉
🧬 CUSTOM NODES (install via CMD + git clone)
Manager sometimes fails due to permissions – CMD is more reliable.
bash
https://github.com/stduhpf/ComfyUI-WanMoeKSampler
https://github.com/Kosinkadink/ComfyUI-VideoHelperSuite
🎬 WORKFLOW ORIGIN
Based on Dasiwa’s original: 🔗 https://civitai.com/models/1823089
I stripped out everything not needed for img2video – so no node overload for the easily confused (like me 😂).
💡 PURPLE NODE = "BYPASSED"
That purple node you see? It’s bypassed (ignored by ComfyUI). → Right-click → "Bypass" to disable a LoRA → Right-click again → "Unbypass" to enable it
Check the example video if needed.
🐛 "Missing VAE/Model" Bug?
Sometimes ComfyUI complains even if files are there. Fix:
Change the VAE/model to something else
Switch it back → forces reload → problem gone
See the fix video.
➕ Add More LoRAs?
Follow the video.
High Noise LoRAs → connect to High model
Low Noise LoRAs → connect to Low model → I color-coded them so you don’t get lost.
🎨 Pro Tip: Reuse PNG Info
I load the PNG info from the image I want to animate, then tweak the prompt.
Install the PNG Info Sidebar: 🔗 https://github.com/KLL535/ComfyUI_PNGInfo_Sidebar
Install: Go to your custom_nodes folder → open CMD in the address bar → run:
bash
git clone https://github.com/KLL535/ComfyUI_PNGInfo_SidebarDone! 📋
Everything else is in the workflow notes. Hope this helps you make epic videos!
Ciaoooo! ♫⋆。♪ ₊˚♬ ゚.