Introduction
We all know the situation... the hentai/anime models understand a lot of different concepts from what a photo realistic model knows. A lot of things - especially the more fantastic and/or kinky stuff - simply have no "realistic" images to have been trained on. The more you try to use one of these concepts in a realistic model, the more the generated output is going to push away from realism.
For a while, I've been trying to push those realities with my XenoGASM model - having it generate traditionally "anime/hentai only" concepts in as photoreal a way as possible. I thought I had about maxed it out until I stumbled on the notion of trying to load my XenoREALITY model (also based on SD 1.5) as a "Refiner Model" even though this isn't SDXL. And guess what...
...it worked!
The results were subtle in some cases, but quite pronounced in others. And then, using the experimental Model Switch in ADetailer finished it off even better.
Examples
In the following two examples, I've picked a couple popular models (Babes 2.0 and GalenaREDUX) as the base model for generation - along with ADetailer on the face. Then in the subsequent images, I added in a slightly modified version of XenoREALITY as a refiner at 2/3 of the way through (0.66), and in the images after that, I also had ADetailer switch over to the Realisim model.
Four images as follows:
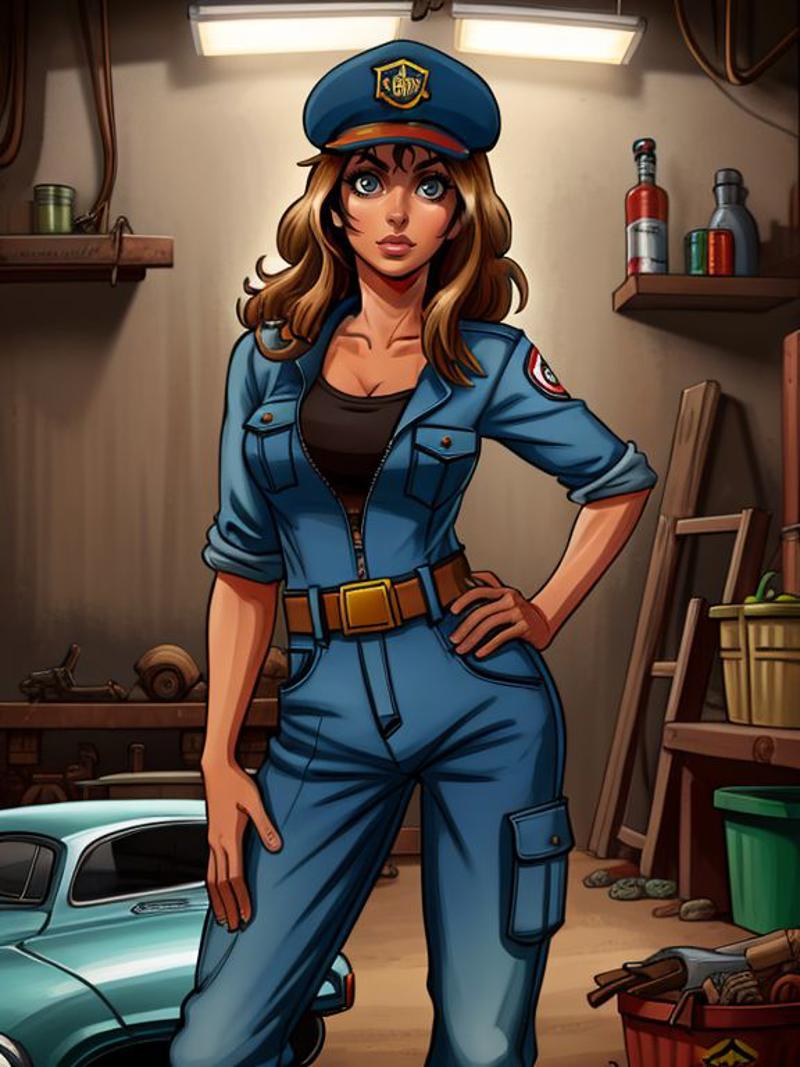
1.) GalenaREDUX - No Refiner - GalenaREDUX ADetailer (Face)
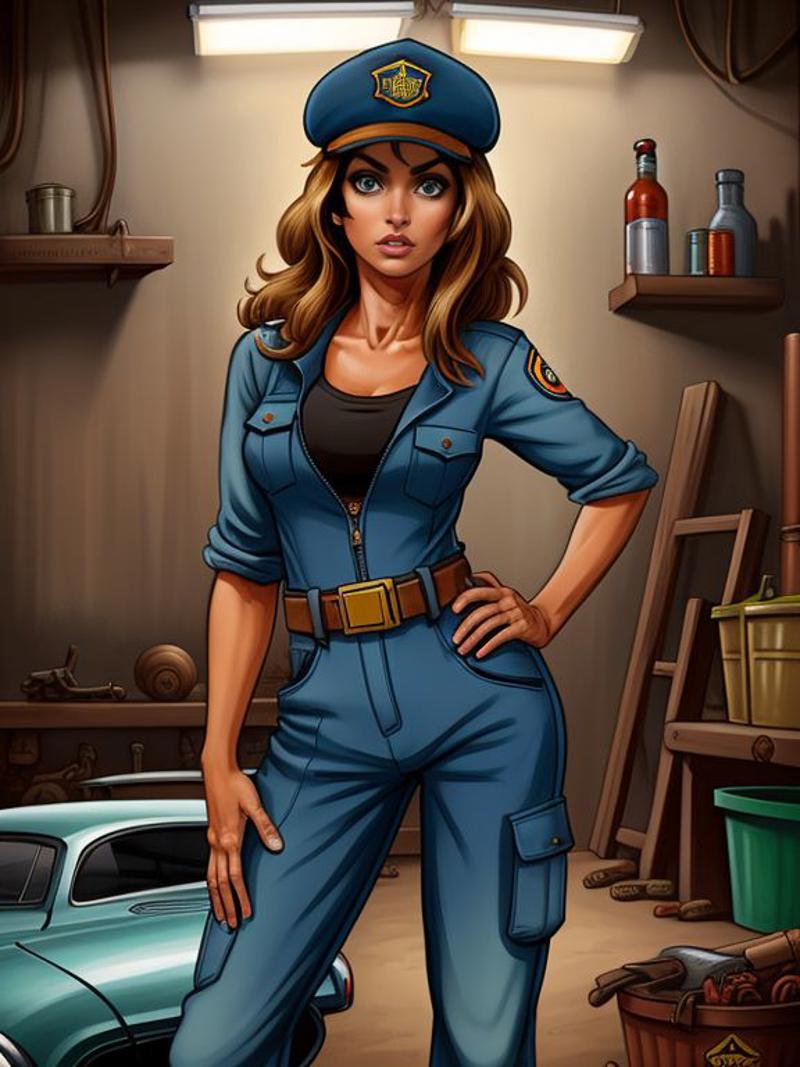
2.) GalenaREDUX - XenoREALFINER - GalenaREDUX ADetailer (Face)
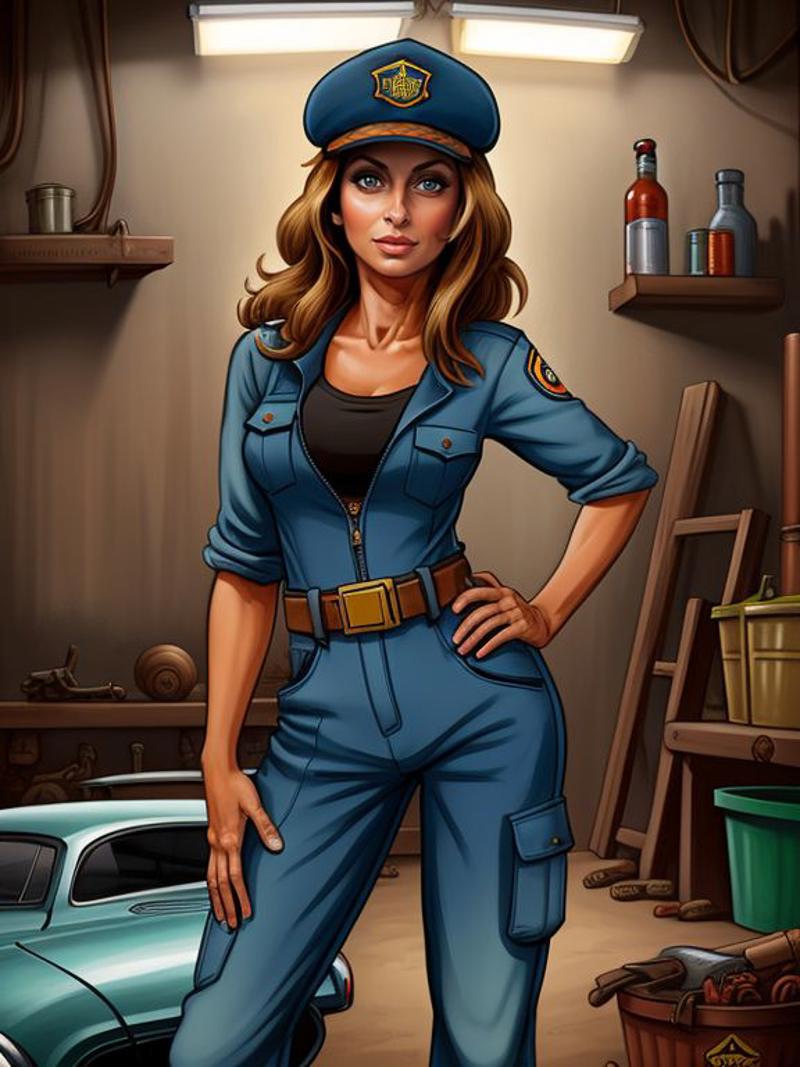
3.) GalenaREDUX - XenoREALFINER - XenoREALFINER ADetailer (Face)
4.) GalenaREDUX - XenoREALFINER - XenoREALFINER ADetailer (Body then Face)
(See here for a scrollable gallery post to more easily swap between images and see the changes).
1
2
3
4
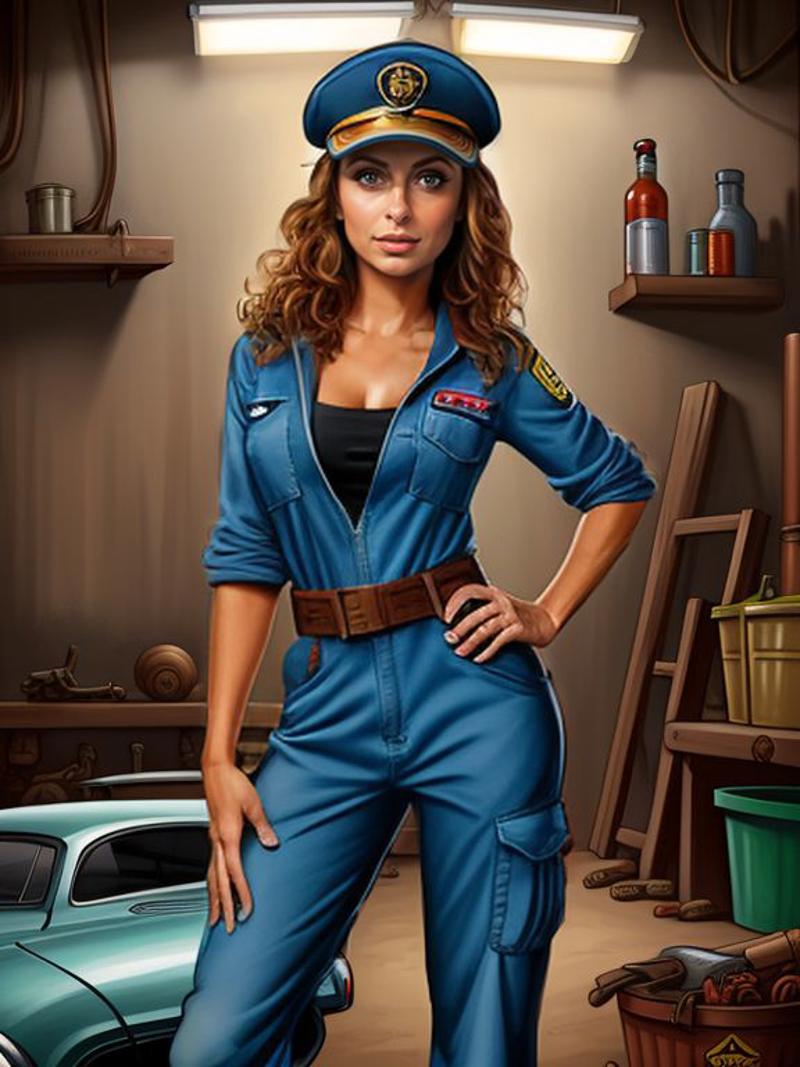
And in the following set, it follows the same formula, but uses Babes 2.0 as the base model instead of GalenaREDUX. (See here for a scrollable gallery post to more easily swap between images and see the changes).
1
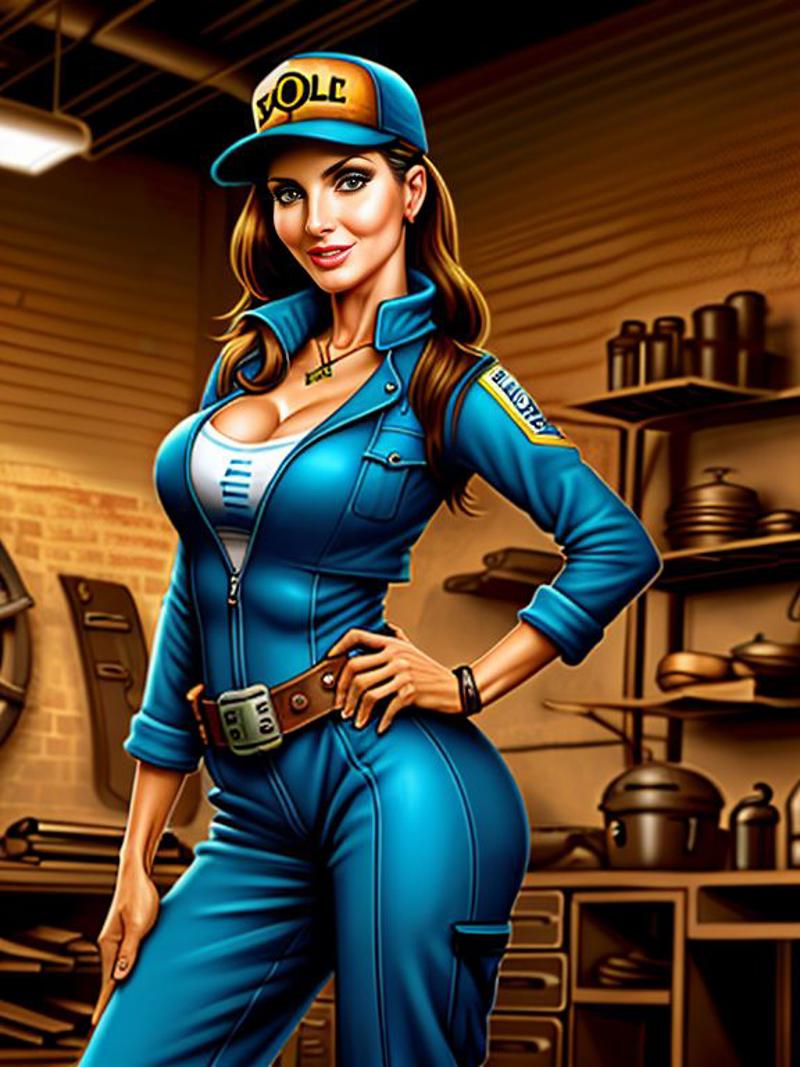
2
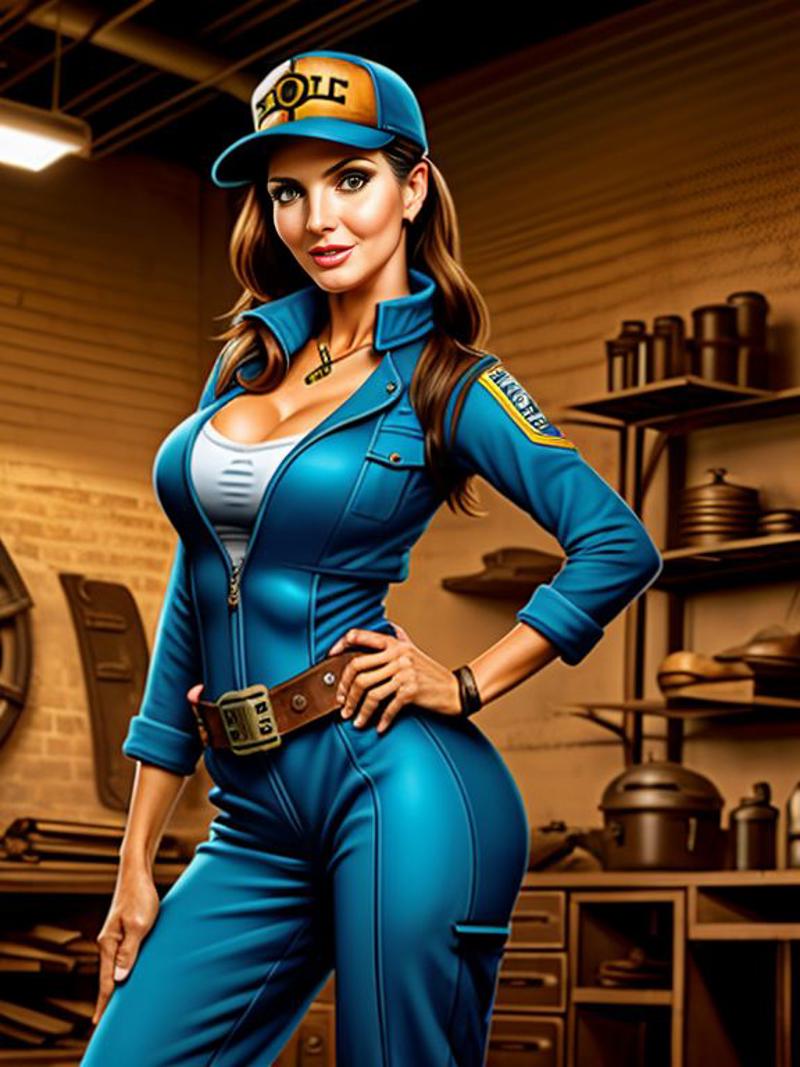
3
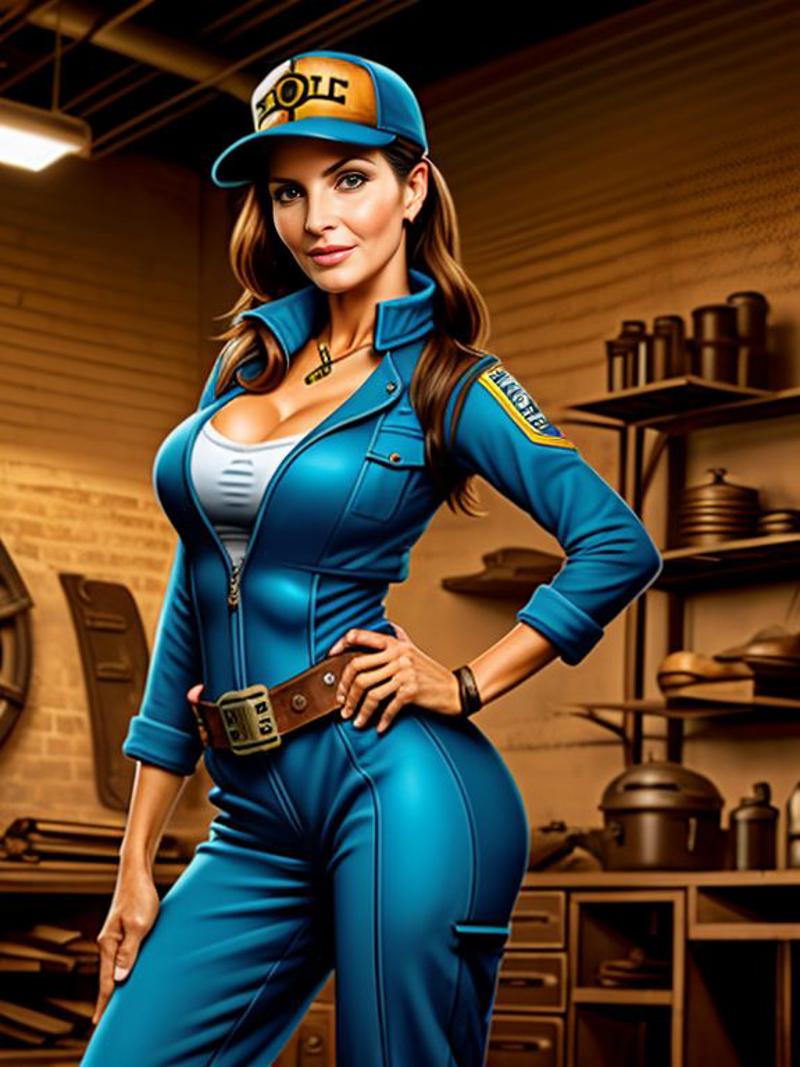
4
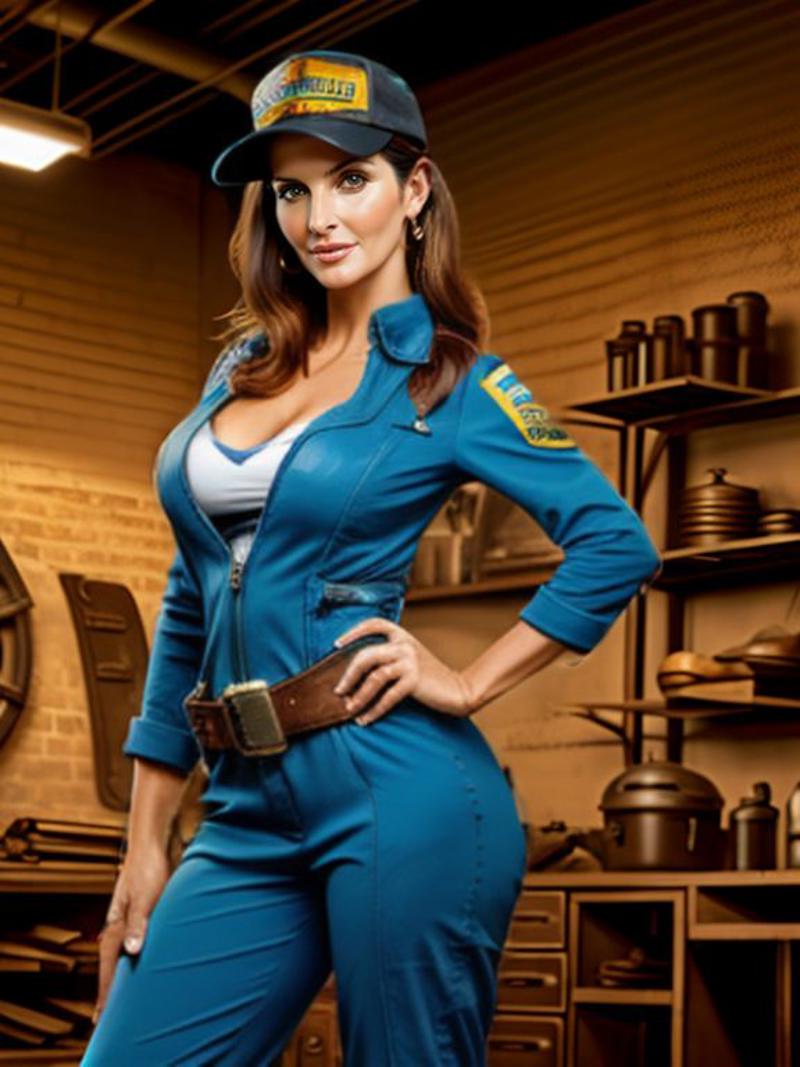
More Finished Examples:
Pervy Stuff (NSFW!!!!)
The Results
As you can see from above, the differences between image 1 and 2 aren't extreme, but they do effect the whole image. Since ADetailer only affects the human subjects it can find in the image, numbers 3 and 4 only affect the primary subject. But used in combination, it can really push that subject hard toward a photorealistic result.
How To Make It Happen
The first thing you want to do is find your base model that generates a great image but that you can't get to look like photography. (It's sort of redundant to use this on something that is already photorealistic - though there IS some effect on the output).
Then you want to find a photo real model to use as your refiner. I haven't experimented with a lot of different models yet, but models that give you good realistic results without heavy prompting are going to be best. In the above models, I used a (slightly modified) version of my XenoREALITY model. General purpose models that can do art AND real probably won't work all that well since they're likely to take on many of the aspects of the "art style" from the base generation.
Once you have your model, open up the refiner TAB (introduced in A111 SD 1.5.0 and any SD generator that supports SDXL) and select your photoreal model as the refiner. In the above examples, I changed the default "Switch at..." value from 0.8 to 0.66 (i.e. 2/3 of the way through).
If you want to bring ADetailer into the mix and want to further enhance the realism on the humans in the image - open up the "Inpainting" tab and select your photoreal model as the "Use Separate Checkpoint" model and tick off the box so that it'll use it. (NOTE: If you are doing two passes - like doing a Body and then Face Detailer - make sure you do this step for both).
You can also play with the number of steps and other factors here to increase or decrease its effect, too. I haven't played with modifying the prompt itself in here yet - but that should work too, though you may get mixed results.
Tips and Notes:
I've really only been playing with this for a few days now - and, since Colab is dead and my access to GPU Rigs is limited to a few hours a week - 90% of the experimentation has been done on my Huggingface Space with No GPU - so my results are of less quality and detail than you'll see when using a setup with a good GPU. Here's what I know so far...
This works especially well on generations that are coming out "close to, but not quite" real looking.
This works with Anime/Cartoon/Art Style type generations too, but you may need to play with the "Switch At..." point and do some balancing. Your Cartoony model understands some of the concepts differently than Photo type models - so the longer you have that photo real model running as a refiner, the more it is likely going to push you away from your original concept. Playing with your CFG scale will probably help here too. (I hope to have better tips for your in a week or two once I've done a lot more experimenting).
As a refiner - the whole image is affected, but used in ADetailer, only the subjects from the selected ADetailer Model (Body, Face, Hands, etc) will be affected.
The refiner doesn't make big changes to the image - it "refines" it, though it does push toward the model's style. As such, a sloppy model that generates a cool concept that other models may not could be "refined" by a model that doesn't know that concept, but that generates cleaner, more robust things. You'll need to play with CFG scales and Switch points to make this happen, though.
With ADetailer and the different models, you can make, for example, an art background with a photo real person - or a photo real background with an anime subject (just swap the base and detailer models from the examples above).
ADetailer and a full body run can help with extra limbs, fingers, etc. Notice on the "Babes" examples above - she has an extra finger until the last image (where I used the "Person" model. It probably could have used a few more iterations to get that finger better, but... it's not an earth shatteringly great image or concept there, so I didn't bother.
The ADetailer Face models only affect the face itself, but the Person models affect the body, hair, and everything. The 3rd image in the above examples shows just the "Face" getting the details while the 4th gives it all more realism.
(Almost) all the images used as examples were done on my Huggingface Space at fairly low resolutions. With larger upscales, more iterations, and different samplers, you will get even more profound and interesting effects.
Like it? Buy me a beer.
Want Tips, Tricks, Pix of Things We Can't Show on Civitai?
Join the XenoEngine Discord to discuss tips and tricks, complimentary Lora's and Embeds, and to post (and see) images not allowed here on Civitai.

